
 Pin it
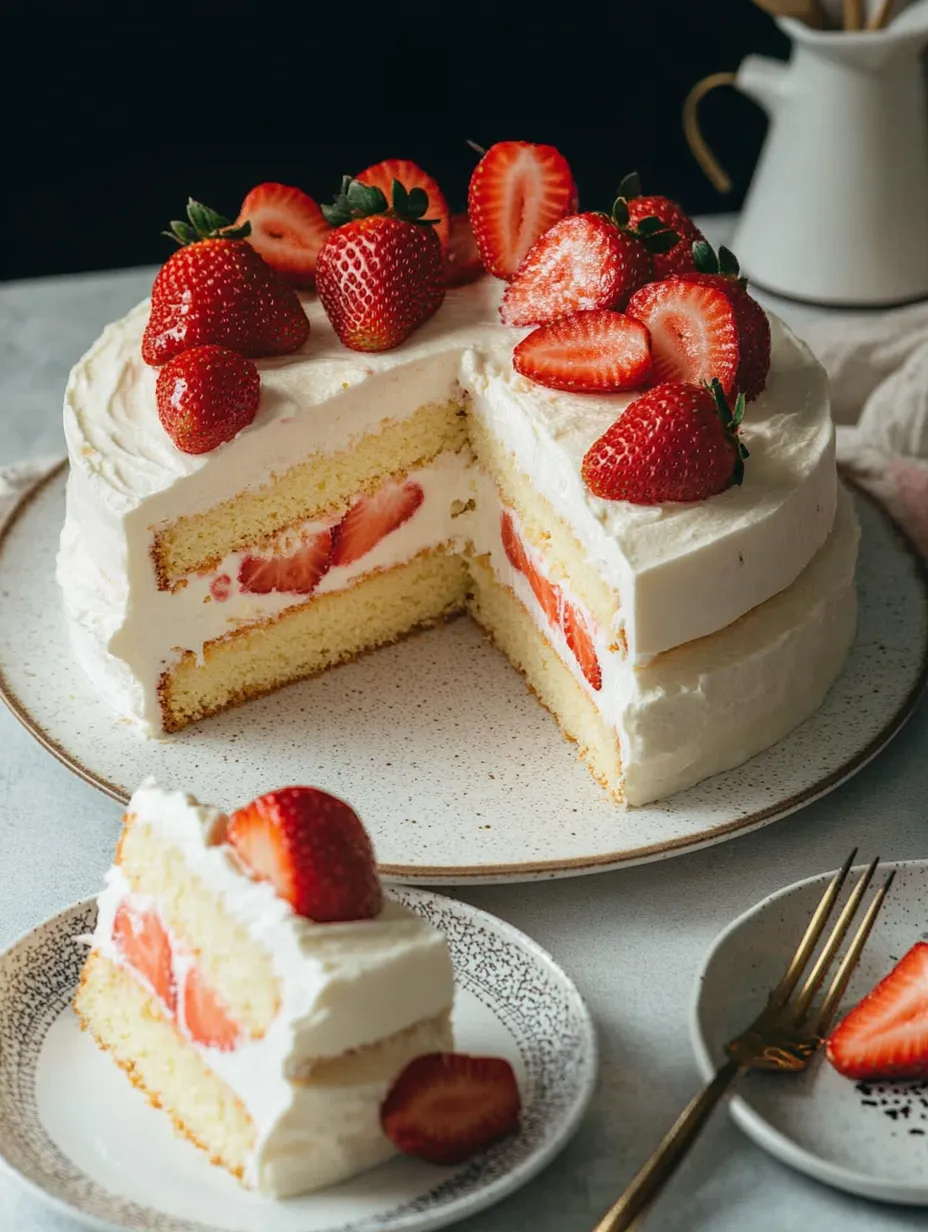
Nothing says celebration like a Japanese strawberry cake with its cloud-light layers billowy whipped cream frosting and juicy berries tucked between every bite. This tender not-too-sweet classic is famous in Japanese bakeries and is surprisingly achievable at home. Perfect for birthdays spring holidays or anytime you want a dessert that looks as joyful as it tastes.
I first made this cake for a friend’s birthday and seeing everyone’s faces light up with the first forkful was unforgettable. Now it is my go-to for celebrations because it never fails to delight both kids and adults alike.
Ingredients
- Whole milk: creates a soft tender crumb and keeps the cake moist so use whole milk for best results
- Unsalted butter: delivers richness without overwhelming the delicate cake taste choose a European-style butter if possible
- Cake flour: gives the cake its signature fine texture and gentle rise sift well for the lightest crumb
- Egg yolks and egg whites: are separated to create a stable but airy sponge use fresh large eggs at room temperature for easy whipping
- Sugar: adds sweetness but not too much opt for fine caster sugar if you can find it since it dissolves more easily in the batter
- Strawberries: are the star juicy in-season berries make the biggest difference select fruit that smells fragrant and tastes sweet
- Heavy whipping cream: forms the ultra-light frosting use a brand with at least thirty-six percent fat for best stability
- Confectioners sugar: sweetens and stabilizes the frosting while keeping it smooth always sift before using
- Gelatin (optional): thickens the whipped cream for a sturdier finish but you can skip it for a softer texture
- Sugar and hot water for the cake syrup: help moisten the sponge and add a subtle sweetness
Tips for selecting quality ingredients
always choose berries that are deeply colored and unblemished fresh eggs at room temperature and sifted cake flour are keys to a fluffy crumb
Step-by-Step Instructions
- Prepare the Cake:
- Line the cake pan with parchment paper for an easy release and preheat your oven to three hundred twenty-five degrees Fahrenheit. This keeps the cake from sticking and helps you achieve a smooth finish.
- Create the Water Bath:
- Set up a high-sided pan to fit your cake pan and boil enough water to cover one inch up the sides. This gentle baking method prevents cracks and browning so the cake emerges extra tender.
- Melt the Butter and Milk:
- Combine these in a heatproof bowl and microwave until just melted. Stir to ensure an even mixture that will blend smoothly with the flour.
- Mix in the Cake Flour and Yolks:
- Sift the flour in to prevent lumps and fold until smooth. Add yolks and stir until the color and texture are consistent.
- Whip the Egg Whites:
- In a clean bowl beat whites to frothy then add sugar gradually. Keep beating until medium glossy peaks form when the foam holds its shape but is not stiff.
- Incorporate the Egg Whites:
- First lighten the yolk-and-flour mixture with a scoop of egg whites. Gently fold back into the rest. Do not overmix to avoid deflating the batter.
- Fill and Prepare the Pan:
- Pour batter into the lined pan. Give it two gentle taps on the table to knock out any lingering large bubbles to make for an even crumb.
- Bake the Cake:
- Nestle the pan into the water bath add hot water one inch deep and bake for one hour and thirty minutes. Do not peek early or the cake may fall.
- Cool and Remove:
- Once baked the cake should pull away from the pan’s edge. Run a knife around the edge to release and let cool upside down on a rack to prevent collapse.
- Prepare the Strawberries:
- Slice berries and macerate with sugar for up to two hours so they become extra juicy and sweet. Reserve any liquid for the cake syrup.
- Prepare the Cake Syrup:
- Mix sugar and hot water until dissolved. Optionally stir in reserved strawberry juice for more berry flavor.
- Whip the Cream:
- For stabilized cream if using gelatin let it bloom then melt. Add a spoon of cream to the melted gelatin then blend back into the rest and whip to soft peaks. For classic cream skip the gelatin and whip with confectioners sugar to medium-firm peaks.
- Assemble and Layer:
- Once cooled level the cake and slice in half. Place the first layer on your stand brush with syrup spread with cream and pile on sliced strawberries. Repeat with the next layer finishing with more cream and strawberries.
- Decorate and Set:
- Smooth the final layer thinly with cream then add a thicker layer on top and sides. Pipe or spoon extra whipped cream as you like. Arrange the remaining strawberries decoratively. Chill to set the cream for thirty minutes if stabilized or serve soon if using regular cream.
Pin it
I adore the moment of using the very ripest strawberries their scent filling the kitchen brings back memories of picking berries with my grandmother every June. The fresh fruit is what truly sets this cake apart from anything store bought.
Storage Tips
Store the assembled cake in the refrigerator covered lightly to keep the whipped cream from absorbing odors. Best enjoyed within twenty-four hours for peak freshness. Unfrosted cake layers can be wrapped and frozen then thawed before filling.
Ingredient Substitutions
If you do not have cake flour substitute with all-purpose flour and add a tablespoon per cup of cornstarch. Skim milk can work but the crumb will be a little less tender. For vegan frosting try coconut whipped cream and skip the gelatin.
Serving Suggestions
Serve extra strawberries and a drizzle of reserved strawberry syrup on the side. Fresh mint makes a beautiful garnish. Pair with green tea or a glass of sparkling wine for a Japanese tearoom touch.
 Pin it
Cultural Context
Japanese strawberry shortcake is the beloved default for most birthdays and holidays in Japan. Inspired by European sponge cakes it is adapted for Japanese tastes using whipped cream instead of buttercream and a barely sweetened profile. It symbolizes joy and the start of spring.
Frequently Asked Questions
- → How does the cake get so fluffy and soft?
Mixing whipped egg whites in gently gives lift, while baking with steam from a water bath makes sure it stays super moist and airy.
- → Is regular whipped cream okay or do I have to use stabilized?
Regular whipped cream is totally fine if you’re eating it soon, but gelatin in stabilized cream helps it hold up better if you need more time.
- → How do I keep my cake from shrinking down or sinking?
Don’t stir too much! Also, try not to peek in the oven early on, and loosen the cake edges with a knife right after baking so it comes out clean.
- → Do I have to sweeten the strawberries first?
Sugar brings out more juice and sweetness from the berries, but if you want them tart, just use them fresh and skip the sugar step.
- → Any tips for cutting it without making a mess?
Chill the cake in the fridge a bit before slicing and grab a serrated knife—it’ll make things neater and easier.
- → Can I make this ahead?
You can bake the sponge a day before, but stack it all together with cream and berries just before serving for the tastiest results.