
 Pin it
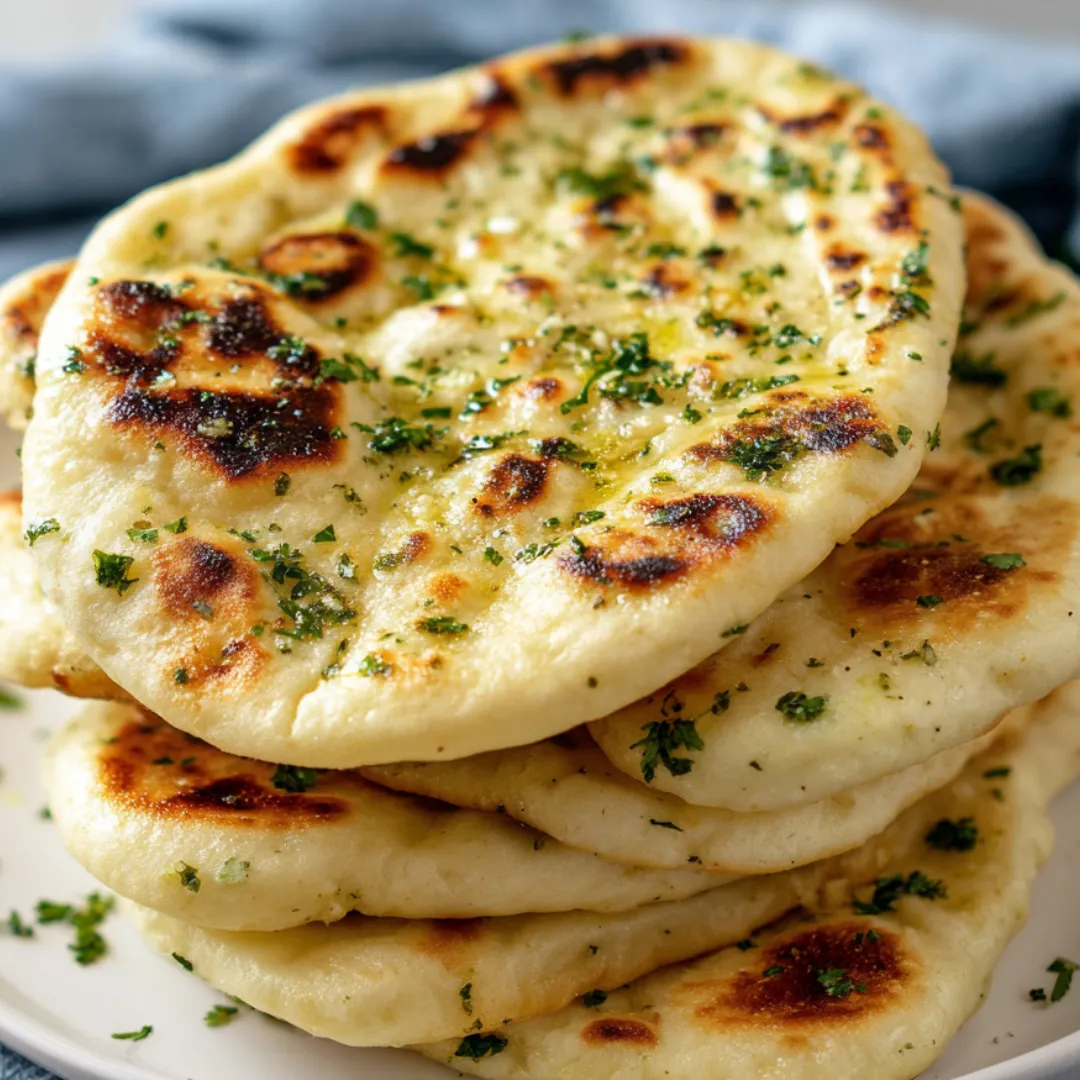
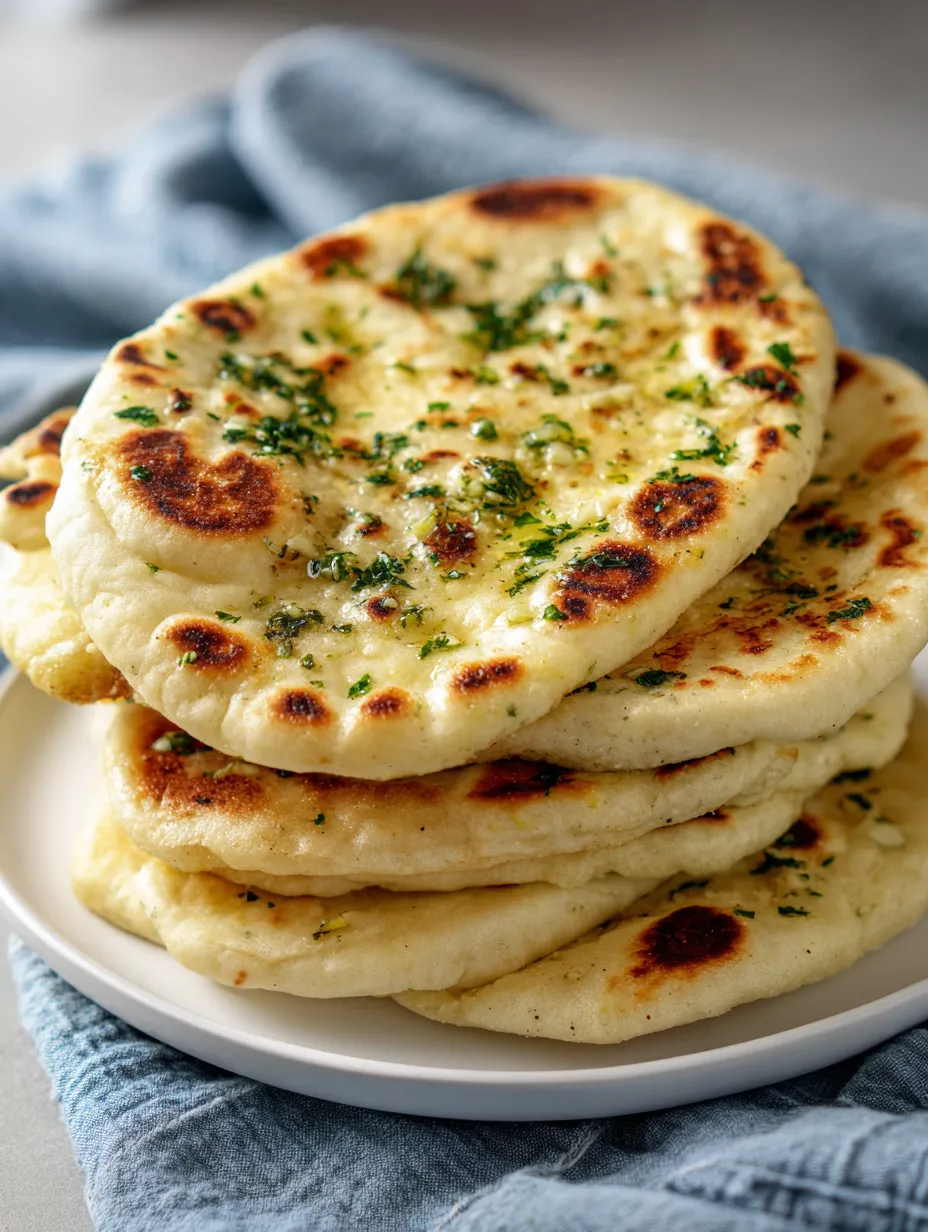
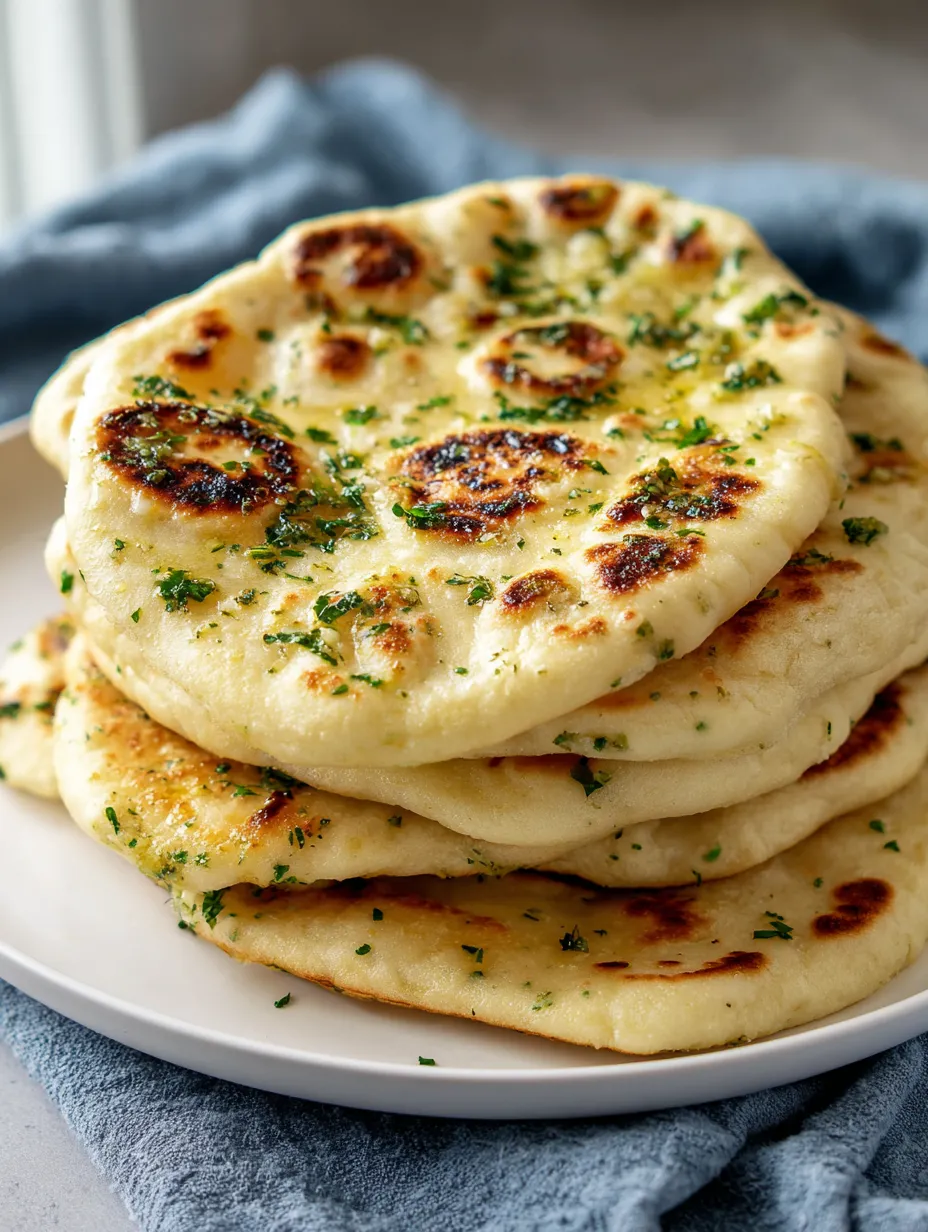
There is something truly satisfying about homemade garlic pita bread wafting buttery garlic aromas through the kitchen It is not only simple to make but tastes so much fresher than anything from the store and finishes soft fluffy and loaded with flavor Perfect for scooping up dips or as a side to your favorite Mediterranean feasts
Whenever I make these pitas the hardest part is waiting for them to cool enough to slather with garlic butter My family hovers around the stove just waiting for the first warm piece
Ingredients
- All purpose flour: forms the structure and gives pita its tender crumb Use fresh flour for best results
- Salt: balances flavor and helps control yeast fermentation Opt for fine sea salt if possible
- Active dry yeast: provides the signature fluffiness Always check the expiration for strong rise
- Milk: makes the dough rich and tender Slightly warm milk helps activate yeast
- Water: brings everything together using room temperature or warm for best texture
- Olive oil: keeps the bread soft and adds a subtle fruity note Go for extra virgin for full flavor
- Butter: is the key to the irresistible garlic topping Choose high quality real butter for best taste
- Fresh garlic: infuses every bite with bold zesty flavor Always use fresh pressed cloves never jarred
- Fresh parsley: adds freshness and vibrant green color Chop just before using for best aroma
Step-by-Step Instructions
- Mix the Dry Ingredients:
- Start by whisking together the flour salt and yeast in a large mixing bowl Blend thoroughly to ensure even distribution so each pita rises perfectly
- Combine Wet Ingredients:
- Pour the warm milk and warm water into the bowl with the dry mixture Stir the wet components in until everything forms a rough shaggy mass This is the beginning of the dough coming together
- Knead in the Olive Oil:
- Add olive oil to the dough then knead deeply with your hands Scoop up stray bits from the sides and keep working until you have a smooth supple dough with no dry spots
- Let the Dough Rise:
- Cover the bowl tightly with plastic wrap and add a kitchen towel over top Leave it to rest for about an hour in a warm place This step allows the yeast to develop so the bread puffs beautifully
- Shape the Dough:
- Lightly dust your work surface with flour Lay down your risen dough and press it out gently into a flat circle Use a knife to cut it into six equal pieces
- Form Dough Balls:
- Take each piece and roll into a smooth ball with your hands You want these to be even so each pita cooks the same Cover all the dough balls under a towel while you roll them out
- Roll out the Pitas:
- Take one dough ball and dust it with a touch of flour Use a floured rolling pin to roll it into a circle about one quarter inch thick Repeat this with the other five balls keeping them covered so they do not dry out
- Cook on the Stove:
- Heat a large pan over medium high and add a thin layer of olive oil Place a rolled out pita on the pan and let it cook until bubbles rise up about thirty seconds Flip and continue until both sides are golden and evenly toasted This may take a couple minutes per side
- Keep Warm and Repeat:
- As you finish each pita keep it wrapped in a kitchen towel to prevent it from drying out Repeat the process until all your dough balls turn into pitas
- Make Garlic Butter Topping:
- Melt the butter in a microwave safe bowl then stir in the freshly minced garlic and chopped parsley Immediately brush or spread the mixture across each warm pita so it soaks in perfectly
 Pin it
Every time I make these I am reminded of family movie nights spent pulling apart warm pita rounds and dipping them into garlicky hummus My favorite part is always the buttery garlic topping I never skip fresh parsley because of the way it brightens each bite
Storage tips
Once your garlic pita bread is completely cooled store the pitas in an airtight bag or container for up to three days To warm them up just pop in the toaster microwave or reheat briefly on the stove They also freeze exceptionally well Layer with parchment paper between pitas and seal in a ziplock bag to store for two months From frozen you can reheat directly in the oven at three hundred fifty degrees without thawing
Ingredient substitutions
You can substitute traditional all purpose flour with a quality gluten free all purpose blend if needed For even richer flavor use part whole milk yogurt in place of some of the milk For the herbs try fresh dill or cilantro for a different twist If you want a vegan version use plant based butter and a dairy free milk alternative
 Pin it
Serving suggestions
Serve warm and soft with dips like hummus baba ganoush or tzatziki They also shine as a side for soups stews and salads You can use them as a wrap for grilled chicken or veggies For a party snip into wedges and serve with a platter of spreads
Cultural context
Pita is a beloved staple throughout the Mediterranean and Middle Eastern regions It is prized for its versatility and signature puff which allows it to be stuffed with fillings or torn for sharing Garlic pita bread is a modern twist adding flavor inspired by Greek and Turkish traditions My Greek grandmother often brushed bread with herbed olive oil right out of the oven and this recipe always brings me back to those special meals
Frequently Asked Questions
- → How do I keep pita soft after cooking?
Cover freshly cooked pita with a kitchen towel to trap steam and keep it soft until serving.
- → Can I make this pita gluten-free?
Yes, simply replace the all-purpose flour with a gluten-free flour blend for similar results.
- → What’s the best way to reheat pita?
Use a toaster, warm skillet, or oven at 350°F for a few minutes until just warmed through.
- → How should I store leftovers?
Keep cooled pita in an airtight bag at room temperature for up to 3 days or freeze up to 2 months.
- → Can I add extra herbs or spices?
Yes, try adding extra parsley, chives, or a pinch of chili flakes to the butter for more flavor.
- → Is the bread suitable for dipping?
Absolutely! Its fluffy texture and garlic butter topping pair perfectly with hummus or tzatziki.