
 Pin it
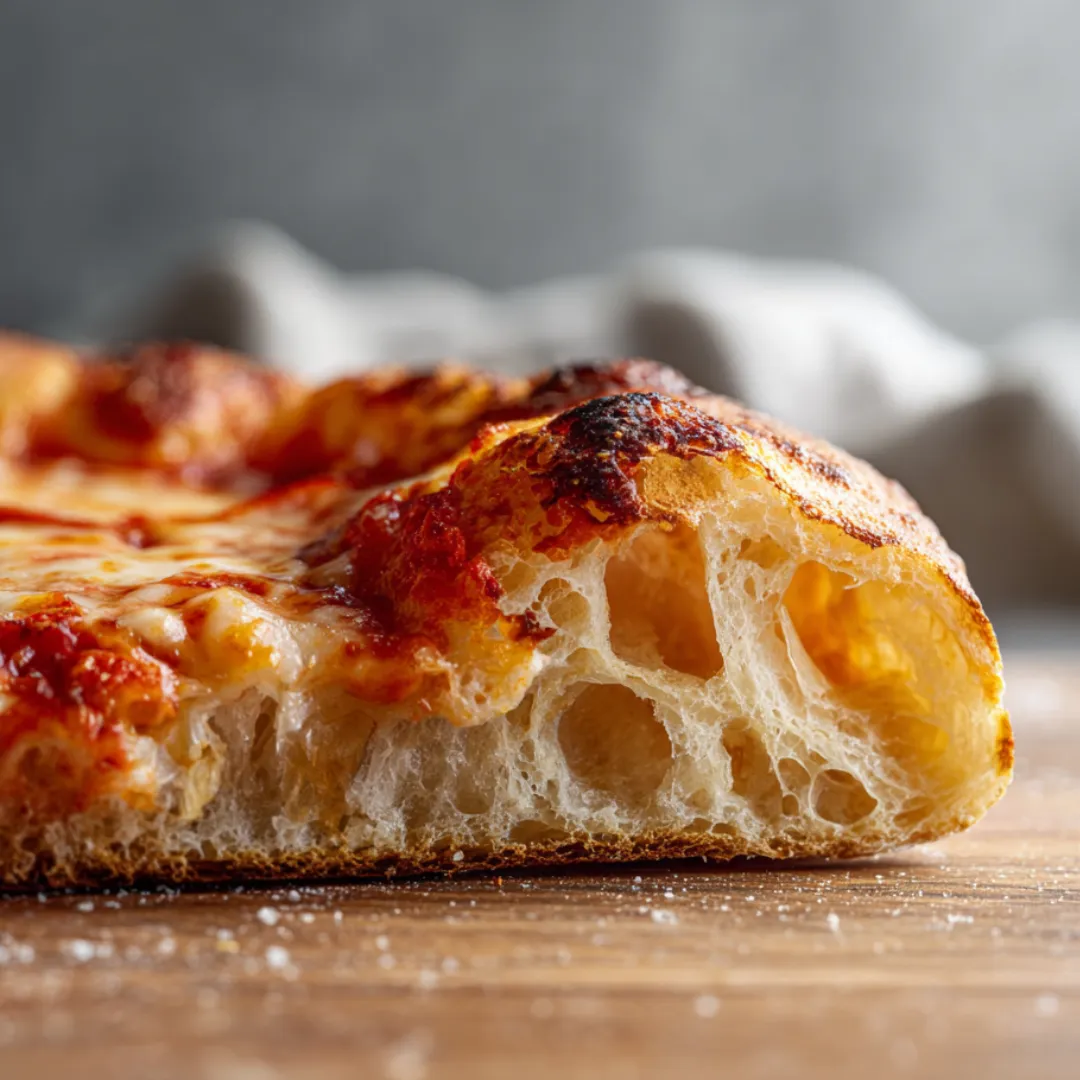
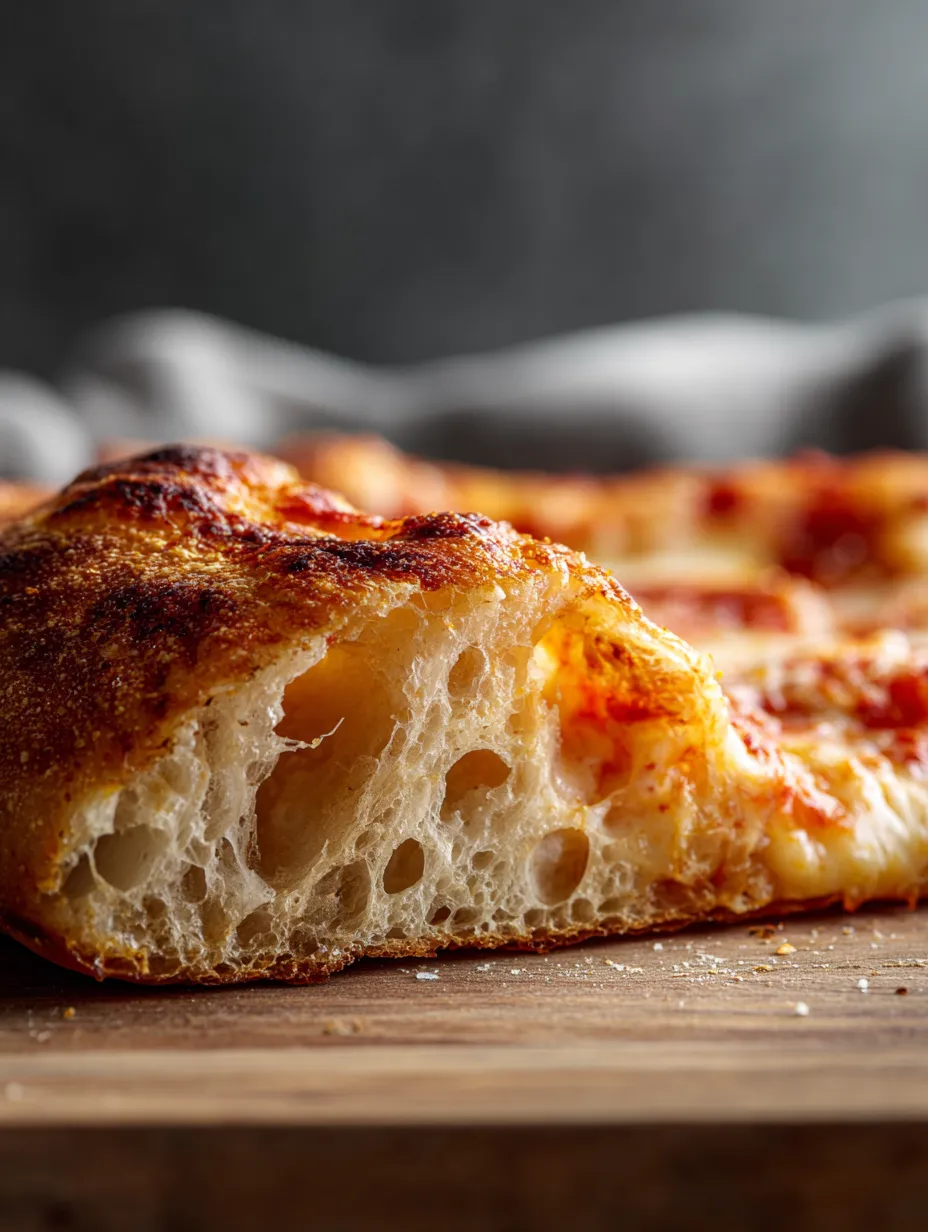
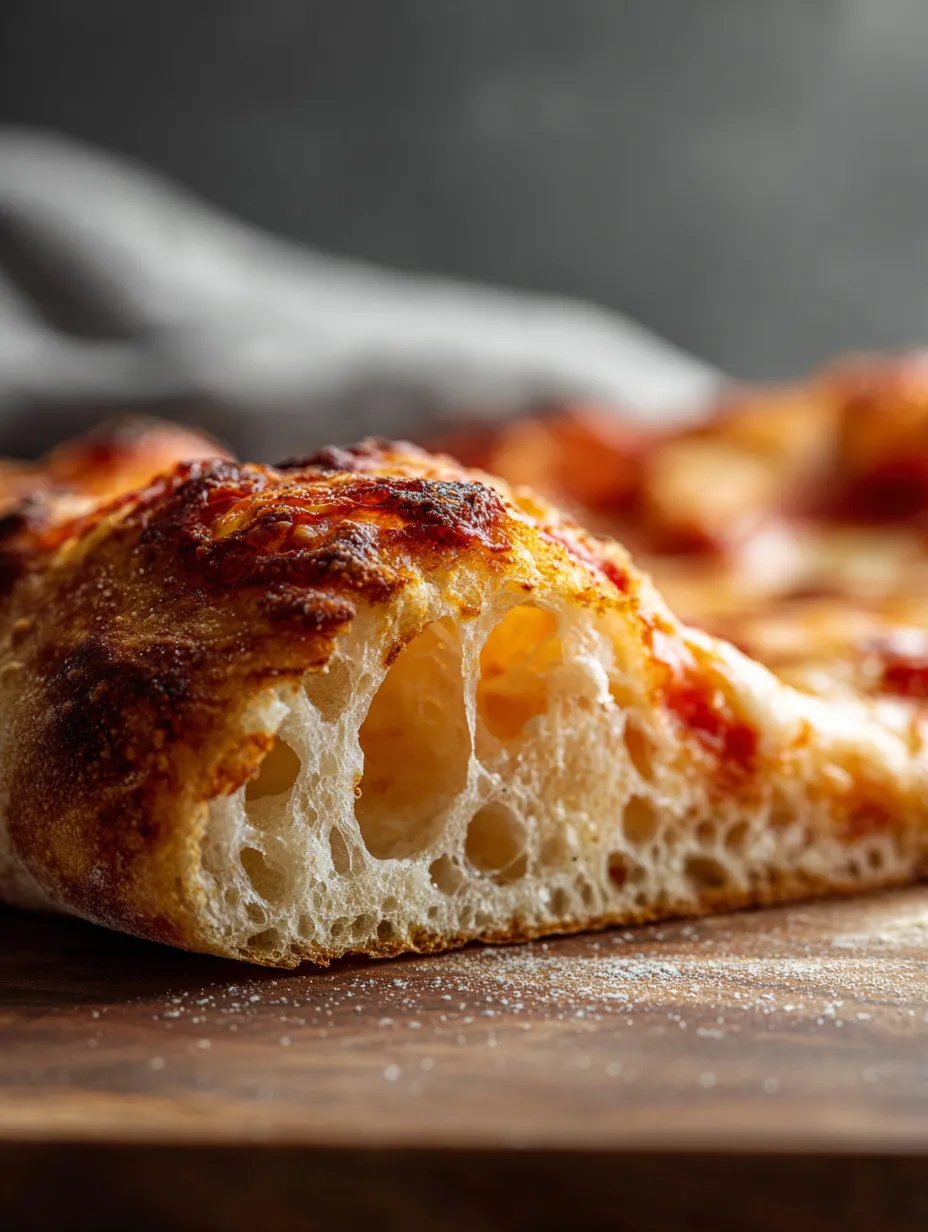
A blistered homemade artisan pizza crust is what you find in classic pizzerias and this recipe lets you bring that chewy airy texture to your own oven with just flour water yeast and salt. The high hydration and slow fermentation time create deep flavor plus those irresistible big bubbles in the crust. I came up with this dough for Friday night pizza parties and it truly never fails to wow anyone at the table.
The first time I made this dough it felt intimidating but after that stretch and fold I got it I have taught this to friends and now it is a weekend tradition at our house.
Ingredients
- All purpose flour: provides the chew and structure look for unbleached brands for a stronger gluten network
- Warm water: hydrates the dough for those signature bubbles use filtered water for best flavor
- Active dry yeast: helps the dough rise evenly check for freshness by proofing in water
- Fine salt: enhances the flavor and regulates the yeast pick a salt without additives for best results
Step by Step Instructions
- Mix and Rest:
- Combine the flour and most of the water in a large bowl until just mixed Cover and let the dough hydrate for twenty minutes This resting period lets the flour fully absorb moisture making the dough easier to work with
- Dissolve Yeast:
- Sprinkle the yeast over the reserved warm water and set it aside until foamy This quick step ensures your yeast is active before it goes in the dough
- Incorporate Yeast and Salt:
- Scatter the salt over the dough Pour in the yeast mixture Then with a damp hand gently reach under the dough and stretch a section up and over the top Repeat around the bowl to fully mix in the yeast and salt Pinch off a few sections if needed for even mixing The dough should look rough and shaggy
- First Rise and Fold:
- Cover and let the bowl rest for about an hour Then use a lightly wet hand to fold the dough up and over itself around five times rotating the bowl This strengthens gluten and tightens up the dough Flip the whole dough ball into a lightly oiled bowl seam side down and cover Let it rise until doubled in size about five to six hours
- Shape Dough Balls:
- Once risen turn the dough onto a floured surface and cut in half Take one piece and gently stretch then fold the edges over the center until a loose ball forms Place seam side down on an unfloured area and gently drag and rotate to tighten and round the dough Repeat with the other half Place both balls on an oiled plate lightly oil the tops and cover Let rest for another hour
- Preheat Oven:
- Preheat your oven and pizza steel or stone to the hottest setting for at least forty five minutes A blazing hot surface is key to crispy crust If you do not have a stone use a baking sheet or a greased cast iron pan
- Shape and Top:
- On a floured surface flatten the dough into a disk keeping a thick one inch border Gently stretch to a twelve inch round with your hands Move to a floured pizza peel and jiggle to check for sticking Shape as needed Add sauce and toppings leaving an empty border
- Bake and Broil:
- Slide the dough onto the hot steel or stone and bake for five minutes Then broil for two to four minutes until cheese bubbles and crust blisters If using a cast iron pan bake longer around fifteen to twenty minutes and broil at the end
- Repeat and Enjoy:
- Repeat steps for the second pizza or save dough for later Devour warm slices straight out of the oven
 Pin it
I am always amazed by the transformation during the long rise Every time that first bubbly edge puffs in the oven I think of making a pizza night into a mini celebration My favorite ingredient is the flour I use milled local flour for a truly unique finish
Storage Tips
If you plan to bake later the dough balls can be kept in the refrigerator tightly covered for up to two days Bring to room temperature before shaping and baking Cooked pizza keeps three days in the fridge and reheats best in a hot oven or skillet for a crisp crust
Ingredient Substitutions
Bread flour works as a swap for all purpose flour and gives even more chew Try instant yeast if that is what you have use the same amount For added flavor mix in a little whole wheat flour up to ten percent of the total weight
Serving Suggestions
Top the dough with classic tomato sauce and mozzarella or branch out Go for caramelized onions roasted veggies pepperoni or even dollops of ricotta A simple finish of good olive oil and flaky salt after baking really takes it over the top
 Pin it
Frequently Asked Questions
- → How does high hydration affect the dough?
High hydration helps create an open crumb with larger air bubbles and a tender, chewy structure in the crust.
- → Why is long fermentation important?
Long fermentation develops richer flavor and allows the dough to rise slowly, improving texture and digestibility.
- → What is the best baking surface for this dough?
Baking on a pizza stone, steel, or preheated cast iron creates excellent oven spring and a crispy, charred base.
- → How can I achieve the bubbly, blistered crust?
Handle the dough gently during shaping to preserve air pockets, and bake at a very high temperature for visible blistering.
- → Can leftovers be refrigerated or frozen?
Shaped dough balls can be refrigerated for up to 2 days or frozen for later use; just return to room temperature before baking.