
 Pin it
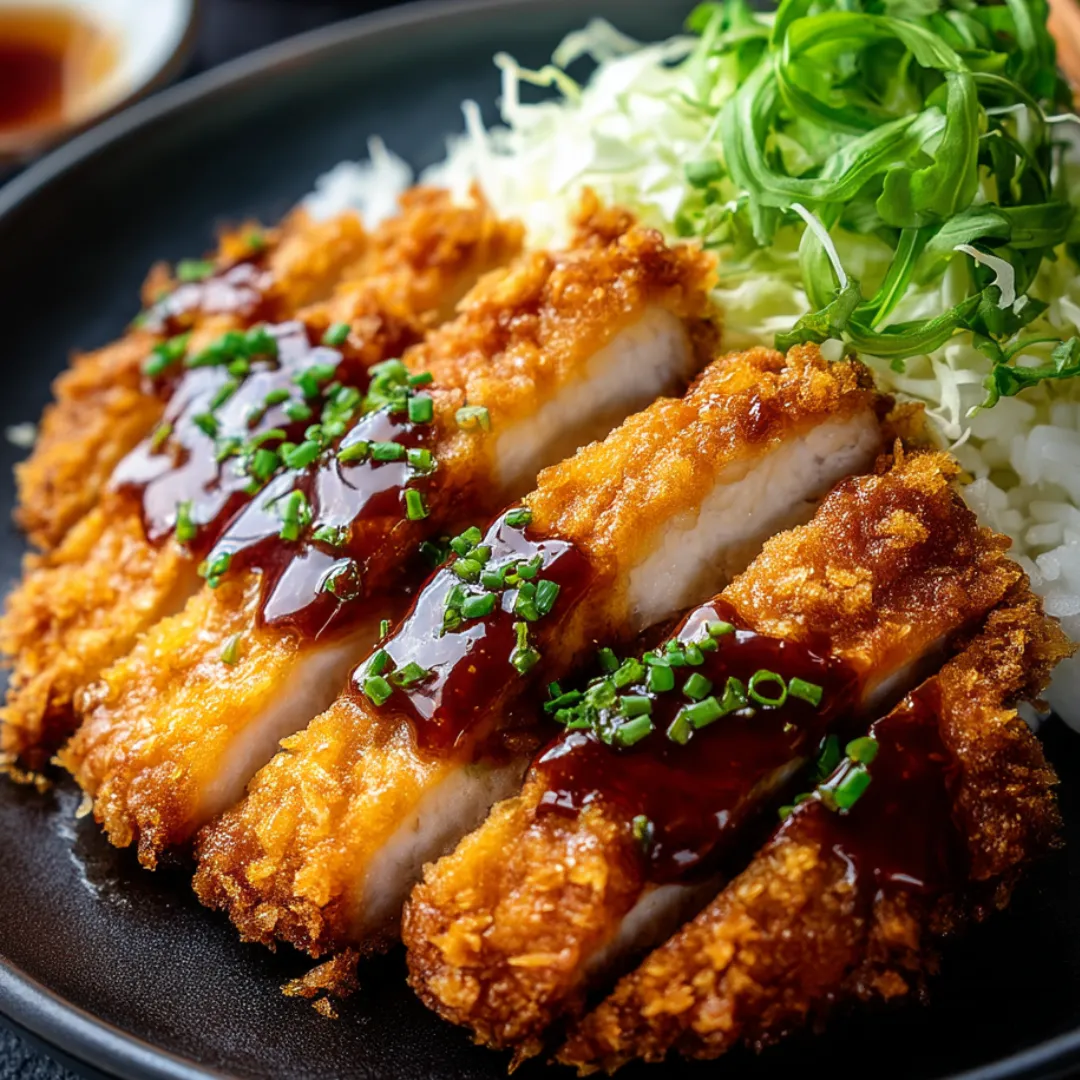
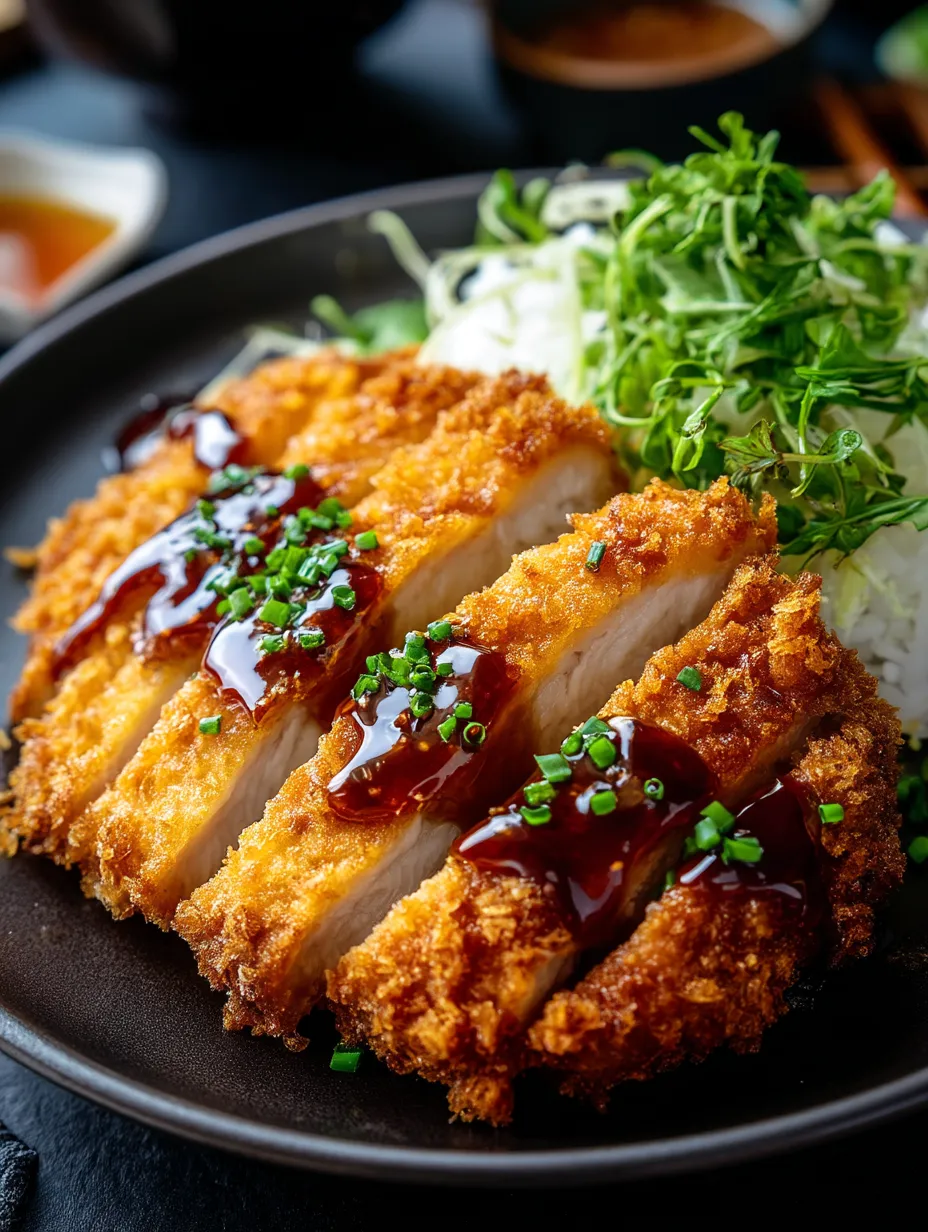
Imagine sinking your teeth into perfectly juicy chicken wrapped in a golden-brown, crispy coating that shatters with each bite. That's what you'll get with this baked chicken katsu – all the satisfying crunch of the traditional Japanese favorite without the extra oil from deep frying. This version keeps all the authentic flavors while being lighter and more weeknight-friendly. The contrast between the tender, moist chicken and the crispy panko exterior creates a texture experience that's utterly addictive.
I made this for my sister's kids last weekend, and they couldn't believe it wasn't fried! My nephew, who normally picks breading off everything, devoured two pieces and asked if we could have it again tomorrow. The best part was watching my brother-in-law's face when I told him it was baked, not fried – complete disbelief followed by asking for the recipe.
Ingredients
- Boneless, skinless chicken breasts: Look for evenly sized pieces for consistent cooking; organic and free-range options tend to have better flavor and juiciness. About 1.5 pounds (4 medium breasts).
- Panko breadcrumbs: The secret to that signature crunch; these Japanese-style breadcrumbs are airier and crispier than traditional breadcrumbs and make all the difference. 1½ cups needed.
- Eggs: They create the essential "glue" that helps the panko stick to the chicken; farm-fresh eggs with vibrant yolks add extra color to your coating. 2 large eggs.
- All-purpose flour: Creates the base layer that helps everything adhere properly; for a nuttier flavor, you could substitute with whole wheat flour. ¾ cup needed.
- Seasonings (garlic powder, onion powder): These add depth to the coating without overwhelming the delicate chicken flavor; always use fresh, aromatic spices for best results. 1 teaspoon each.
- Sesame oil: Just a touch adds nutty complexity to the breadcrumb mixture; look for toasted sesame oil for more pronounced flavor. 1 tablespoon.
 Pin it
Step-by-Step Cooking Instructions
- Step 1:
- Prepare the chicken – Place each of 4 boneless, skinless chicken breasts between sheets of plastic wrap or parchment paper and gently pound to an even ½-inch thickness using a meat mallet or heavy rolling pin. The goal is uniform thickness, not paper-thin chicken. This crucial step ensures even cooking and maximum tenderness. Season both sides generously with ½ teaspoon salt and ¼ teaspoon black pepper, allowing the seasoning to penetrate while you set up the remaining ingredients.
- Step 2:
- Create your breading station – Arrange three shallow dishes in a row for your dredging assembly line. In the first dish, add ¾ cup all-purpose flour and mix in a pinch of salt and pepper. In the second dish, whisk 2 large eggs until completely smooth with no streaks of white visible. In the third dish, combine 1½ cups panko breadcrumbs with 1 teaspoon garlic powder, 1 teaspoon onion powder, and 1 tablespoon toasted sesame oil, using your fingers to evenly distribute the oil through the crumbs.
- Step 3:
- Bread the chicken – Working with one piece at a time, dredge the chicken in flour, shaking off any excess. The flour should create a thin, even coating – too much will create a gummy layer. Next, dip into the beaten eggs, allowing excess to drip off. Finally, press firmly into the seasoned panko, making sure breadcrumbs adhere to all surfaces. Apply gentle pressure to really embed the crumbs into the chicken.
- Step 4:
- Prepare for baking – Preheat your oven to 400°F (200°C) and lightly brush a baking sheet with olive oil or spray with cooking spray. For extra crispiness, place a wire rack on the baking sheet – this allows air to circulate underneath the chicken. Arrange the breaded chicken pieces with at least an inch between them to promote even browning.
- Step 5:
- Bake to golden perfection – Place the chicken on the middle rack of your preheated oven and bake for 20-25 minutes until the coating becomes deep golden brown and the chicken reaches an internal temperature of 165°F (75°C). For an extra crispy finish, switch the oven to broil for the final 2 minutes, watching carefully to prevent burning.
- Step 6:
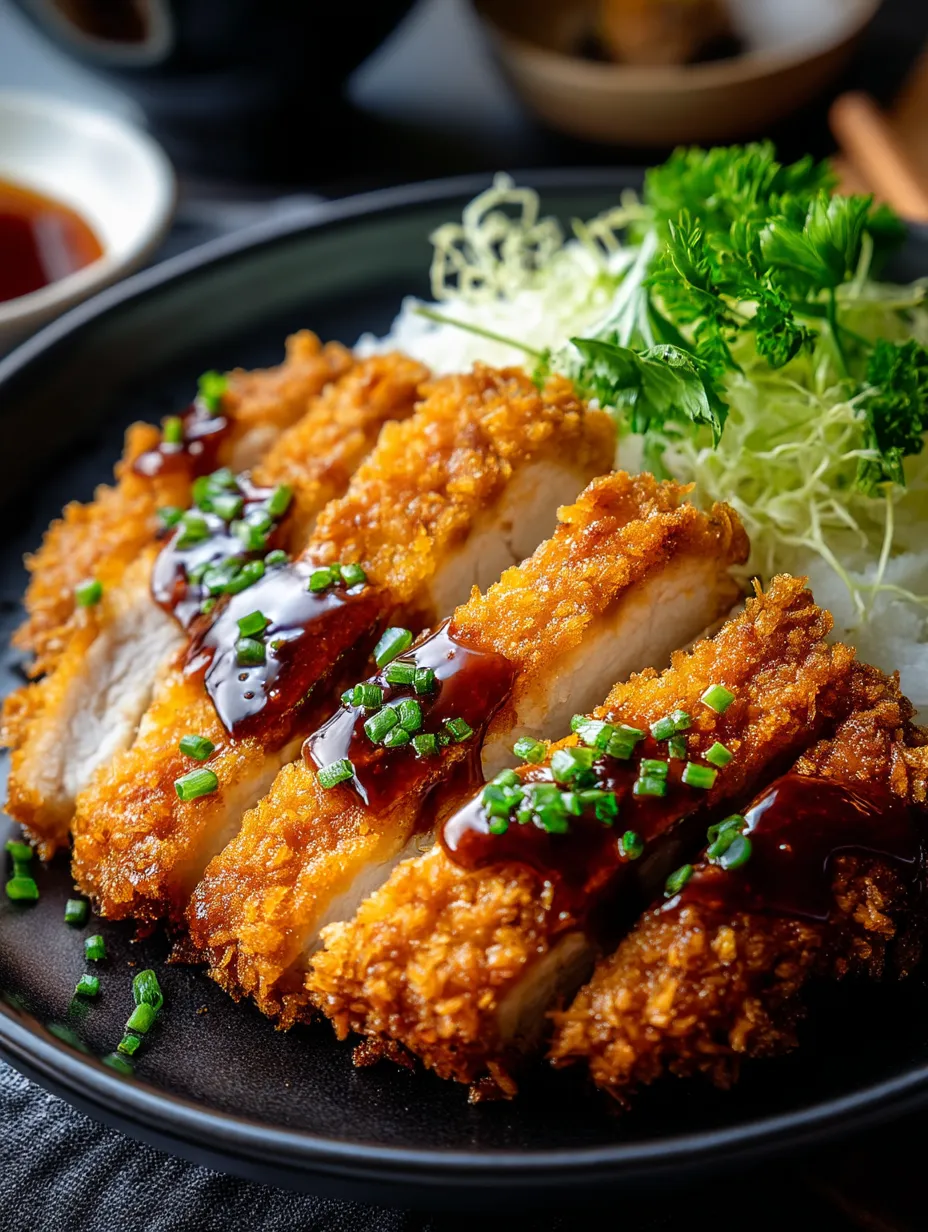
- Rest before serving – Allow the chicken katsu to rest for 3-5 minutes before slicing. This crucial step allows the juices to redistribute throughout the meat, ensuring maximum juiciness. Using a sharp knife, slice the katsu into strips across the grain. Arrange on a plate with accompaniments and serve immediately for maximum crispiness.
- Step 7:
- Sauce and serve – Drizzle with tonkatsu sauce or serve ½ cup of the sauce on the side for dipping. Garnish with lemon wedges and 2 tablespoons finely sliced green onions for a pop of color and freshness that balances the richness of the dish.
I've always been fascinated by Japanese cooking techniques and the attention to detail they bring to seemingly simple dishes. When I first tried katsu at a small restaurant in Kyoto, I was amazed at how something so straightforward could be so satisfying. My father, who typically avoids fried foods, became an instant convert after trying this baked version – he appreciates how it delivers all the texture without feeling heavy. Now it's become our Sunday tradition, with everyone gathering around to assemble their own katsu bowls with different toppings.
Perfect Pairings
The beauty of chicken katsu lies not just in its delicious simplicity but also in its versatility. Traditional Japanese presentations typically feature shredded cabbage and steamed rice, but don't stop there. Try serving it alongside a quick cucumber salad dressed with rice vinegar and sesame seeds for a refreshing counterpoint to the crispy chicken.
For a complete meal with minimal effort, transform your katsu into the beloved Japanese dish "katsudon" by simmering it briefly with beaten eggs, onions, and a sweet-savory sauce, then serving over rice. The egg creates a silky coating that brings together all the flavors while still preserving some of that wonderful crunch.
 Pin it
Making Homemade Tonkatsu Sauce
While store-bought tonkatsu sauce is convenient, nothing compares to the bright, complex flavor of homemade. Combine ¼ cup ketchup, 2 tablespoons Worcestershire sauce, 1 tablespoon soy sauce, 1 tablespoon brown sugar (for depth rather than just sweetness), and 1 teaspoon Dijon mustard. For an authentic touch, add a pinch of allspice and a few drops of rice vinegar. This sauce keeps well in the refrigerator for up to two weeks and improves with time as the flavors meld.
A Note on Serving Style
In Japan, presentation matters as much as taste. Consider serving your katsu with artistic attention to detail – slice it into neat strips and arrange them slightly overlapping like a fan. Place a small mound of finely shredded cabbage alongside, and serve the sauce in a small dish rather than pouring it over the chicken. This preserves the crispy texture and allows each diner to control how much sauce they use.
I've been making this baked chicken katsu for years now, and it never fails to impress both family and guests. There's something magical about that moment when you cut into the crispy exterior and reveal the juicy chicken inside. What I love most is how this dish balances being both comforting and special at the same time – it's simple enough for a Tuesday night dinner but impressive enough for weekend entertaining. If you're new to Japanese cooking, this is the perfect gateway recipe that delivers authentic flavor with techniques you already know. Trust me, once you master this baked version, you'll never miss the deep-fried original.
Frequently Asked Questions
- → Can I use chicken thighs instead of breasts?
- Yes! Boneless, skinless chicken thighs work great and often result in juicier katsu. Pound them to an even thickness and increase cooking time by about 5 minutes.
- → How do I keep the breading from falling off?
- Pat the chicken dry before starting, firmly press the panko onto the chicken, and let the breaded chicken rest for 5-10 minutes before baking to help the coating adhere better.
- → What sides go well with chicken katsu?
- Traditional Japanese sides include steamed rice, shredded cabbage salad, miso soup, and pickled vegetables. It's also delicious with cucumber salad or stir-fried vegetables.
- → Can I make this gluten-free?
- Yes, use gluten-free flour and gluten-free panko breadcrumbs, which are available in many grocery stores. Also check that your tonkatsu sauce is gluten-free.
- → How do I reheat leftovers to keep them crispy?
- Reheat in a 350°F oven for 10-15 minutes instead of using a microwave. This helps restore some of the crispiness that would otherwise be lost.