
 Pin it
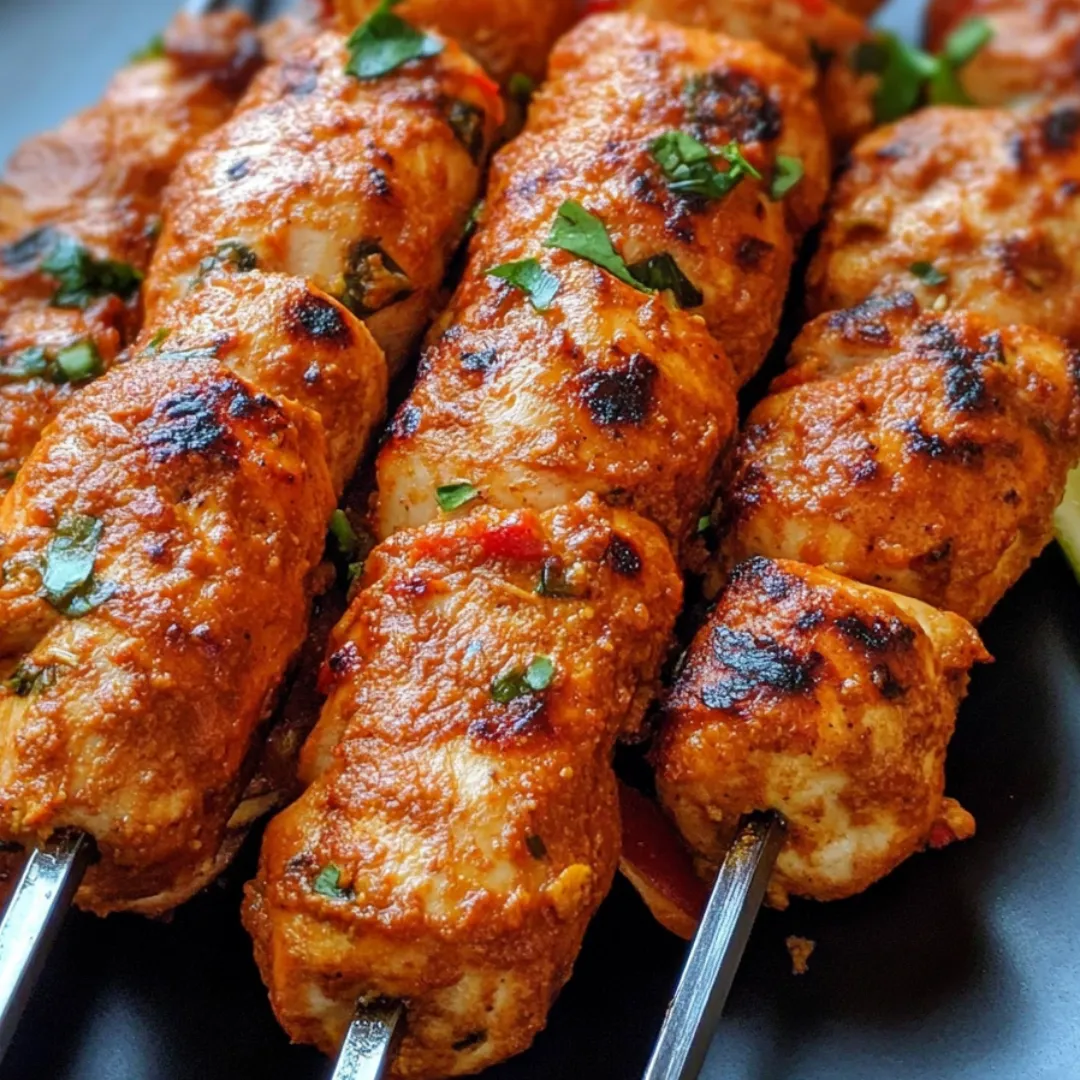
Turkish Chicken Adana transforms humble ground chicken into something truly extraordinary through a perfect blend of aromatic spices and traditional grilling techniques. Unlike regular grilled chicken that can often turn out dry and bland, these kebabs remain incredibly moist and tender thanks to the careful balance of meat and fat, while the vibrant mix of peppers, onions, and spices creates layers of flavor that develop with each bite. Traditionally cooked over hot coals, this simplified version brings the exotic street foods of Turkey to your home kitchen while staying true to the authentic taste that makes Adana kebabs a beloved dish throughout the Middle East and beyond.
I discovered Adana kebabs during a trip to Istanbul years ago, where I became obsessed with their perfect balance of spice and tenderness. After returning home, I was determined to recreate that magic in my own kitchen. My first attempts were disappointing until a Turkish friend shared the secrets of proper meat preparation. Once I mastered the technique of thoroughly kneading the mixture and molding it properly around the skewers, the results were transformative – my family now requests these kebabs at least twice a month, especially during grilling season.
Ingredients You'll Need
- 1 pound ground chicken (15% fat content): the fat percentage is crucial for juicy, flavorful kebabs; if using leaner meat, consider adding 1-2 tablespoons of olive oil to compensate for the missing fat that provides moisture and binds ingredients
- 1 medium red bell pepper: finely grated and drained, it adds subtle sweetness, moisture, and authentic flavor; red peppers provide the traditional color, but you could substitute green peppers for a slightly different flavor profile
- 1 small onion: grated and drained, providing essential aromatic compounds that form the foundation of flavor; yellow onions work best with their balance of sweetness and pungency
- 2 cloves garlic, minced: adds depth and pungency that develops during cooking; fresh garlic is significantly more potent than pre-minced varieties and worth the extra effort
- 2 tablespoons fresh parsley, finely chopped: brings brightness and color that cuts through the richness of the meat; flat-leaf parsley has a more robust flavor than curly varieties
- 1 green chili, finely chopped: provides fresh heat that varies in intensity depending on the variety; remove seeds for milder flavor or include them for more pronounced heat
- 1 teaspoon red chili flakes: adds consistent heat throughout the mixture that mellows slightly during cooking; adjust according to your spice preference
- 1 teaspoon sweet paprika: contributes rich color and subtle sweetness without adding heat; smoked paprika can be substituted for additional depth
- 1 teaspoon salt: enhances all other flavors and helps extract moisture from the vegetables; kosher salt offers better control of seasoning than table salt
 Pin it
Step-by-Step Cooking Instructions
- Prepare the vegetables properly:
- Grate the onion and red bell pepper using the fine side of a box grater. This technique releases their juices and allows them to integrate fully with the meat. Place the grated vegetables in a clean kitchen towel or several layers of paper towels and squeeze firmly to remove excess moisture. This crucial step prevents watery kebabs that fall apart during cooking. The drier your vegetable mixture, the better your kebabs will hold together on the skewers.
- Create the perfectly seasoned mixture:
- In a large mixing bowl, combine the ground chicken with the drained grated onion and bell pepper. Add the minced garlic, chopped green chili, fresh parsley, sweet paprika, red chili flakes, and salt. Using clean hands, mix everything thoroughly, then begin kneading the mixture as you would bread dough. Continue kneading for 3-5 minutes until the mixture becomes tacky and starts to develop a paste-like consistency. This extended kneading activates the proteins in the meat, creating a texture that will hold together during cooking.
- Allow the flavors to develop:
- Cover the bowl with plastic wrap and refrigerate for at least 1 hour or up to overnight. This resting period allows the flavors to meld and the proteins to relax, resulting in more tender kebabs. The cold temperature also firms up the mixture, making it easier to form around the skewers later. Don't skip this step, as it makes a noticeable difference in both flavor and texture. If you're in a hurry, 30 minutes in the freezer can substitute for the longer refrigeration time.
- Form the kebabs with the proper technique:
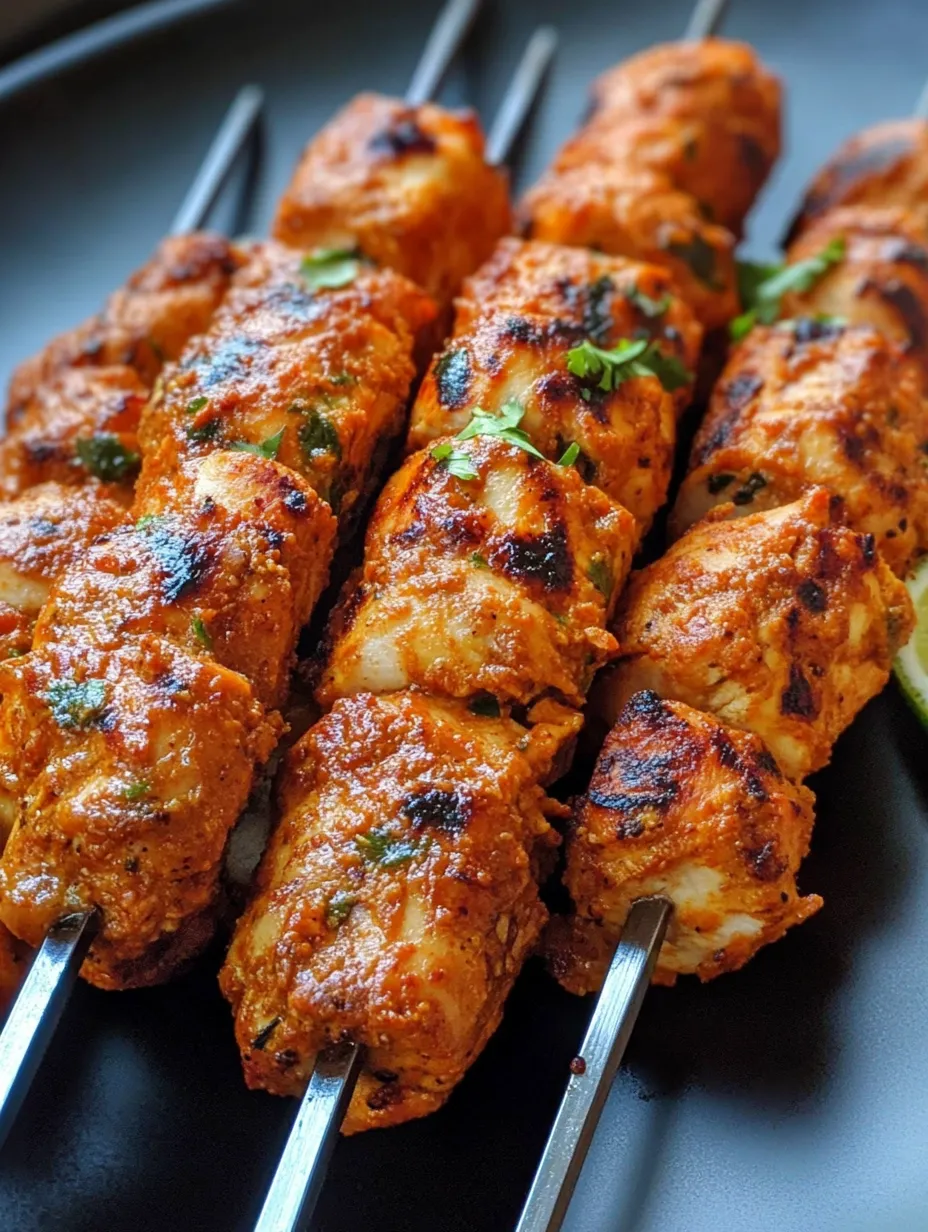
- Divide the chilled mixture into 4-6 equal portions. Fill a small bowl with ice water and keep it nearby. Moisten your hands in the cold water (this prevents the mixture from sticking to your fingers), then take one portion and mold it around a metal skewer. Press and shape the meat into an elongated sausage-like form about ½-inch thick, flattening it slightly for even cooking. If using wooden skewers, soak them in water for 30 minutes before using to prevent burning.
- Master the cooking process:
- Preheat your grill, grill pan, or heavy skillet over medium-high heat until quite hot. Lightly brush the cooking surface with oil to prevent sticking. Place the skewers on the hot surface, being careful not to overcrowd the pan. Cook for about 3 minutes without moving them, allowing a nice crust to form. Gently turn and cook for another 2-3 minutes on the second side. Continue turning occasionally until the kebabs are cooked through but still juicy, about 8-10 minutes total. The internal temperature should reach 165°F (74°C).
- Rest and serve properly:
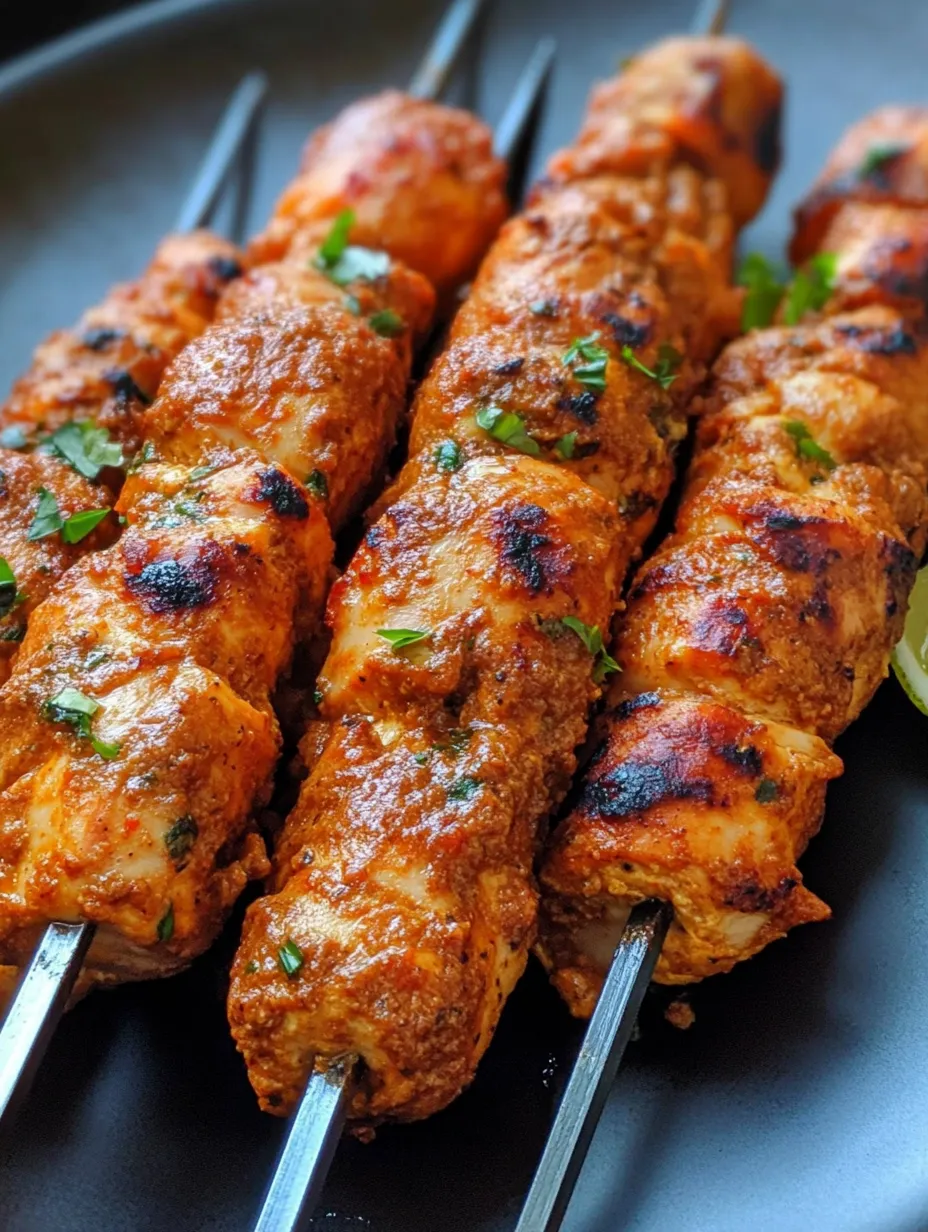
- Transfer the cooked kebabs to a warm plate and let them rest for 3-5 minutes before serving. This brief resting period allows the juices to redistribute throughout the meat, ensuring moist, flavorful bites. Carefully slide the kebabs off the skewers onto a serving platter. Serve immediately with traditional accompaniments like sumac-spiced onion salad, charred tomatoes and peppers, warm flatbread, and perhaps a dollop of yogurt sauce to complement the spices.
Growing up in a household where we ate a lot of grilled meats, I was always intrigued by different marinades and spice blends. When I first attempted to make Adana kebabs, I treated the ground meat like I would a burger patty – minimal mixing and gentle handling. The results were disappointing as the kebabs fell apart on the grill. It wasn't until I watched a Turkish chef vigorously knead the mixture for several minutes that I understood this critical technique. The transformation was remarkable – my kebabs went from crumbly disappointments to cohesive, juicy masterpieces that stayed firmly on the skewer through the entire cooking process.
The Secret of Sumac Onions
No traditional Adana kebab meal is complete without the refreshing contrast of sumac onions on the side. This simple accompaniment cuts through the richness of the meat while adding bright, tangy notes that elevate the entire dish. To make authentic sumac onions, thinly slice a red onion into half-moons and place in a bowl. Sprinkle with 1-2 teaspoons of ground sumac (a tangy, burgundy-colored Middle Eastern spice), a pinch of salt, and a handful of chopped fresh parsley. Gently massage the onions with your fingers until they begin to soften slightly, then let them sit for at least 15 minutes before serving. The vibrant purple-red color and citrusy flavor of the sumac not only enhances the visual appeal of your meal but provides a traditional flavor pairing that perfectly complements the savory kebabs.
Choosing and Using the Right Skewers
The type of skewer you use significantly impacts the success of your Adana kebabs. Traditional Turkish chefs use wide, flat metal skewers approximately 1 inch wide, which provide several advantages over round skewers. The flat shape prevents the meat from rotating when turned during cooking, ensures even heat distribution, and creates a slightly flattened shape that cooks more consistently. If you don't have access to traditional flat skewers, there are several alternatives. For stovetop cooking, metal skewers work best as they conduct heat and help cook the meat from the inside as well. If using wooden skewers, soak thoroughly and consider the foil-wrapping method described in the original text to create a makeshift flat surface. Investing in a set of proper flat metal skewers is worthwhile if you plan to make kebabs regularly, as they dramatically improve both the cooking process and final presentation.
Adapting for Different Cooking Methods
While traditionally cooked over hot coals, Adana kebabs can be successfully prepared using various cooking methods. For authentic charcoal flavor, use a charcoal grill and place the skewers directly over medium-hot coals, turning frequently to prevent burning while developing beautiful char marks. When using a gas grill, preheat to medium-high and follow the same process, though you may want to add a small handful of soaked wood chips to introduce some smoky notes. For stovetop cooking, a cast-iron grill pan produces excellent results with distinctive grill marks. A heavy skillet works well too—just avoid non-stick surfaces, which won't create the desirable caramelization. In colder months, these kebabs can even be cooked under a broiler—place them on a broiler pan about 4 inches from the heat source and turn frequently. Each method requires slight adjustments in cooking time, so watch carefully and use an instant-read thermometer to ensure perfect doneness without drying out the meat.
Creating a Complete Turkish Feast
To create an authentic Turkish dining experience, consider serving your Adana kebabs as part of a larger spread. Start with simple meze (appetizers) like hummus, baba ganoush, or yogurt with cucumbers and garlic. Serve the kebabs as the main course alongside traditional accompaniments: bulgur pilaf or rice, charred vegetables (especially tomatoes and green chilies), sumac onions, and plenty of warm flatbread for wrapping. Offer ayran, a refreshing yogurt drink, or Turkish tea as beverages. For dessert, simple fresh fruit or baklava provides a sweet ending. The communal nature of Turkish dining encourages sharing multiple dishes, creating a relaxed, convivial atmosphere that's perfect for gathering friends and family. This style of serving not only honors the cultural traditions behind the recipe but creates a more engaging and satisfying dining experience than simply presenting the kebabs alone.
 Pin it
Troubleshooting Common Issues
Even experienced cooks occasionally encounter challenges when making Adana kebabs. If your mixture is too wet and won't hold its shape, add a small amount of breadcrumbs (though this is not traditional) or return it to the refrigerator for 30 minutes to firm up. Conversely, if the mixture seems too dry and crumbly, you might need more fat—add a tablespoon of olive oil or a bit more grated onion. Should your kebabs stick to the grill, ensure your cooking surface is adequately preheated and oiled before adding the meat. If the outside browns too quickly while the inside remains raw, your heat is too high—reduce it and move the kebabs to a cooler part of the grill to finish cooking gently. Remember that ground chicken cooks quickly, so monitor closely to prevent overcooking, which results in dry kebabs. The finished texture should be juicy and tender—if yours are coming out tough, you may be overworking the meat mixture after the initial kneading stage.
My final thought on these Chicken Adana Kebabs is that they perfectly represent how traditional techniques and careful attention to detail can transform the simplest ingredients into something extraordinary. There's something deeply satisfying about mastering a dish that's been perfected over generations, adapting it to your own kitchen while honoring its authentic roots. I find that the methodical process of preparing these kebabs—the kneading, shaping, and attentive grilling—provides a meditative cooking experience that connects me to culinary traditions far beyond my own. Whether you're cooking for a special occasion or simply elevating a weeknight dinner, these kebabs deliver not just delicious food but a taste of Turkish hospitality and craftsmanship that makes everyday meals feel like a celebration.
Frequently Asked Questions
- → Can I use ground turkey instead of chicken?
- Yes, ground turkey works very well as a substitute. Just make sure it has enough fat content (around 15%) to keep the kebabs juicy. Too lean and they might become dry.
- → What's traditionally served with Adana kebabs?
- In Turkey, these kebabs are typically served with lavash bread, grilled vegetables, tomato and onion salad, yogurt sauce, and rice pilaf or bulgur. A simple cucumber-yogurt sauce (cacik) also makes a great accompaniment.
- → Can I cook these kebabs in the oven?
- Yes! Preheat your oven to 425°F (220°C) and place the skewers on a baking sheet. Cook for about 15-20 minutes, turning halfway through, until the internal temperature reaches 165°F (74°C).
- → Why do I need to squeeze out the juices from the onion and pepper?
- Removing excess moisture helps the kebab mixture hold together better during cooking. Too much liquid can make the mixture fall off the skewers and result in less firm kebabs.
- → Can I prepare the mixture ahead of time?
- Absolutely! The kebab mixture actually improves with time as the flavors meld together. You can prepare it up to 24 hours in advance and keep it refrigerated until you're ready to shape and cook the kebabs.