
 Pin it
These lemon cheesecake crescent rolls transform simple store-bought dough into an extraordinary treat that balances tangy citrus with creamy sweetness. Each bite delivers the perfect combination of flaky pastry exterior and smooth, zesty filling that melts in your mouth. The finishing touch of fresh lemon glaze adds brightness and visual appeal, making these rolls as beautiful as they are delicious. Whether served for brunch, afternoon tea, or dessert, these delightful pastries bring a touch of elegance to any occasion.
I first made these rolls for a last-minute brunch when I had limited ingredients on hand. The combination of tangy lemon and cream cheese was such a hit that my family now requests them for nearly every gathering. What I love most is how the humble crescent roll dough transforms into something that looks genuinely impressive with so little effort. The first time I served them to guests, everyone thought I'd spent hours in the kitchen, when in reality, the active preparation took less than 15 minutes. Now they're my secret weapon for entertaining when I want maximum impact with minimum stress.
Ingredients You'll Need
- 1 package (8 oz) Cream Cheese, softened: Creates the rich, creamy base for the filling. Full-fat works best for a silky-smooth texture and better flavor.
- ¼ cup Granulated Sugar: Balances the tanginess of the cream cheese and lemon with just the right amount of sweetness.
- 4 teaspoons Lemon Zest (from approximately 2 lemons): Provides intense citrus flavor and fragrance without additional moisture. Be sure to zest only the yellow part, avoiding the bitter white pith.
- 1 can (8 oz) Refrigerated Crescent Rolls: The convenient shortcut that makes this recipe so quick to prepare. Store brands work just as well as name brands.
- 2 tablespoons Unsalted Butter, melted: Creates a beautiful golden brown exterior when brushed on before baking.
- ½ cup Powdered Sugar: Forms the base of the glaze, dissolving completely for a smooth, sweet topping.
- 2-3 teaspoons Fresh Lemon Juice: Adds bright flavor to the glaze while providing the right consistency for drizzling.
- Additional lemon zest for garnish (optional): Provides visual appeal and intensifies the lemon flavor.
 Pin it
Step-by-Step Cooking Instructions
- Prepare Your Baking Environment:
- Begin by preheating your oven to 375°F (190°C). Line a baking sheet with parchment paper, which prevents sticking and makes cleanup effortless. The parchment also helps the rolls bake evenly with perfectly golden bottoms. Take the cream cheese out of the refrigerator at least 30 minutes before starting to ensure it's properly softened for a smooth filling.
- Create the Lemon Cheesecake Filling:
- In a medium bowl, combine the softened cream cheese, granulated sugar, and lemon zest. Using an electric mixer on medium speed, beat the ingredients together until completely smooth and fluffy, about 2-3 minutes. Stop occasionally to scrape down the sides of the bowl to ensure all ingredients are thoroughly incorporated. The filling should be light, creamy, and easily spreadable with no lumps of cream cheese visible. The bright yellow specks of zest should be evenly distributed throughout the mixture.
- Prepare the Crescent Dough:
- Open the can of refrigerated crescent rolls and carefully unroll the dough on a clean, lightly floured surface. Separate the dough along the perforated lines into 8 triangles. If the dough feels sticky, lightly dust your work surface with flour to prevent it from adhering. Arrange the triangles on your work surface with the wide ends facing you for easier filling and rolling.
- Fill and Shape the Rolls:
- Spoon approximately 2 tablespoons of the cream cheese mixture onto the wide end of each crescent triangle. Use the back of the spoon to spread the filling evenly, leaving about a ¼-inch border around the edges to prevent overflow during baking. Starting from the wide end, gently roll up each triangle toward the pointed end, being careful to keep the filling enclosed. The dough should stretch slightly as you roll. Place the shaped rolls on your prepared baking sheet, spacing them about 2 inches apart.
- Finish and Bake:
- Once all rolls are shaped and arranged on the baking sheet, use a pastry brush to gently coat the top of each roll with melted butter. This helps achieve that beautiful golden-brown color during baking and adds a subtle richness to the flavor. Place the baking sheet in the preheated oven and bake for 11-14 minutes, until the rolls are puffed up and golden brown. The exact time may vary depending on your oven, so start checking at the 10-minute mark.
- Cool Slightly:
- Remove the baking sheet from the oven and allow the rolls to cool on the sheet for about 5 minutes. This brief cooling period allows the filling to set slightly while keeping the rolls warm for serving. Transfer the partially cooled rolls to a wire rack placed over a piece of parchment paper or a baking sheet to catch any drips when you add the glaze.
- Prepare and Apply the Lemon Glaze:
- While the rolls are cooling, prepare the lemon glaze by whisking together the powdered sugar and lemon juice in a small bowl. Start with 2 teaspoons of lemon juice and add more as needed to achieve a drizzling consistency. The glaze should be thick enough to coat the back of a spoon but thin enough to drizzle easily. Once the rolls have cooled for about 5 minutes, use a spoon or fork to drizzle the glaze over each roll in a zigzag pattern. If desired, sprinkle additional lemon zest over the top for a beautiful finish and extra burst of flavor.
- Serve and Enjoy:
- These rolls are best enjoyed while still slightly warm, about 10-15 minutes after glazing. The contrast between the warm, soft filling and the sweet, tangy glaze creates a truly memorable treat. For the best texture and flavor experience, serve promptly after preparation.
I learned these tips through trial and error when I first started making these rolls. My first attempt was nearly ruined when I tried to beat cold cream cheese and ended up with a lumpy filling. Another time, I rolled the crescents too loosely, and all the filling leaked out during baking. Now I make sure my cream cheese is completely soft before mixing and I roll each crescent with just the right tension – firm enough to keep the filling inside but gentle enough to maintain the dough's integrity. These small adjustments make a significant difference in the final result.
Storage Suggestions
These rolls are best enjoyed fresh, but if you have leftovers, store them in an airtight container in the refrigerator for up to 2 days. The flavors actually deepen overnight, making them delicious the next day. To reheat, place them in a 300°F oven for about 5 minutes or microwave individual rolls for 10-15 seconds. The glaze may lose some of its appearance after refrigeration, but the flavor remains excellent.
Serving Ideas
Create a beautiful brunch spread by pairing these rolls with fresh fruit, yogurt parfaits, and a savory egg dish. The contrast between sweet and savory creates a well-rounded meal. For afternoon tea, serve alongside cucumber sandwiches and scones for an elegant experience. If serving for dessert, a small scoop of vanilla ice cream or a dollop of lightly sweetened whipped cream makes a delightful accompaniment.
Creative Variations
This versatile recipe can be customized in countless ways. Try adding blueberries to the cream cheese filling for a berry twist or substitute lime zest and juice for a key lime version. For a more decadent treat, mix mini chocolate chips into the filling – the chocolate-lemon combination is surprisingly delightful. During fall, try adding a touch of cinnamon to the filling and a sprinkle of chopped nuts on top for a seasonal variation.
 Pin it
Make-Ahead Tips
If you're planning for a morning gathering, you can prepare the cream cheese filling the night before and refrigerate it in an airtight container. This not only saves time but allows the lemon flavor to intensify overnight. In the morning, simply assemble and bake the rolls as directed. The glaze should always be made fresh just before serving for the best appearance and texture.
I've found that the real secret to making these rolls special is using fresh lemon zest rather than bottled juice for the filling. There's something about the oils in the zest that creates a more authentic, vibrant lemon flavor that bottled juice simply can't match. I also like to add a tiny pinch of salt to both the filling and the glaze – it's barely noticeable but helps highlight the lemon flavor while balancing the sweetness. These little touches transform a simple recipe into something truly memorable that friends and family will request again and again.
Frequently Asked Questions
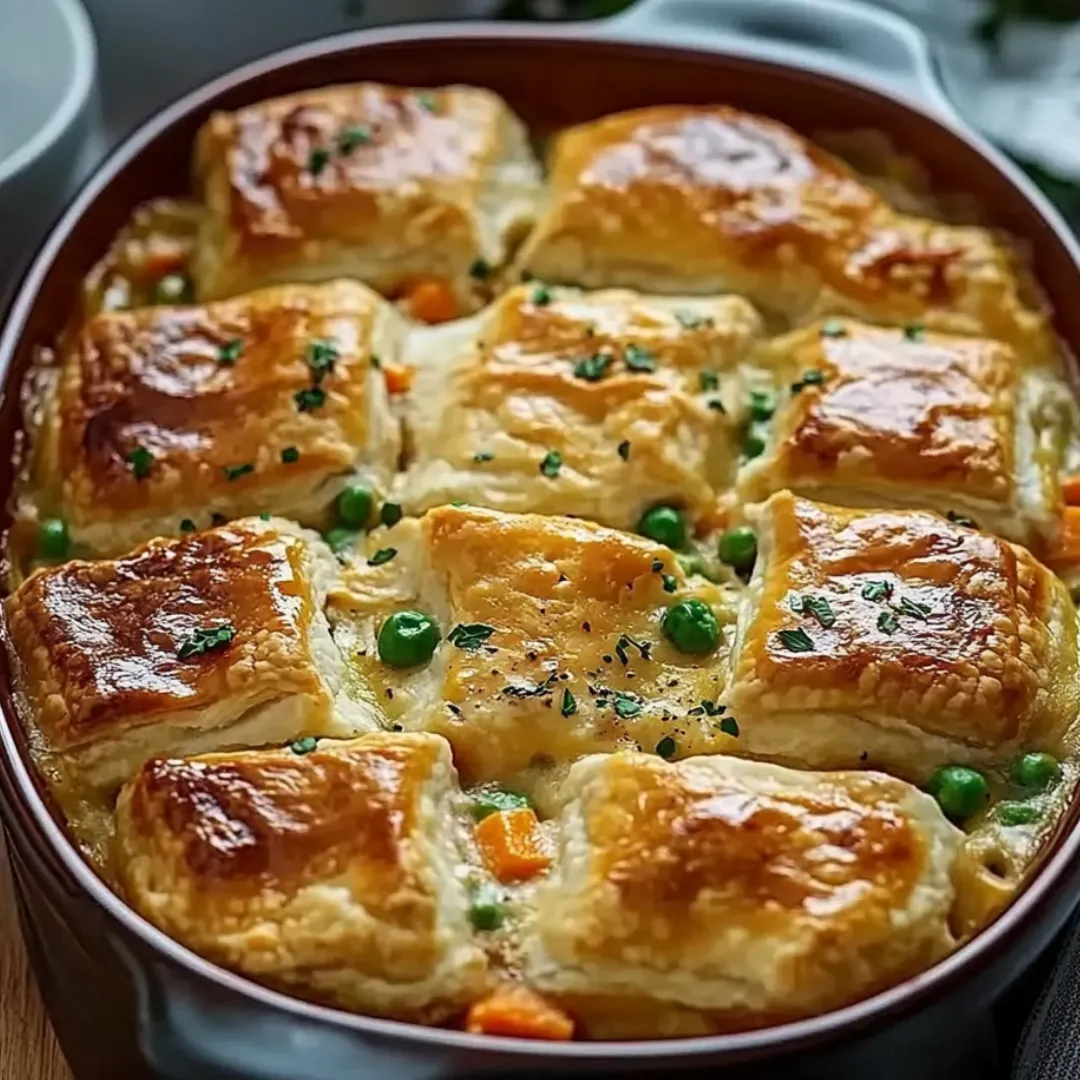
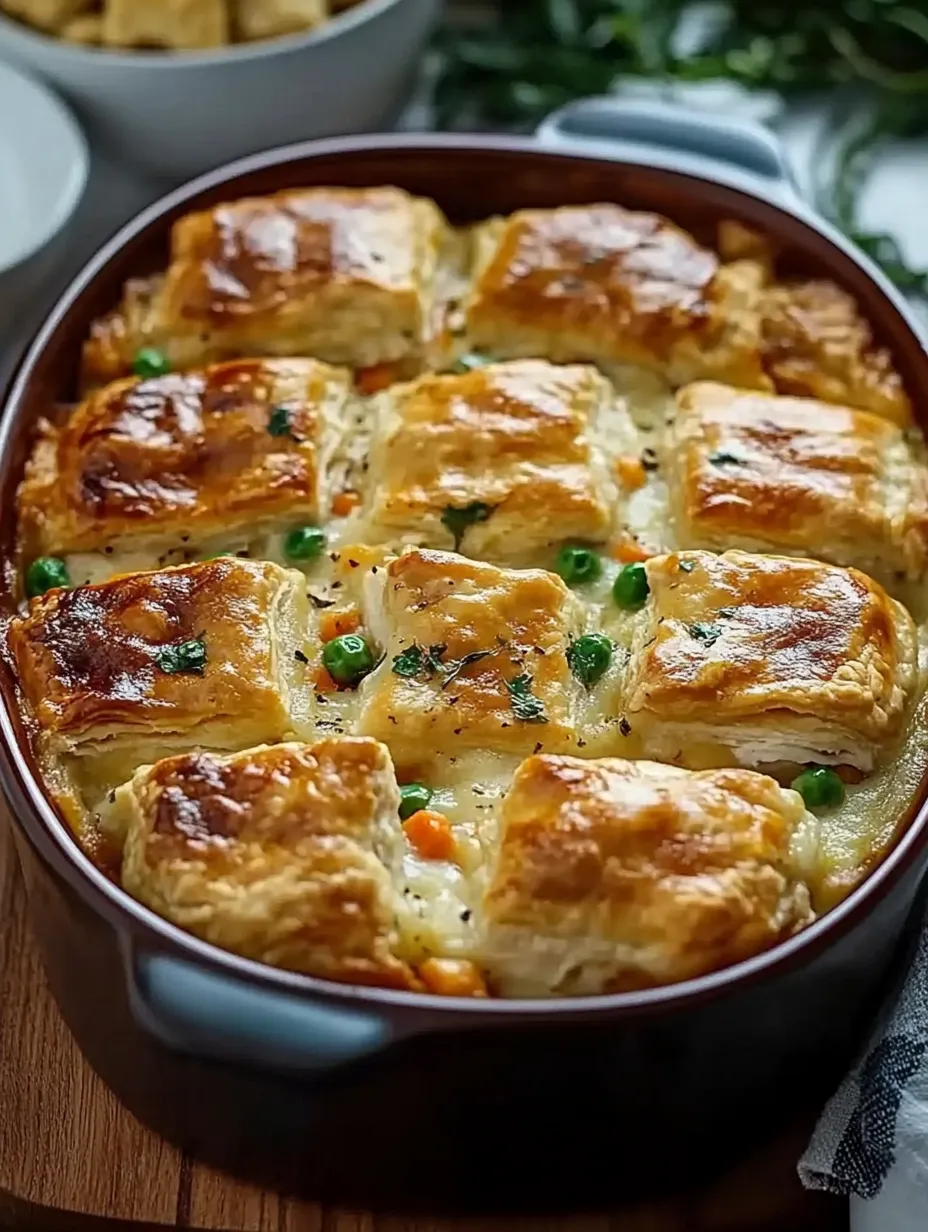
- → Can I use rotisserie chicken for this recipe?
- Absolutely! Rotisserie chicken works perfectly and saves time. Simply shred the meat from a store-bought rotisserie chicken to get the 2 cups needed for this recipe.
- → What can I substitute for Bisquick if I don't have any?
- You can make your own Bisquick substitute by mixing 1 cup flour, 1½ teaspoons baking powder, ¼ teaspoon salt, and 1 tablespoon cold butter cut into the flour mixture.
- → Can I make this casserole ahead of time?
- Yes! Assemble the casserole up to 24 hours ahead, cover and refrigerate. When ready to bake, add 5-10 minutes to the baking time if starting from cold.
- → How do I know when the casserole is done?
- The top should be golden brown and the edges should be bubbling. You can also insert a knife in the center - the biscuit topping should be cooked through, not doughy.
- → Can I freeze this casserole?
- Yes! Freeze either before or after baking. If freezing unbaked, thaw overnight in the refrigerator before baking. If freezing after baking, reheat covered at 350°F until heated through.