
 Pin it
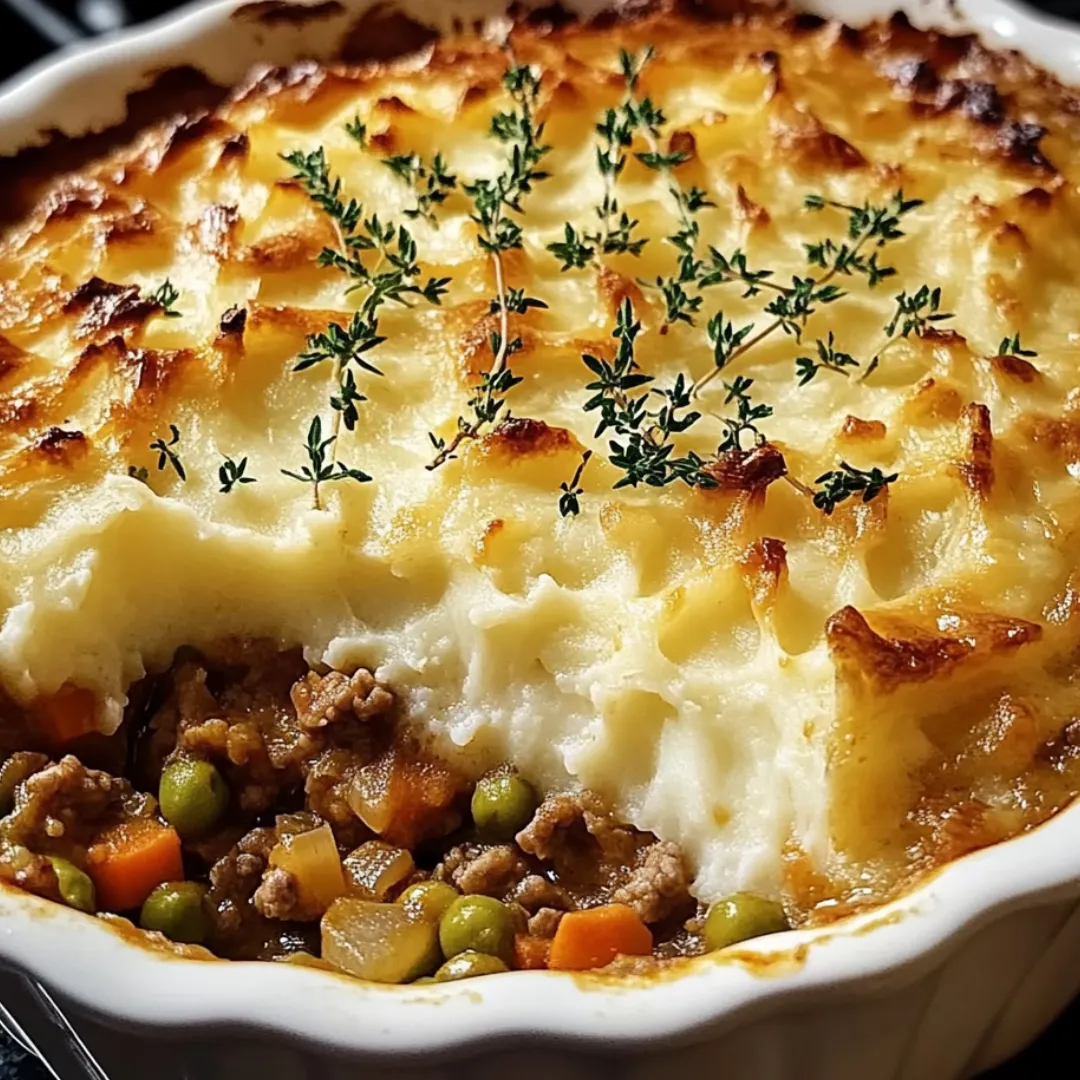
This classic shepherd's pie transforms simple ingredients into the ultimate comfort food experience. The savory ground meat base simmers with aromatic vegetables and herbs to create a rich, flavorful foundation, while the creamy mashed potato topping provides the perfect contrast in both taste and texture. When baked to golden perfection, the potatoes develop a slightly crisp exterior while remaining fluffy inside, and the filling bubbles with concentrated flavor. This hearty one-dish meal bridges the gap between everyday cooking and special occasion worthy fare – impressive enough for guests but comforting enough for a cozy family dinner.
I first started making this shepherd's pie recipe when my children were young and particularly picky eaters. It quickly became our family's Friday night tradition – something everyone would actually eat without complaint! Over the years, I've perfected the seasoning blend and cooking techniques, and now it's the most requested dish when adult children return home for visits. There's something magical about breaking through the potato crust to reveal the savory filling below that brings everyone to the table with enthusiasm, no matter their age.
Ingredients You'll Need
- 2 pounds Ground Beef or Lamb: Traditional shepherd's pie uses lamb, while cottage pie uses beef. Both work beautifully, with lamb offering a slightly richer flavor.
- 1 Large Onion, diced: Provides the aromatic foundation that develops depth in the filling. Sweet onions work particularly well.
- 2 Cloves Garlic, minced: Adds essential flavor without overpowering. Fresh garlic makes a noticeable difference.
- 2 cups Mixed Vegetables: Carrots, peas, and corn create colorful pops and sweet contrast to the savory meat. Frozen vegetables work perfectly.
- 2 tablespoons Tomato Paste: Concentrates umami flavor and helps thicken the filling. Look for tubes of paste for easy measuring.
- 2 tablespoons Worcestershire Sauce: This secret ingredient adds complexity and enhances the meaty flavor without being identifiable.
- 1 cup Beef Broth: Creates a rich sauce that binds the filling together. Homemade stock adds exceptional flavor, but good-quality store-bought works well.
- 1 teaspoon each Dried Thyme and Rosemary: These herbs complement meat beautifully and create that signature comfort food aroma.
- 4 cups Potatoes, peeled and diced: Russet potatoes create the fluffiest topping, but Yukon Golds offer a naturally buttery flavor.
- 1/2 cup Milk: Adds creaminess to the potato topping. Whole milk provides the best texture.
- 1/4 cup Butter, divided: Creates richness in the potato topping that stands up to the hearty filling.
- 1 cup Shredded Cheddar Cheese (optional): Adds a golden, slightly crispy top and extra flavor dimension.
 Pin it
Step-by-Step Cooking Instructions
- Prepare Your Kitchen:
- Begin by preheating your oven to 400°F (200°C) to ensure it's hot and ready when your assembled pie needs to bake. Gather all your ingredients and equipment before starting, which streamlines the cooking process. Peel and dice your potatoes into uniform 1-inch cubes so they'll cook evenly. Dice the onion, mince the garlic, and measure out your herbs and liquids. Having everything prepared before you begin cooking allows you to focus on building flavors properly at each stage.
- Create a Flavorful Base:
- Heat two tablespoons of olive oil in a large skillet over medium heat until it shimmers but doesn't smoke. Add the diced onion and cook until it becomes translucent and slightly golden at the edges, about 5 minutes. This slow cooking of the onions develops natural sweetness that forms the foundation of your filling. Add the minced garlic and cook for just one minute more, stirring constantly to prevent burning. Garlic becomes bitter when overcooked, so this brief cooking time ensures it releases its aroma without developing off-flavors.
- Brown the Meat Properly:
- Add the ground beef or lamb to the skillet with the aromatics. Use a wooden spoon to break the meat into small, even pieces as it cooks. Don't stir too frequently at first – allowing the meat to develop some caramelization on the bottom creates deeper flavor. Once the meat is broken up, stir occasionally until it's fully browned with no pink remaining, about 7-8 minutes. If there's excessive fat, tilt the pan and spoon off most of it, leaving just enough for flavor and moisture.
- Build Layers of Flavor:
- Once the meat is browned, stir in the mixed vegetables, coating them with the fat and juices from the meat. Cook for about 5 minutes until they begin to soften but still maintain some texture and vibrant color. Add the tomato paste and stir continuously for one minute to allow it to caramelize slightly, which removes any raw flavor and intensifies its sweetness. Pour in the Worcestershire sauce and beef broth, scraping up any browned bits from the bottom of the pan – these contain concentrated flavor. Add the dried thyme and rosemary, crushing them between your fingers as you add them to release their essential oils.
- Develop the Filling:
- Reduce the heat to medium-low and allow the mixture to simmer gently for 10-15 minutes, stirring occasionally. During this time, the liquid will reduce and thicken, and the flavors will meld together. You're looking for a consistency that's moist and saucy but not soupy – the filling should hold together when scooped. Season with salt and pepper, tasting as you go to achieve the perfect balance. The filling should be slightly more seasoned than you think necessary, as the potato topping will mellow the overall flavor.
- Master the Potato Topping:
- While the filling simmers, place your diced potatoes in a large pot and cover them with cold water by about an inch. Add a generous pinch of salt to the water and bring to a boil over high heat. Once boiling, reduce to a medium simmer and cook until the potatoes are fork-tender, about 15 minutes. Drain thoroughly in a colander, then return them to the hot pot. The residual heat will help evaporate any remaining moisture, creating fluffier mashed potatoes. Add the butter to the hot potatoes and allow it to melt before beginning to mash. The heat from the potatoes will ensure the butter incorporates completely. Use a potato masher or electric mixer to break down the potatoes, starting slowly to prevent gumminess. Once the butter is incorporated and the potatoes are broken down, gradually add the warm milk while continuing to mash until you achieve a smooth, creamy consistency. Season generously with salt and pepper – properly seasoned potatoes are crucial to a delicious shepherd's pie.
- Assemble with Care:
- Transfer your meat filling to a 9×13-inch baking dish, spreading it in an even layer. Allow it to cool slightly before adding the potato topping – this prevents the potatoes from sinking into the filling. Carefully spoon the mashed potatoes over the filling, starting around the edges to create a seal that prevents the filling from bubbling up. Use the back of a spoon or a fork to spread the potatoes evenly across the entire surface, then rough up the top with the tines of a fork to create peaks that will brown beautifully. If using cheese, sprinkle it evenly over the potato layer.
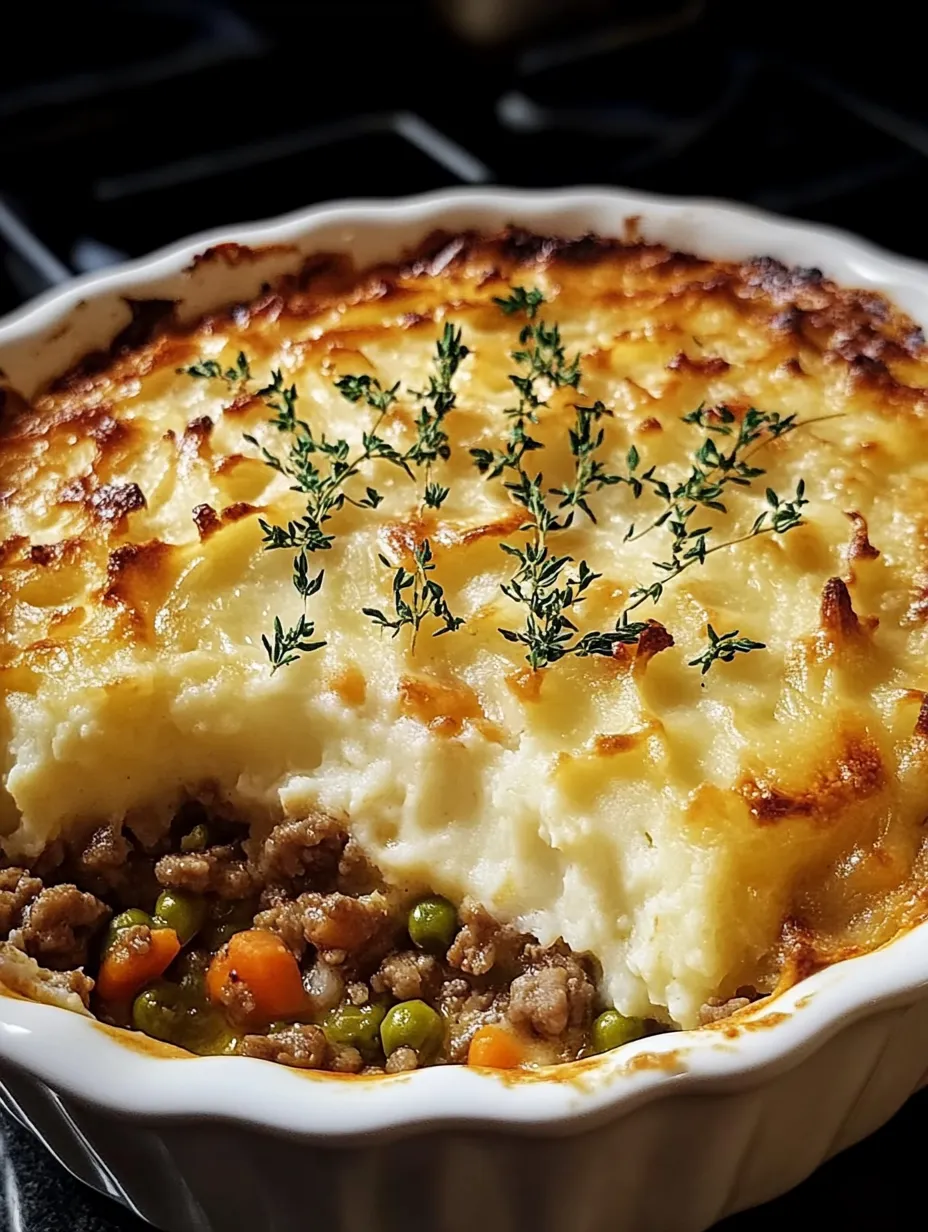
- Bake to Golden Perfection:
- Place the assembled shepherd's pie in the preheated oven and bake for 25-30 minutes until the potato topping is golden brown and the filling is visibly bubbling at the edges. If the top isn't browning as much as you'd like, you can place it under the broiler for 2-3 minutes, watching carefully to prevent burning. The contrast between the crispy, golden top and the fluffy interior of the potatoes is one of the dish's signature pleasures.
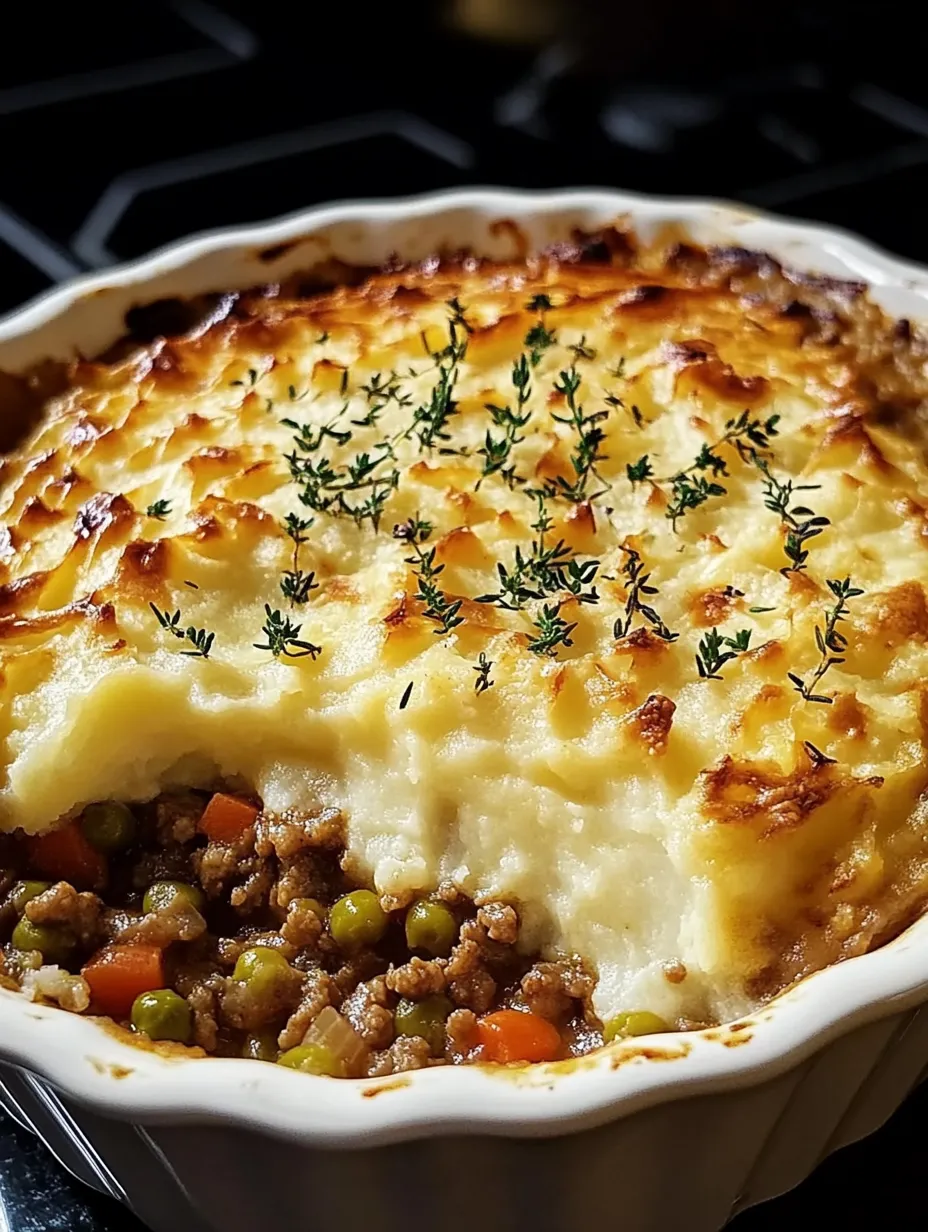
- Rest Before Serving:
- Once baked, allow the shepherd's pie to rest for 10-15 minutes before serving. This resting period allows the filling to set slightly, making it easier to portion and serve. It also prevents mouth burns from too-hot filling. Serve generous scoops that include both the meat filling and potato topping, making sure everyone gets some of the crispy edges.
I learned the importance of properly reducing the filling liquid through trial and error. My first attempts at shepherd's pie often resulted in a soggy bottom and watery filling that didn't hold together on the plate. Taking the extra time to let the sauce reduce and thicken makes all the difference between a mediocre casserole and a spectacular shepherd's pie that maintains its structure when served. Now I always simmer the filling until it's just right – moist enough to create a luscious sauce but thick enough to stand up to the potato topping.
Perfect Pairings
While shepherd's pie is a complete meal in itself, a few simple sides can elevate the experience. A crisp green salad with a tangy vinaigrette provides refreshing contrast to the rich casserole. Steamed green beans or roasted Brussels sprouts offer additional vegetables to round out the meal. For bread lovers, warm dinner rolls or crusty bread are perfect for soaking up any remaining sauce. A glass of robust red wine like Cabernet Sauvignon or Malbec complements the savory flavors beautifully for adults.
Clever Variations
This basic recipe serves as an excellent foundation for countless variations. For a twist on traditional flavors, try adding a teaspoon of smoked paprika or a dash of cayenne pepper to the meat filling. Vegetarians can substitute lentils or a plant-based meat alternative for the ground meat. Sweet potato topping creates a beautiful color contrast and adds nutritional benefits. For a lower-carb option, try a cauliflower mash topping instead of potatoes. During the holidays, leftover roast turkey or ham can replace the ground meat for a creative way to repurpose leftovers.
Storage and Reheating
Shepherd's pie retains its flavor and texture beautifully for several days, making it perfect for meal prep. Store covered leftovers in the refrigerator for up to 4 days. For best results when reheating, use an oven preheated to 350°F for about 20 minutes, or until heated through. If using a microwave for convenience, cover the portion with a damp paper towel and heat on medium power, stopping to stir the filling halfway through for more even heating. Individual portions can be frozen for up to 3 months in airtight containers for quick weeknight meals.
 Pin it
Troubleshooting Common Issues
If your mashed potato topping sinks into the filling, your filling may be too hot or too watery. Let the filling cool slightly before topping, and ensure it's properly reduced. For potatoes that aren't browning properly, brush the top with a bit of melted butter before baking, or place under the broiler for the last few minutes of cooking. If your filling is too dry after baking, you likely reduced it too much; next time, add a bit more broth or reduce for a shorter time. Remember that shepherd's pie will continue to thicken as it cools.
My grandmother always said the secret to a great shepherd's pie is patience – taking the time to build flavors at each stage rather than rushing the process. When I first started cooking for my own family, I'd try to speed things up by cranking the heat or cutting the simmering time, but the results were never as good. Now I see cooking this dish as a relaxing ritual, a way to show love through food. There's something deeply satisfying about watching family members' eyes light up when they smell it baking, and even more satisfying when they request the leftovers for lunch the next day. That's when you know you've created something truly special.
Frequently Asked Questions
- → What's the difference between Shepherd's Pie and Cottage Pie?
- Technically, Shepherd's Pie is made with ground lamb, while Cottage Pie uses ground beef. However, many people use the terms interchangeably in modern recipes.
- → Can I make this ahead of time?
- Yes, you can assemble the pie completely, cover and refrigerate for up to 24 hours before baking. Add 10-15 minutes to the baking time if cooking from cold.
- → How do I know when it's done baking?
- The top should be golden brown, especially if using cheese, and the filling should be bubbling around the edges of the dish.
- → Can I freeze Shepherd's Pie?
- Yes, it freezes excellently. Either freeze before baking or after it's fully cooked and cooled. Thaw overnight in the refrigerator before reheating.
- → Can I use frozen vegetables?
- Absolutely! Frozen mixed vegetables work perfectly in this recipe and save prep time. No need to thaw them first, just add them directly to the skillet.