
 Pin it
There is something truly comforting about making rustic French bread at home The aroma fills the kitchen and every slice is packed with handmade goodness I love that this Dutch oven bread recipe lets anyone recreate that classic golden crust and airy crumb without any fancy equipment
I remember the first time I baked this bread for a family Sunday supper We nearly finished the loaf by the time the meal was over and everyone had to fight for the last piece
Ingredients
- Allpurpose flour: gives the bread its signature chewy crumb and structure Always use unbleached flour for the best results
- Active dry yeast: ensures a lovely rise every time Check the expiration date for maximum freshness
- Sugar: helps activate the yeast and gives a hint of sweetness Choose fine granulated sugar for easy dissolving
- Salt: balances flavor and enhances the overall taste Use a natural sea salt if you can
- Water: helps create that perfect dough temperature between 105 and 115 degrees is essential for yeast activity
Step-by-Step Instructions
- Activate the Yeast:
- Mix yeast warm water and sugar in the bowl of your stand mixer Let it sit about five minutes so the yeast gets bubbly and foamy which means it is alive and ready to work
- Mix and Knead the Dough:
- Add half of the flour and all the salt to the yeast mixture Attach the dough hook and start kneading at mediumlow speed Once combined add the rest of the flour and continue kneading until the dough just comes together It will look sticky at this stage but that is perfect
- First Rise:
- Scoop the dough into a lightly floured bowl and cover it with a clean towel Set aside in a warm spot for two hours The dough will puff up and nearly double in size
- Shape and Proof the Loaf:
- Gently move the dough onto a wellfloured parchment or board Using floured hands shape into a smooth ball Sprinkle with more flour then cover with a big bowl like a dome Let it rest for another thirty minutes to get that last push of rise
- Preheat and Prep the Oven:
- Preheat your oven to 425 degrees Place your Dutch oven with the lid inside so it gets piping hot This step helps guarantee a crisp crust If you do not have a Dutch oven just use a sturdy baking sheet but no need to preheat it
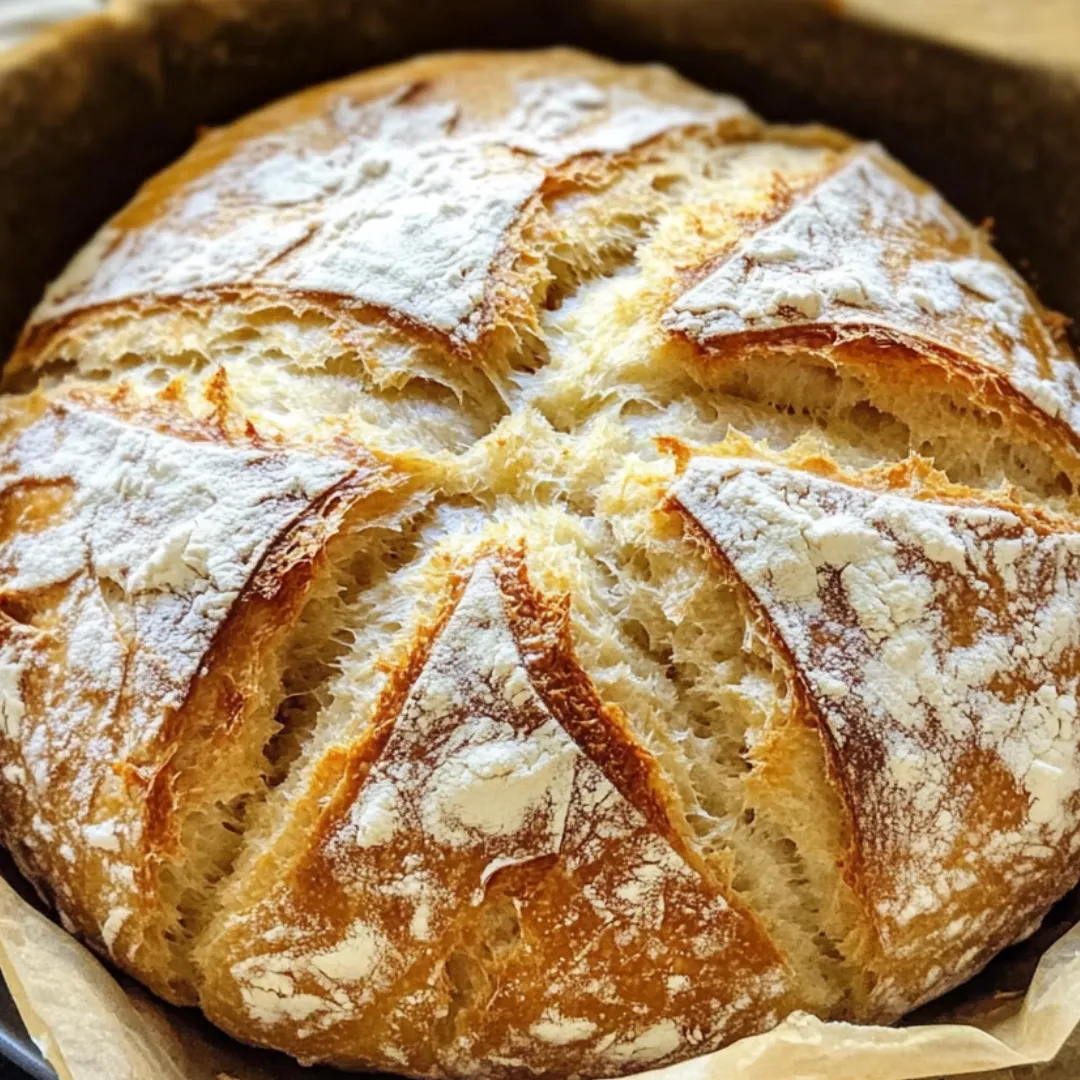
- Score and Bake:
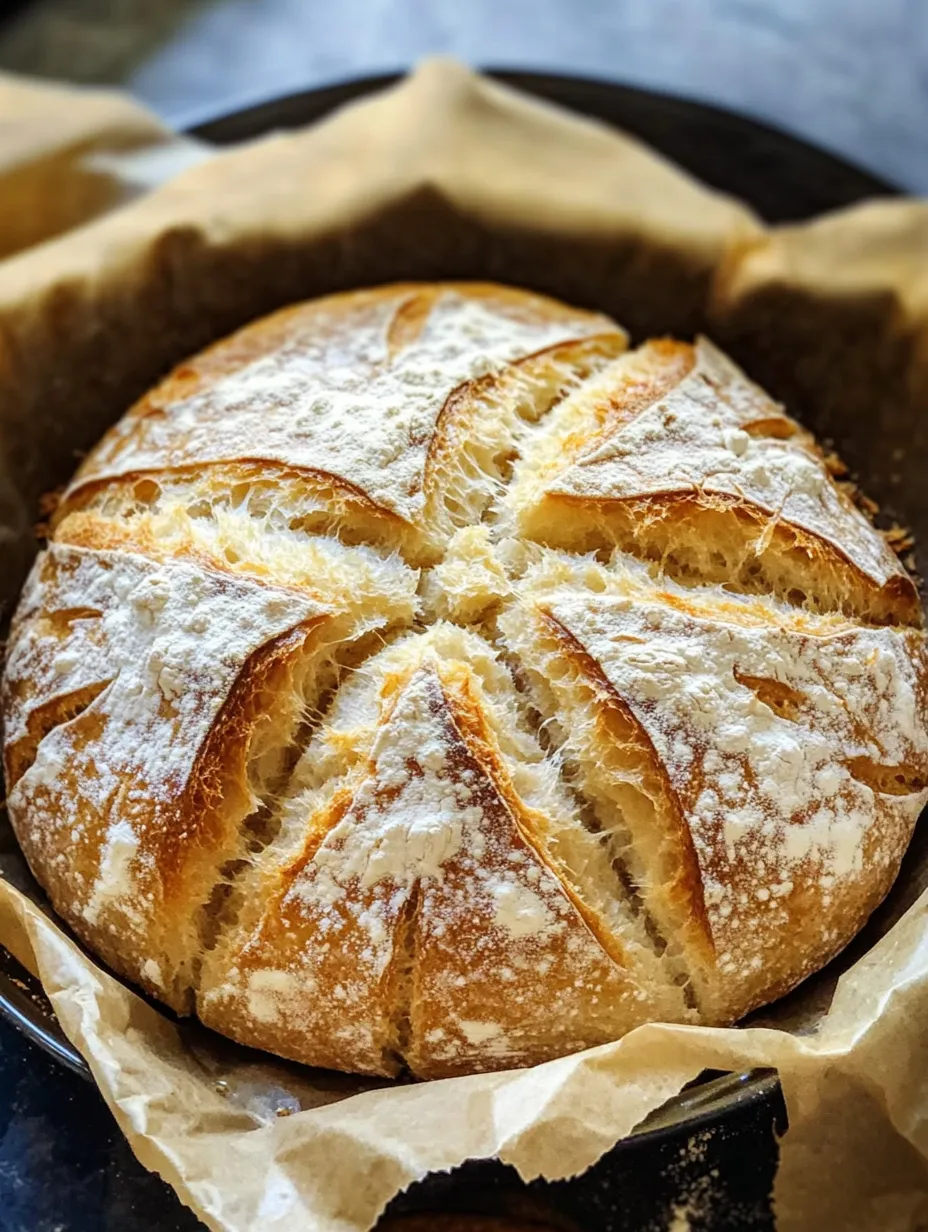
- Use a very sharp knife to make a slash across the top of the shaped dough This lets steam escape Place the dough on parchment or straight into the Dutch oven and bake with the lid on for thirty minutes Remove the lid and bake for ten minutes more to achieve a golden top If using a baking sheet bake thirtyfive minutes
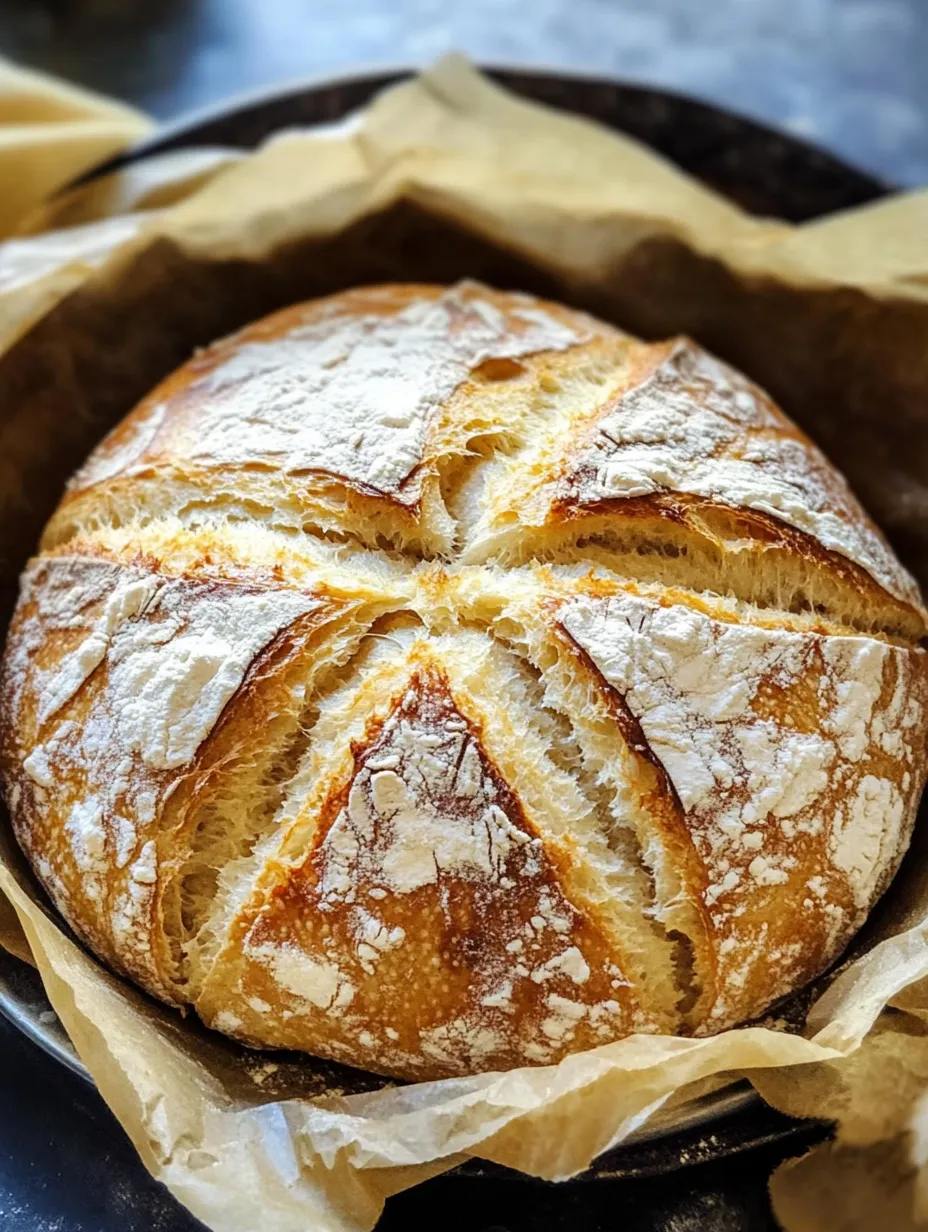
- Cool and Slice:
- Carefully remove your bread to a cooling rack Let it cool completely so the crumb can settle before slicing Store in a bag or bread box at room temp for up to five days
 Pin it
One of my favorite moments was teaching my kids to shape the dough together We ended up with a lopsided loaf but it tasted even better because we made it together My favorite ingredient is the flour which gives the bread its signature chew and goldeny color
Storage Tips
Homemade French bread is best within two days of baking Store in an airtight bag or container on the counter for up to five days Avoid storing in the fridge as it speeds up staling For longer storage freeze slices in a zipped bag for up to a month then toast straight from the freezer
Ingredient Substitutions
You can swap allpurpose flour for bread flour for a slightly more open crumb Try using whole wheat flour for up to one third of the total flour to add a nutty depth If you only have instant yeast no need to activate it just add straight to the flour
Serving Suggestions
This bread is wonderful alongside soups and stews Slices make an excellent grilled cheese or bruschetta Toast thick pieces for hearty breakfast tartines My family loves dunking hot slices into olive oil with flaky salt
 Pin it
Cultural Context
Rustic French bread is a table staple across France Each region has its own spin from the round boule to the long thin baguette While traditionally made with minimal ingredients this homebaked version captures the spirit of French country loaves with its deep flavor and satisfying chew
Frequently Asked Questions
- → Why use a dutch oven for baking this bread?
A dutch oven traps steam during baking, helping develop a thick, crispy crust while keeping the inside soft and airy.
- → Do I need to preheat the dutch oven?
Yes, preheating the dutch oven ensures a quick rise and sets the crust, resulting in a bakery-style loaf with great texture.
- → Can I make the dough by hand instead of a mixer?
Absolutely. If you don’t have a mixer, combine and knead all ingredients by hand until the dough is smooth and sticky.
- → Why is the dough sticky before baking?
Sticky dough yields a more open crumb and lighter loaf. Extra flour during shaping makes handling easier.
- → How do I know the bread is done?
The loaf should sound hollow when tapped on the bottom and reach an internal temperature of about 210°F for best results.
- → How should I store leftover bread?
Let the bread cool completely and store in a bag or airtight container at room temperature for up to five days.