
 Pin it
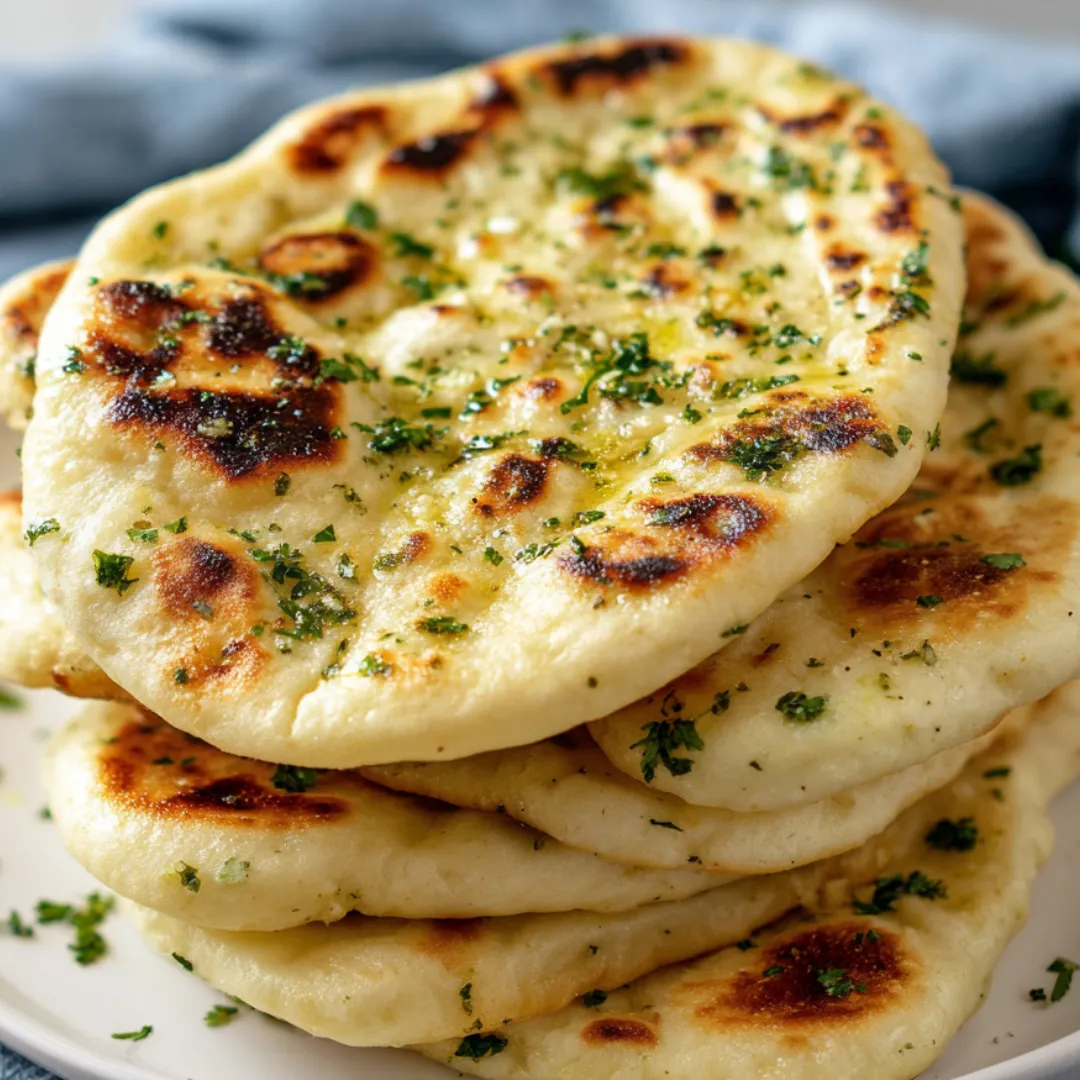
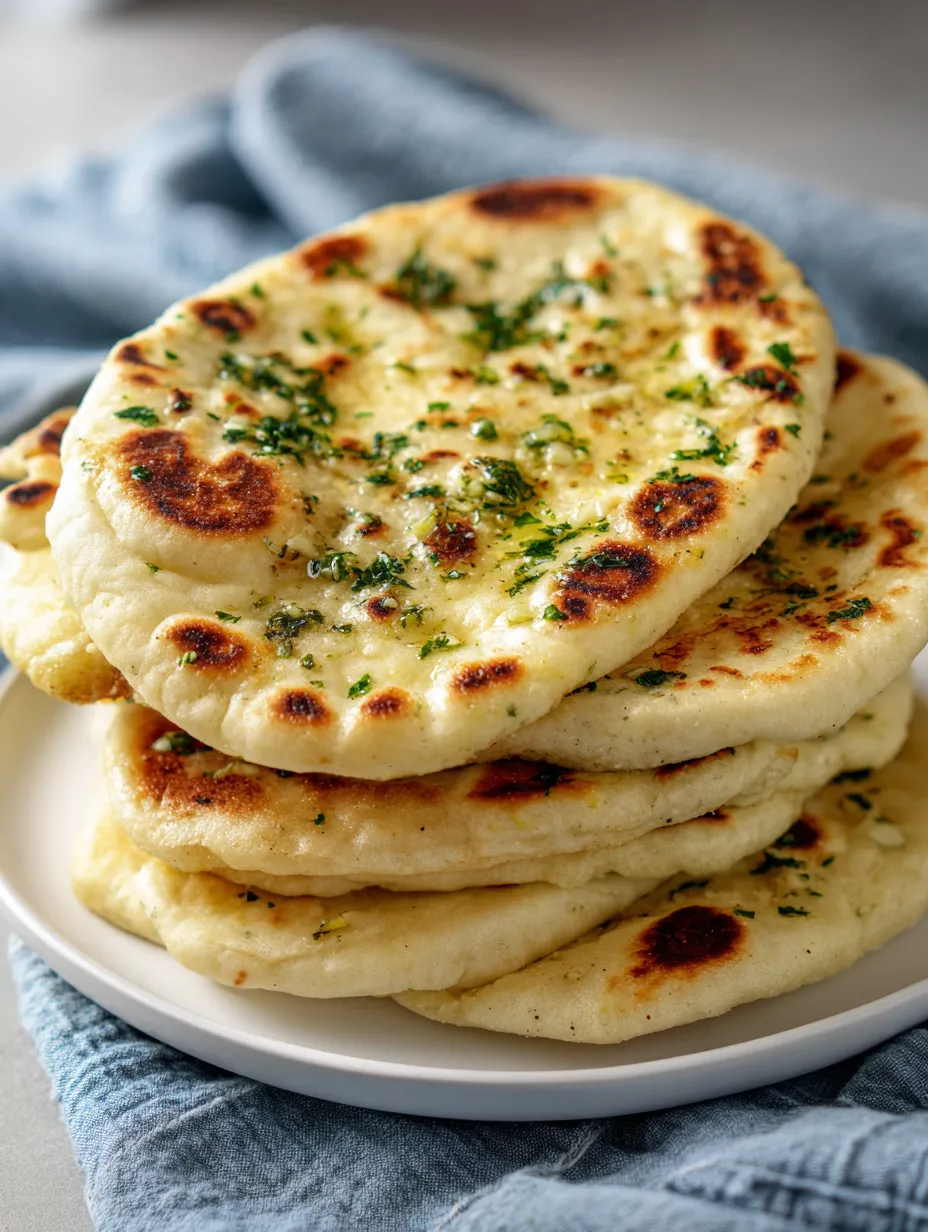
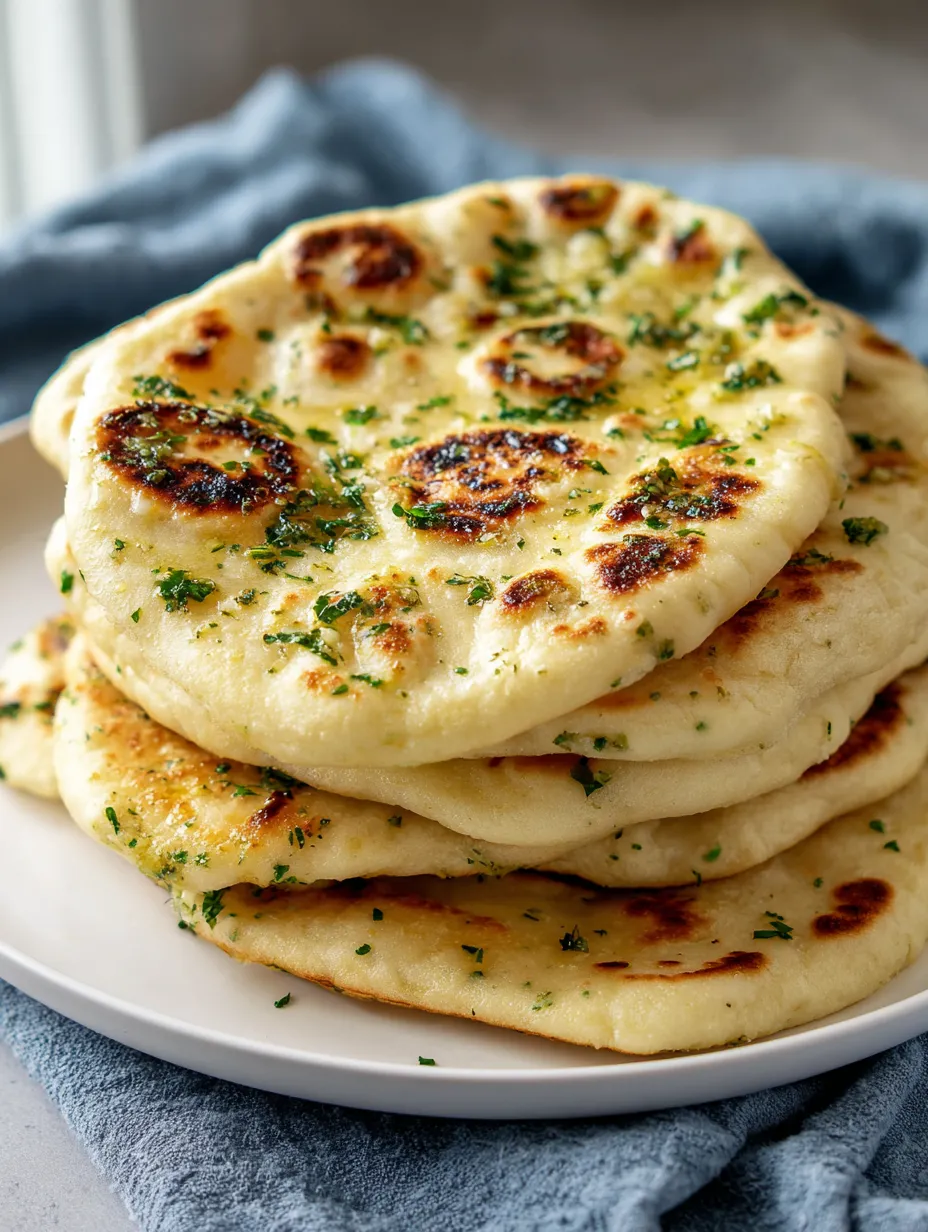
Few things are more comforting than warm garlic pita bread made fresh at home The aroma of garlic and herbs melting into butter brings everyone to the kitchen and creating these golden rounds is easier than you might think Perfect for pairing with dips soups or simply enjoying on their own this recipe yields soft pillowy pita with an irresistible garlicky topping
My friends could never believe I made these pitas from scratch and after one bite everyone wants the recipe They remind me of cozy weekends when we make a big batch and watch them disappear within minutes
Ingredients
- All purpose flour: gives the pita its soft chewy texture Look for flour that feels silky and fresh for best results
- Active dry yeast: creates those beautiful bubbles and lift Make sure the yeast is fresh check the expiration date
- Salt: enhances all the flavors and balances the garlic
- Milk: brings richness and makes the dough more tender Use whole milk for the softest pitas
- Water: brings everything together Use warm not hot water to wake up the yeast
- Olive oil: adds flavor and keeps the dough supple Choose a good quality extra virgin oil with a grassy aroma
- Butter: is key for the garlic topping giving richness and shine Unsalted is best so you can control the salt
- Garlic: infuses the bread with zingy flavor Fresh cloves are a must for maximum punch
- Fresh parsley: brightens up the topping and adds a pop of color Choose vibrant flat leaf parsley
Step by Step Instructions
- Make the Dough:
- Combine your flour salt and yeast in a large mixing bowl and whisk until evenly blended
- Pour in warm milk and warm water:
- then mix until a shaggy mass forms
- Knead and Rest:
- Add olive oil to the bowl Use your hands to knead and press until all the stray bits come together forming a smooth dough Cover with plastic wrap and a kitchen towel Let the dough rest somewhere warm for one hour until puffy
- Shape the Pitas:
- Lightly flour your work surface and turn out the dough Press it with your hands to form a flat circle Cut into six equal pieces Roll each piece into a neat ball Keep dough balls covered with a towel as you work to prevent drying
- Roll Out the Rounds:
- Using a floured rolling pin roll each dough ball into a circle about a quarter inch thick
- Pan Cook the Pitas:
- Heat a large pan over medium high and brush it lightly with olive oil Place one pita round in the pan When bubbles appear after about thirty seconds flip and cook one to two minutes or until golden brown Flip again to ensure even toasting on both sides
- Keep Finished Pita Warm:
- Transfer finished pitas to a towel lined plate and cover Repeat for all dough balls
- Make the Garlic Herb Butter:
- Melt butter in a microwave safe bowl Add minced garlic and freshly chopped parsley Stir until combined then gently brush this fragrant mixture over each warm pita
 Pin it
My favorite thing is brushing on the garlic herb butter while the pita is steaming hot The scent takes me straight back to family gatherings when everyone hovers nearby just waiting for the first warm piece
Storage Tips
Fresh pitas keep best in an airtight bag at room temperature for up to three days To revive them quickly warm a round in a toaster pan or microwave until fluffy again For longer storage freeze cooled pita between parchment layers in a zip bag up to two months Heat from frozen in a single layer at three hundred fifty degrees until soft
Ingredient Substitutions
No dairy in your diet Swap the milk for any plant based version like oat almond or soy oil Use vegan butter or a splash more olive oil in place of regular butter For a gluten free version use a cup for cup gluten free baking flour and note that the texture will be slightly different but still delicious
 Pin it
Serving Suggestions
Serve garlic pita bread alongside hummus or baba ganoush as an appetizer It makes a fantastic partner for soups curries or as the base for personal pizzas Stuff with grilled meats and crisp veggies for a homemade gyro style sandwich Or simply enjoy warm as a snack with extra garlic butter for dipping
Cultural Context
Pita bread is a beloved staple in Greek and Mediterranean cuisine prized for its versatility And while store bought versions are common nothing matches the pillowy softness and depth of homemade pitas The addition of fresh garlic and herbs gives a classic recipe a flavorful upgrade rooted in the love of bold simple food
Frequently Asked Questions
- → How do I keep pita bread soft after cooking?
Cover warm pita with a clean kitchen towel to keep in steam and preserve softness until ready to serve.
- → Can I freeze homemade pita bread?
Yes, let the pitas cool fully, layer with parchment between each, and store in a freezer bag for up to 2 months.
- → What is the best way to reheat pita?
Warm in the oven at 350°F or use a toaster for a couple of minutes until heated through and slightly crisped.
- → Is it possible to make this gluten free?
Swap all-purpose flour for a gluten-free blend to enjoy homemade pita without gluten.
- → When should I apply the garlic butter topping?
Brush the melted butter, garlic, and parsley over the warm pita right after cooking for best flavor and aroma.
- → Can I use dried herbs instead of fresh parsley?
Yes, substitute 2 teaspoons dried parsley for fresh, though fresh yields the brightest flavor.