
 Pin it
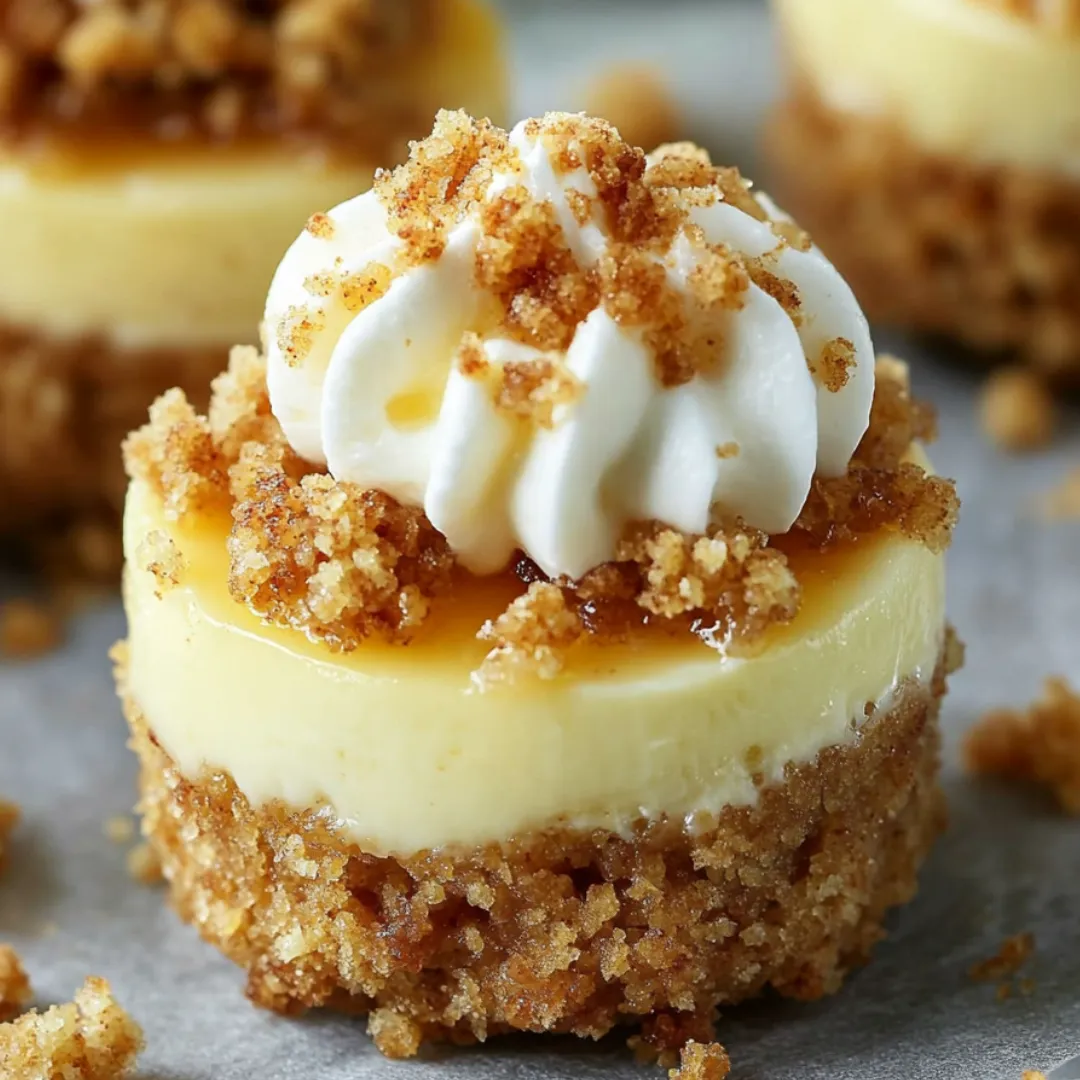
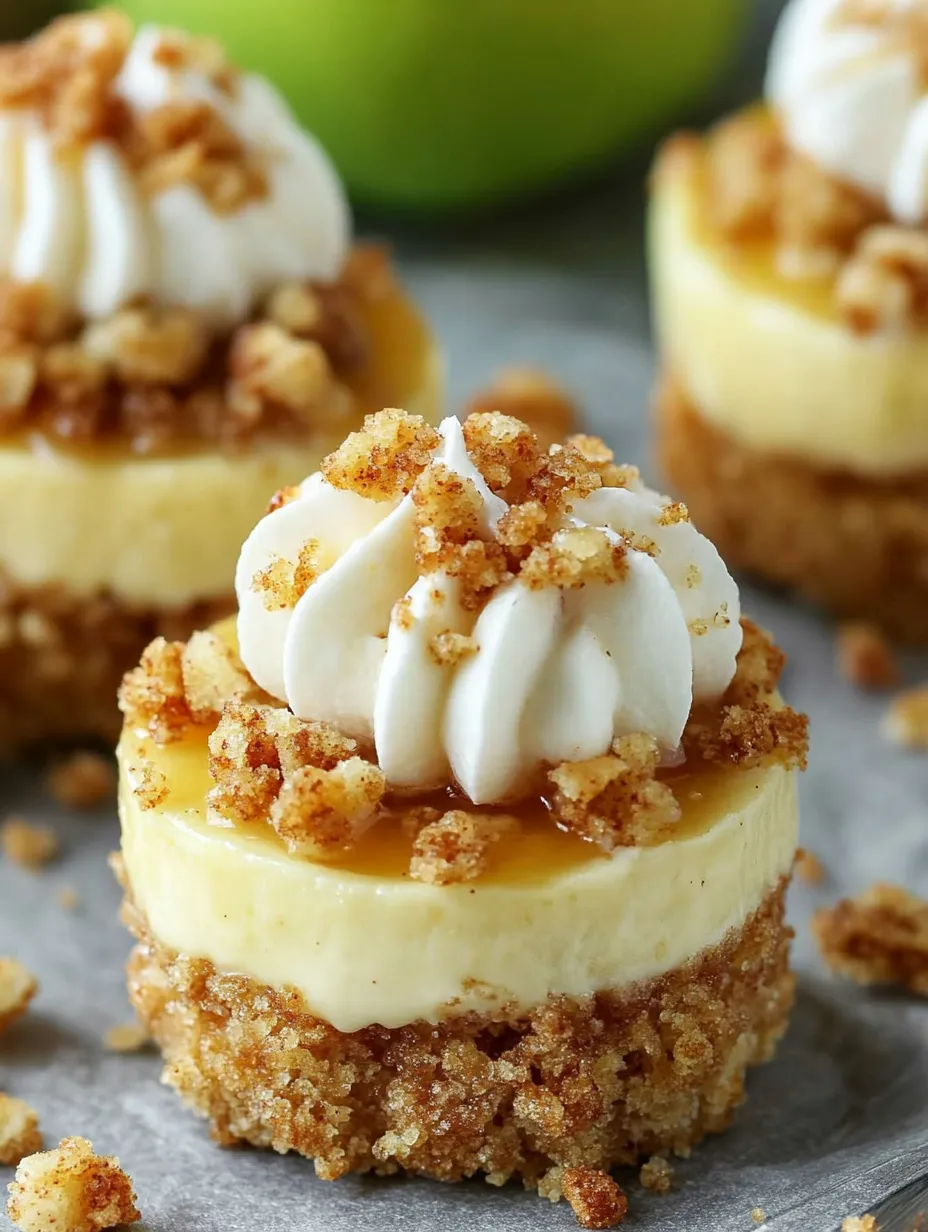
This miniature apple crisp cheesecake recipe combines two classic desserts into one irresistible treat. The buttery graham cracker base supports a creamy cheesecake layer topped with spiced apples and a golden oat crumble. Perfect for fall gatherings when you want something impressive without making a full-sized cheesecake.
I first made these for a fall potluck when I couldn't decide between bringing apple crisp or cheesecake. The combination was such a hit that they've become my signature dessert whenever the leaves start changing color.
Ingredients
- Graham cracker crumbs: Create a crunchy base that complements the creamy cheesecake; look for prepackaged crumbs or crush your own in a food processor
- Cream cheese: Forms the velvety middle layer; use full-fat cream cheese at room temperature for the smoothest texture
- Fresh apples: Provide natural sweetness and texture; Granny Smith or Honeycrisp work beautifully here
- Warm spices: Like cinnamon and nutmeg bring quintessential fall flavor to every layer of this dessert
- Quick cooking oats: Create the perfect crispy topping; regular rolled oats will work but quick oats give a better texture
- Caramel sauce: Adds a final touch of indulgence; homemade is wonderful but store-bought works perfectly too
Step-by-Step Instructions
- Prepare The Crust:
- Mix graham cracker crumbs with sugar, cinnamon, and melted butter until the mixture resembles wet sand. Press firmly into paper liners creating an even base. The back of a measuring spoon works perfectly for this task. Chill the crusts while preparing the other components to help them set.
- Make The Crumb Topping:
- Combine dry ingredients first, then pour in the melted butter stirring until you get coarse crumbs that hold together when squeezed. The secret is not overmixing; you want distinct clumps rather than a uniform mixture. Refrigerate to firm up the butter which will help create those irresistible crispy bits.
- Prepare Apple Filling:
- Toss the peeled and finely diced apples with lemon juice to prevent browning then mix with spices, brown sugar, and cornstarch. The cornstarch is crucial here as it will thicken the apple juices during baking, preventing a soggy cheesecake. Cut the apples into small, uniform pieces for even cooking.
- Mix Cheesecake Filling:
- Beat the softened cream cheese until completely smooth before adding sugar, vanilla, and flour. The flour stabilizes the filling and prevents cracking. Add the egg last and mix just until incorporated; overbeating will incorporate too much air, leading to cracks and uneven texture.
- Layer And Assemble:
- Spoon cheesecake filling over chilled crusts followed by the apple mixture. Press the apples down gently to create a level surface, then generously top with the crumb mixture, covering completely. The layering technique is important for ensuring distinct flavors in every bite.
- Bake To Perfection:
- Bake at a moderate 325°F for about 30 minutes or until the edges are set but centers still have a slight jiggle. The low temperature prevents the cheesecake from puffing up and cracking. Look for golden brown crumb topping as your visual cue for doneness.
 Pin it
You Must Know
- These mini cheesecakes freeze beautifully for up to 3 months; just thaw in the refrigerator overnight
- No springform pan needed, making these much less fussy than traditional cheesecake
- Can be made a day ahead; perfect for entertaining
The cornstarch in the apple filling is my secret weapon for perfect texture. I learned this trick from my grandmother who always added it to her apple pies. It ensures the filling gets thick and jammy rather than watery, which would make the cheesecake soggy. Every time I make these I think of her kitchen filled with the aroma of baking apples and cinnamon.
Storage Tips
These mini cheesecakes will stay fresh in an airtight container in the refrigerator for up to 5 days. The flavor actually improves after a day as the spices meld together. For longer storage, wrap each cooled cheesecake individually in plastic wrap then place in a freezer bag. When ready to enjoy, thaw overnight in the refrigerator, then bring to room temperature for about 30 minutes before serving for the best texture and flavor.
Make Ahead Options
You can prepare components separately to save time on baking day. The graham cracker crust and crumb topping can be made up to 3 days in advance and stored in the refrigerator. The apple filling can be prepared a day ahead though it might discolor slightly; this won't affect the taste. Assemble and bake the cheesecakes the day before your event, allowing them to chill overnight which improves their flavor and makes them easier to serve.
 Pin it
Serving Suggestions
While these cheesecakes are delicious on their own, they become truly spectacular with a few thoughtful accompaniments. Drizzle warm caramel sauce over the top just before serving or create a dessert bar with various toppings like whipped cream, crushed toffee bits, or toasted pecans. For an elegant presentation, place each mini cheesecake on a small dessert plate with a mint leaf and a thin apple slice fanned out alongside. Serve slightly chilled but not cold for the best flavor experience.
Frequently Asked Questions
- → Can I use a different type of crust?
Yes, you can substitute the graham cracker crust with crushed digestive biscuits, gingersnaps, or even a thin layer of store-bought pie crust.
- → How do I store the mini cheesecakes?
Store the baked and cooled mini cheesecakes in an airtight container in the refrigerator for up to 4 days. Add caramel sauce just before serving.
- → Can I freeze these mini cheesecakes?
Yes, these mini cheesecakes can be frozen. Wrap them individually and store in an airtight container for up to 3 months. Thaw in the refrigerator overnight before serving.
- → What type of apples work best for this recipe?
Granny Smith apples are a great choice for their tartness, but you can also use Honeycrisp or Fuji for a sweeter flavor.
- → Is it necessary to drizzle caramel sauce?
No, the caramel sauce is optional, but it adds a delicious sweetness and pairs wonderfully with the spiced apple flavor.
- → Can I make this recipe gluten-free?
Yes, simply use gluten-free graham crackers and gluten-free oats for the crust and topping to adapt this recipe for a gluten-free diet.