 Pin it
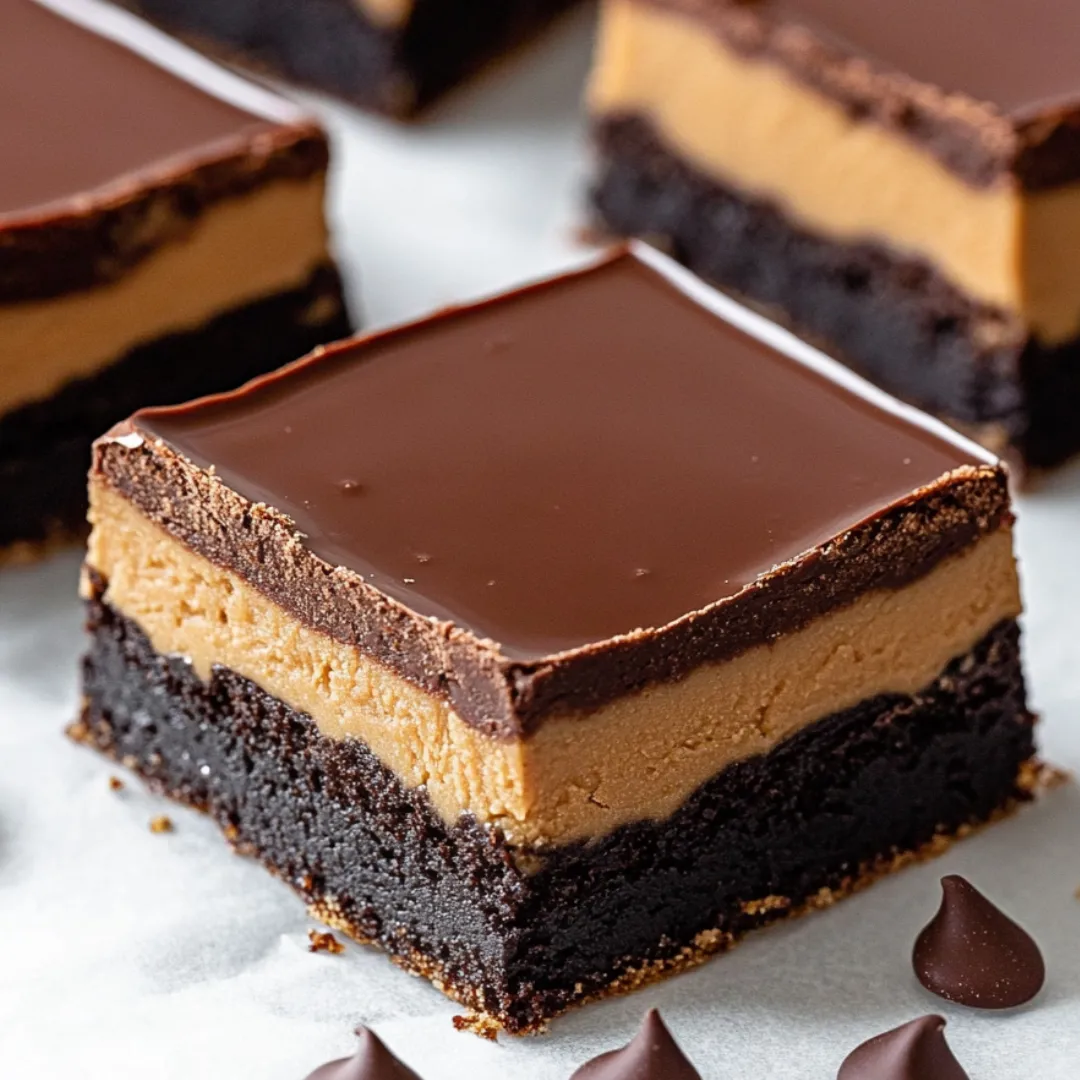
This decadent brownie recipe combines the classic flavors of Ohio's famous Buckeye candies with fudgy chocolate brownies. The triple-layer treat features a rich brownie base, creamy peanut butter filling, and glossy chocolate ganache that will satisfy any sweet tooth.
I first made these for a holiday cookie exchange where they disappeared faster than anything else on the table. Now they're requested at every family gathering, and I always make a double batch to ensure I have leftovers to enjoy at home.
Ingredients
- Unsalted butter: Provides richness and moisture to the brownie base
- Semi-sweet chocolate chips: Add melty chocolate goodness without being too sweet
- Granulated sugar: Balances the cocoa powder's bitterness
- Large eggs: Provide structure and richness
- Pure vanilla extract: Enhances the chocolate flavor
- Unsweetened cocoa powder: Gives deep chocolate flavor
- All-purpose flour: Provides structure while keeping brownies tender
- Kosher salt: Enhances all flavors
- Baking powder: Gives just enough lift without making them cakey
For the Peanut Butter Filling
- Melted unsalted butter: Helps create a smooth, spreadable texture
- Creamy peanut butter: Forms the base of the filling; use conventional brands for best results
- Pure vanilla extract: Balances the sweetness
- Powdered sugar: Creates the distinctive buckeye candy texture
For the Ganache
- Dark chocolate chips: Provide rich flavor and beautiful shine
- Heavy whipping cream: Creates silky smooth ganache
Step-by-Step Instructions
- Prepare the Pan:
- Preheat your oven to 350°F and line your baking dish with parchment paper, ensuring some overhang for easy removal. The parchment prevents sticking and makes cleanup much easier when dealing with multiple layers.
- Create the Brownie Base:
- Melt butter in a medium saucepan over gentle heat, then remove from the stove before adding chocolate chips and sugar. This prevents scorching the chocolate while ensuring everything melts together into a glossy mixture. Stir until completely smooth before proceeding.
- Add the Wet Ingredients:
- Incorporate eggs one at a time, stirring well after each addition. This gradual approach creates an emulsion that helps give your brownies that perfect fudgy texture. Add vanilla and blend thoroughly to distribute the flavor evenly.
- Mix in Dry Ingredients:
- Add cocoa powder, flour, salt, and baking powder using broad, gentle strokes. Stop mixing as soon as the dry ingredients disappear to avoid developing gluten, which would make your brownies tough instead of tender.
- Bake the Brownie Layer:
- Pour the batter into your prepared pan and spread evenly. Bake for 23-25 minutes until just set in the middle but still slightly fudgy. A toothpick inserted should come out with a few moist crumbs but not wet batter.
- Prepare Peanut Butter Layer:
- While brownies bake, combine melted butter, peanut butter, vanilla, and powdered sugar in a mixing bowl. Beat until smooth and properly thickened, similar to the filling in traditional buckeye candies.
- Apply Peanut Butter Layer:
- Once brownies come out of the oven, drop spoonfuls of peanut butter mixture across the warm surface. Use your fingertips to gently spread the filling into an even layer, taking care not to tear the warm brownies underneath.
- Create Chocolate Ganache:
- Combine chocolate chips and heavy cream in a microwave-safe bowl. Heat for just one minute, then stir until completely smooth and glossy. The residual heat will continue melting the chocolate as you stir.
- Finish and Chill:
- Pour the ganache over the peanut butter layer and spread evenly to the edges. Refrigerate for at least 2 hours until fully set and firm. Cut into squares while cold for clean, sharp edges.

The peanut butter layer is what makes these brownies truly special. I experimented with natural peanut butter once and ended up with a runny middle that never properly set. Stick with conventional brands like Jif or Skippy for that classic buckeye texture that holds its shape when chilled.
Storage Solutions
These Buckeye Brownies keep beautifully in the refrigerator for up to 5 days in an airtight container. The chilled texture actually improves with time as the flavors meld together. For longer storage, cut into individual squares and freeze for up to 3 months. Thaw in the refrigerator overnight before serving.
Variation Options
Feel free to customize these brownies to suit your taste preferences. Try crunchy peanut butter for added texture, sprinkle flaky sea salt over the ganache for a sweet-salty contrast, or add a teaspoon of espresso powder to the brownie base to enhance the chocolate flavor without adding coffee taste. For a more intense chocolate experience, use dark cocoa powder in the brownie base.
Serving Suggestions
While these brownies are perfect on their own, they reach new heights when served with a scoop of vanilla ice cream or a cold glass of milk. For special occasions, dust plates with cocoa powder before placing brownie squares, then add a small dollop of whipped cream and a fresh raspberry for an elegant presentation worthy of any restaurant dessert menu.

The Ohio Connection
Buckeye candies are named after the nuts from Ohio's state tree, which these treats resemble. Traditional buckeyes are peanut butter balls dipped in chocolate, leaving a small circle of peanut butter visible to mimic the actual nut. These brownies transform that beloved confection into a convenient bar format while maintaining the classic flavor combination that has made buckeyes an Ohio state treasure and nationwide favorite.
Frequently Asked Questions
- Can I use natural peanut butter for the filling?
Natural peanut butter tends to separate and may affect the texture. It's best to use regular creamy peanut butter for this recipe.
- How do I store Buckeye Brownies?
Store the brownies in an airtight container in the refrigerator for up to 5 days. For longer storage, freeze for up to 3 months.
- Can the ganache be made without heavy cream?
Yes, you can substitute heavy cream with milk or half-and-half, but the ganache may be slightly less rich and creamy.
- Do I need to chill the brownies before cutting?
Yes, chilling helps the layers set properly and makes cutting into neat bars easier.
- Can I use milk chocolate for the ganache?
Milk chocolate can be used, but it will create a sweeter ganache. Adjust according to your taste preferences.