
 Pin it
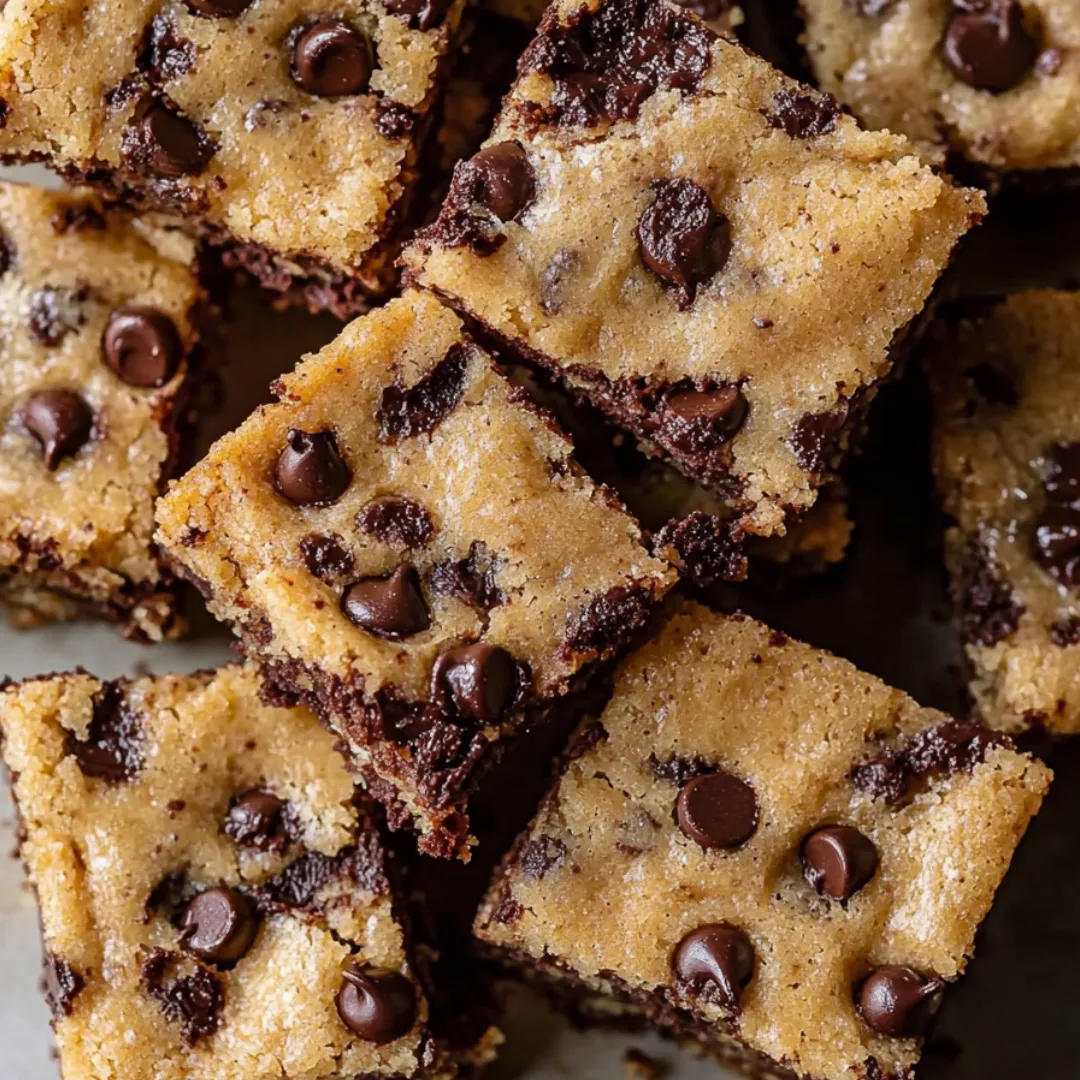
These Chocolate Chip Banana Bars create the perfect middle ground between banana bread and blondies - rich, buttery bars with a delightfully chewy texture and a generous scattering of chocolate chips throughout. They're the ideal solution when you're craving banana bread but want something a bit more special and dessert-like.
I discovered this recipe when looking for creative ways to use up extra bananas, and it's quickly become my go-to when I want something a bit more indulgent than classic banana bread.
Essential Ingredients and Selection Tips
- Bananas: Use very ripe bananas with plenty of brown spots for the best flavor
- Butter: Melting it creates that distinctive blondie-like chewiness
- Light Brown Sugar: Provides caramel notes that complement the banana beautifully
- Chocolate Chips: Mini chips distribute more evenly throughout the batter
- Vanilla Extract: Enhances both the banana and chocolate flavors
- All-Purpose Flour: Creates the perfect structure for chewy bars
 Pin it
Detailed Cooking Instructions
- Butter Preparation:
- Allow melted butter to cool slightly for the perfect texture
- Banana Mashing:
- Use a fork for small chunks or blend completely smooth if preferred
- Mixing Strategy:
- Combine wet ingredients thoroughly before adding dry ingredients
- Flour Incorporation:
- Fold gently just until combined to prevent tough bars
- Chip Distribution:
- Reserve some chips for the top for a beautiful presentation
- Batter Spreading:
- Use a spatula to create an even layer for uniform baking
- Baking Watch:
- Look for golden edges that pull slightly away from the pan
My grandmother always kept a 'banana bowl' where overripe bananas would collect until there were enough for baking. She would have loved these bars as a modern twist on her classic banana bread!
Make-Ahead Magic
These bars actually taste even better the next day as the flavors meld. Store them covered at room temperature overnight before serving.
After making these countless times, I've learned they're more than just a way to use up ripe bananas - they're a treat that brings together the comforting familiarity of banana bread with the indulgence of a blondie. Whether packed in lunchboxes, served with afternoon coffee, or warmed with a scoop of ice cream for dessert, these bars never fail to bring smiles.
Perfect Texture Secrets
The key to achieving that ideal chewy texture lies in how you handle a few critical steps. First, don't overmix the batter after adding the flour - stop when just combined, even if you see a few streaks of flour remaining. Second, the melted butter needs to cool just enough that it won't cook the egg when combined. Finally, watch your baking time closely - even a few minutes too long can take these from chewy blondie-like bars to cake-like squares.
Creative Serving Suggestions
While these bars are wonderful on their own, they become truly special with a few simple additions. Try warming a square for 15 seconds in the microwave and topping with vanilla ice cream for a decadent dessert. For brunch, drizzle with warm salted caramel sauce. I've even been known to sandwich two small squares around a scoop of peanut butter ice cream for the ultimate treat!
Seasonal Adaptations
This versatile recipe adapts beautifully to the seasons. In fall, add a teaspoon of cinnamon and a pinch of nutmeg to the batter. During winter holidays, use white chocolate chips and add dried cranberries. Spring calls for a light lemon glaze drizzled over the top, while summer is perfect for serving these bars alongside fresh berries.
 Pin it
Storage Strategies
These bars maintain their wonderful texture when stored properly. For peak freshness, place squares between layers of parchment in an airtight container. For longer storage, wrap individual pieces in plastic wrap before freezing - this allows you to thaw just what you need. When bringing frozen bars back to room temperature, leave them wrapped until fully thawed to maintain moisture.
After making these bars countless times, I've come to appreciate how they reflect the beauty of simple baking - taking ordinary ingredients and transforming them into something extraordinary. There's something wonderfully satisfying about creating a treat that feels indulgent yet uses ingredients that might otherwise go to waste.
What makes these bars special isn't just their delicious taste or perfect texture - it's their versatility and approachability. Whether you're a novice baker or an experienced one, these banana chocolate chip bars deliver reliable, delicious results that bring comfort and joy to any occasion.
Frequently Asked Questions
- → Can I use regular chocolate chips instead of mini?
- Yes, regular-sized chocolate chips work fine. Mini chips distribute more evenly throughout the batter, but either size will be delicious.
- → How ripe should my bananas be?
- Very ripe bananas with lots of brown spots are best - they're sweeter and mash more easily, giving better flavor and moisture.
- → Can I add nuts to this recipe?
- Absolutely! Add 1/2 cup of chopped walnuts or pecans along with the chocolate chips for extra texture and flavor.
- → Can I make these gluten-free?
- Yes, substitute the all-purpose flour with a 1:1 gluten-free baking flour blend for similar results.
- → Why did my bars turn out too gooey in the middle?
- They might need more baking time. Every oven is different, so use the toothpick test to ensure they're done. The toothpick should come out mostly clean with just a few crumbs.