
 Pin it
These chocolate hazelnut thumbprint cookies are everything you want in a special treat rich chocolate flavor buttery bite and the perfect nutty finish. The first time I brought a batch of these to a holiday gathering they disappeared before the main course. Now they are my go to sweet for celebrations or cozy weekends at home
I first made these with my daughter and the thumbprint step became our favorite part. It is now a baking tradition every winter in our house
Ingredients
- Unsalted butter: adds rich creamy base for a tender cookie look for butter with deep yellow color for the best flavor
- Granulated sugar: brings sweetness and also helps the cookies brown choose fine white sugar for best results
- Vanilla extract: brings warm depth use real vanilla for a lovely aroma
- All purpose flour: forms the structure always scoop and level your flour for accuracy
- Cocoa powder: gives deep chocolate flavor opt for Dutch processed for best color and taste
- Salt: balances flavors and makes chocolate stand out flake salt can also be used for a finishing sprinkle
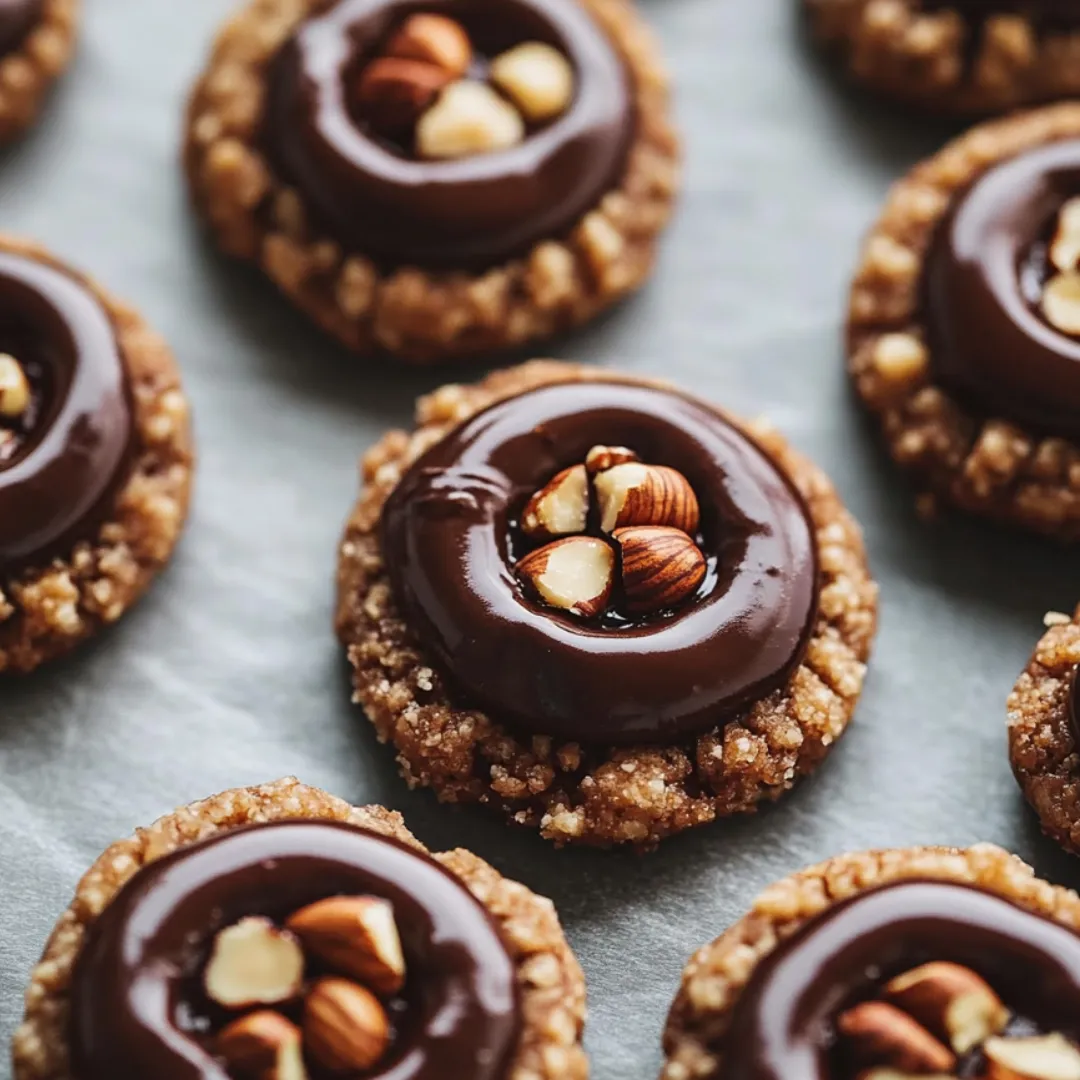
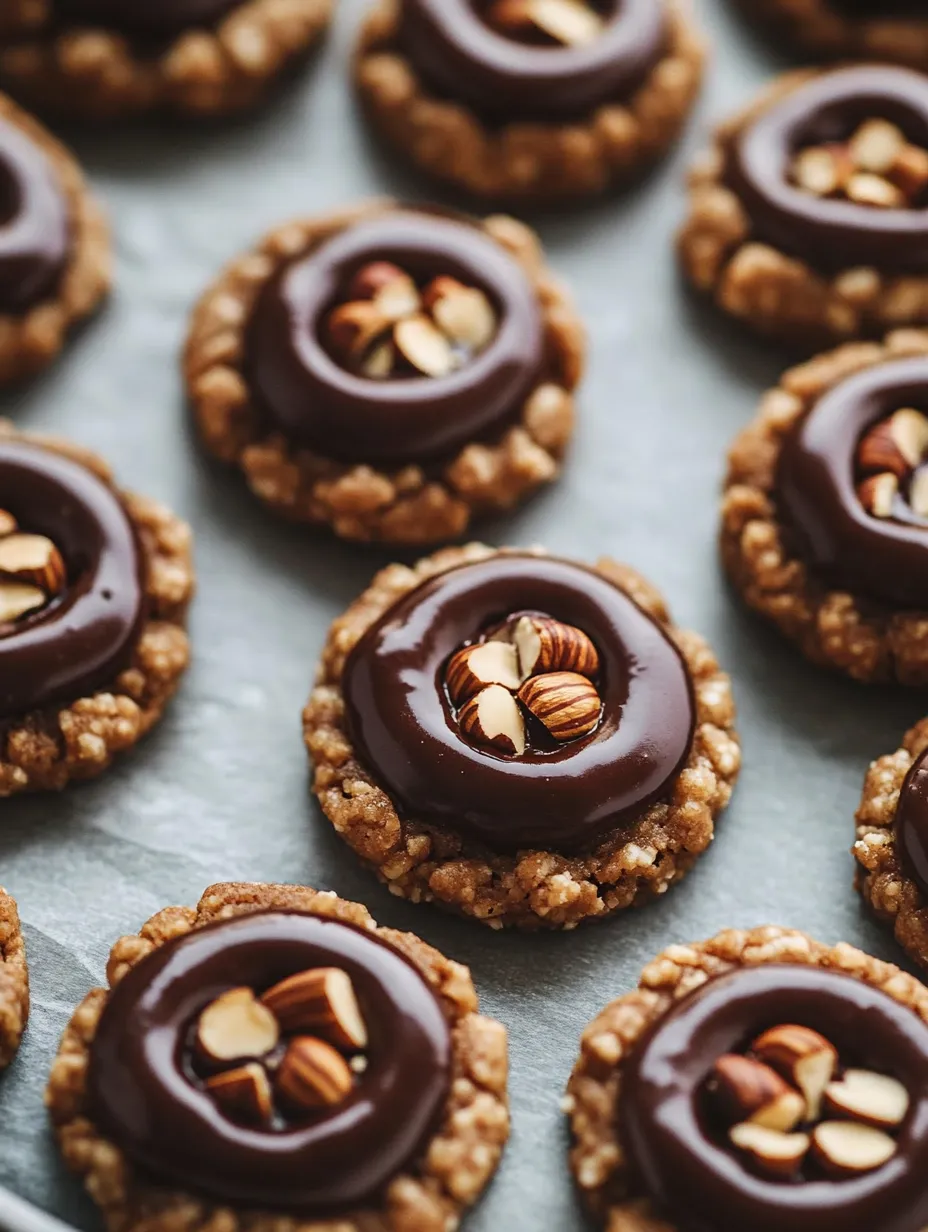
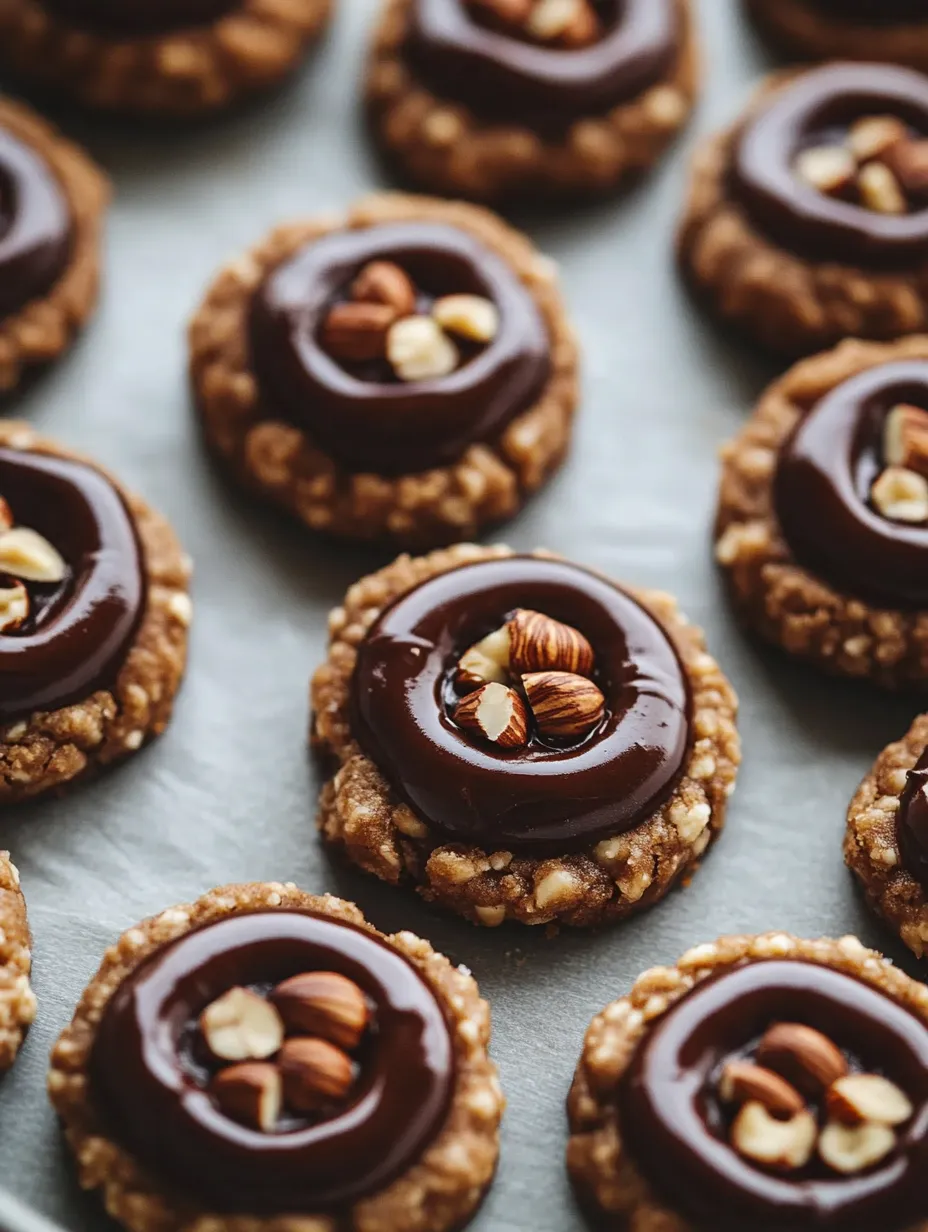
- Hazelnuts: give nutty crunch and coating toast beforehand for extra flavor and fragrant aroma
- Chocolate hazelnut spread: fills each cookie with creamy indulgence Nutella is classic but any quality spread works
- Whole hazelnuts for garnish: bring visual appeal and an extra pop perfect for special occasions
Step-by-Step Instructions
- Preheat the Oven and Prepare Baking Sheets:
- Get your oven set to the right temperature by preheating to 350 degrees F or 175 degrees C. Lay parchment paper on two baking sheets to prevent sticking and make cleanup quick
- Cream the Butter and Sugar:
- In a large mixing bowl beat together butter and granulated sugar until very light and fluffy this might take three to five minutes with an electric mixer. Add in the vanilla extract and blend until smooth
- Combine the Dry Ingredients:
- Whisk flour cocoa powder and salt together in a separate bowl to blend evenly so you do not get any clumps of cocoa or salt in your dough
- Mix Dry Ingredients into Butter Mixture:
- Gradually add your dry mixture to the creamed butter and sugar. Mix gently ensuring everything is well incorporated and stopping as soon as the dough looks smooth and fully combined. The dough should be easy to roll by hand and not sticky
- Shape the Cookies:
- Using your hands roll the dough into balls about one inch across. Roll each ball in finely chopped hazelnuts press gently so they stick. Arrange on prepared baking sheets giving space for cookies to spread
- Create Indentations:
- Use your thumb or the back of a small spoon to press a deep dimple in the center of each cookie ball. Do not press all the way through just create a hollow for your filling
- Bake the Cookies:
- Slide baking sheets into your preheated oven. Bake for about twelve to fourteen minutes until cookies are puffed and just set. They should not look shiny or wet anymore but still feel soft
- Add Chocolate Filling:
- While cookies are still warm gently press again on indentations if they have puffed up. Fill each center with about a teaspoon of chocolate hazelnut spread. If you like push a whole hazelnut into the center for a nice crunch and pretty look
- Cool and Serve:
- Let cookies cool on baking sheets for five minutes before moving them to a wire rack. Make sure they are fully cooled before stacking or storing so you keep the centers perfect
 Pin it
Roasting the hazelnuts before using fills my kitchen with a toasted aroma I adore and reminds me of winter baking days with my mom watching the oven and waiting for that first delicious bite
Storage Tips
Store these cookies in an airtight container at room temperature for up to five days. Place parchment between layers to keep the fillings neat and prevent sticking. For longer storage freeze baked cookies in a single layer then layer them between parchment in a freezer safe container. Thaw at room temperature before serving so the centers turn creamy again
Ingredient Substitutions
If you need a nut free version swap hazelnuts for finely chopped pumpkin seeds and use a chocolate spread without nuts. For gluten free cookies use a quality one to one flour substitute. You can also try almond extract in place of vanilla for a different depth
Serving Suggestions
Serve these cookies with a mug of coffee or hot cocoa for a cozy treat. They also look beautiful as part of a holiday cookie platter with shortbreads sugar cookies and spiced biscotti. For special gifting wrap a stack in parchment and tie with twine for a rustic touch
 Pin it
Cultural and Historical Notes
Thumbprint cookies are classics in many European baking traditions often filled with jam or chocolate. Hazelnuts and chocolate together are beloved in Italian pastries and beyond much like the famous spread these cookies capture. Bringing both together in a thumbprint makes each bite feel like a little celebration
Frequently Asked Questions
- → How do you achieve a soft, tender texture?
Creaming the butter and sugar thoroughly creates a light, tender dough, resulting in a delicate cookie crumb.
- → What’s the best method for evenly coating with hazelnuts?
Roll each dough ball in finely chopped hazelnuts, gently pressing so nuts adhere evenly for a uniform crust.
- → Can a different nut or filling be substituted?
Yes, try almonds or pecans for the coating, and swap in any smooth chocolate or nut butter for the center.
- → How do you prevent the centers from puffing up?
After baking, re-press the indentations with a spoon while the cookies are warm to maintain the thumbprint shape.
- → Are these best served warm or cooled?
Allow cookies to cool completely so the chocolate center sets, though slightly warm is also delightful.