
 Pin it
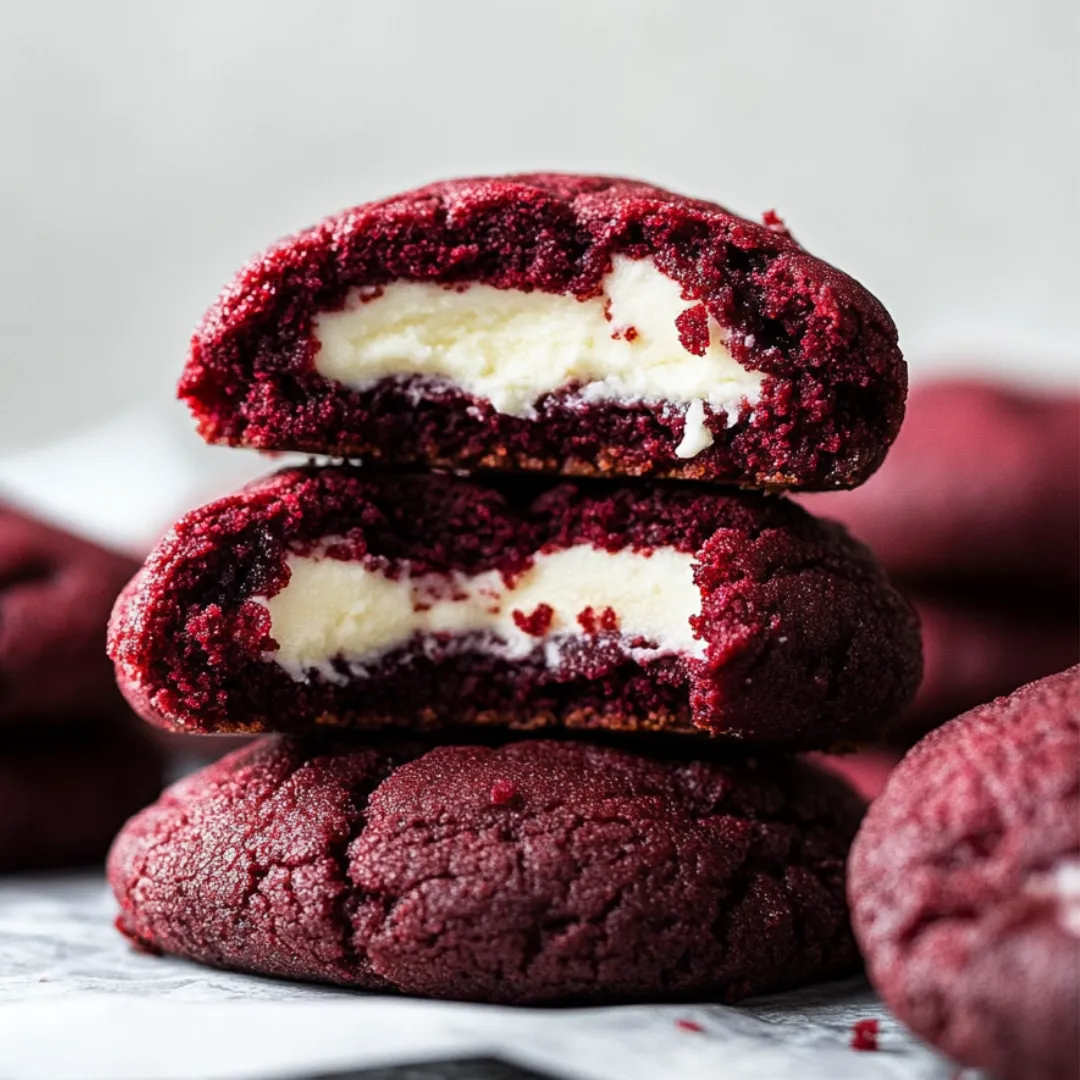
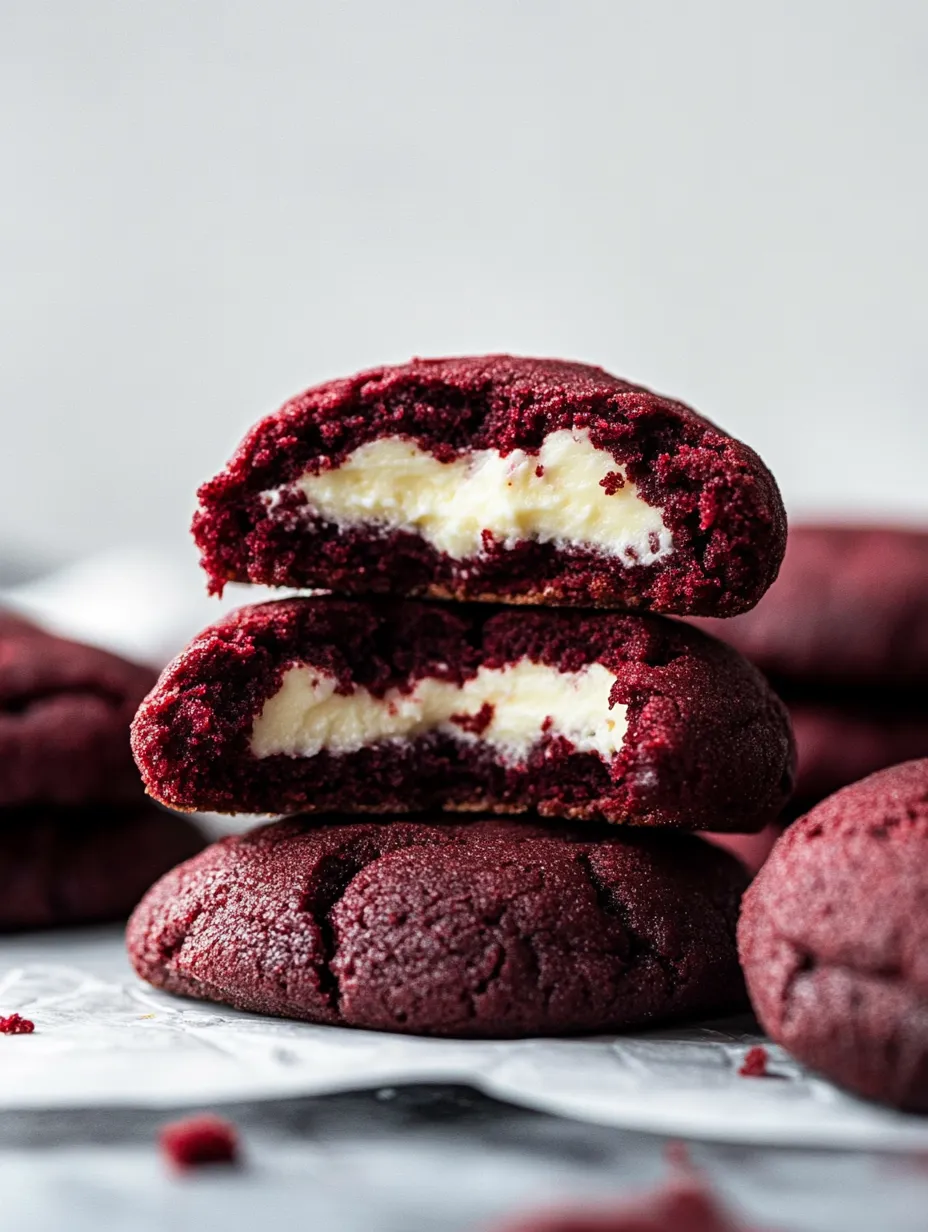
These indulgent cream cheese filled red velvet cookies combine two beloved desserts in one irresistible package. Each cookie features a soft, chewy red velvet exterior that gives way to a luscious cream cheese center, creating the perfect balance of flavors and textures in every bite. The subtle cocoa notes in the vibrant red cookie dough complement the tangy cream cheese filling, while the slightly crisp edges give way to a tender interior, making these treats impossible to resist whether served at holiday gatherings, special occasions, or simply as an elevated everyday indulgence.
I first created these cookies for a Valentine's Day gathering when I wanted something more unique than traditional chocolate chip cookies. When my usually stoic father-in-law took a bite and immediately reached for a second cookie before finishing his first, I knew I had a winner. The unexpected cream cheese center elevates these from simple cookies to a memorable dessert experience. My niece now requests these for her birthday instead of cake, and I've had multiple friends ask for the recipe after posting photos of them online. The contrast between the vibrant red exterior and the creamy white filling makes them particularly photogenic for any dessert table.
Key Ingredients
- Cocoa Powder: Provides the subtle chocolate undertones essential to authentic red velvet flavor. Though used in a small amount, it contributes significantly to the complex flavor profile and works with the vinegar to enhance the red color.
- Vinegar: A traditional red velvet ingredient that adds imperceptible tanginess while reacting with the cocoa powder to enhance the red color naturally. This small addition is what separates true red velvet from merely colored chocolate desserts.
- Cream Cheese: Creates a tangy, creamy center that contrasts beautifully with the sweet cookie surrounding it. Full-fat cream cheese provides the best flavor and texture, maintaining its distinct character even after baking.
- Red Food Coloring: Gives the cookies their signature vibrant appearance. Gel food coloring provides the most intense color with minimal added liquid, helping maintain the proper dough consistency.
 Pin it
Step-by-Step Instructions
- Prepare Your Workspace:
- Preheat your oven to 350°F (175°C) and line two baking sheets with parchment paper. Having everything set up before beginning prevents the cream cheese filling from sitting at room temperature too long, which could make it difficult to handle.
- Mix Dry Ingredients:
- In a medium bowl, whisk together 2½ cups all-purpose flour, 1 tablespoon cocoa powder, ½ teaspoon baking soda, and ½ teaspoon salt until evenly distributed. This thorough mixing ensures no bitter pockets of baking soda or cocoa powder appear in the final cookies.
- Create Cookie Base:
- In a large bowl, beat 1 cup softened unsalted butter with 1 cup granulated sugar until light and fluffy, about 3-4 minutes. This extended creaming process incorporates air into the dough, creating a lighter texture in the finished cookie. Add 1 large egg, 2 tablespoons red food coloring, 1 teaspoon vanilla extract, and 1 teaspoon vinegar, beating until fully incorporated and evenly colored.
- Develop Cookie Dough:
- Gradually add the dry ingredient mixture to the butter mixture, mixing on low speed just until combined. Overmixing at this stage would develop too much gluten, resulting in tough rather than tender cookies. The dough should be soft but not sticky, holding its shape when rolled.
- Prepare Cream Cheese Filling:
- In a separate bowl, beat 8 ounces softened cream cheese with ¼ cup powdered sugar and 1 teaspoon vanilla extract until smooth and creamy. The powdered sugar dissolves easily and helps stabilize the filling. Chill this mixture for 10 minutes if it seems too soft to handle.
- Assemble the Cookies:
- Scoop a tablespoon of cookie dough and flatten it slightly in your palm. Place a teaspoon-sized portion of cream cheese filling in the center, then top with another tablespoon of flattened cookie dough. Carefully seal the edges by pinching and rolling between your hands to form a smooth ball, ensuring no filling is exposed.
- Position for Baking:
- Place the filled cookie balls on the prepared baking sheets, spacing them about 2 inches apart to allow for spreading. Slightly flatten the tops of each cookie with your fingertips or the bottom of a glass to encourage even baking and attractive cracking.
- Bake to Perfection:
- Bake in the preheated oven for 10-12 minutes, until the edges are set but the centers still appear slightly soft. The cookies will develop small cracks on top as they bake, revealing their tender interior. Avoid overbaking, as this would compromise their soft texture.
- Cool Strategically:
- Allow the cookies to rest on the baking sheets for 5 minutes to firm up slightly, then transfer to a wire rack to cool completely. This gradual cooling process helps the cookies maintain their structure while preserving their chewy texture.
Mastering the Perfect Filling
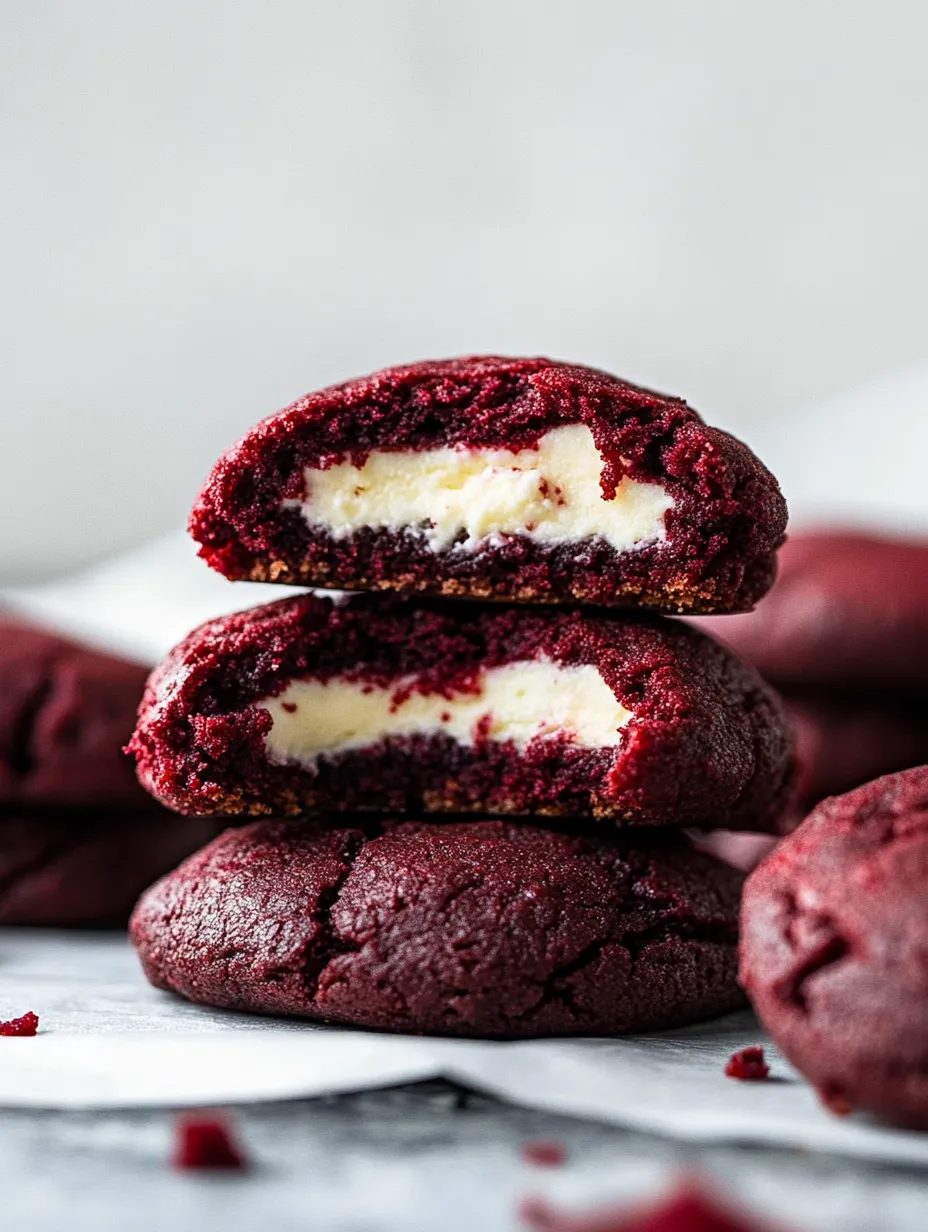
The cream cheese filling presented my biggest challenge when developing this recipe. My first attempts resulted in filling that either leaked out during baking or disappeared into the cookie. Through trial and error, I discovered that chilling the cream cheese mixture briefly before assembling the cookies made it much easier to handle and helped it maintain its distinct center.
I also found that the amount of filling matters significantly. Too much creates structural problems, while too little gets lost in the cookie. The teaspoon measure provides just the right amount to create that perfect burst of creamy tanginess in each bite. For the cleanest filling experience, I now use a small cookie scoop for both the dough and filling, ensuring consistency across the entire batch.
 Pin it
Make-Ahead and Storage Tips
These cookies are perfect for preparing in advance, which I discovered when making them for a large family gathering. The unbaked, filled cookie dough balls can be refrigerated for up to 2 days before baking, or frozen for up to a month. When baking from frozen, simply add 2-3 minutes to the baking time with no need to thaw first.
The baked cookies stay remarkably fresh in an airtight container at room temperature for up to 5 days, though the contrast between the cookie and filling becomes less distinct over time. For longer storage, I refrigerate them for up to a week or freeze for up to 3 months. When serving cookies that have been refrigerated, allow them to come to room temperature for about 20 minutes to soften the cream cheese filling to its ideal creamy consistency.
I learned about proper filling technique through a memorable kitchen disaster. For my first batch, I attempted to inject the cream cheese filling into already-baked cookies using a piping bag, resulting in broken cookies and a mess of cream cheese everywhere. That failed experiment taught me that the filling needs to be baked inside the cookie from the start, creating that perfect integration of flavors and textures that makes these cookies so special.
The technique that transformed these cookies was discovering the ideal baking time. In my early attempts, I baked them until they looked completely done, resulting in cookies that were too firm with centers that had melted into the dough. By reducing the baking time and removing them while the centers still looked slightly underbaked, the cookies maintained their soft texture and the cream cheese filling remained distinct. This small adjustment made the difference between good cookies and truly excellent ones that everyone now requests.
Frequently Asked Questions
- → Can I make the dough ahead of time?
- Yes, you can prepare the dough and filling up to 24 hours in advance and store them separately in the refrigerator. Bring the dough to room temperature before assembling the cookies, as cold dough will be harder to work with.
- → How do I know if my cookies are done baking?
- The cookies are done when the edges are set and slightly golden, but the centers still appear soft. They will continue to firm up as they cool. Be careful not to overbake, or they will lose their soft, chewy texture.
- → Can I use gel food coloring instead of liquid?
- Yes, gel food coloring works well and often provides more vibrant color with less product. Start with 1-2 teaspoons of gel coloring and adjust as needed to achieve your desired shade of red.
- → Why do red velvet cookies contain vinegar?
- The vinegar reacts with the baking soda to help the cookies rise and creates the signature tender texture of red velvet. It also enhances the red color when it reacts with the cocoa powder and food coloring.
- → Can I freeze these cookies?
- Yes, these cookies freeze well for up to 3 months. Allow them to cool completely, then place in an airtight container with parchment paper between layers. Thaw at room temperature before serving.