
 Pin it
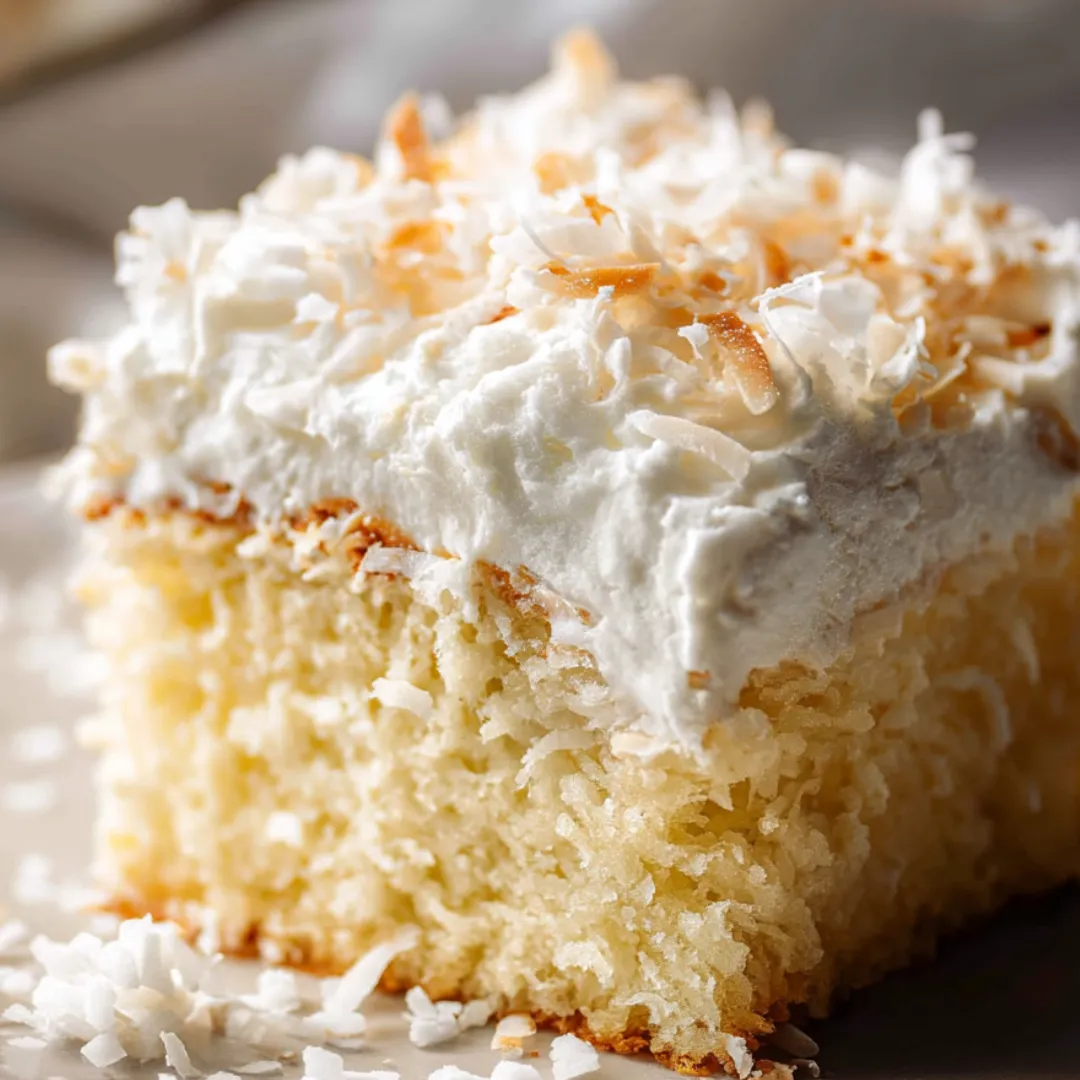
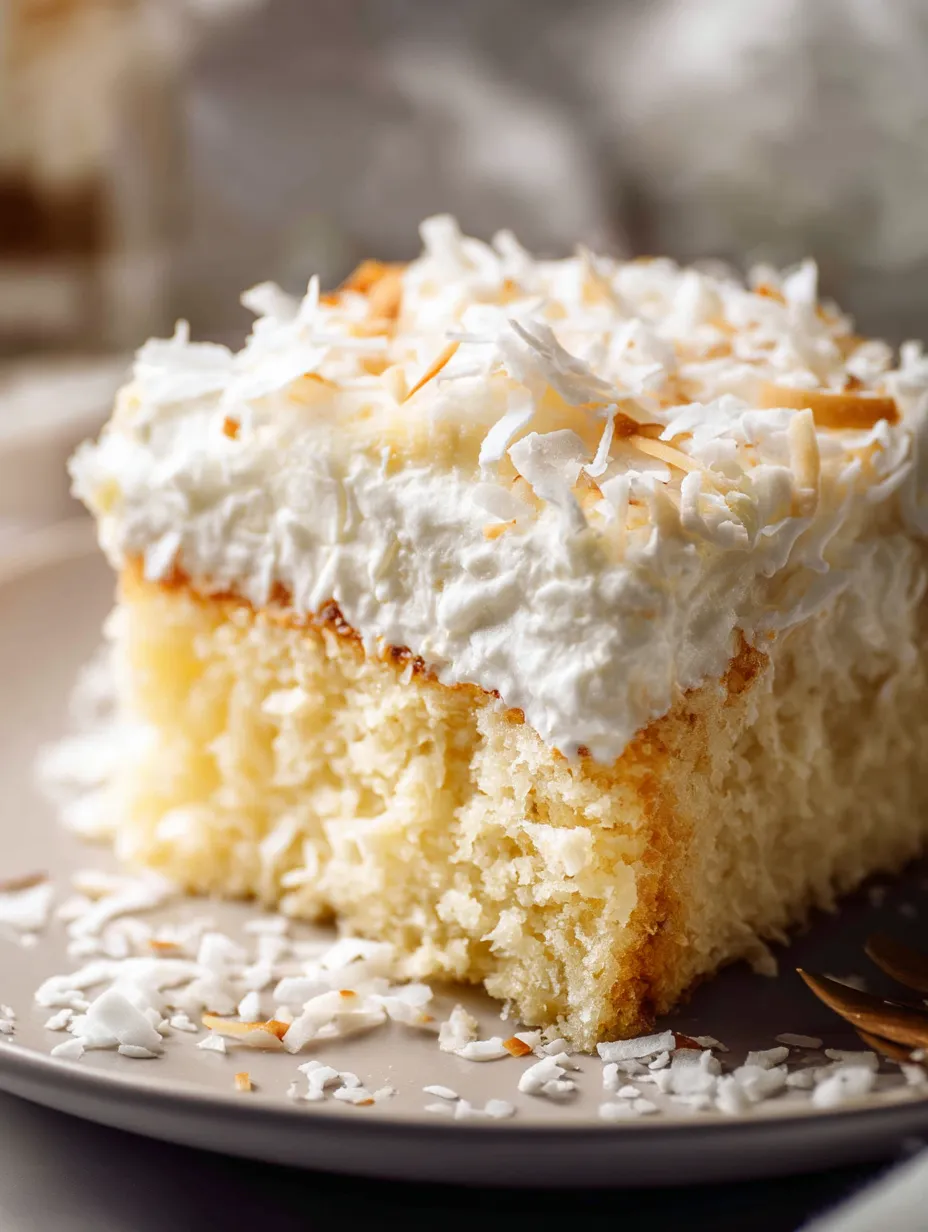
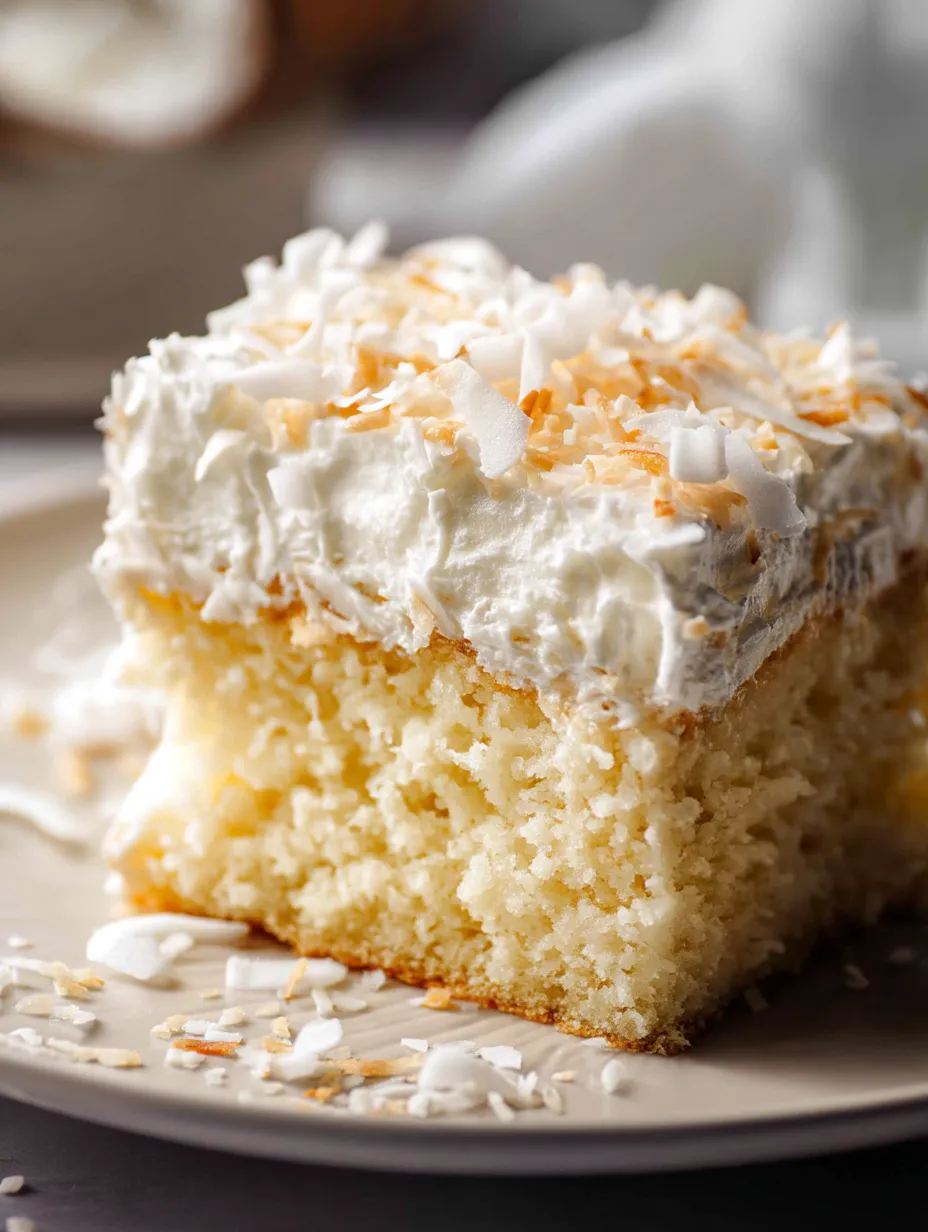
This creamy coconut cake has been my secret weapon for potlucks and family gatherings for years. With its moist texture infused with sweet coconut milk and topped with fluffy whipped cream, it's the dessert everyone always asks for the recipe.
I first made this cake for my husband's birthday when we were newlyweds. What started as a simple dessert has become our most requested celebration cake for over a decade.
Ingredients
- White cake mix: Provides the perfect canvas for coconut flavors and saves time without sacrificing quality
- Large eggs: Add structure and richness to the base cake
- Vegetable oil: Keeps the cake incredibly moist for days
- Water: Helps activate the cake mix properly
- Sweetened coconut flakes: Add texture and tropical flavor throughout
- Cool Whip topping: Creates that light airy frosting that stays perfect in the refrigerator
- Sweetened condensed milk: Infuses sweetness into every bite as it soaks into the cake
- Cream of coconut: Coco Lopez brand specifically adds authentic coconut flavor that regular coconut milk cannot match
- Toasted coconut flakes: Provide a beautiful garnish and wonderful contrast in texture and flavor
Step-by-Step Instructions
- Prepare the Oven and Pan:
- Preheat your oven to exactly 350 degrees F. Take a 9x13 baking pan and spray it thoroughly with nonstick cooking spray making sure to get the corners and sides well covered.
- Mix the Cake Batter:
- In a large bowl combine the white cake mix, eggs, vegetable oil, and water. Beat with an electric mixer for a full minute. The batter should become noticeably thicker and smoother as air incorporates into the mixture. This creates the light texture we want in the finished cake.
- Bake the Cake:
- Pour the batter carefully into your prepared pan spreading it evenly to the corners. Bake for 30 to 35 minutes checking at the 30-minute mark by inserting a toothpick in the center. The toothpick should come out completely clean when the cake is done. Allow the cake to cool in the pan on a wire rack.
- Prepare the Coconut Whipped Topping:
- While the cake cools, take a medium bowl and gently fold together the sweetened coconut flakes and the entire container of thawed Cool Whip. Use a folding motion rather than stirring to maintain the fluffy texture of the whipped topping.
- Create the Coconut Milk Mixture:
- In a separate bowl whisk together the sweetened condensed milk and cream of coconut until completely combined. This creates the luscious soaking liquid that will transform the cake texture.
- Poke the Cake:
- After the cake has cooled, take the handle end of a wooden spoon and poke holes all over the cake surface spaced about 1 inch apart. Make sure to poke all the way to the bottom of the cake; this allows the coconut milk mixture to penetrate fully.
- Add the Soaking Liquid:
- Slowly pour the coconut milk mixture over the entire cake surface making sure it fills all the holes you created. Use a spatula to gently spread it evenly if needed. Let the cake sit for at least 15 minutes to absorb the liquid.
- Add the Coconut Topping:
- Carefully spread the coconut whipped topping mixture over the entire cake creating an even layer. Take your time with this step to create a smooth attractive finish.
- Garnish and Chill:
- Sprinkle the toasted coconut flakes over the top of the cake for visual appeal and added texture. For best results, cover the cake without touching the topping and refrigerate for several hours or overnight before serving.
 Pin it
The cream of coconut is truly the secret ingredient that makes this cake special. I once tried substituting regular coconut milk and the difference was immediately noticeable; the cream of coconut provides that authentic tropical sweetness that cannot be replicated.
 Pin it
Make Ahead Tips
This coconut cake is actually perfect for preparing 1-2 days ahead of an event. The flavors continue to develop and meld together in the refrigerator making it even more delicious. I recommend adding the toasted coconut topping just before serving to maintain its crunch. Cover tightly with plastic wrap but be careful not to press it into the whipped topping.
Storage Information
This cake will stay fresh for up to 5 days when stored in the refrigerator. Always keep it covered to prevent it from absorbing other food odors. Due to the dairy components, this cake should never be left at room temperature for more than 2 hours. Unfortunately, this cake does not freeze well as the whipped topping texture changes upon thawing.
Ingredient Substitutions
If you prefer a more homemade approach, you can replace the Cool Whip with freshly whipped cream. Simply beat 2 cups cold heavy cream with 1/3 cup powdered sugar and a teaspoon of vanilla extract until stiff peaks form. For those looking to reduce sweetness, unsweetened coconut flakes work beautifully in both the topping and as garnish; just recognize the overall sweetness will be reduced slightly.
Frequently Asked Questions
- → Can I use fresh coconut instead of sweetened flakes?
Yes, you can use fresh coconut, but keep in mind it may alter the sweetness and texture slightly. You might need to adjust the sugar in the recipe to maintain balance.
- → How can I toast coconut flakes?
Spread the coconut flakes evenly on a baking tray and toast them in a preheated oven at 350°F (175°C) for 5-7 minutes, stirring occasionally, until golden brown and fragrant.
- → What is cream of coconut, and where can I find it?
Cream of coconut is a sweetened, thick coconut product often used in desserts and cocktails. It's commonly found in the baking aisle or near cocktail mixers in grocery stores.
- → Can I make this cake ahead of time?
Absolutely! For the best flavor and texture, make the cake a day in advance and let it chill in the refrigerator. Add the toasted coconut just before serving.
- → What alternatives can I use for Cool Whip topping?
If you prefer, you can replace Cool Whip with fresh whipped cream. Whip together cold heavy cream, powdered sugar, and vanilla extract until stiff peaks form.
- → How do I ensure the milk mixture soaks into the cake?
Use the handle of a small wooden spoon or a skewer to poke plenty of holes throughout the cake, making sure the milk mixture is evenly distributed.