
 Pin it
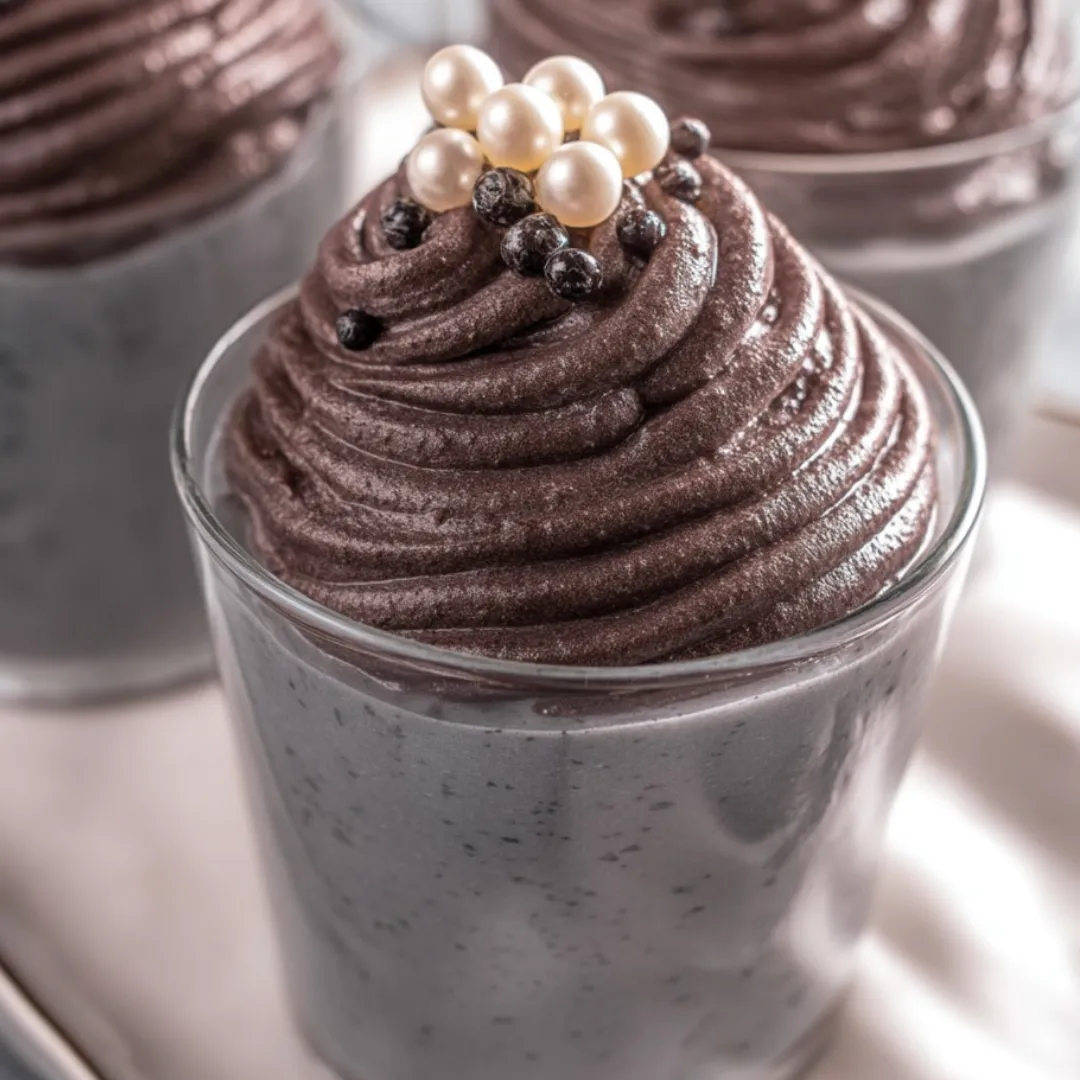
This enchanting Disney-inspired dessert brings a touch of movie magic right to your kitchen. The velvety, mousse-like texture combined with rich cookies-and-cream flavor creates a special treat that looks just like the famous "grey stuff" mentioned in Beauty and the Beast. Perfect for Disney-themed parties, special occasions, or whenever you want to create a memorable dessert experience, this recipe captures the whimsical essence of the Be Our Guest restaurant's popular offering while being surprisingly simple to make at home.
The first time I made this recipe was for my daughter's birthday. She had just returned from her first Disney trip and couldn't stop talking about the "grey stuff" she'd tried at the Magic Kingdom. I was nervous about recreating something so iconic, but when I served it in little teacups with pearl sprinkles on top, her eyes lit up with recognition. She took one bite and declared it was "exactly like Disney!" Even my husband, who typically avoids sweets, kept sneaking spoonfuls when he thought no one was looking. Now it's become our special celebration dessert, requested for birthdays, movie nights, and whenever we need a little bit of magic.
Ingredients
- 1 cup whole milk: Creates the base for our custard. Look for milk with a higher fat content for the richest flavor. The milk should have a fresh, clean smell and no off-notes. Farm-fresh milk works beautifully if you have access to it, but any good quality whole milk from the grocery store works perfectly.
- 1/4 cup granulated sugar: Provides just the right amount of sweetness. Regular white sugar works best here as it dissolves smoothly without adding color. The sugar should be free-flowing without any lumps, which could affect the texture of your custard.
- 1 large egg: Adds richness and helps thicken the custard. Farm-fresh eggs with bright yellow-orange yolks provide the best flavor and color. The egg should be at room temperature to incorporate more easily with the other ingredients.
- 2 tablespoons all-purpose flour: Works with cornstarch to create the perfect custard texture. Unbleached flour is ideal, but regular all-purpose flour works just fine. Make sure your flour hasn't absorbed any odors from your pantry and is free from any moisture.
- 1 tablespoon cornstarch: Helps achieve that silky-smooth pudding consistency. The cornstarch should be pure white without any yellow tinge (which would indicate age). It should be completely lump-free for the smoothest results.
- 1 package (14.3 oz) Oreo cookies: Provides both flavor and that signature grey color. Original Oreos work best here, though you can experiment with different variations for subtle flavor changes. The cookies should be fresh and crisp for the best flavor infusion.
- 1 cup heavy whipping cream: Creates the light, airy texture. Look for cream with at least 36% fat content that hasn't been ultra-pasteurized for the best whipping results. The cream should have a clean, fresh smell and a pourable but thick consistency.
- White pearl sprinkles (optional): Adds the perfect finishing touch that mimics the Disney presentation. Food-grade decorative pearls with a slight shine look most authentic. These should be firm enough to maintain their shape when placed on top of the dessert.
 Pin it
Step-by-Step Instructions
- Step 1:
- Prepare your work station thoughtfully - Begin by gathering all your ingredients and equipment before you start cooking. For this recipe, having everything measured and ready is particularly important since the custard requires your full attention once you begin. Set out a medium saucepan for the milk, a heat-resistant mixing bowl for the egg mixture, another bowl for cooling the custard, a food processor or blender for the cookies, and a final large bowl for combining everything. Place a clean kitchen towel on your counter where you'll set the bowl for tempering the eggs - this prevents the bowl from sliding around while you're whisking. Having everything organized from the start makes the process flow smoothly and helps prevent mistakes or scrambled eggs in your custard.
- Step 2:
- Create the custard base with precision - In your heat-resistant mixing bowl, combine the egg and sugar. Using a whisk, beat them together until the mixture becomes pale yellow and slightly frothy, about 2 minutes of continuous whisking. This incorporates air and begins to dissolve the sugar crystals for a smoother custard. Next, add the flour and cornstarch to the egg mixture, continuing to whisk until completely incorporated with no visible lumps. The mixture will be quite thick at this point, which is exactly what you want. Set this bowl on the kitchen towel you prepared earlier - it's about to become very important when you temper the eggs.
- Step 3:
- Heat the milk properly - Pour the milk into your medium saucepan and place it over medium heat. Watch it carefully - you want to heat it just until you see tiny bubbles forming around the edges and wisps of steam rising from the surface. This is the perfect temperature for tempering the eggs without scalding the milk. Remove the pan from the heat as soon as you see these signs. If the milk boils vigorously, it can develop a cooked flavor and affect the final taste of your dessert.
- Step 4:
- Master the tempering technique - This critical step prevents the eggs from scrambling when combined with hot milk. With your bowl of egg mixture secured on the kitchen towel, pick up the saucepan of hot milk with one hand and a whisk in the other. Begin whisking the egg mixture continuously while slowly streaming about half of the hot milk into the bowl. The key is to keep whisking vigorously while adding the milk in a thin, steady stream. This gradually raises the temperature of the eggs without cooking them. Once half the milk is incorporated, the eggs are properly tempered and safe to add back to the remaining hot milk.
- Step 5:
- Cook the custard to perfection - Pour the tempered egg mixture back into the saucepan with the remaining milk. Return the pan to medium heat and cook, whisking constantly, until the mixture comes to a gentle boil. Once boiling, continue to cook for 3-4 minutes while whisking continuously. You'll notice the mixture thickening considerably during this time - it should coat the back of a spoon and when you run your finger through it, the line should remain clear. This thickness is essential for the proper final texture of your grey stuff. If any lumps form, whisk vigorously to smooth them out.
- Step 6:
- Cool the custard properly - Remove the saucepan from the heat and immediately transfer the hot custard to a clean bowl. This stops the cooking process and prevents the custard from becoming too thick. Press a piece of plastic wrap directly onto the surface of the custard to prevent a skin from forming. This contact is important - any air between the plastic and the custard will allow a skin to develop. Allow the custard to cool completely to room temperature, which takes about 45 minutes to 1 hour. You can speed this process by placing the bowl in an ice bath if you're in a hurry, but don't refrigerate it yet.
- Step 7:
- Transform ordinary cookies into magic - While the custard cools, place the entire package of Oreo cookies (creamy centers and all) into a food processor or blender. Pulse until the cookies become fine crumbs with no large pieces remaining. This usually takes about 30-45 seconds of pulsing. The consistency should be similar to wet sand - fine enough to incorporate smoothly into the custard but not so fine that it becomes paste-like. The cream filling will help bind the crumbs slightly, which is perfect for our purpose.
- Step 8:
- Incorporate the cookies with finesse - Once your custard has cooled completely to room temperature, remove the plastic wrap and add all of the Oreo cookie crumbs to the bowl. Using a spatula, fold the crumbs into the custard until fully incorporated and no streaks of white custard remain. The mixture will transform into that signature grey color that gives this dessert its name. Take your time with this step to ensure even distribution of the cookie crumbs throughout the custard. The mixture will be quite thick at this stage - that's exactly what you want for the perfect final texture.
- Step 9:
- Whip the cream to ideal consistency - In a separate large bowl, pour the cold heavy whipping cream. Using an electric mixer on medium speed (or a whisk if you're up for a workout), beat the cream until it forms soft peaks. This is the critical stage - soft peaks mean that when you lift the beater, the cream forms peaks that gently curl over at the tips rather than standing straight up or falling flat. This usually takes about 3-4 minutes with an electric mixer, but watch it carefully rather than relying on time alone. If you whip too long and get stiff peaks, your final dessert will be less creamy and mousse-like.
- Step 10:
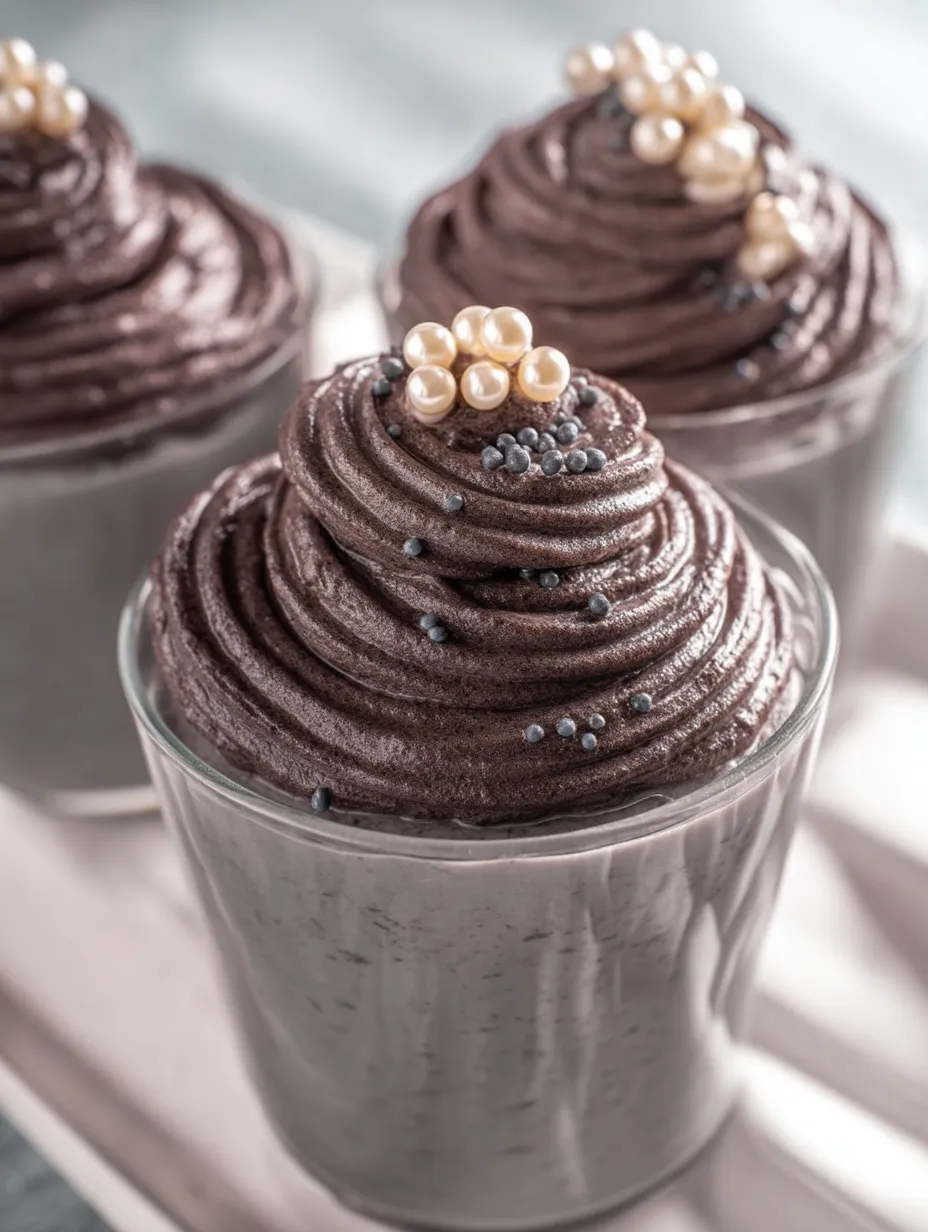
- Create the perfect final texture - Add the whipped cream to your grey Oreo custard mixture. Using a large spatula, gently fold the whipped cream into the custard with a down-and-over motion, turning the bowl as you go. Resist the urge to stir vigorously, as this will deflate the air bubbles in the whipped cream that create the light, mousse-like texture. Continue folding until the mixture is uniform in color with no streaks of white cream visible. The finished grey stuff should have a light, fluffy texture that holds its shape when scooped or piped. Transfer the mixture to a piping bag fitted with a star tip for the most authentic Disney presentation, or simply spoon it into serving dishes and top with pearl sprinkles for that magical finishing touch.
When complete, your homemade "grey stuff" should have a silky, mousse-like texture that's both light and rich at the same time, with the perfect balance of creamy vanilla custard and chocolate cookie flavors in every bite!
A Magical Dessert with History
This delightful dessert holds a special place in the hearts of Disney fans everywhere. What fascinates me most about recreating the "grey stuff" at home is how it connects us to beloved stories and memories. Originally just a passing mention in an animated movie, Disney's Imagineers brought this mysterious treat to life at the Be Our Guest restaurant, where it's become one of the most requested items on the menu.
I remember watching Beauty and the Beast countless times with my children when they were young, always wondering what exactly this mysterious "grey stuff" might be. When we finally visited Disney World years later, tasting the actual dessert became a mission for our family. Standing in line at Be Our Guest, my children could barely contain their excitement about trying something they'd heard about in a song for years.
The genius of this recipe is that it transforms ordinary ingredients into something that feels magical and special. I've found that serving this dessert creates an instant connection to cherished memories, whether it's from a Disney vacation or simply family movie nights spent watching Belle dance with her Beast. There's something wonderfully nostalgic about bringing a fictional food into reality—it bridges imagination and experience in a way that resonates with both children and adults.
Presentation Ideas That Enchant
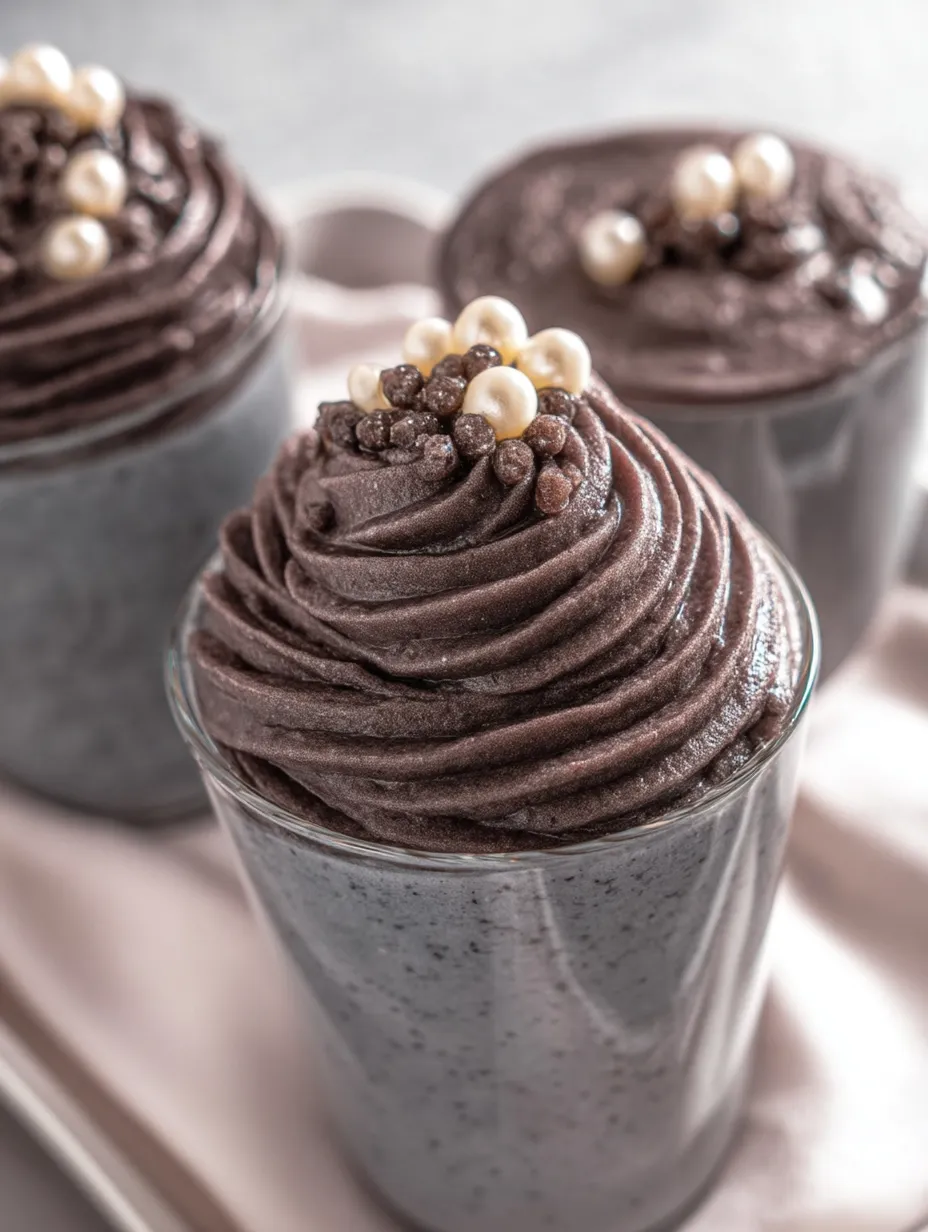
While the grey stuff is delicious simply piped into bowls with pearl sprinkles, I've discovered several presentation options that elevate this dessert to truly magical status. For birthday celebrations, I serve individual portions in tiny teacups arranged on a cake stand, creating a whimsical tea party atmosphere that delights guests of all ages.
For family movie nights featuring Beauty and the Beast, I pipe the grey stuff onto sugar cookies shaped like teacups or roses. The contrast between the grey dessert and the colorful cookies creates a visually stunning treat that disappears almost as quickly as I can serve it.
During holiday gatherings, I've used the grey stuff as a filling between layers of yellow cake, creating a "tale as old as time" layer cake that references both the movie's famous ballroom scene and its signature dessert. A simple dusting of edible gold shimmer powder on top adds a touch of elegance that makes this dessert feel special enough for any celebration.
For children's parties, serving the grey stuff in clear plastic cups layered with colorful sprinkles creates a parfait effect that's both beautiful and practical for young guests. I've found that adding a small printed tag with the famous "try the grey stuff" quote attached to each serving sparks joy and recognition among Disney fans.
I discovered the importance of patience with this recipe during a rushed attempt to make it for a surprise Disney movie night. Trying to speed up the cooling process by putting the hot custard directly in the refrigerator resulted in a grainy texture that couldn't be fixed. Now I always allow the full cooling time at room temperature before adding the cookie crumbs. My family jokes that they can tell when I've made the grey stuff properly because I hover over it protectively during the cooling phase, checking the temperature like a nervous chef on a cooking show.
 Pin it
Creative Variations to Try
While the classic grey stuff recipe is perfect as is, I've experimented with several variations that offer delightful twists on the original. For a mint chocolate version, I substitute mint Oreos for regular ones and add a tiny drop of peppermint extract to the custard. The subtle mint flavor creates a refreshing version that's especially popular during the holiday season.
For chocolate lovers in my family, I sometimes fold in an additional 1/4 cup of mini chocolate chips just before serving. The small bursts of chocolate add texture and intensity that complements the cookies and cream flavor beautifully. This variation is particularly popular with my son, who claims you can never have too much chocolate in a dessert.
During pumpkin spice season, I've created an autumn version by adding 1/2 teaspoon of pumpkin pie spice to the custard and using golden Oreos instead of chocolate ones. The result is a warmer, spicier dessert that pairs wonderfully with fall gatherings while maintaining that signature creamy texture.
For adults, I occasionally add 1 tablespoon of coffee liqueur to the custard mixture for a sophisticated twist that's perfect for dinner parties. The hint of coffee enhances the chocolate notes from the cookies without overwhelming the delicate balance of flavors.
I've even created a dairy-free version using coconut milk and coconut cream for friends with dietary restrictions. While the texture is slightly different from the original, the flavor is remarkably similar, and it allows everyone to enjoy this magical dessert regardless of dietary needs.
After making this dessert countless times for birthdays, movie nights, and special celebrations, I've come to appreciate how food connects us to stories and memories. There's something incredibly special about the wide-eyed wonder on a child's face when they recognize this dessert from their favorite movie, or the nostalgic smile of an adult who's transported back to their own Disney experiences with just one taste.
What I love most about sharing this recipe is knowing that it helps families create their own magical moments at home. In our busy world, taking the time to make something special like the grey stuff becomes more than just preparing a dessert—it becomes about creating experiences and traditions that children will remember long after the last spoonful is gone. Whether you're a dedicated Disney fan or simply someone who appreciates a delicious dessert with a touch of whimsy, this grey stuff truly lives up to its reputation: it's delicious!
Frequently Asked Questions
- → What is Disney's Grey Stuff?
- The Grey Stuff is a dessert from Disney's Be Our Guest restaurant, inspired by the line in Beauty and the Beast: "Try the grey stuff, it's delicious!" It's a cookies and cream flavored mousse-like topping.
- → Can I make this ahead of time?
- Yes! This dessert actually tastes better after chilling for a few hours. You can make it up to 2 days in advance and keep it refrigerated until ready to serve.
- → What can I serve the Grey Stuff on?
- At Disney, it's served on cookies or cupcakes. Try it on sugar cookies, chocolate cupcakes, brownies, or even as a dip for strawberries and other fresh fruits.
- → Can I freeze the Grey Stuff?
- Yes, you can freeze it for up to a month. Thaw overnight in the refrigerator before serving. The texture might change slightly but it will still be delicious.
- → Can I use different cookies instead of Oreos?
- While Oreos give the authentic grey color and flavor, you could experiment with other sandwich cookies. Just note that the color will be different from the classic 'grey stuff'.