
 Pin it
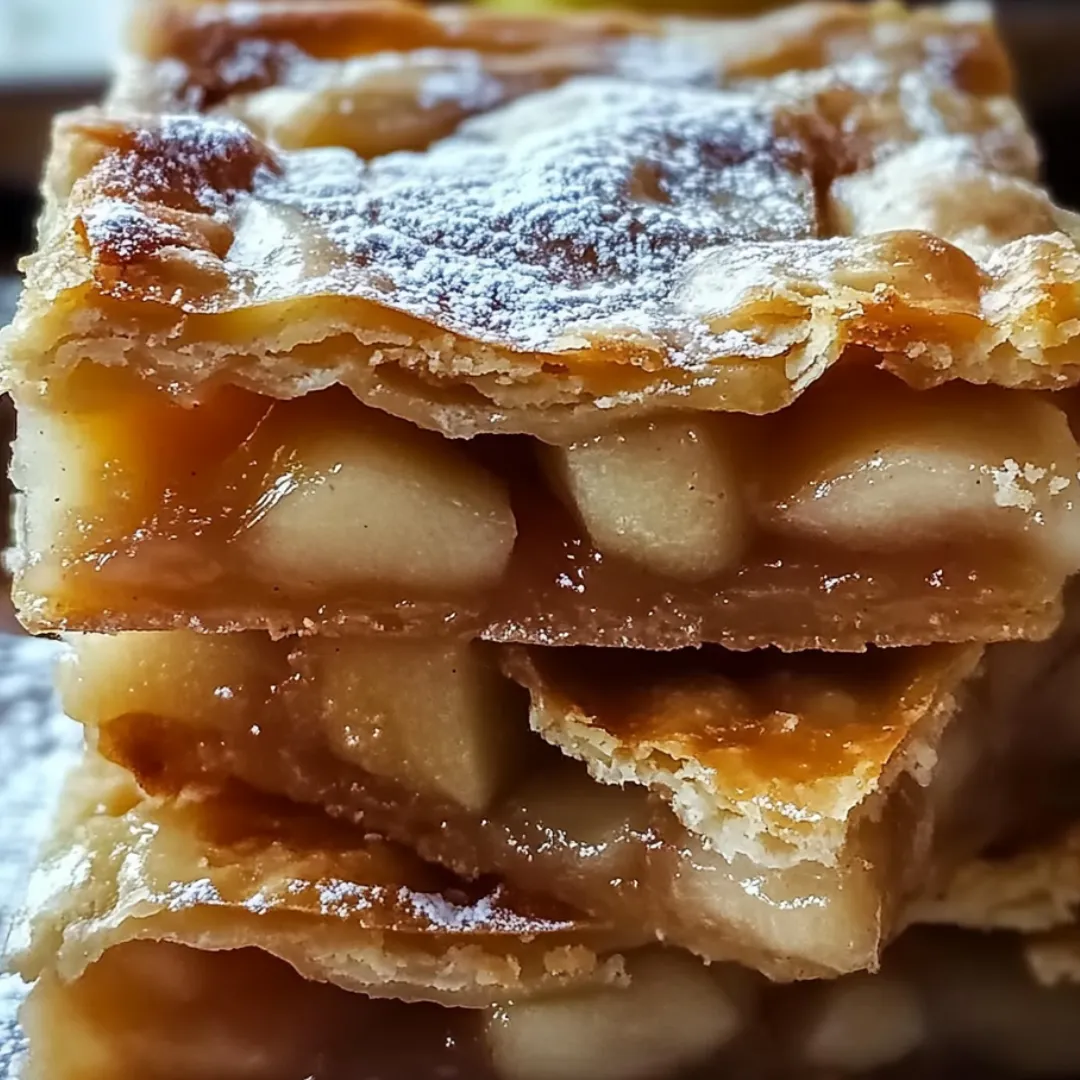
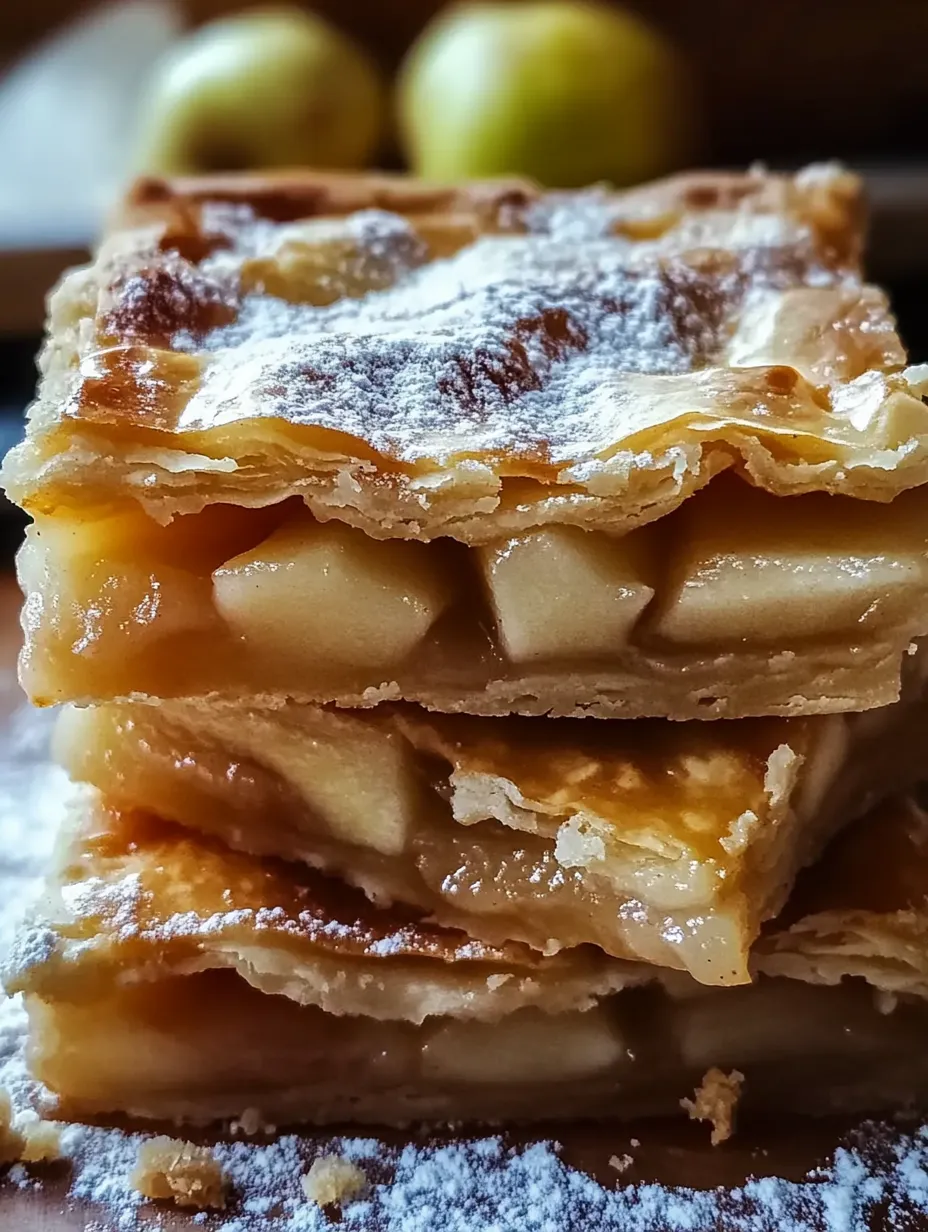
These delightful Apple Pie Bars transform the classic apple pie experience into convenient, handheld treats that deliver all the comforting flavors without the fuss of traditional pie-making. The buttery shortbread crust provides the perfect foundation for tender, cinnamon-spiced apples, while the crumbly pecan topping adds wonderful texture and nutty flavor. After making these bars countless times for family gatherings and neighborhood potlucks, I've found they disappear faster than any other dessert on the table.
The first time I baked these apple pie bars, I was hosting a fall harvest dinner and needed something less fussy than individual apple pies. My grandmother's apple pie recipe was legendary in our family, but I simply didn't have time for all that rolling and crimping. These bars captured all those beloved flavors but came together in half the time. My uncle, who considers himself an apple pie purist, reluctantly tried one—then immediately asked for the recipe and had three more before dinner was over!
Ingredients
- 2½ cups all-purpose flour: Creates a tender, shortbread-like base that provides structure without becoming tough. Look for unbleached flour for the best flavor. When measuring, spoon the flour into your measuring cup and level with a knife rather than scooping directly from the bag, which can compact it.
- 2 tablespoons granulated sugar (for crust): Adds just enough sweetness to complement the buttery flavor of the shortbread base without making it overly sweet. Pure cane sugar works best for its clean, neutral sweetness.
- 1 cup cold butter, cubed: The key to a flaky, tender crust. Must be cold straight from the refrigerator when cutting in. European-style butter with higher fat content makes an even richer crust. Cut into small cubes and return to the refrigerator while preparing other ingredients.
- 2 egg yolks: Adds richness and helps bind the crust together. Farm-fresh eggs with bright orange yolks will give your crust a lovely color. Save the whites for another use—they freeze beautifully.
- ½ cup milk: Provides just enough moisture to bring the dough together. Whole milk creates the richest result, but 2% works well too. Even plant-based milks can work in a pinch, though the texture will be slightly different.
- 8 small Granny Smith apples, peeled, cored and thinly sliced: Their tartness perfectly balances the sweet elements in the recipe. Choose firm apples with no soft spots. When slicing, aim for pieces about ⅛-inch thick so they cook evenly and become tender without turning mushy.
- ½ cup granulated sugar (for filling): Sweetens the tart apples and helps create that classic apple pie flavor. Feel free to adjust slightly based on the sweetness of your apples.
- ¼ cup packed brown sugar: Adds caramel notes that complement the apples beautifully. Dark brown sugar provides more molasses flavor, while light brown sugar offers a more subtle note. Either works wonderfully.
- 1 teaspoon ground cinnamon: The quintessential apple pie spice. Look for Ceylon cinnamon for a more complex, delicate flavor, though standard cassia cinnamon works perfectly well too. Freshly ground from cinnamon sticks provides the most aromatic experience.
- 2 tablespoons all-purpose flour (for topping): Helps create the perfect crumbly texture in the topping. This small amount absorbs some of the butter as it melts, preventing the topping from becoming greasy.
- 1 tablespoon granulated sugar (for topping): Adds a touch of sweetness and helps create a beautiful golden color as it caramelizes in the oven.
- 1 tablespoon brown sugar (for topping): Contributes a deeper, more complex sweetness to the crumble. The molasses notes really shine when paired with the pecans.
- ½ cup crushed pecans: Provides wonderful texture contrast and nutty flavor. Toast them lightly before crushing for enhanced flavor. Pecans can be roughly chopped—some variety in size creates interesting texture.
 Pin it
Step-by-Step Instructions
- Step 1: Prepare your workspace and equipment
- Begin by gathering all of your ingredients and tools so everything is within easy reach. Preheat your oven to 375°F, allowing plenty of time for it to reach the proper temperature. This specific heat is crucial—too low and your crust won't develop its characteristic shortbread texture; too high and the sugars will burn before the apples cook through. Take a 9×13 baking pan and generously grease it, making sure to get into all corners and slightly up the sides. I prefer using butter for greasing because it adds flavor, but a good-quality non-stick cooking spray works well too. The thorough greasing ensures your bars will release easily after baking.
- Step 2: Create the shortbread base mixture
- In a spacious mixing bowl, combine 2½ cups of all-purpose flour with 2 tablespoons of granulated sugar, whisking them together to ensure even distribution. The sugar helps tenderize the crust while adding just enough sweetness to complement the buttery flavor. Make sure your butter is very cold—I sometimes even pop it in the freezer for 5 minutes after cutting it into cubes. Using a pastry cutter, cut the cold butter into the flour mixture using a rocking motion, continuing until the mixture resembles coarse crumbs about the size of small peas. You should still see some small pieces of butter throughout—these create those wonderful flaky pockets as they melt during baking. If you don't have a pastry cutter, two knives used in a scissor-like motion will work, though it takes a bit longer.
- Step 3: Prepare and add the wet ingredients
- In a separate small bowl, whisk together the egg yolks and milk until completely combined. The yolks should be fully broken up and incorporated into the milk. Pour this liquid mixture into your flour and butter mixture gradually, stirring gently with a fork or wooden spoon after each addition. Mix just until the dough comes together—overmixing will develop the gluten in the flour and make your crust tough. The dough should be cohesive but not sticky. If it seems too dry, add milk a teaspoon at a time; if too wet, sprinkle in a little extra flour.
- Step 4: Divide and reserve dough
- Once your dough has come together, set aside approximately one-fourth of it for the topping. I find it easiest to weigh the entire batch on a kitchen scale and then remove 25% by weight, but you can also eyeball it by dividing the dough into quarters and setting one portion aside. Place this reserved dough in the refrigerator while you continue with the next steps to keep it cold.
- Step 5: Form the bottom crust
- Take the remaining three-fourths of dough and transfer it to your prepared baking pan. Using your fingertips or the bottom of a measuring cup, press the dough evenly across the bottom of the pan to form a uniform crust. Pay special attention to the corners and edges, ensuring the thickness is consistent throughout. If the dough starts to stick to your fingers, lightly dust them with flour. The goal is to create a solid base that will support the apple filling without becoming soggy.
- Step 6: Prepare and arrange the apple layer
- Arrange your peeled, cored, and thinly sliced apples in an even layer over the crust. You can create neat rows or simply scatter them—either way works fine, but try to ensure they're distributed evenly with no large gaps or overly thick areas. This helps them cook uniformly. If your apple slices are very juicy, you might consider patting them gently with a paper towel before arranging them to remove excess moisture.
- Step 7: Season the apples
- In a small bowl, thoroughly mix together ½ cup granulated sugar, ¼ cup brown sugar, and 1 teaspoon of cinnamon until no lumps remain in the brown sugar and the cinnamon is evenly distributed. This mixture will both sweeten the tart Granny Smith apples and create that classic warm apple pie flavor. Using your fingers or a spoon, sprinkle this sugar mixture evenly over the arranged apple slices, making sure to cover them completely. The sugar will melt into the apples as they bake, creating a delicious syrupy filling.
- Step 8: Create the crumb topping
- Retrieve your reserved dough from the refrigerator and place it in a medium bowl. Add the 2 tablespoons of flour, 1 tablespoon of granulated sugar, 1 tablespoon of brown sugar, and the crushed pecans. Using your fingertips, gently work these ingredients into the dough until you have a crumbly mixture with various-sized pieces. Some larger crumbs and some finer ones create an interesting texture. The flour helps absorb butter as it melts during baking, keeping the topping crumbly rather than greasy.
- Step 9: Add the crumb topping
- Evenly sprinkle the crumb topping over the sugared apples, covering the entire surface. Don't press it down—the loose arrangement allows heat to circulate around the crumbs, creating a delightfully crunchy texture with golden brown edges. Make sure to get some topping all the way to the edges of the pan for even baking and appearance.
- Step 10: Bake to golden perfection
- Place the pan on the center rack of your preheated oven. Bake for approximately 40 minutes, though you should start checking at about 35 minutes since oven temperatures can vary. Look for visual cues: the topping should be golden brown, not just light tan, and the edges should be bubbling slightly with caramelized apple juices. These visual indicators are more reliable than timing alone. The bubbling is particularly important—it signals that the filling has reached the temperature needed to thicken properly.
- Step 11: Cool before cutting
- When the bars are done baking, remove the pan from the oven and place it on a wire cooling rack. Allow the bars to cool completely in the pan before attempting to cut them. This cooling period is crucial—it allows the filling to set properly and prevents the bars from falling apart when cut. For best results, let them cool for at least 2 hours. The bars will still be slightly warm after this time but will hold their shape when cut.
- Step 12: Cut and serve
- Once cooled, use a sharp knife to cut the bars into squares of your desired size. For clean cuts, wipe your knife with a damp cloth between slices. These bars are delicious served as is, but for an extra-special treat, top with a scoop of vanilla ice cream, a drizzle of caramel sauce, or a dollop of whipped cream. The contrast of temperatures and textures takes these bars to a whole new level of deliciousness.
Perfect for Any Occasion
These Apple Pie Bars have saved me countless times when I needed a dessert that feels special but doesn't demand hours in the kitchen. Unlike traditional pie, there's no fussing with perfecting a crimped edge or worrying about a soggy bottom. The straightforward preparation means I can have these in the oven within 20 minutes of starting.
What makes these bars truly versatile is how well they fit different serving situations. For casual family dinners, I serve them slightly warm with a scoop of vanilla ice cream melting into all those nooks and crannies. When sending treats to school functions, I cut them slightly smaller and package them individually for easy grabbing. They're sturdy enough to hold up in lunch boxes and don't require utensils.
During holiday gatherings when dessert tables are crowded with options, these bars consistently disappear first. Their familiar apple pie flavor appeals to traditionalists, while the convenient bar format means guests can sample them alongside other desserts without committing to a full slice of pie. I've watched my father-in-law, who claims to be "watching his sweets," return to the dessert table three times for "just another small piece."
 Pin it
The Shortbread Difference
The shortbread crust sets these apple bars apart from standard apple crisp or traditional pie. After years of baking, I've found that many apple desserts suffer from either a soggy bottom or a too-tough crust. This shortbread base strikes the perfect balance—rich and tender while remaining sturdy enough to hold up to the juicy apple filling.
The secret lies in handling the dough with a light touch and keeping the ingredients cold until the pan hits the oven. When made properly, the bottom crust bakes to a beautiful golden color with a texture that's simultaneously crisp and melt-in-your-mouth tender. It provides the perfect contrast to the soft apples above.
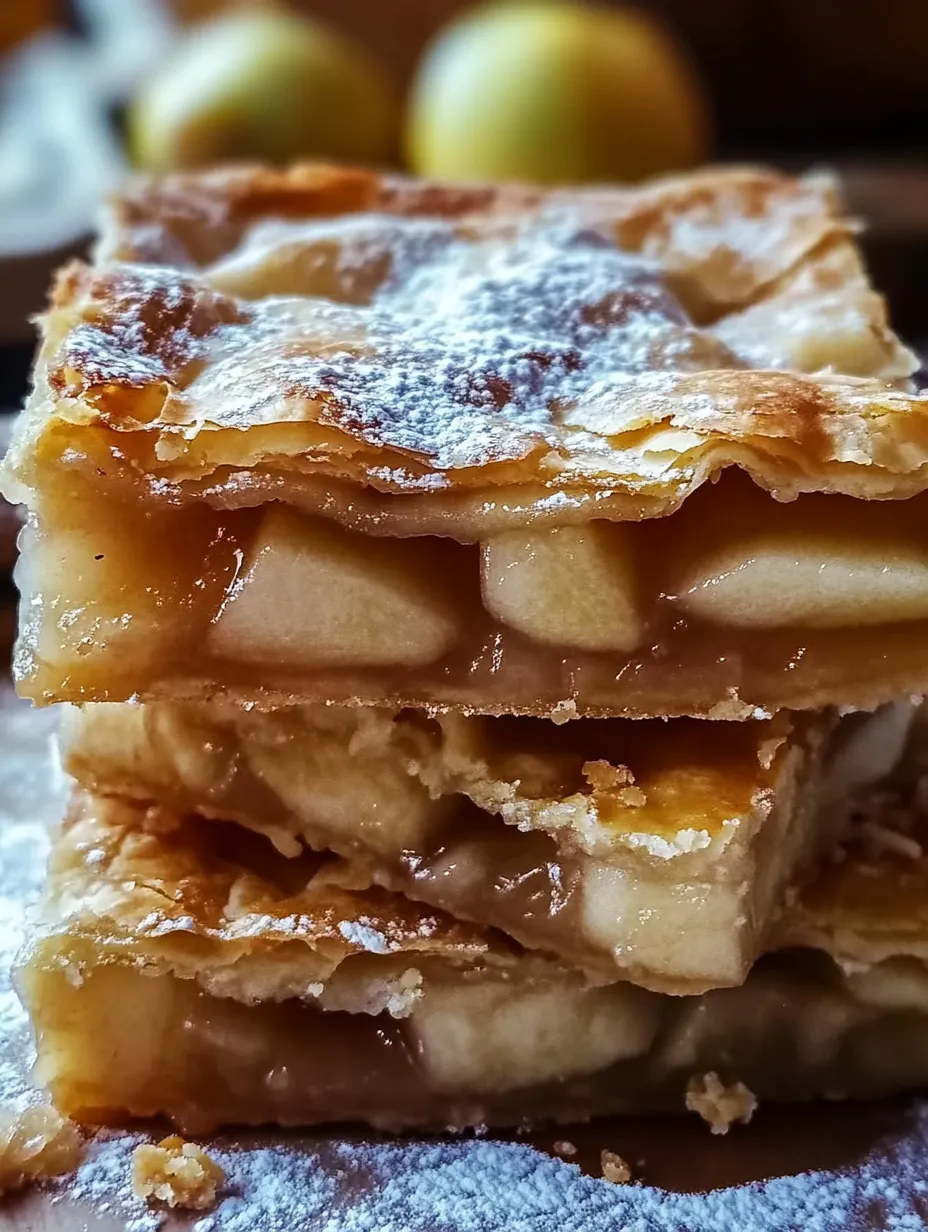
I've experimented with different fats in the crust, but always return to butter for its unmatched flavor. The egg yolks contribute richness while helping to create a cohesive dough that doesn't crumble when cut. That first bite, where you get the contrast between buttery crust, tender apples, and crunchy topping, is truly what makes these bars special.
I learned the importance of cooling these bars properly during a memorable baking disaster. Eager to serve them at a neighborhood potluck, I rushed the cooling process and attempted to cut them while still warm. What I ended up with was a delicious but messy heap that looked nothing like the neat squares I had envisioned. My family still teases me about "Mom's apple pie soup," but the experience taught me patience. Now I always prepare these bars at least 4 hours before I need to serve them, allowing ample time for proper setting and cooling.
After countless batches of these Apple Pie Bars, I'm still impressed by how such straightforward ingredients transform into something so undeniably delicious. There's something magical about the combination of butter, apples, cinnamon, and pecans that captures the essence of home baking. While I love trying new recipes, these bars have earned their place in my permanent rotation. When I see those first Granny Smith apples appear at the farmers market each season, I know exactly what I'll be baking first. Sometimes the simplest pleasures are truly the most satisfying.
Frequently Asked Questions
- → Can I use a different type of apple?
- Yes! While Granny Smith apples are ideal for their tartness, you can use Honeycrisp, Jonagold, or Braeburn apples too. Avoid Red Delicious as they get too mushy.
- → Can I make these bars ahead of time?
- Absolutely! They keep well at room temperature for 2 days or refrigerated for up to 5 days. Just warm slightly before serving for the best texture.
- → How do I know when the bars are done baking?
- Look for golden brown edges and a bubbly filling. The crumb topping should be lightly browned and set.
- → Can I freeze these apple pie bars?
- Yes, they freeze beautifully for up to 3 months. Thaw overnight in the refrigerator and warm slightly before serving.
- → Can I make these without nuts?
- Definitely! Simply omit the pecans or substitute with oats for a similar crunch without nuts.