
 Pin it
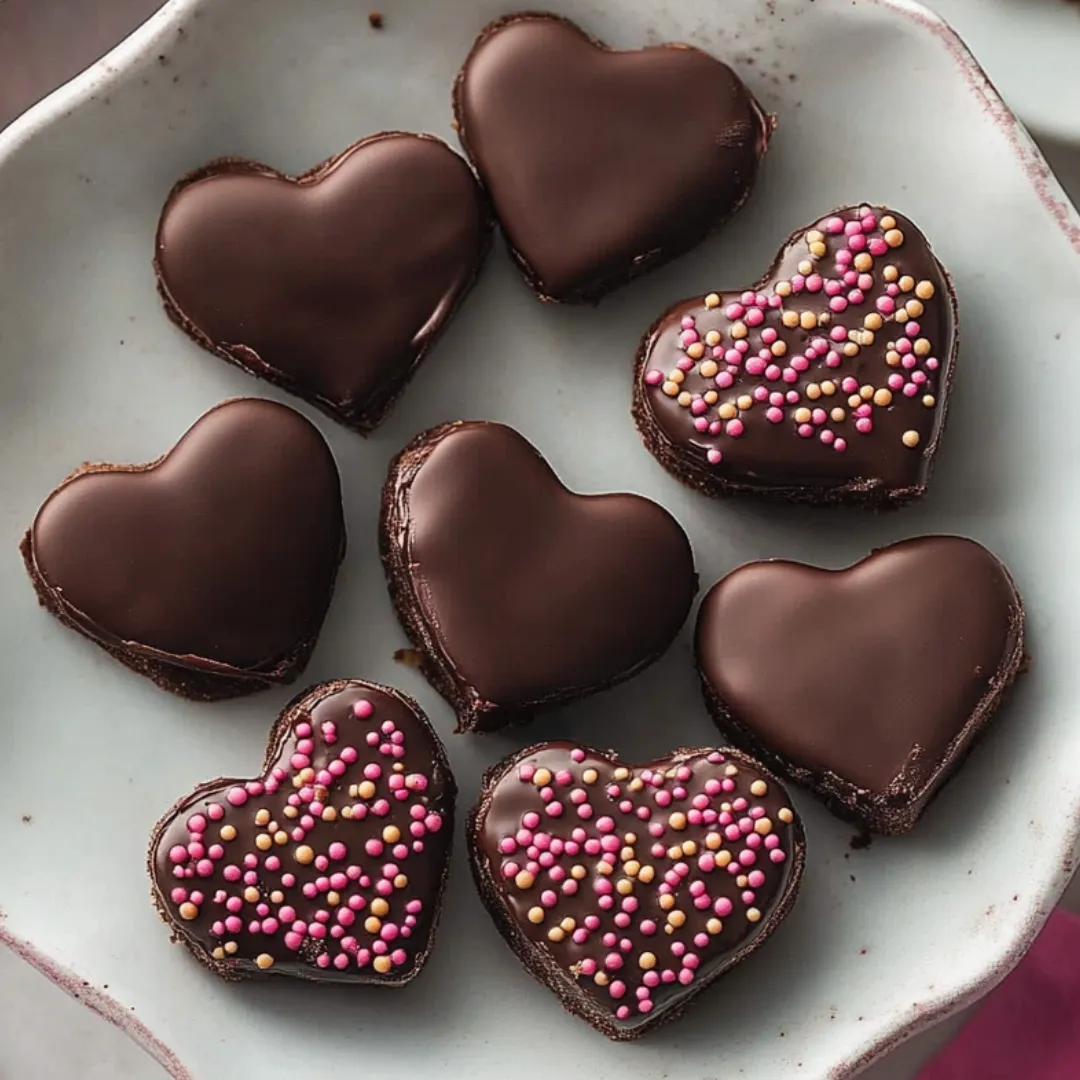
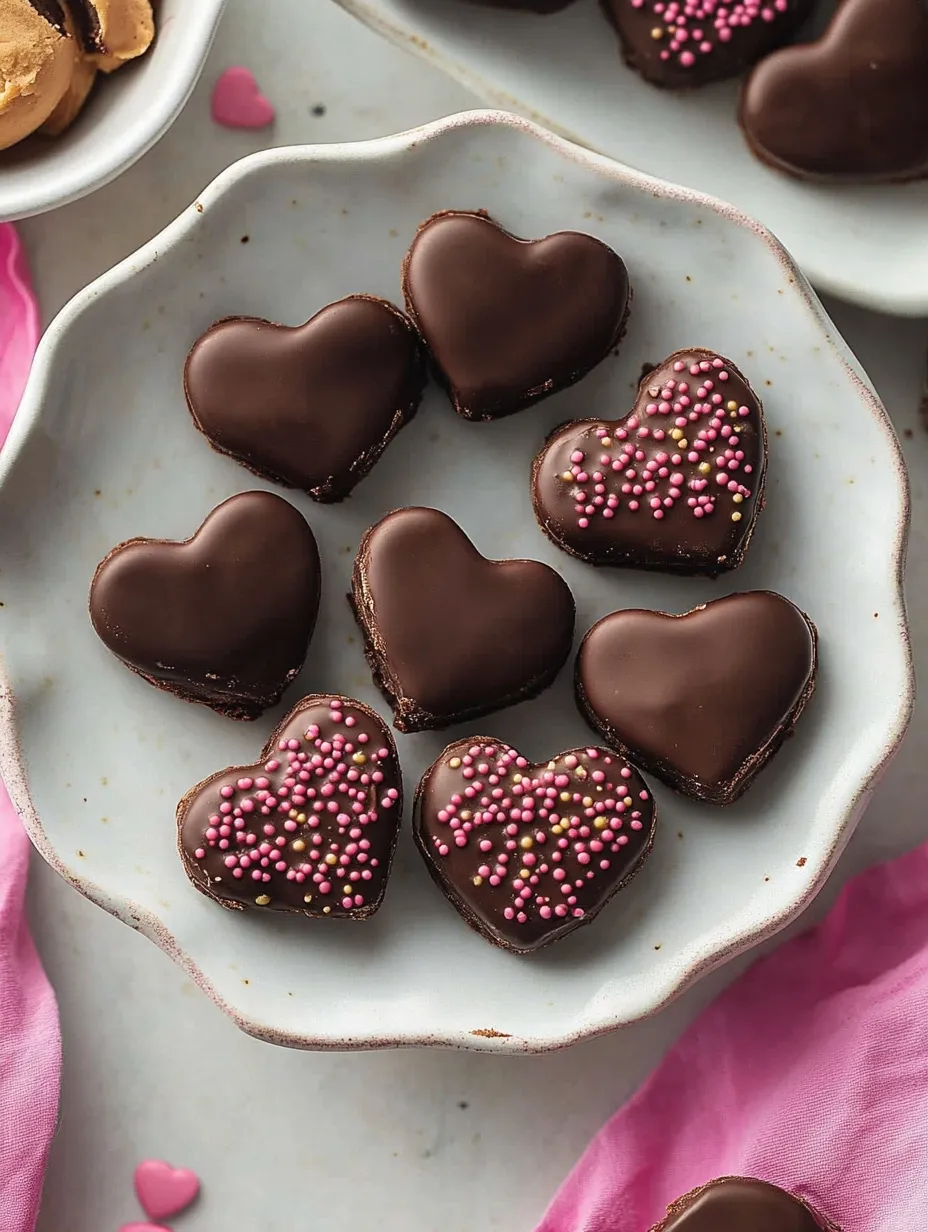
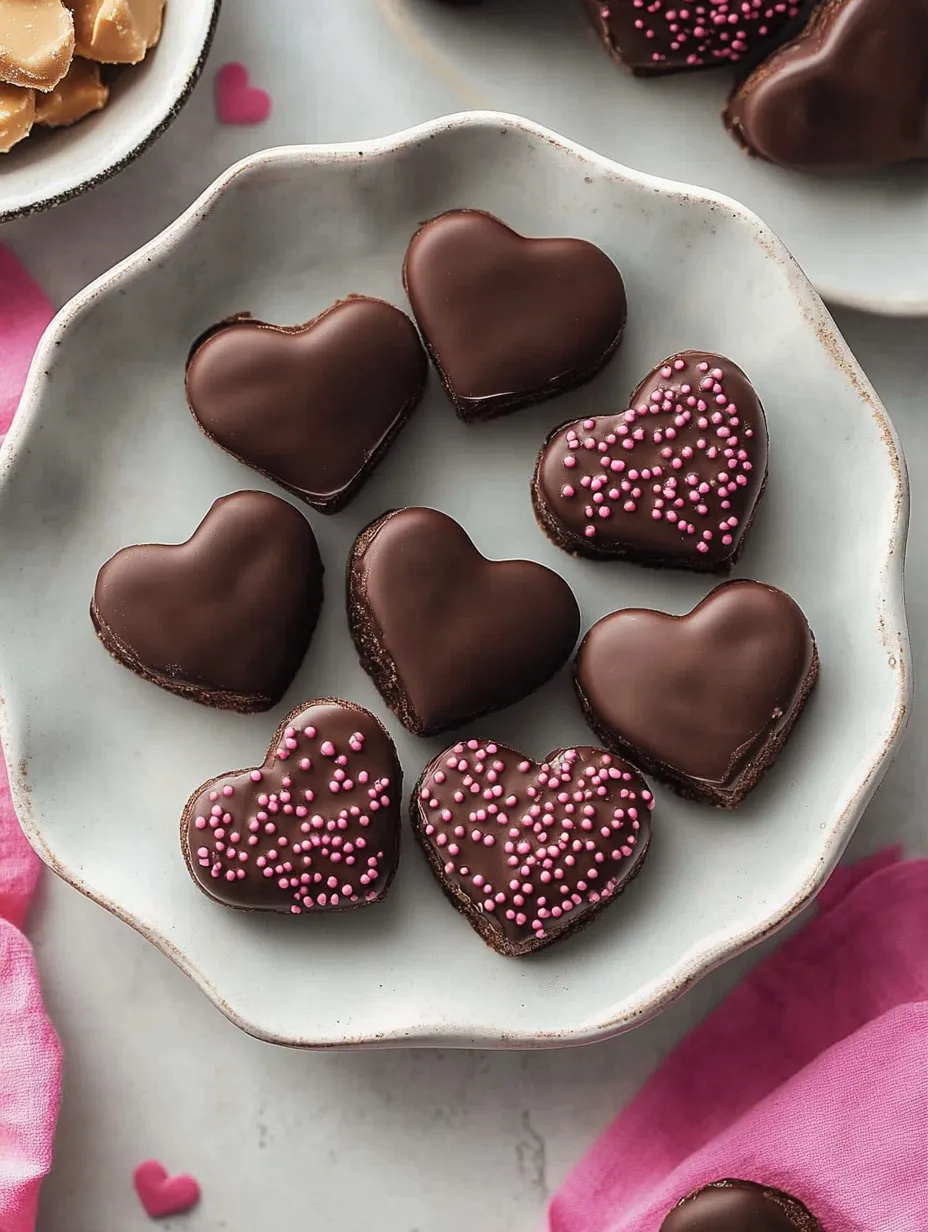
These irresistible chocolate-covered peanut butter hearts deliver all the delicious flavor of store-bought Reese's but with the undeniable charm and quality of homemade treats. The creamy peanut butter filling has the perfect consistency - not too soft, not too firm - wrapped in a smooth chocolate coating that snaps beautifully when bitten into. These adorable heart-shaped confections make a thoughtful homemade gift that shows you care enough to create something special by hand.
I started making these peanut butter hearts after my daughter claimed she could taste the 'chemicals' in store-bought peanut butter cups. The first batch disappeared within hours, with my husband sneaking them one by one from the refrigerator. Now they're our Valentine's Day tradition - we make a double batch every year, keeping half for ourselves and gifting the rest to friends and family in little DIY boxes with handwritten notes.
Ingredients You'll Need
- 2 cups confectioners' sugar, sifted: Creates the perfect moldable texture; sifting prevents lumps for the smoothest filling
- 1 cup creamy peanut butter (JIF recommended): Provides the classic flavor base; avoid natural varieties that separate or chunky types that affect texture
- ¼ cup unsalted butter, room temperature: Adds richness and helps achieve the perfect consistency; must be softened for proper incorporation
- ½ teaspoon fine sea salt: Enhances the peanut butter flavor and balances the sweetness perfectly
- 1 teaspoon vanilla extract: Adds depth and warmth to the filling; use pure extract for best flavor
- 2 tablespoons whole milk: Helps achieve the perfect consistency; can adjust amount as needed
- 12 ounces quality chocolate (dark or milk): Forms the outer shell; choose based on your sweetness preference
- Pink nonpareils or sprinkles (optional): Adds festive decoration perfect for Valentine's Day
 Pin it
Step-by-Step Cooking Instructions
- Prepare Your Workspace:
- Before diving in, gather all your ingredients and let the butter come fully to room temperature. This ensures it will incorporate properly with the other ingredients. Line a large baking sheet with parchment paper where you'll place your shaped hearts. Having everything ready makes the process smooth and enjoyable. Make sure your countertop has enough space for rolling and shaping the dough.
- Mix The Filling Base:
- In a large mixing bowl, combine the softened butter and peanut butter. Using an electric mixer on medium speed, beat these ingredients until completely smooth and well incorporated, about 2 minutes. Make sure to scrape down the sides of the bowl halfway through mixing. The mixture should be creamy with no visible streaks of butter. This step creates the foundation for your peanut butter filling.
- Add Flavor Enhancers:
- Add the vanilla extract and salt to your peanut butter mixture. Mix again until fully incorporated. These ingredients might seem minor, but they're crucial for developing that deep, complex flavor that makes these hearts so addictive. The salt particularly enhances the natural peanut flavor while balancing the sweetness that will come from the confectioners' sugar.
- Incorporate The Sweetener:
- Gradually add the sifted confectioners' sugar to the mixture, about ½ cup at a time, mixing on low speed after each addition. This slow incorporation prevents a powdery mess and ensures even distribution. The mixture will become increasingly thick and dough-like as you add more sugar. After all the sugar has been added, the mixture will look somewhat crumbly but should hold together when pressed.
- Adjust The Consistency:
- Add the milk 1 tablespoon at a time, mixing after each addition, until the dough reaches a consistency similar to play-dough - soft enough to mold but not sticky or wet. Depending on the exact brand of peanut butter and environmental factors like humidity, you might need slightly more or less milk. Test the dough by pinching a small amount between your fingers - it should hold together easily without being too sticky or crumbly.
- Shape The Hearts:
- You have two options for shaping your hearts. For more uniform hearts, roll the dough to about ¼-inch thickness on a surface lightly dusted with confectioners' sugar, then use a heart-shaped cookie cutter. Alternatively, for a more rustic look, scoop tablespoon-sized portions of dough, roll into balls, flatten with your palm, and shape into hearts using your fingers. Whichever method you choose, place the shaped hearts on your prepared baking sheet, ensuring they don't touch each other.
- Chill Thoroughly:
- Place the baking sheet with your shaped hearts in the freezer for at least 90 minutes. This crucial step ensures the hearts maintain their shape during the dipping process. The hearts should feel firm to the touch before proceeding to the next step. If you're short on freezer space, you can stack them with parchment paper between layers.
- Prepare The Chocolate Coating:
- When the hearts are almost done chilling, melt your chocolate. You can use a double boiler method by placing the chocolate in a heatproof bowl over a pot of simmering water (not letting the water touch the bowl), stirring until completely smooth. Alternatively, microwave the chocolate in 30-second intervals at 50% power, stirring between each interval until fully melted. Let the chocolate cool slightly - it should be fluid but not hot to the touch.
- Dip The Hearts:
- Remove a few hearts from the freezer at a time, keeping the rest chilled. Using a fork or dipping tool, carefully dip each heart into the melted chocolate, ensuring complete coverage. Gently tap the fork against the side of the bowl to remove excess chocolate, which helps create a smoother coating. If the chocolate starts to thicken too much during the dipping process, gently rewarm it as needed.
- Add Finishing Touches:
- Before the chocolate sets, sprinkle the hearts with pink nonpareils or other decorations if desired. Work quickly as the cold hearts will cause the chocolate to begin setting almost immediately. For a more elegant look, you can also drizzle with a contrasting chocolate color or leave them plain for a classic appearance.
The first time I made these hearts, I was impatient and tried dipping them after just 30 minutes in the freezer. Big mistake! The soft hearts started to melt and lose their shape in the warm chocolate. Now I always freeze them for the full 90 minutes, and sometimes even longer if I'm doing a large batch. My family's favorite way to enjoy these is straight from the refrigerator - the slight chill makes the chocolate snap perfectly against the creamy peanut butter center.
Perfect Chocolate Selection
Choosing the right chocolate dramatically affects your final result. For a classic Reese's-like taste, milk chocolate provides that familiar sweetness that complements the salty-sweet peanut butter. For a more sophisticated flavor profile, dark chocolate (around 60% cacao) creates a wonderful bitter contrast to the sweet filling. Whichever you choose, use bar chocolate rather than chips when possible. Chocolate chips contain stabilizers that affect melting properties. If you're feeling adventurous, try white chocolate for a completely different but equally delicious variation.
Gift Packaging Ideas
These homemade treats deserve beautiful presentation, especially if you're gifting them. Small bakery boxes lined with parchment paper create a professional look. For a more rustic approach, stack the hearts in mason jars tied with ribbon. Heart-shaped candy boxes repurposed from store-bought chocolates make a clever and eco-friendly container. For individual gifting, wrap each heart in small squares of wax paper and twist the ends, then gather several in a cellophane bag tied with a pretty ribbon and a handwritten tag.
Make-Ahead Magic
One of the best things about these peanut butter hearts is that they can be made well in advance of your Valentine's celebration. The uncoated hearts can be shaped and frozen for up to a month if well-wrapped. Once chocolate-dipped, they'll keep beautifully in the refrigerator for up to two weeks or in the freezer for up to three months. Just be sure to store them in airtight containers with parchment paper between layers to prevent sticking and maintain their pristine appearance.
 Pin it
Flavor Variations
While the classic peanut butter and chocolate combination is timeless, don't be afraid to experiment with variations. Add a teaspoon of cinnamon to the peanut butter mixture for a Mexican chocolate-inspired twist. Mix in finely chopped crispy rice cereal for added texture reminiscent of Butterfinger candies. For grown-up versions, a tablespoon of bourbon or rum adds complexity, while a pinch of cayenne creates an unexpected heat that blooms after the initial sweetness.
I've learned through many batches that patience makes perfect peanut butter hearts. Taking your time with each step - especially making sure the hearts are properly frozen before dipping - results in professional-looking treats that taste divine. Last Valentine's Day, I packaged these in little red boxes for my daughter's teachers, and one called me specifically to ask for the recipe, saying they were better than any candy she'd ever bought. That's the magic of homemade treats - they create memories and connections that store-bought never could.
Frequently Asked Questions
- → Can I use natural peanut butter in this recipe?
- Commercial peanut butter like JIF works best because it's more stable. Natural peanut butter can separate and make the filling too oily, affecting the texture and making it harder to work with.
- → What's the purpose of the coconut oil in the chocolate?
- Coconut oil helps thin the chocolate slightly, making it easier for dipping. It also gives the chocolate coating a better shine and snap when it hardens. You can omit it if you don't have it.
- → Can I use different cookie cutter shapes?
- Absolutely! While hearts are perfect for Valentine's Day, you can use any shape you like - stars, circles, flowers, or seasonal shapes depending on the occasion.
- → Can I make these ahead of time?
- Yes, these keep well in the refrigerator for up to 2 weeks. You can also freeze them for up to 3 months in an airtight container with parchment between layers.
- → Why do the hearts need to be frozen before dipping?
- Freezing the peanut butter hearts makes them firm enough to handle without melting or breaking during the dipping process. The cold filling also helps the chocolate set more quickly.