
 Pin it
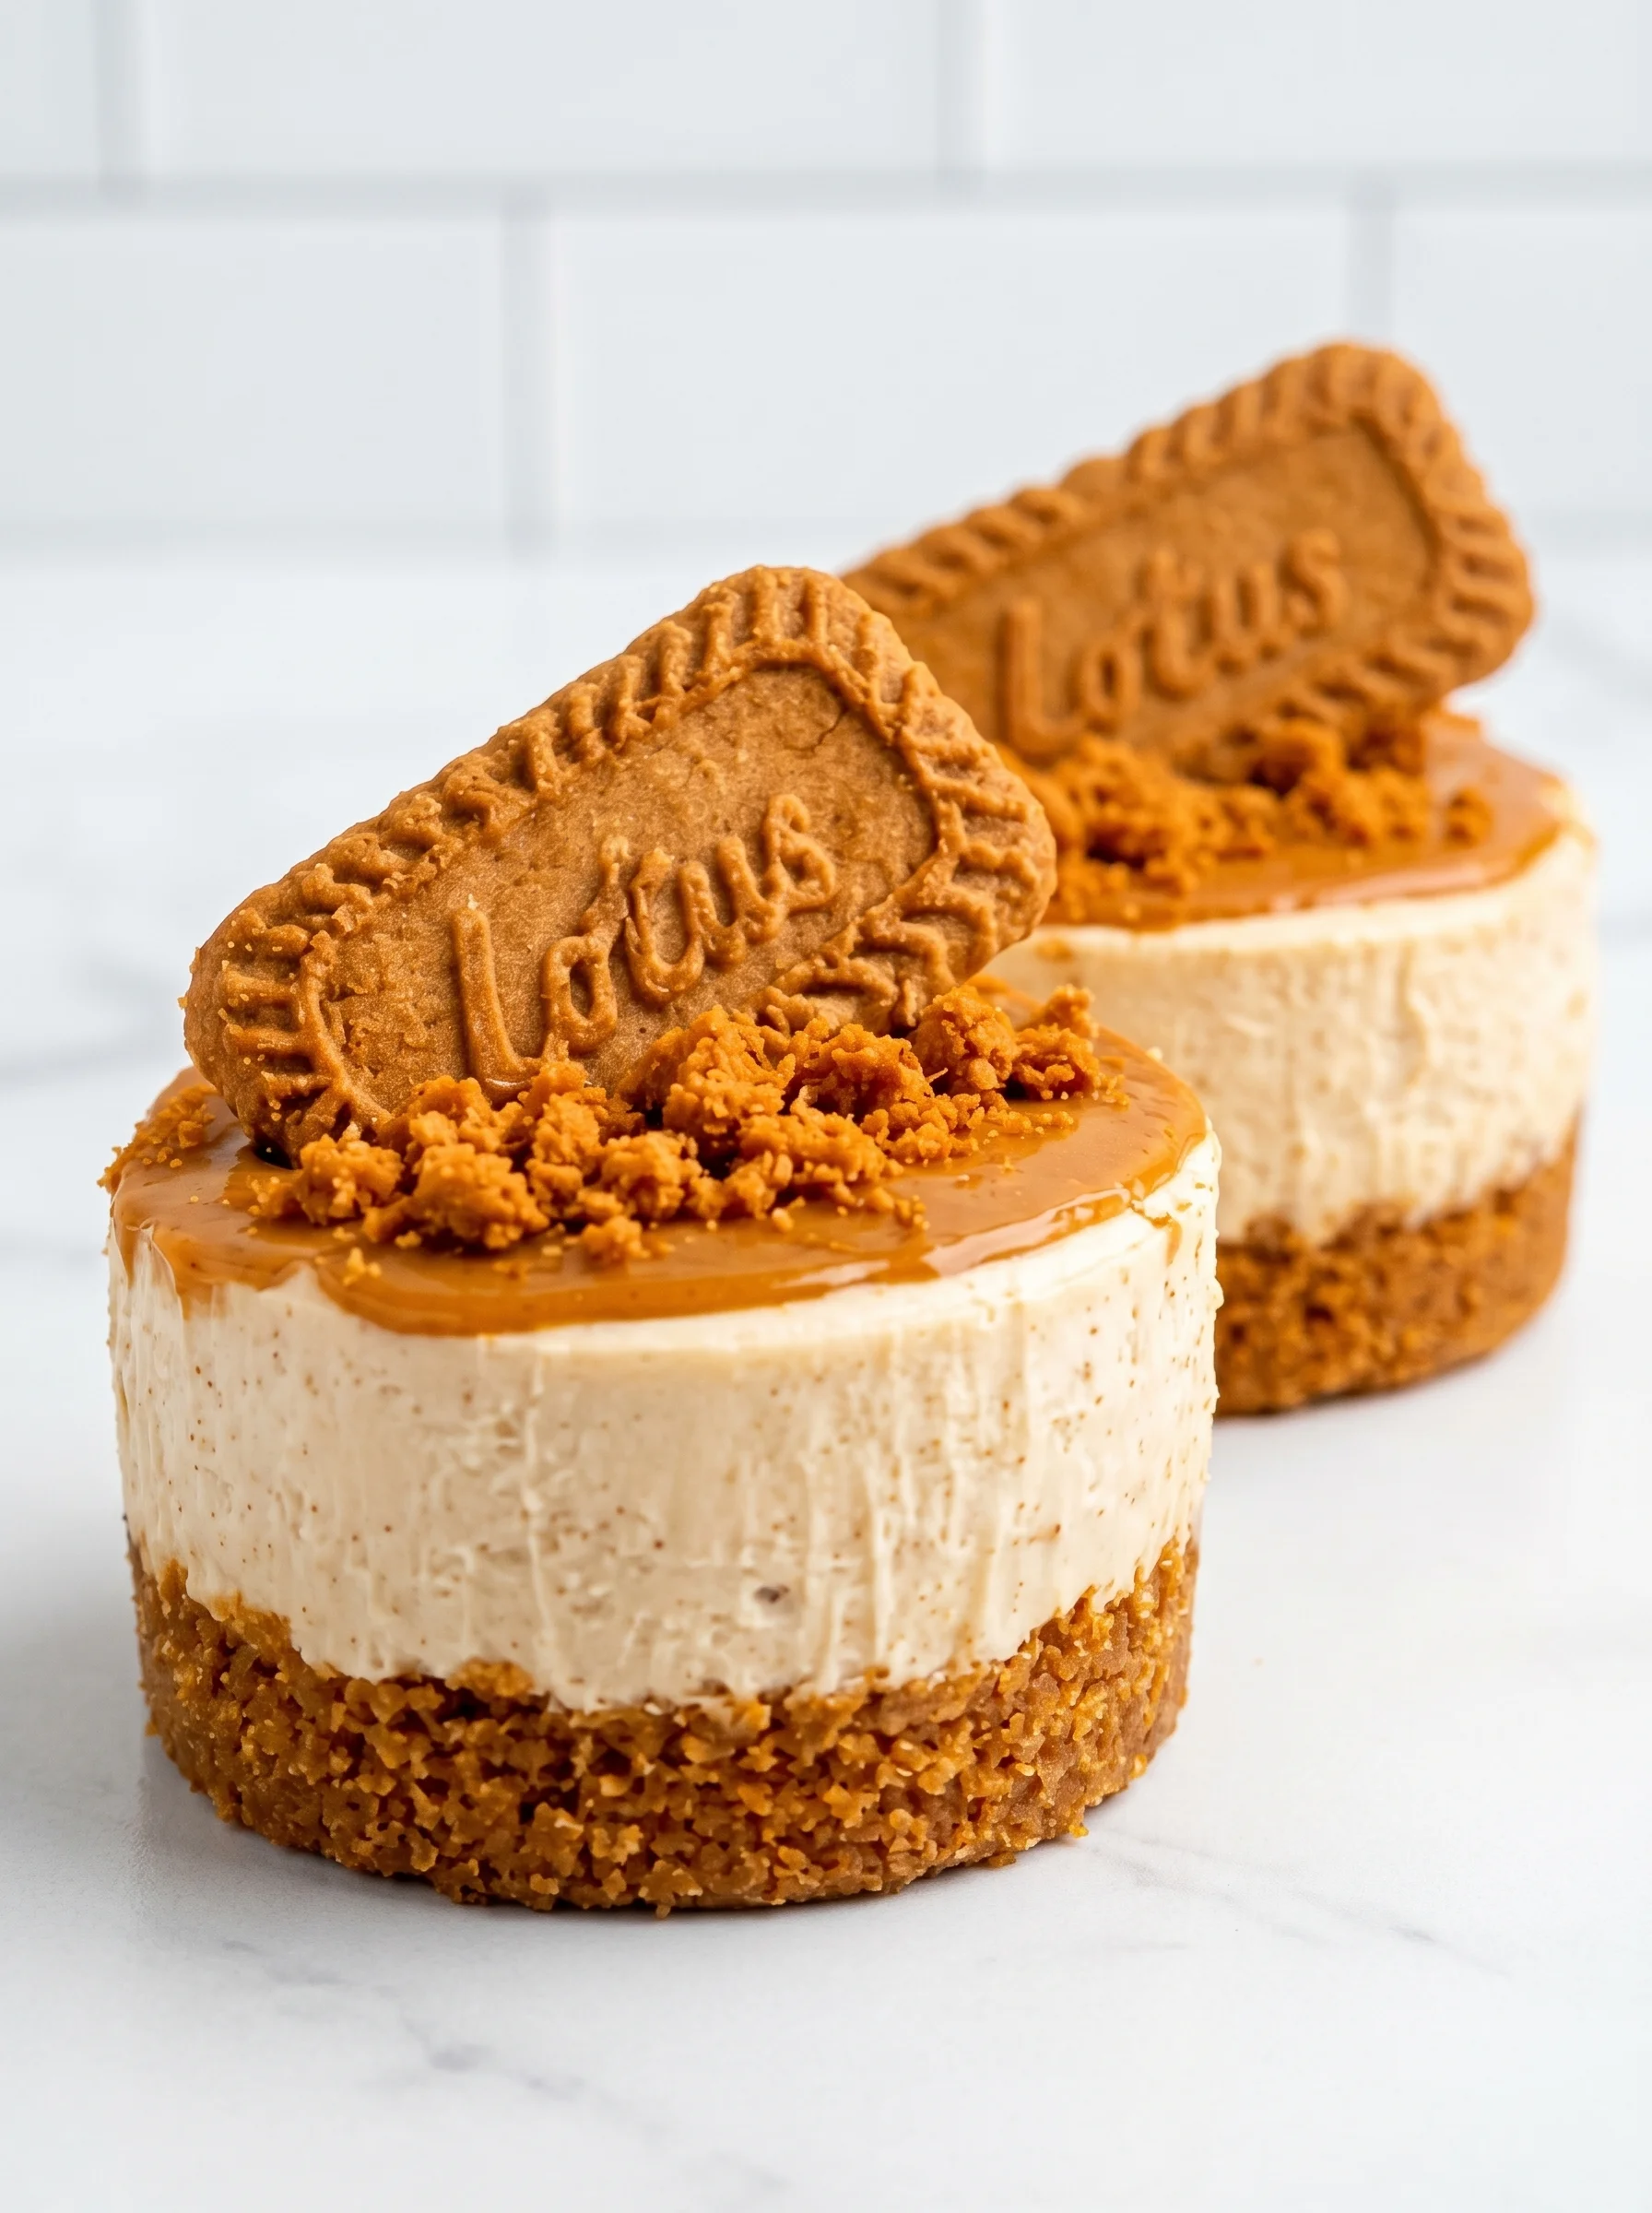
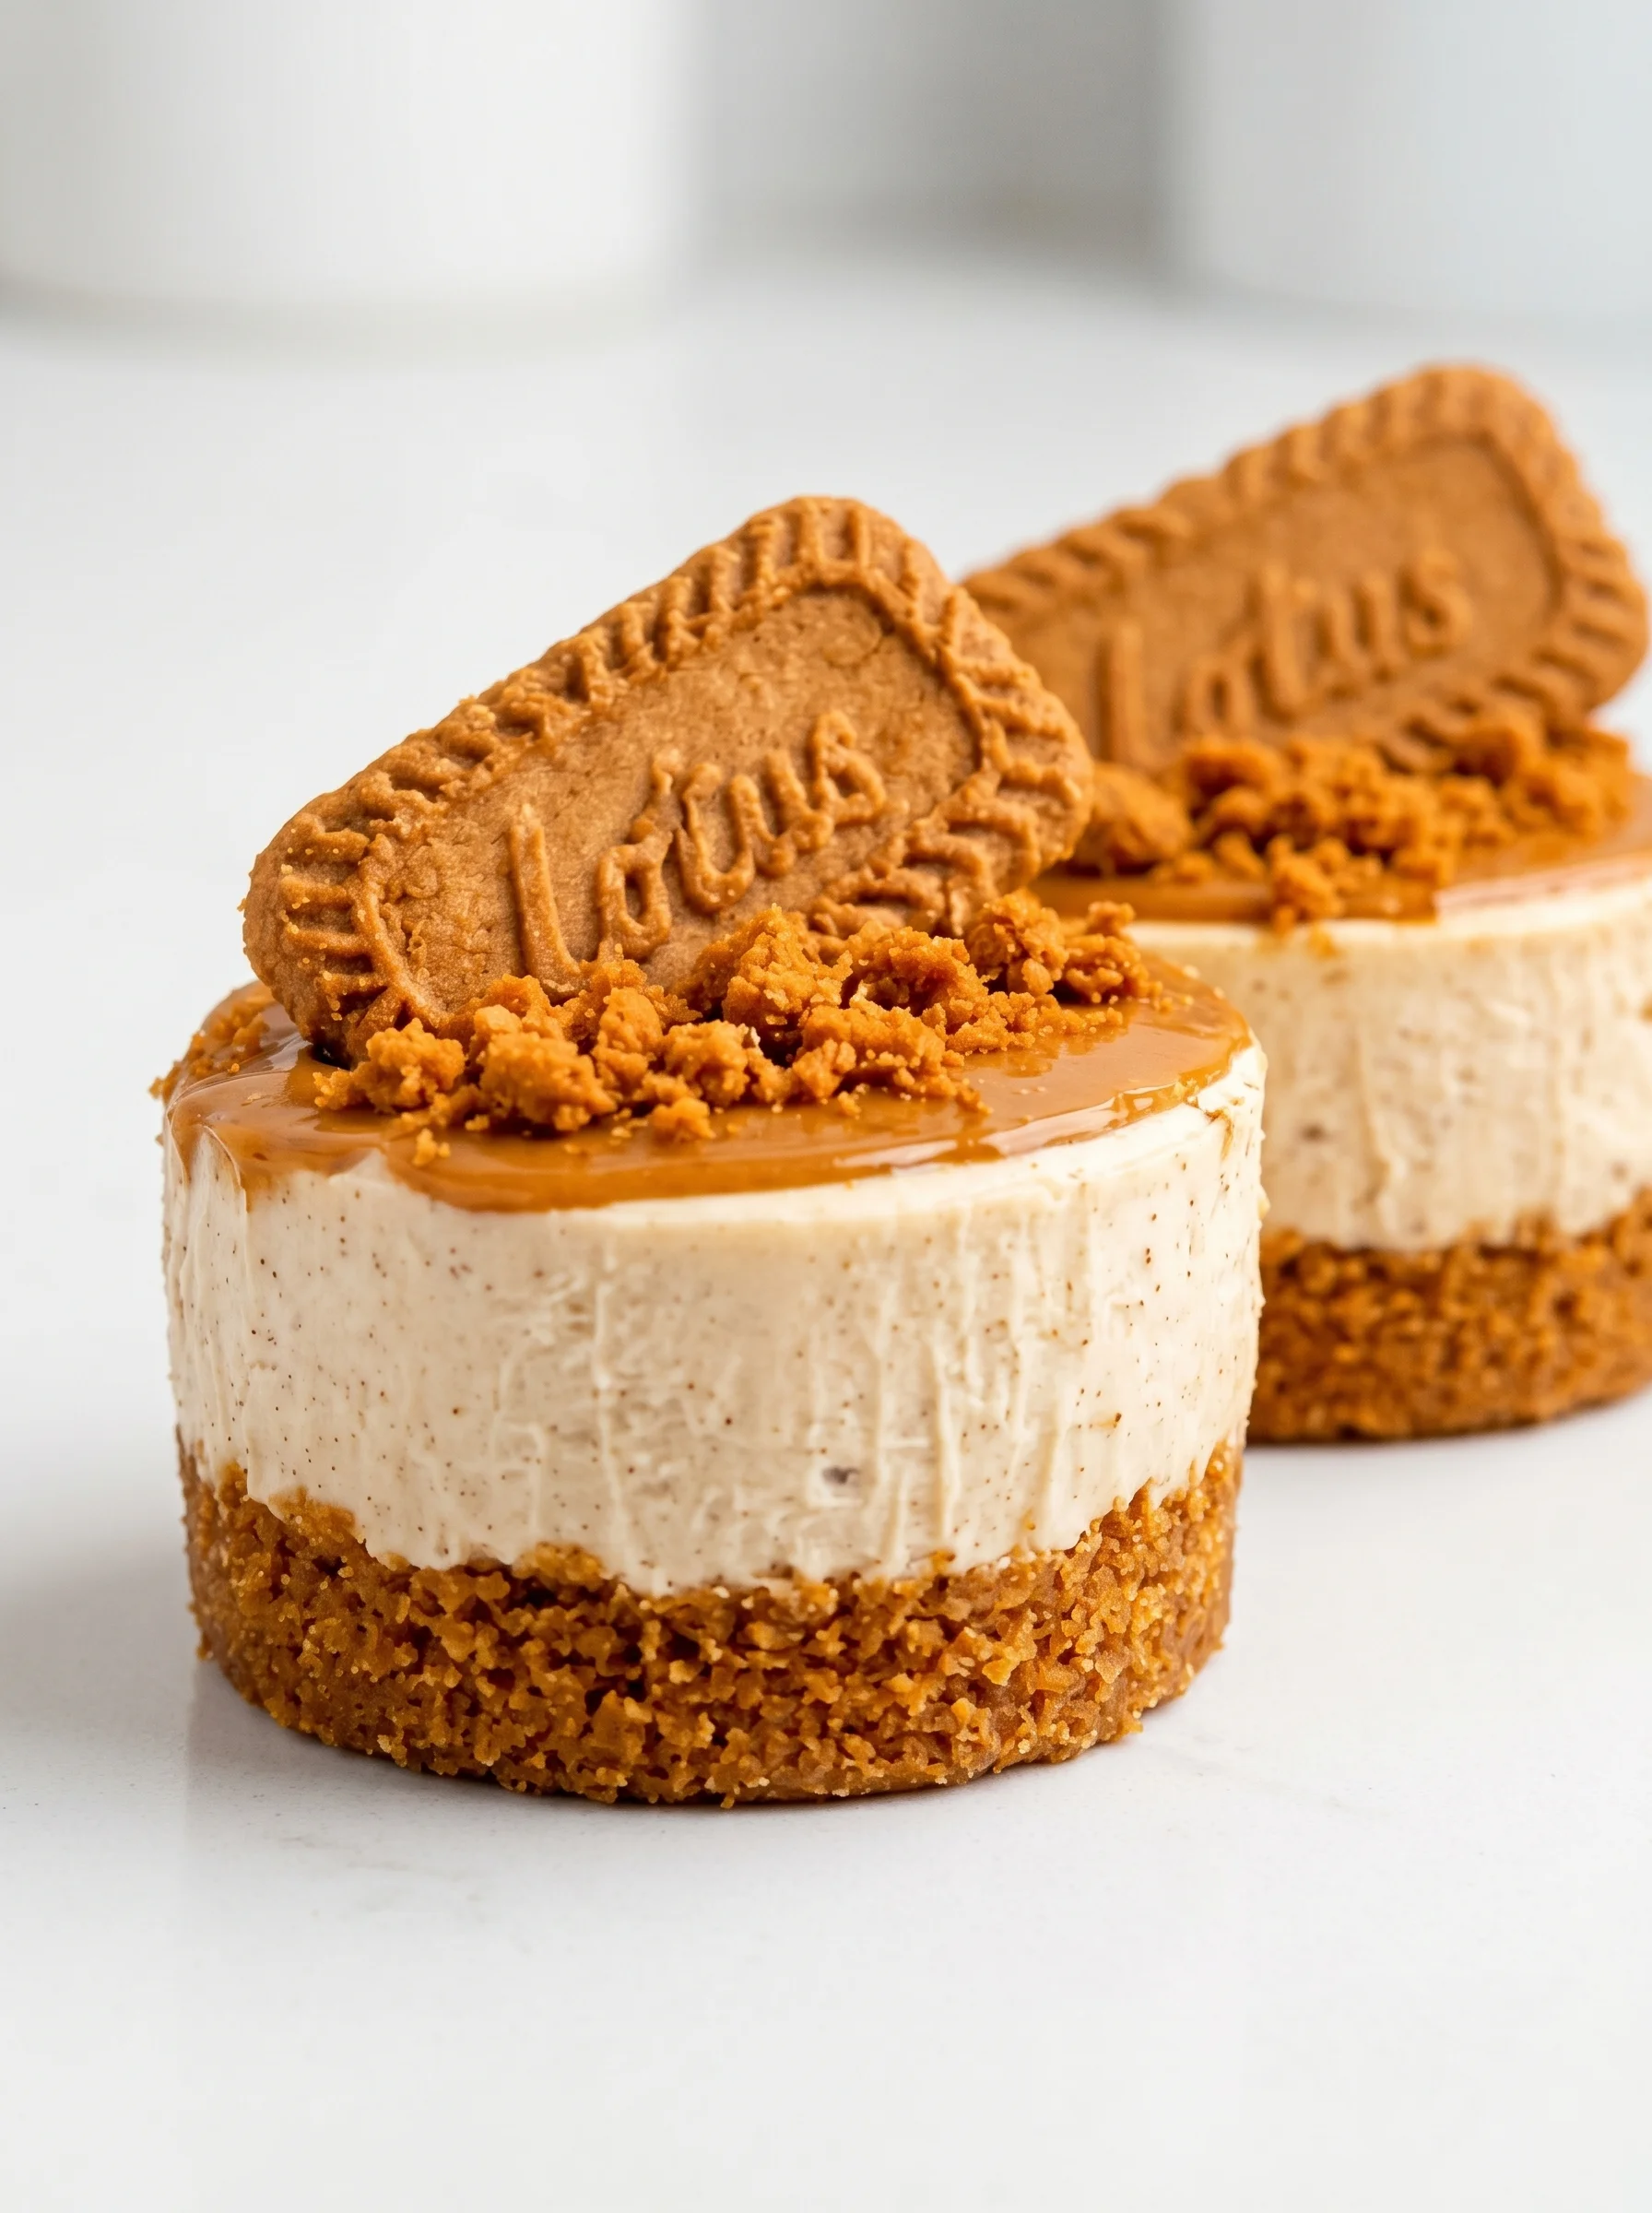
These mini no-bake Biscoff cheesecakes are perfect for when you want an impressive yet fuss-free dessert that highlights the irresistible caramelized spiced flavor of Biscoff cookies and cookie butter. They set firmly in the fridge without baking and come together with a crunchy crumb crust and creamy, fluffy filling that combines the best of classic cheesecake texture with that distinctive Biscoff twist.
Ingredients
- Biscoff cookies: crushed to form the base; choose fresh cookies for the best texture and flavor
- Unsalted butter melted: binds the crust together while adding richness; opt for high quality butter to avoid any off flavors
- Heavy cream cold: whipped to stiff peaks creating lightness in the filling; chilling the bowl beforehand makes whipping easier
- Full-fat cream cheese softened: the key to a creamy, smooth texture; make sure it is room temperature to avoid lumps
- Powdered sugar: dissolves instantly adding sweetness without graininess
- Creamy Biscoff cookie butter: gives the filling that signature spiced caramel flavor
- Sour cream: adds tang and cuts through sweetness, keeping the flavor balanced
- Pure vanilla extract: enhances the overall aroma and depth of the filling
- Pinch of salt: to brighten the flavors
- Additional melted Biscoff cookie butter: for a glossy topping that amps up the cookie butter flavor
- Whipped cream for garnish: adds light decadence and pairs beautifully with the cookie texture
- Extra Biscoff cookies crushed or whole: add crunch and visual appeal to finish
Step-by-Step Instructions
- Savor the crust:
- The first step is crushing your Biscoff cookies in a food processor until they become fine crumbs. Pour in melted butter and pulse until the mixture looks like damp sand. This wet sand texture is crucial for a sturdy crust that will hold together but not be greasy or soggy. Lightly grease or line your mini cheesecake pans or muffin tins, then press the crumb mixture firmly into the bottom of each cavity to create even crusts. Chill these crusts in the fridge or freezer to set while you prepare the filling.
- Whip the cream:
- Using a chilled bowl, whip your cold heavy cream until stiff peaks form. This means when you lift the mixer, the cream holds firm and doesn’t flop over. Avoid overmixing to prevent turning it into butter. This whipped cream will lighten the dense cream cheese mixture, lending a delicate and fluffy finish to your cheesecakes.
- Prepare the filling:
- In a large bowl, beat softened cream cheese, powdered sugar, creamy Biscoff cookie butter, sour cream, vanilla extract, and salt until the mixture is silky smooth with no lumps. The key is using room temperature cream cheese and gentle mixing to maintain a creamy texture.
- Fold in the whipped cream:
- Gently incorporating the whipped cream into the cream cheese mixture with a rubber spatula ensures the filling remains airy and light while fully combined. This folding step rather than mixing intensively creates that perfect fluffy texture.
- Fill the crusts:
- Transfer your filling using a piping bag for neatness or spoon it directly onto each crust cavity. Smooth the tops evenly for a clean final appearance using the back of a spoon or an offset spatula.
- Chill until set:
- Refrigerate the cheesecakes for at least 6 hours or overnight. This resting time is essential for the filling to firm up and develop the proper cheesecake texture since it’s no-bake.
- Add the topping:
- Melt additional Biscoff cookie butter gently in the microwave just until pourable. Spoon this warm melted butter over each cheesecake so it slightly drips down the sides creating an inviting glossy effect. Return the desserts to the fridge for 15 to 20 minutes to let the topping set completely.
- Garnish and serve:
- Finally, add a dollop of whipped cream and some crushed or whole Biscoff cookies on top for crunch and elegant presentation. These mini cheesecakes are ready to impress with an indulgent taste and texture contrast.
Storage Tips
Store leftover cheesecakes in an airtight container in the fridge for up to four days. If you want to freeze them, wrap each mini cheesecake tightly in plastic wrap then place in a freezer-safe container for up to two months. Thaw them slowly in the fridge overnight before serving to preserve that creamy texture without condensation ruining the crust or topping.
Ingredient Substitutions
If you don’t have Biscoff cookies or cookie butter, you can substitute with speculoos cookies or a lightly spiced ginger snap cookie option for a similar warm spice flavor. Creamy peanut butter can replace cookie butter in a pinch but expect a different flavor profile. Sour cream may be swapped with Greek yogurt for a tangy touch without the same richness.
Serving Suggestions
These mini cheesecakes pair beautifully with a hot cup of coffee or chai tea to complement the spiced notes. They also work well as part of a dessert platter featuring fresh berries, whipped cream, and perhaps a drizzle of caramel sauce for extra indulgence. Serving chilled is key to enjoying the texture contrast of crunchy crust and creamy filling.
Cultural Context
Biscoff cookies hold a special place as a popular European treat known for their caramelized, spiced flavor. These no-bake cheesecakes modernize the cookie’s traditional spoon-able butter spread into a light and airy creamy dessert perfect for any season or occasion. The recipe reflects a trend toward easy no-bake sweets that combine familiar nostalgic flavors with minimal effort.
Frequently Asked Questions
- How do I achieve a compact crust for the mini cheesecakes?
Crush the Biscoff cookies finely and mix with melted butter until it resembles wet sand, then press firmly into the pan for a sturdy base.
- What is the best way to get fluffy cheesecake filling?
Whip cold heavy cream to stiff peaks separately before folding gently into the cream cheese mixture to maintain airiness.
- Can these cheesecakes be made ahead of time?
Yes, chilling the mini cheesecakes overnight helps them set completely and enhances the flavors.
- How do I prevent the topping from running off the cheesecakes?
Melt the Biscoff cookie butter until smooth but not too hot, then spoon over chilled cheesecakes and refrigerate again to set.
- Is it possible to replace sour cream in this preparation?
Yes, alternatives like Greek yogurt can be used to maintain creaminess and add a subtle tang.
