
 Pin it
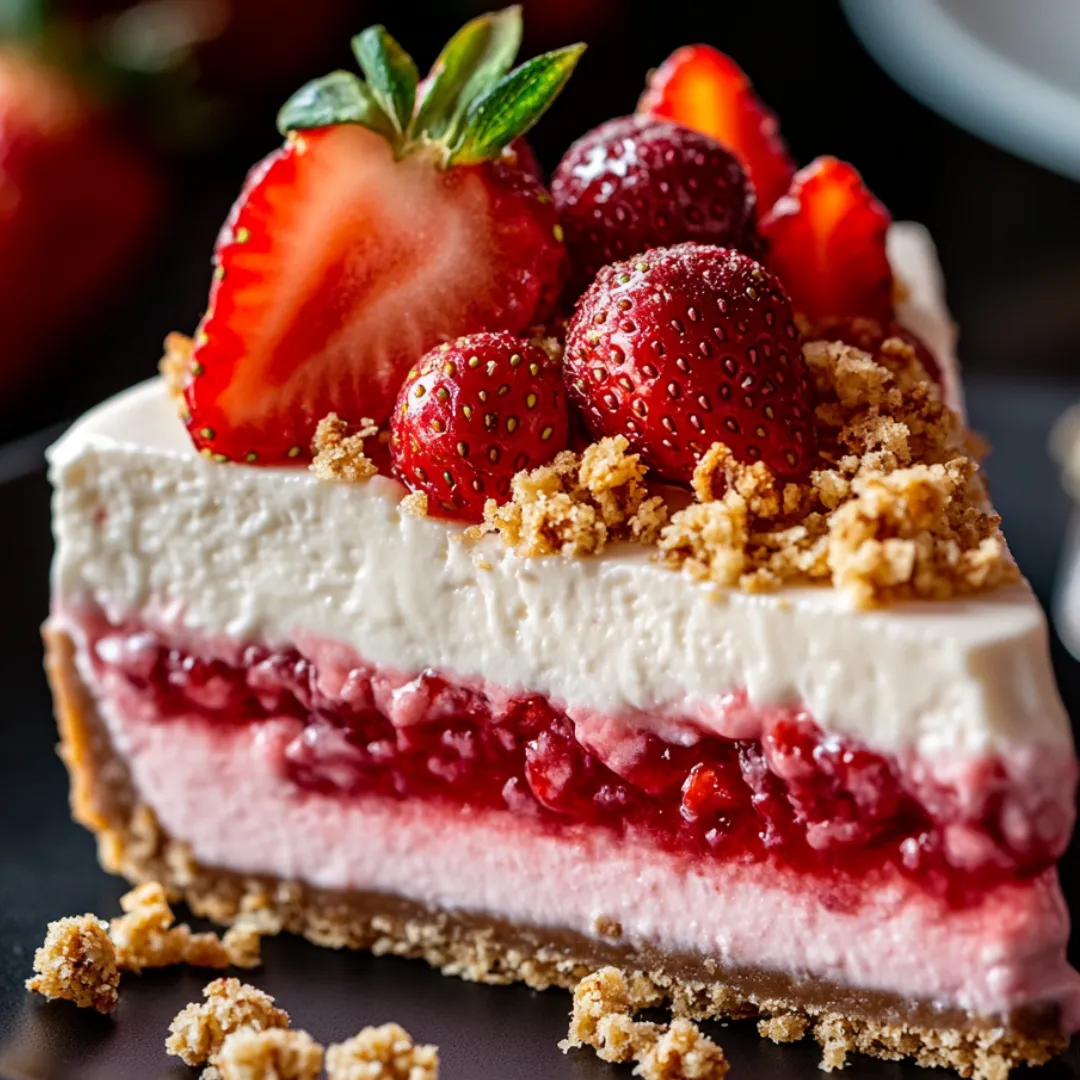
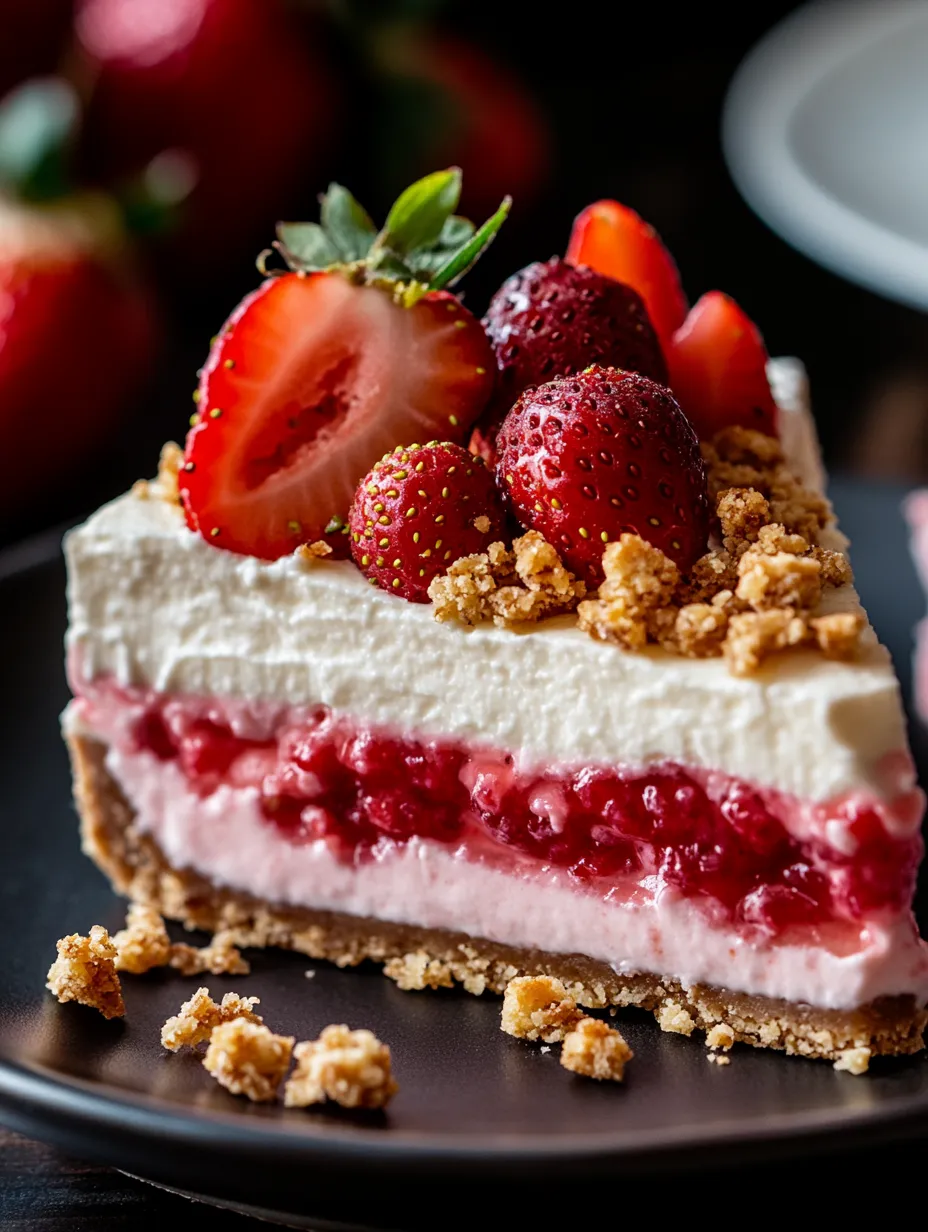
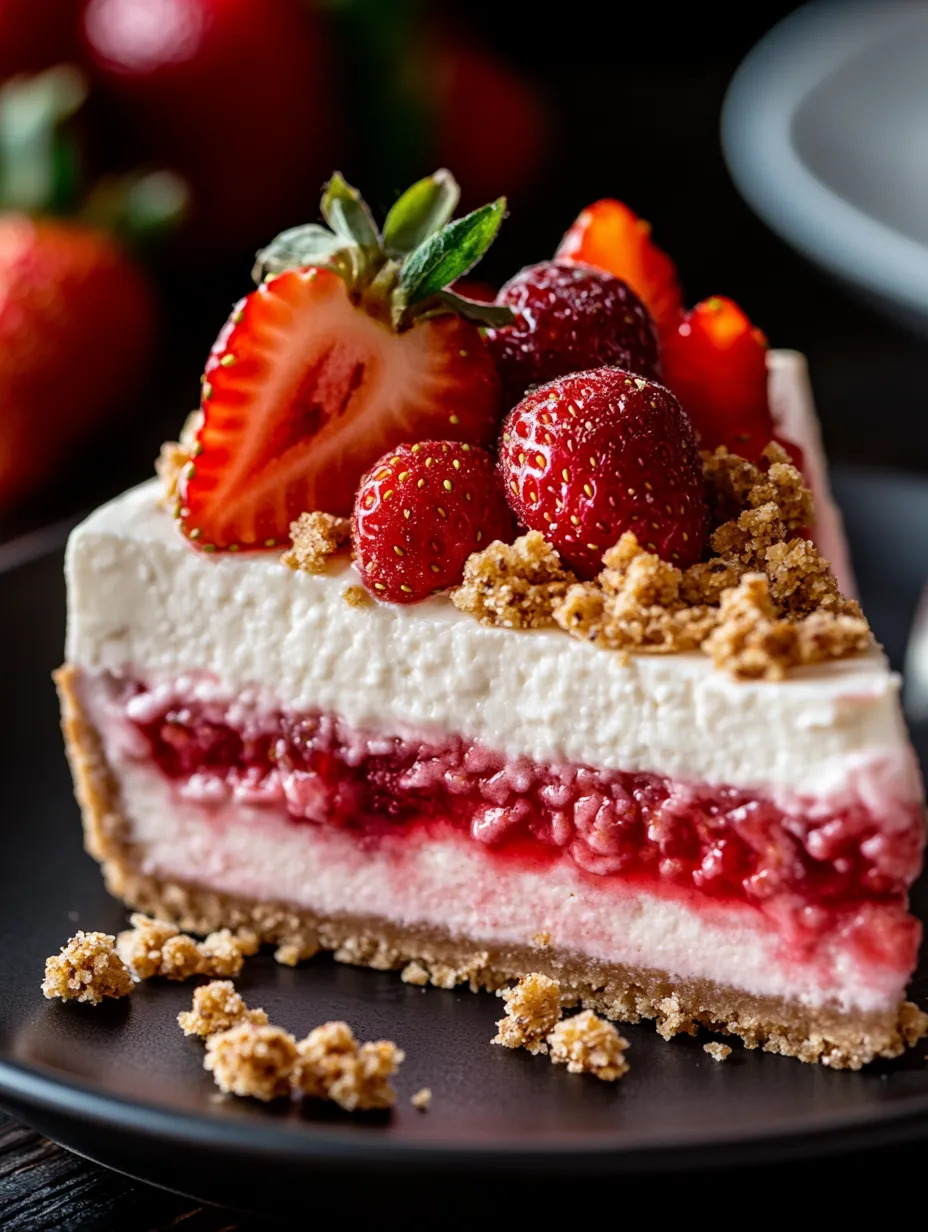
This no-bake strawberry crunch cheesecake combines the rich cream cheese filling of everyone's favorite dessert with crisp chocolate-hazelnut crust and a vibrant strawberry topping. The contrast between the velvety smooth interior and the crisp chocolate shell delivers a luxurious dessert experience without requiring any baking. With just four simple ingredients for the filling and a chocolate coating, these cheesecakes transform ordinary cookies into an extraordinary confection that's perfect for gifting, special occasions, or simply indulging your sweet tooth.
I first made this cheesecake for my sister's summer birthday when the thought of baking in July seemed unbearable. The kitchen stayed cool, but the dessert stole the show! Everyone kept asking if I'd bought it from a bakery, and my nephew practically licked his plate clean. Now it's become our summer tradition, with family members requesting it by name whenever we gather during warm weather months.
Ingredients You'll Need
- 26 Vanilla Cream Cookies - These form the buttery, sweet foundation for your cheesecake. Golden Oreos or vanilla wafers work perfectly here for their subtle flavor that complements the strawberry
- 6 tablespoons Butter, melted - Binds the cookie crumbs together to create a sturdy base that holds its shape when sliced
- 16 ounces Cream Cheese, softened - The star ingredient that provides that signature cheesecake tang and creamy texture. Always use full-fat cream cheese for the richest flavor
- ¾ cup Granulated Sugar - Balances the tanginess of the cream cheese without making the dessert overly sweet
- 1 small box (3.3 oz) Strawberry Jello - Infuses the filling with vibrant strawberry flavor and that beautiful pink color that makes this dessert so eye-catching
- 1 cup Boiling Water - Used to dissolve the jello completely for smooth incorporation into the filling
- 2 cups Heavy Whipping Cream - Creates that light, airy texture that makes no-bake cheesecakes so heavenly when properly whipped
- ½ cup Powdered Sugar - Stabilizes the whipped cream and adds subtle sweetness that won't compete with the other flavors
- 4 ounces Strawberry Wafer Cookies - These pink cookies bring both color and texture to the filling, creating pockets of strawberry-flavored crunch
- Additional Vanilla and Strawberry Cookies for topping - Creates that signature 'strawberry crunch' effect that gives this cheesecake its name
 Pin it
Step-by-Step Cooking Instructions
- Create the Perfect Crust Base:
- Begin by transforming those vanilla cream cookies into a proper cheesecake foundation. Place all 26 cookies in a food processor and pulse until you achieve fine, uniform crumbs. If you don't have a food processor, place the cookies in a heavy-duty ziplock bag and crush them with a rolling pin, working in batches if needed for even texture. Transfer the crumbs to a medium bowl and pour in the melted butter, stirring until every crumb is moistened and the mixture resembles wet sand. The consistency should be such that when pressed, the crumbs hold together firmly. Press the cookie mixture firmly and evenly across the bottom of a 10-inch springform pan, paying special attention to the edges to ensure they're not too thick compared to the center. The more compact your crust, the better it will hold together when serving. Place the pan in the freezer for 15 minutes to allow the butter to solidify and create a stable base for your filling.
- Form the Strawberry Infusion:
- While the crust chills, dissolve the strawberry jello in 1 cup of boiling water, stirring continuously for about 2 minutes until no granules remain visible. Set this aside to cool to room temperature - it needs to be cool enough not to melt the other ingredients but still liquid enough to incorporate smoothly. This cooling step is crucial; rushing this can lead to a filling that won't set properly.
- Create the Creamy Base:
- In a large mixing bowl, beat the softened cream cheese and granulated sugar with an electric mixer on medium speed until completely smooth and slightly fluffy, about 2-3 minutes. Stop occasionally to scrape down the sides of the bowl with a spatula, ensuring no lumps remain. The texture should be velvety and easy to spread - any lumps now will be impossible to remove later.
- Whip the Perfect Cream:
- In a separate clean, chilled bowl, combine the heavy whipping cream and powdered sugar. Beat with clean beaters on medium-high speed until stiff peaks form - this means when you lift the beaters, the peaks stand straight up without flopping over. This usually takes 3-4 minutes, and the cream should be thick enough to hold its shape firmly but still look smooth and glossy, not grainy or separated.
- Combine the Filling Elements:
- Gently fold the whipped cream into the cream cheese mixture using a spatula, maintaining as much air as possible in the mixture. Use a cutting and folding motion rather than stirring, gradually incorporating all the whipped cream until the mixture is uniform but still light and fluffy. Next, slowly pour in the cooled strawberry jello mixture while continuing to fold. The filling should now be a beautiful pink color throughout. Finally, crush the strawberry wafer cookies into small pieces and gently fold them into the filling, creating pockets of strawberry-flavored crunch throughout.
- Layer and Chill the Cheesecake:
- Remove your crust from the freezer and pour half of the strawberry filling over it, spreading it evenly with an offset spatula. Return the pan to the freezer for 15 minutes to set this first layer - this creates distinctive layers and ensures structural integrity. After chilling, pour the remaining filling over the first layer, again spreading it smoothly and evenly. The top should be level and smooth, ready for the signature crunch topping.
- Create the Signature Crunch Topping:
- In a small bowl, combine crushed vanilla cream cookies and strawberry wafer cookies (about 4 of each). The texture should include both fine crumbs and some slightly larger pieces for visual appeal and varied texture. Sprinkle this mixture generously over the top of your cheesecake, covering the entire surface. Gently press the crumbs into the filling just enough to help them adhere, but not so much that they sink completely.
I learned the importance of thoroughly dissolving the jello after my first attempt left strange gummy spots throughout the filling. My mother-in-law shared her trick of letting the jello cool in a shallow pan rather than a deep bowl, which speeds up the cooling process while preventing premature setting. This simple change made all the difference in achieving that perfectly smooth, consistent filling texture that makes this cheesecake so special.
Perfect Decorating Ideas
The beauty of this cheesecake lies not just in its flavor but also in its presentation. For an extra special touch, pipe rosettes of whipped cream around the perimeter using a star tip. Each dollop creates the perfect landing spot for a fresh strawberry or a small piece of strawberry cookie for a hint at the flavors inside. A light dusting of crushed freeze-dried strawberries adds vibrant color and intensifies the berry flavor with minimal effort. For an elegant dessert course, arrange slices on a serving platter with fresh berries and mint leaves for a pop of color and freshness that complements the richness of the cheesecake perfectly.
Serving Suggestions
This cheesecake truly shines when paired with complementary accompaniments. Consider serving slices alongside a small dish of macerated strawberries - fresh berries tossed with a spoonful of sugar and allowed to release their juices. The bright acidity cuts through the richness of the cheesecake perfectly. For an elegant dessert course, add a quenelle of strawberry sorbet on the side to echo and amplify the strawberry flavor profile throughout the experience. The versatility of this dessert makes it perfect for any special occasion or gathering.
Storage Wisdom
The proper storage of this cheesecake ensures it remains delicious for days. Keep leftovers in the refrigerator, covered loosely with plastic wrap or stored in an airtight container, for up to 5 days. The flavor actually continues to develop over the first 24-48 hours, making this an excellent make-ahead dessert. For longer storage, this cheesecake freezes beautifully - simply wrap individual slices tightly in plastic wrap followed by aluminum foil and freeze for up to 2 months. Thaw overnight in the refrigerator for the best texture restoration.
 Pin it
Holiday Adaptations
This versatile dessert can be easily modified to suit any holiday or special occasion. For Christmas, incorporate crushed peppermint candies into the topping. Easter celebrations call for pastel-colored cookies in the crumble or spring-themed decorations. Valentine's Day becomes even more special with heart-shaped strawberry slices arranged on top. The basic recipe remains the same, while simple garnish changes make it perfectly suited to any celebration throughout the year.
I've made this cheesecake countless times over the years, and I've discovered that the quality of your cream cheese makes a remarkable difference in the final texture. I once tried to save a few dollars with a store brand, and while the cheesecake was good, it didn't achieve that silky-smooth consistency that makes this dessert so special. Now I always splurge for Philadelphia cream cheese – it consistently produces that perfectly creamy texture that melts in your mouth while still holding its shape when sliced. This small investment elevates the entire dessert from good to unforgettable. This cheesecake has become such a staple in our home that my children now request it for special occasions instead of cake!
Frequently Asked Questions
- → Can I use a different flavor of jello?
- Absolutely! Try raspberry, cherry, or peach jello for different flavor variations while keeping the same creamy texture.
- → How far in advance can I make this cheesecake?
- You can make this cheesecake up to 2 days ahead. The flavors actually improve with time, just add the whipped topping decoration right before serving.
- → Can I freeze leftover cheesecake?
- Yes, wrap slices tightly in plastic wrap and freeze for up to 2 months. Thaw in the refrigerator overnight before serving.
- → What can I use instead of a springform pan?
- A deep pie dish or 9x9 square pan works well, though it may be harder to serve. Line with parchment paper with overhang for easier removal.
- → Why isn't my filling setting properly?
- Make sure the jello is completely cooled before mixing with cream cheese, and that the heavy cream is whipped to stiff peaks. Refrigerate for at least 4 hours, or overnight for best results.