
 Pin it
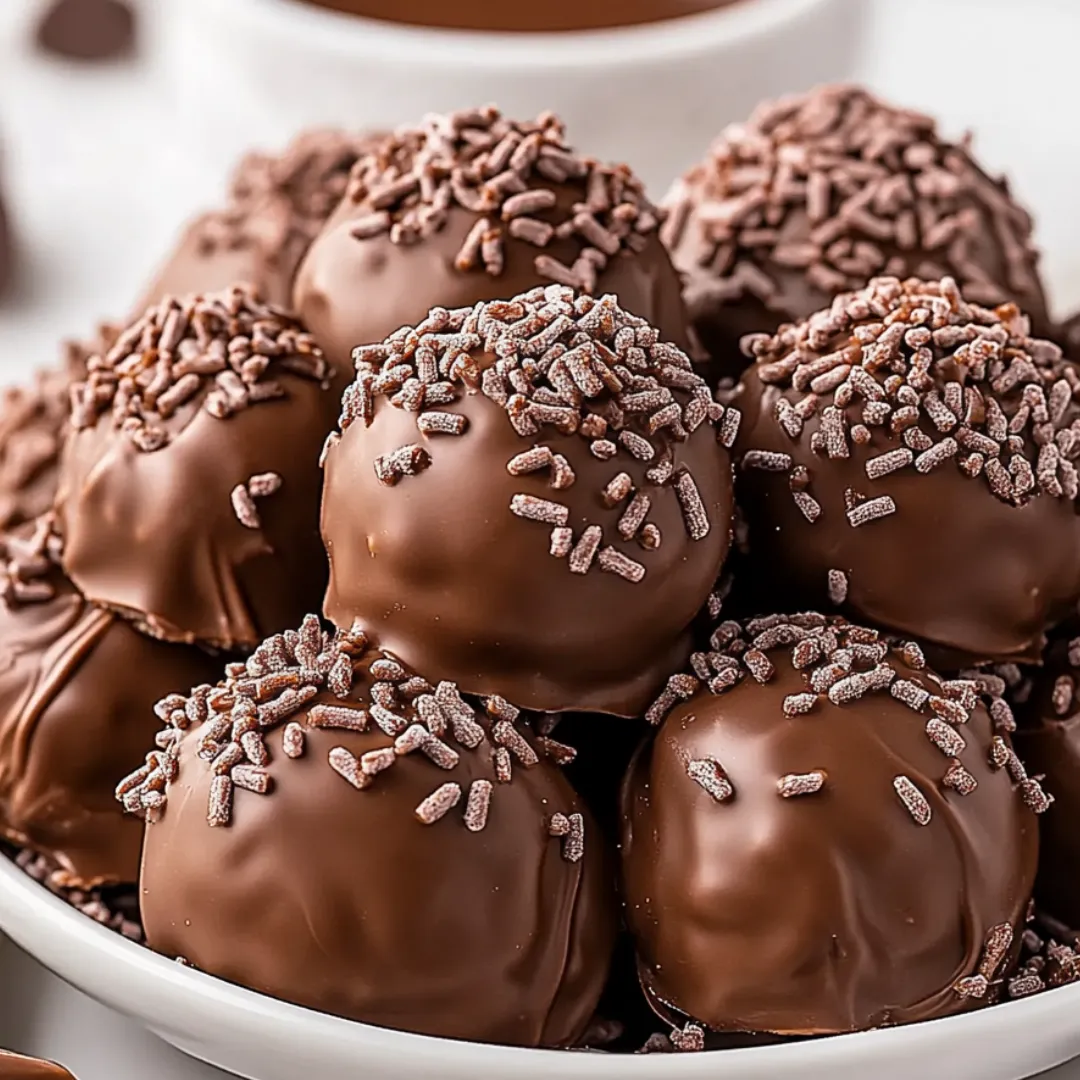
These irresistible Nutella truffles combine the rich chocolate-hazelnut flavor of everyone's favorite spread with crushed Oreo cookies and cream cheese, creating perfectly bite-sized treats that melt in your mouth. The contrast between the velvety soft interior and the crisp chocolate shell delivers a luxurious dessert experience without requiring any baking. With just four simple ingredients for the filling and a chocolate coating, these truffles transform ordinary cookies into an extraordinary confection that's perfect for gifting, special occasions, or simply indulging your sweet tooth.
I first made these truffles for my sister's birthday gathering when I needed something special but was short on time. Everyone assumed I'd spent hours in the kitchen or purchased them from an expensive chocolate shop! My nephew, who typically turns his nose up at anything but plain chocolate, asked to take the leftovers home. Now they've become my signature contribution to family celebrations, with relatives texting me days in advance to make sure I'm bringing 'those Nutella balls.'
Key Ingredients
- Oreo Thins: These slimmer cookies provide the perfect cookie-to-filling ratio and break down more easily into fine crumbs. The subtle vanilla cream complements the Nutella without competing with it. Regular Oreos can be substituted but may create a slightly different texture.
- Cream Cheese: Adds creaminess while helping bind the ingredients together. The slight tanginess balances the sweetness perfectly. Always use full-fat, room temperature cream cheese for the smoothest incorporation and richest flavor.
- Nutella: The star ingredient that infuses every bite with its distinctive chocolate-hazelnut flavor. The unique consistency of Nutella adds both richness and helps create the perfect truffle texture that holds its shape while remaining tender.
- Chocolate Coating: Creates a satisfying shell that encases the soft filling. Milk chocolate provides a classic pairing with Nutella, but dark or white chocolate can offer interesting flavor contrasts for more adventurous palates.
 Pin it
Step-by-Step Instructions
- Process the Cookie Base:
- Place Oreo Thins in a food processor and pulse until they transform into very fine crumbs with no visible chunks remaining. This fine texture ensures a smooth truffle filling without any grittiness. The cookies should break down completely, including the cream filling, which adds sweetness and helps bind the mixture.
- Create the Truffle Mixture:
- Add softened cream cheese, Nutella, and a pinch of salt to the cookie crumbs in the food processor. Pulse continuously until the ingredients form a cohesive ball in the processor bowl, typically taking 1-2 minutes. The mixture should be completely smooth and uniform in color, with the Nutella and cream cheese fully incorporated into the cookie crumbs.
- Chill for Initial Firming:
- Transfer the truffle mixture to a bowl and refrigerate for 30-45 minutes. This brief chilling period firms the mixture just enough to roll into balls while remaining pliable. The mixture should hold its shape when scooped but still be workable with your hands.
- Shape the Truffles:
- Using a 1-tablespoon cookie scoop, portion the chilled mixture into equal-sized balls. Roll each portion between your palms to create smooth, round truffles. Place the shaped truffles on a parchment-lined baking sheet, spacing them slightly apart to prevent sticking together.
- Chill Until Firm:
- Refrigerate the shaped truffles for 1-1½ hours until they're completely firm and hold their shape perfectly. This extended chilling is crucial for the dipping process, as soft truffles will fall apart in the warm chocolate coating.
- Coat in Chocolate:
- Melt chocolate wafers according to package directions until smooth and glossy. Working one at a time, place a chilled truffle on the tines of a fork, lower it into the melted chocolate, and spoon additional chocolate over any exposed areas. Gently tap the fork on the edge of the bowl to remove excess chocolate, then transfer to a parchment-lined baking sheet.
- Decorate and Set:
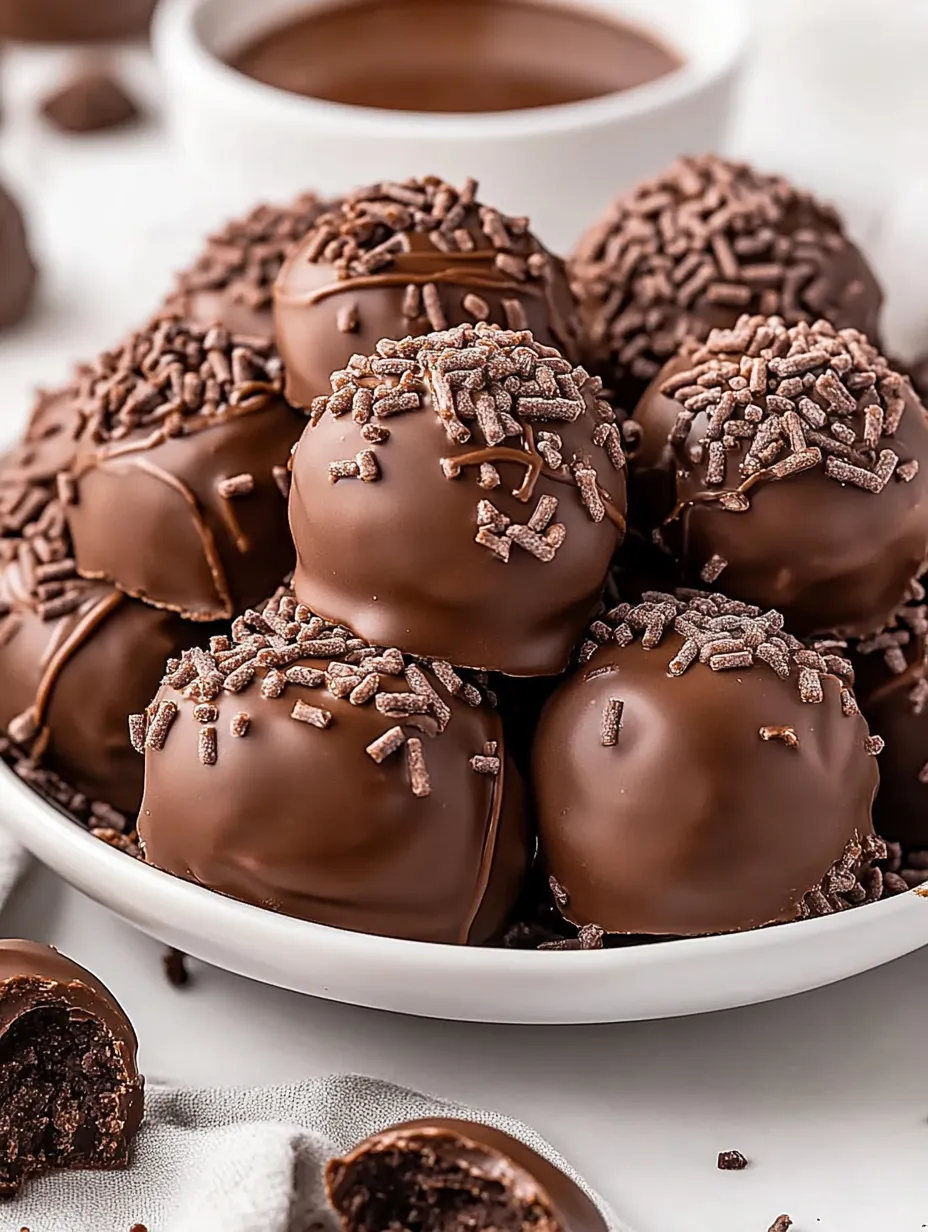
- While the chocolate coating is still wet, immediately sprinkle the top of each truffle with chocolate sprinkles or other desired decorations. Allow the coated truffles to set completely at room temperature or accelerate the process with 5-10 minutes in the refrigerator.
The Secret to Perfect Rolling
Creating perfectly round truffles that look professional took me several attempts to master. I discovered that the temperature of both the mixture and your hands significantly affects the process. If the mixture sticks to your palms, try chilling it for an additional 15 minutes or lightly dust your hands with cocoa powder.
I've found that rolling with gentle pressure and making small, circular motions creates the smoothest surface. Working in a cool room also helps prevent the truffles from becoming too soft during handling. When I'm making these in summer, I now roll just 4-5 at a time, keeping the remaining mixture refrigerated between batches.
 Pin it
Dipping Tips from Trial and Error
After struggling with messy, uneven chocolate coatings on my first few batches, I developed a foolproof dipping method. The fork technique provides much better control than using toothpicks or fingers. For the shiniest finish, make sure your chocolate is melted at the proper temperature—too hot, and it won't set properly; too cool, and it becomes thick and clumpy.
I once attempted to rush the process by not chilling the truffles long enough before dipping, resulting in misshapen lumps as they softened in the warm chocolate. Now I make sure they're completely firm, working with small batches and keeping the remainder refrigerated until needed.
My daughter has a nut allergy, which initially made me hesitant to work with Nutella in our kitchen. After consulting with her allergist, we determined that commercial Nutella was processed in a way that made it safe for her. This opened up a whole world of hazelnut-flavored treats for our family. We now have a tradition of making these truffles together during the holiday season, with each family member choosing their own unique toppings to distinguish their portion.
The revelation that transformed my truffle-making process was discovering that double-dipping creates a more professional finish. After the first chocolate coating has set completely, dip the truffles a second time for a thicker, more even shell that's less likely to crack or develop bloom. This technique, shared by a pastry chef friend, elevates these simple treats to gourmet status with minimal extra effort—just be sure to allow the first layer to set completely before applying the second.
Frequently Asked Questions
- → Can I use regular Oreos instead of Oreo Thins?
- Yes, you can substitute regular Oreos, but you'll need fewer of them – about 16-18 regular Oreos would be equivalent to the 25 Oreo Thins called for in the recipe.
- → How should I store these truffles?
- Store these truffles in an airtight container in the refrigerator for up to a week. You can also freeze them for up to 3 months in a freezer-safe container.
- → Can I use dark chocolate instead of milk chocolate for coating?
- Absolutely! You can use dark, semi-sweet, or even white chocolate melting wafers depending on your preference. Each will give a slightly different flavor profile.
- → What if I don't have a food processor?
- You can place the cookies in a ziplock bag and crush them with a rolling pin until very fine, then mix the ingredients by hand in a bowl until well combined. This may take more effort but works just as well.
- → Can I make these without cream cheese?
- The cream cheese helps bind the ingredients and adds creaminess. You could try substituting mascarpone cheese, though the texture may be slightly different. For a dairy-free version, try using coconut cream.