
 Pin it
Old fashioned butter mints have always brightened up special occasions around my table and once you taste their creamy texture and sweet minty flavor you will see why I keep coming back to this recipe for gatherings from baby showers to holiday parties
One snowy afternoon my daughter and I created a rainbow of these mints for a friend’s wedding shower and ever since it has become our go to treat for every family milestone
Ingredients
- Softened butter: creates that signature creamy melt be sure to select fresh unsalted butter for best flavor
- Powdered sugar: is the base for sweetness and structure sift before using for the silkiest dough
- Sweetened condensed milk: brings richness and binds everything together choose a brand with only milk and sugar for purest taste
- Extract such as peppermint or lemon: infuses each mint with its special kick pick high quality options for the brightest flavor
- Vanilla: smooths out the overall taste use pure vanilla extract if possible
- Food coloring: gives these treats their pastel charm opt for gel-based colors for vibrant hues and less mess
Step-by-Step Instructions
- Mix the Butter:
- Beat the softened butter in a large mixing bowl with an electric mixer until it is completely smooth and creamy This should take about forty seconds and ensures a uniform base for the mints
- Form the Dough:
- Add the powdered sugar sweetened condensed milk targeted extract and vanilla to the bowl Mix at medium speed until a thick dough comes together Scrape the bowl as needed The dough should hold its shape and not be sticky add a little more powdered sugar if needed
- Color the Dough:
- Divide the dough into three or four portions depending on how many colors you want Add a few drops of food coloring to each portion and knead in the color until pastel swirls appear You can use gloves or a paddle mixer for this step to avoid coloring your hands
- Shape and Cut:
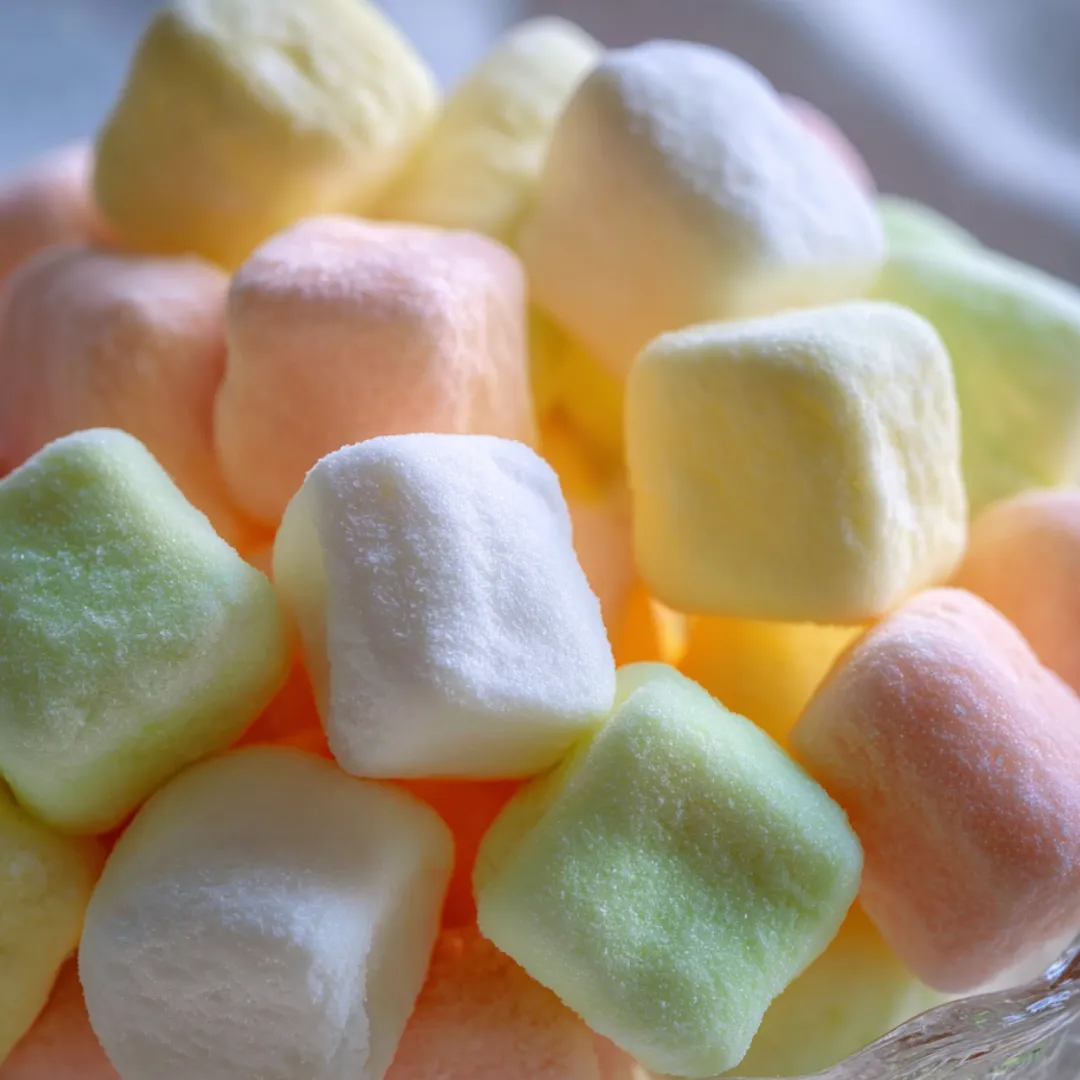
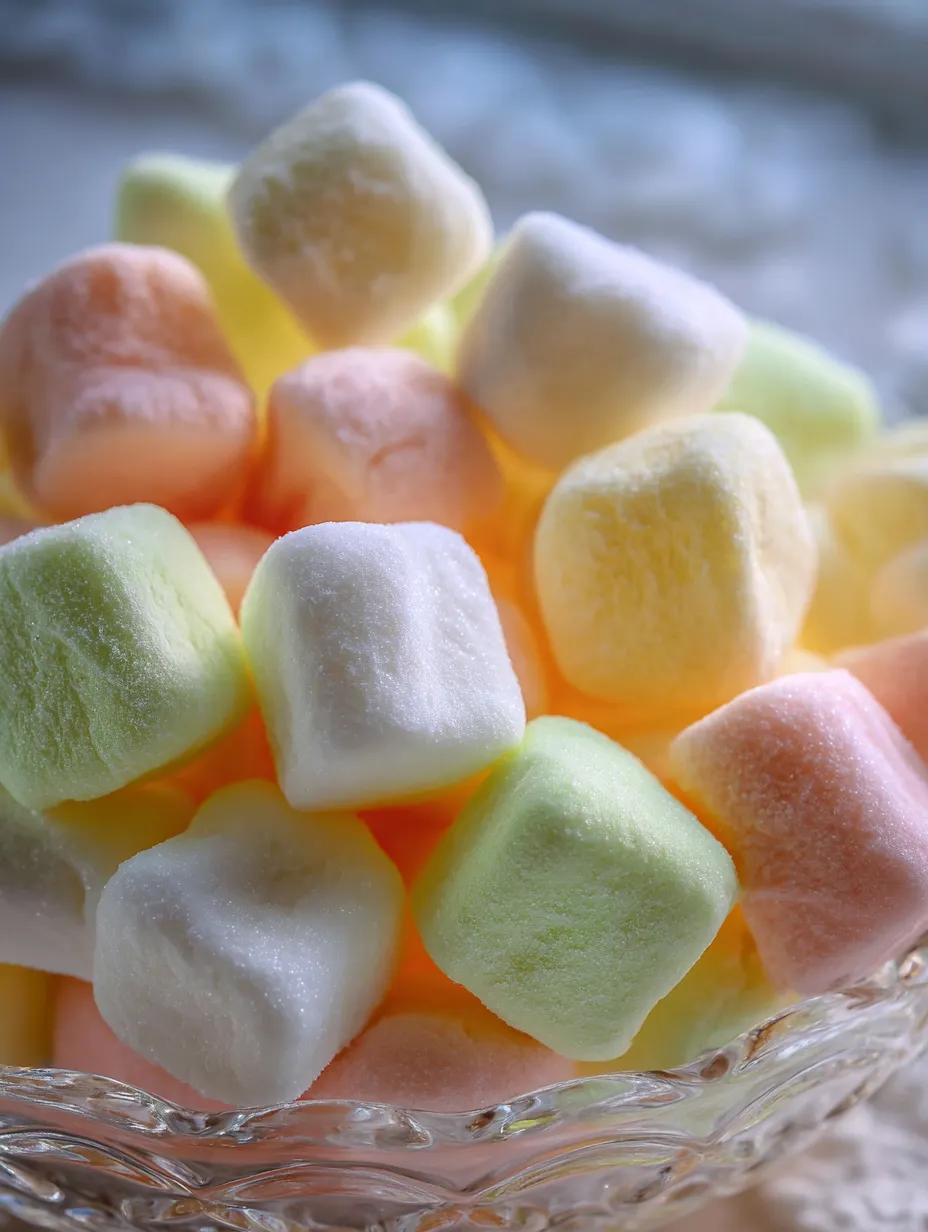
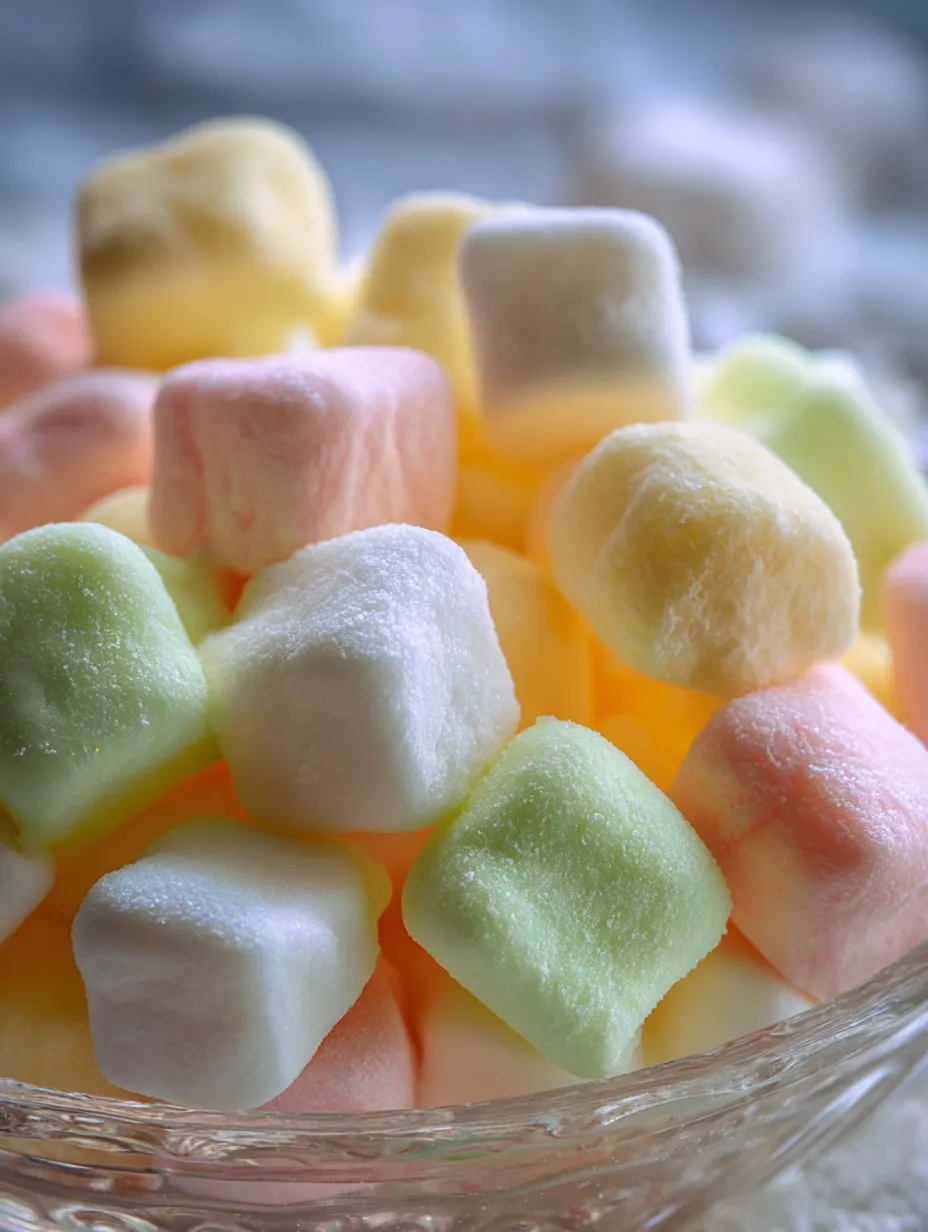
- Take a small handful of colored dough and roll it out into long ropes about half an inch thick Place ropes on a clean cutting board and use a pizza cutter to slice them into tiny pillows about half an inch each
- Dry the Mints:
- Arrange the cut pieces on a baking sheet in a single layer Let them sit uncovered for one day which allows them to dry out and develop their melt-in-your-mouth texture
 Pin it
You Must Know
- No baking needed so this is a perfect make ahead treat
- Freezes beautifully for up to two months
- The lovely pastel swirl in the mints is natural and makes every batch unique
I just love how the peppermint extract makes these mints so refreshing The scent takes me right back to my grandmother’s kitchen watching her roll out soft ropes of dough on the old wooden board during spring holidays
Storage Tips
Place finished mints in an airtight container and store them in the refrigerator for up to three weeks or freeze for two months Let them come to room temperature before serving for best texture
Ingredient Substitutions
You can use lemon or cinnamon extract to swap out the flavor and make a batch suited to your party theme Dairy free butter and coconut condensed milk also work for a lactose free option though flavor will vary
 Pin it
Serving Suggestions
Arrange the mints in decorative jars or cupcake liners for showers weddings or tea parties They also make a charming gift bag addition tied with a pastel ribbon
Cultural Context
Butter mints trace their roots to American Southern homes where hostess tables featured tiny bowlfuls as a welcoming sweet Their endurance today speaks to their nostalgic charm and simple homemade goodness
Frequently Asked Questions
- → Can I use different extracts for flavor?
Absolutely! Try peppermint, cinnamon, lemon, or even almond extract to create different flavors for your mints.
- → How do I prevent the dough from sticking?
If the dough is sticky, add a bit more powdered sugar until it's easy to handle and shape.
- → What’s the best way to color the dough?
Add a few drops of food coloring and knead it in by hand or use a mixer with a paddle attachment to avoid staining your fingers.
- → How should I store these butter mints?
Store finished mints in an airtight container in the fridge for several weeks or freeze for up to two months.
- → Can the mints be made ahead for events?
Yes, these mints can be prepared in advance and kept fresh in the fridge or freezer until needed for your gathering.
- → What size should the mints be cut?
Roll the dough into thin ropes and slice into small, bite-sized pieces for classic presentation.