
 Pin it
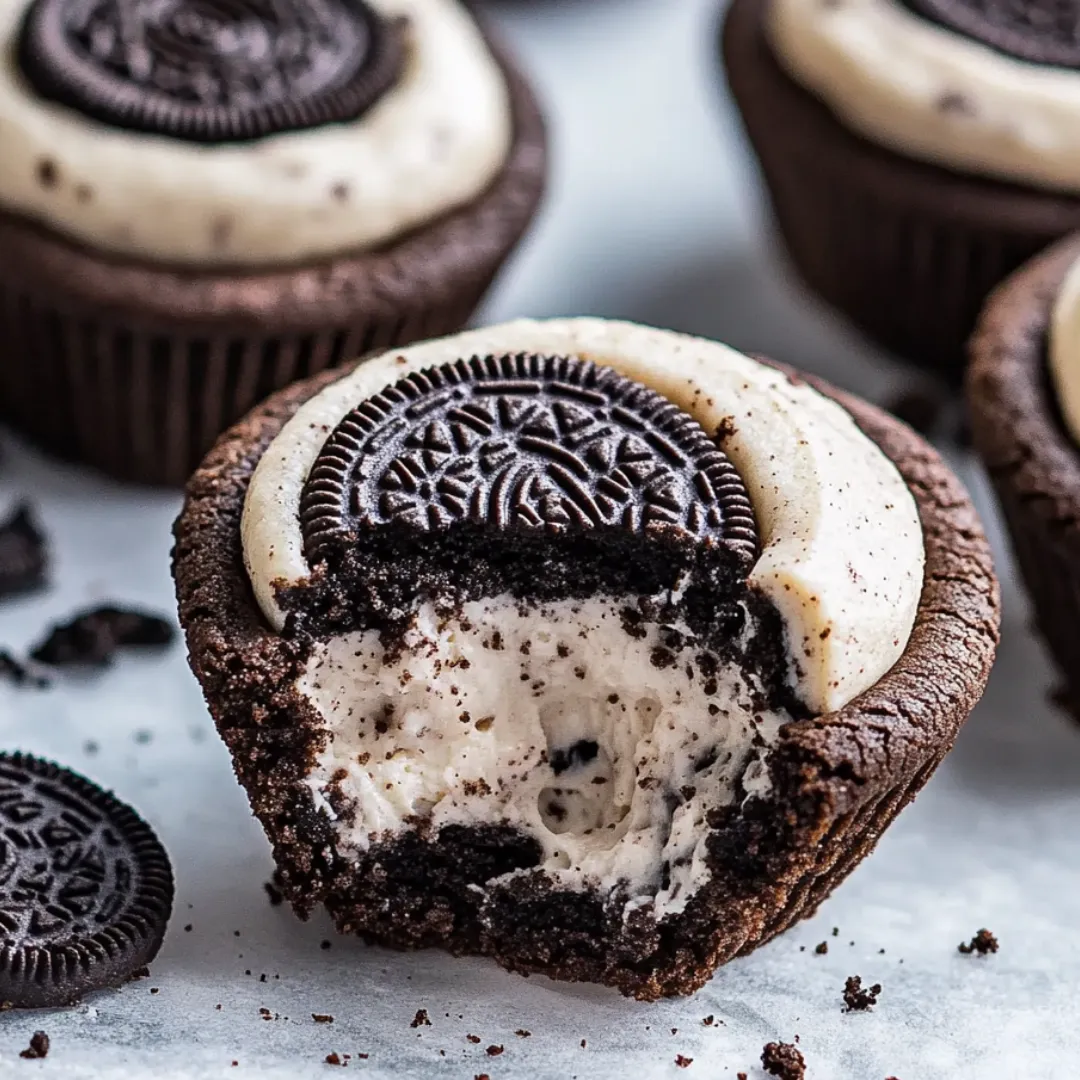
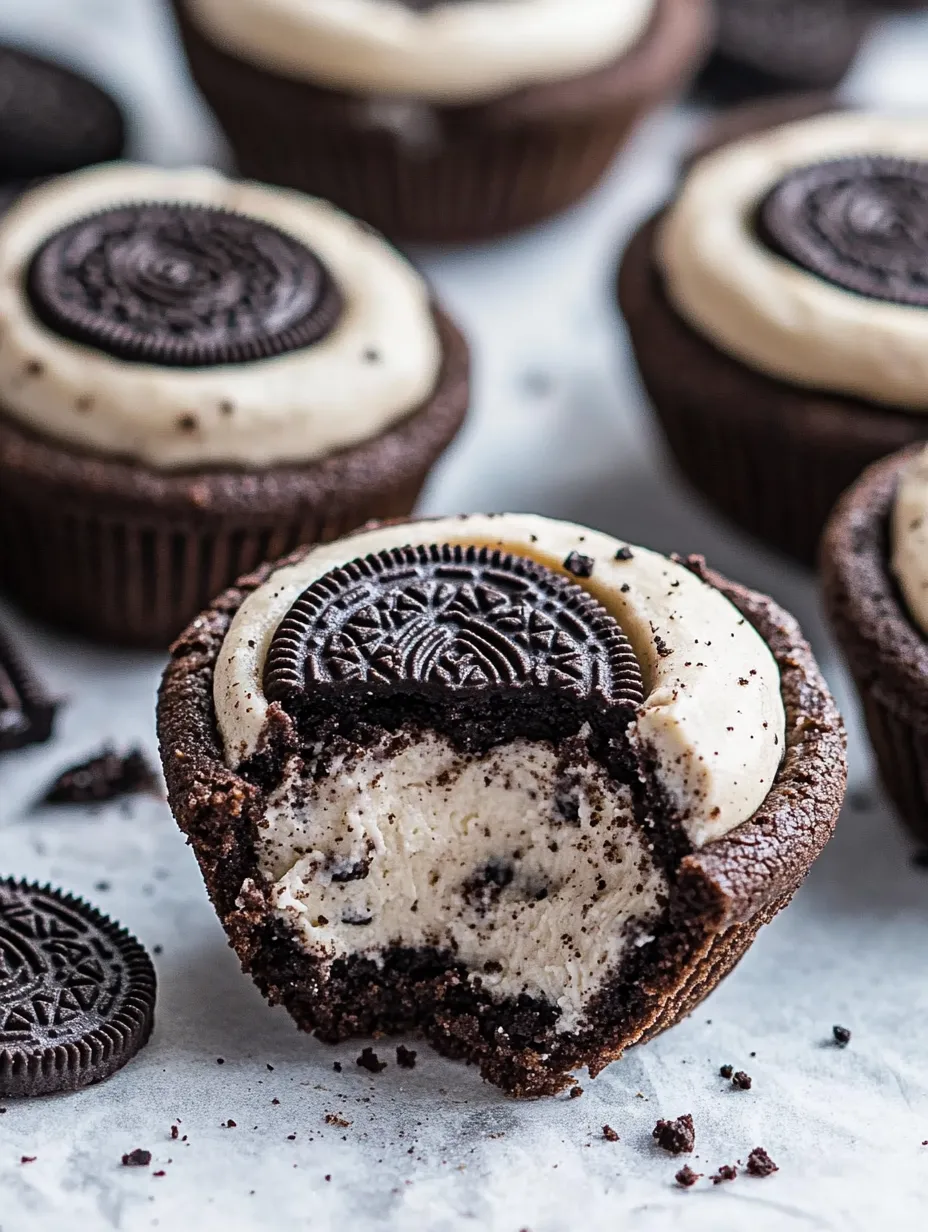
This decadent Oreo cheesecake cookie cup recipe combines two beloved desserts into one irresistible treat. The chocolate cookie base provides the perfect vessel for a creamy Oreo cheesecake filling, creating a dessert that's sure to impress at any gathering or satisfy your late-night sweet tooth.
I created these for my daughter's birthday party last year, and they disappeared faster than any other dessert on the table. Now they're requested at every family gathering, especially by my Oreo-obsessed nephew.
Ingredients
- All-purpose flour: creates the structure for our cookie cups while keeping them tender
- Dutch-processed cocoa powder: provides a smooth chocolate flavor base
- Black cocoa powder: gives that distinctive Oreo cookie flavor and dark color
- Baking soda: helps the cookies rise slightly before we create the wells
- Salt: enhances all the flavors and balances the sweetness
- Unsalted butter: at room temperature incorporates better for a perfect cookie texture
- Granulated sugar: provides sweetness and helps create crisp edges
- Light brown sugar: adds moisture and a hint of caramel notes to the chocolate cookies
- Large eggs: bind everything together and add richness
- Vanilla extract: enhances the chocolate flavors
- Heavy whipping cream: creates that light mousse-like texture in the filling
- Full-fat cream cheese: provides the signature cheesecake tang and creamy texture
- Oreo cookie crumbs: deliver that authentic flavor throughout the filling
Step-by-Step Instructions
- Prepare the Pans:
- Preheat your oven to 350°F and thoroughly spray your muffin tins with cooking spray. Make sure to get into all the corners to ensure easy removal later. The cooking spray works better than paper liners for this particular recipe.
- Mix the Dry Ingredients:
- Whisk together your flour, both cocoa powders, baking soda, and salt in a medium bowl until completely combined. The sifting of cocoa powders is crucial here to avoid any bitter lumps in your final cookies. Take your time with this step to ensure even distribution of the leavening agents.
- Cream the Butter and Sugars:
- In your stand mixer or with a hand mixer, beat the butter and both sugars on medium-high speed until the mixture becomes noticeably lighter in color and fluffier in texture. This usually takes a full 2-3 minutes. Proper creaming incorporates air into the batter, creating a better texture in your final cookie cups.
- Add the Wet Ingredients:
- Reduce your mixer speed to low and add eggs one at a time, allowing each to fully incorporate before adding the next. Add the vanilla extract and mix until combined. Scrape down the sides of your bowl to ensure everything is mixed evenly.
- Incorporate the Flour Mixture:
- Add your flour mixture gradually and mix on low speed just until no dry streaks remain. Overmixing at this stage will develop too much gluten, resulting in tough cookies, so exercise restraint and stop mixing as soon as everything comes together.
- Form the Cookie Cups:
- Using a 3-tablespoon cookie scoop, portion the dough evenly into your prepared muffin tins. Press down slightly to flatten the tops. The dough will rise during baking, so this helps create a more even shape.
- Bake and Shape:
- Bake for 10-13 minutes until the edges are set but the centers still look slightly underdone. This is crucial for the perfect texture. Immediately after removing from the oven, use a small jar or spice container to press down firmly in the center of each cookie, creating a well for your filling. The cookies will be very soft at this point but will firm up as they cool.
- Cool Properly:
- Allow the cookie cups to cool in the pans for 10 minutes, then gently twist each one to ensure they're not sticking. Wait 5 more minutes before transferring to a wire rack to cool completely. Patience here prevents breakage.
- Prepare the Cheesecake Filling:
- Whip your heavy cream in a chilled bowl with chilled beaters until stiff peaks form. In a separate bowl, beat the cream cheese and sugar until completely smooth and lump-free. Add the Oreo cookie crumbs and mix until fully incorporated.
- Combine and Fill:
- Gently fold the whipped cream into the cream cheese mixture until well combined, being careful not to deflate the cream too much. Transfer to a piping bag fitted with a large star tip and pipe generous swirls into each cooled cookie cup.
- Set and Serve:
- Refrigerate for at least 1-2 hours to allow the filling to set properly. If desired, sprinkle additional Oreo crumbs on top just before serving for an extra touch of decoration and flavor.
 Pin it
The first time I made these, I accidentally skipped the step of pressing down the centers while they were hot. They still tasted amazing, but looked more like cupcakes than cookie cups! That happy accident taught me that this recipe is incredibly forgiving and always delicious, even when not perfectly executed.
 Pin it
Make-Ahead Options
The unfilled cookie cups freeze beautifully for up to 3 months. Simply place them in an airtight container with parchment paper between layers to prevent sticking. Thaw at room temperature for about an hour before filling.
Ingredient Substitutions
If black cocoa powder is unavailable, you can use all Dutch-processed cocoa powder instead. Your cookie cups will be lighter in color and have a more traditional chocolate flavor rather than the distinctive Oreo taste...
Pro Tips
Frequently Asked Questions
- → Can I make these cookie cups ahead of time?
Yes, you can make these cookie cups ahead and store them in the fridge for up to 3 days or freeze for up to 4 weeks.
- → What can I use if I don’t have black cocoa powder?
You can replace black cocoa powder with Dutch-processed cocoa powder, but the flavor and color will differ slightly.
- → How can I make Oreo cookie crumbs at home?
You can crush the cookie part of Oreo cookies in a food processor or by placing them in a sealed bag and crushing with a rolling pin.
- → Can I use a different filling for the cookie cups?
Yes, you can try other fillings like vanilla cream, peanut butter, or even fruit-based fillings to customize the flavor.
- → Do I need to chill the filling before piping?
For the best texture, it's recommended to refrigerate the filling for at least 1-2 hours before piping into the cookie cups.