
 Pin it
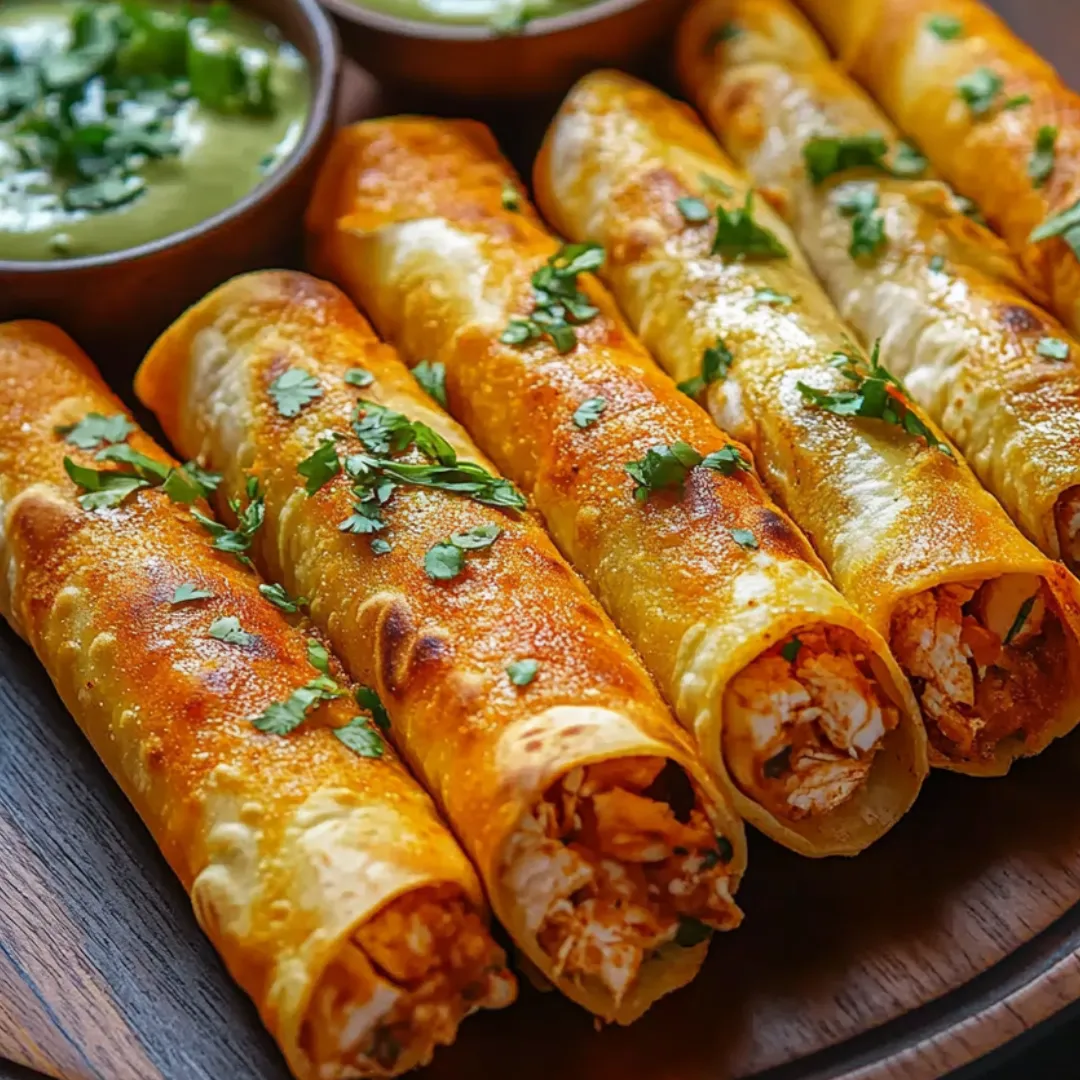
Crunchy Oven Baked Chicken Taquitos are the answer when you want a simple family-friendly meal that brings everyone to the table with smiles. These golden rolls are packed with tender chicken and creamy cheddar goodness balanced with vibrant salsa and a touch of lime. They come out bubbling and crisp from the oven perfect for dunking in your favorite dips.
Whenever I make these for movie night the tray disappears faster than any pizza. My kids especially love customizing their taquitos with all the toppings.
Ingredients
- Shredded cooked chicken: brings protein and a mild flavor that pairs with everything a rotisserie chicken is both juicy and quick
- Cream cheese: makes the filling extra rich and helps everything hold together use full-fat for the creamiest bite
- Shredded cheese: adds that gooey melt choose cheddar for sharpness or a Mexican blend for a mix of flavors always shred your own if possible for better melt
- Salsa: infuses tang and a little heat pick a jar brand you truly enjoy since it sets the tone
- Taco seasoning: delivers spice and warmth a homemade blend or your favorite packet both work well
- Fresh lime juice: brightens and balances the richness always use freshly squeezed for best taste
- Chopped cilantro: offers freshness and color optional but it makes the whole dish pop so pick vibrant leafy bunches without wilting
- Small flour tortillas: wrap everything snugly so they bake up tender but crisp warm them first so they do not crack
- Cooking spray or olive oil: ensures a crisp golden shell while helping the taquitos bake evenly
- Salt and pepper: are the little finishing touches always taste your filling to get it just right
- Optional toppings: such as guacamole sour cream salsa diced tomatoes or sliced jalapenos let everyone build their own plate with fun flair
Step-by-Step Instructions
- Preheat the Oven:
- Set your oven to 400 degrees Fahrenheit which gets the taquitos perfectly crisp. Line a baking sheet with parchment paper or give it a good spritz of cooking spray so your taquitos do not stick and cleanup is a breeze.
- Make the Filling:
- In a medium mixing bowl combine the shredded chicken with the softened cream cheese and toss in the shredded cheese. Add the salsa taco seasoning fresh lime juice and if you like cilantro for extra brightness. Mix until every bite looks creamy and all the pieces are evenly coated. Taste and adjust salt and pepper as needed.
- Warm the Tortillas:
- Stack your tortillas and wrap them in a clean towel. Microwave for about 10 seconds to make them soft and easy to roll. Warm tortillas will not crack and make rolling much easier.
- Fill and Roll:
- Spoon about two tablespoons of the filling straight onto the center of each tortilla. Tightly roll from one side to the other to seal everything in. Place each finished roll seam-side down on your prepared baking sheet so they do not unravel while baking.
- Brush with Oil:
- Lightly brush or spray the tops of your taquitos with olive oil or cooking spray. This helps them become golden and shatteringly crisp in the oven no need for deep frying.
- Bake:
- Slide the tray into the oven and let the taquitos bake for 20 to 25 minutes. Flip each taquito gently halfway through baking for even browning. They are ready when the tortillas look golden and have crisp edges.
- Serve and Enjoy:
- Transfer freshly baked taquitos to a plate and let them cool for a minute. Serve right away with bowls of guacamole salsa sour cream or any toppings you love. Everything is best eaten hot when the cheese is still melty.
 Pin it
I honestly crave the cheesy filling in these every time chicken tacos cross my mind. Once my daughter made extra for her school lunch and now it is the number one lunchbox request.
Storage Tips
Baked taquitos keep in an airtight container in the fridge for up to four days. To reheat pop them in a hot oven or air fryer to bring back that satisfying crispiness. For longer storage freeze before baking then add a few extra minutes to the bake time straight from the freezer.
Ingredient Substitutions
Swap the chicken for cooked shredded turkey beans or even sautéed mushrooms for a vegetarian twist. If you do not have cream cheese try plain Greek yogurt or a bit of sour cream for smoothness. Corn tortillas can be used if you want gluten free taquitos but warm them well so they do not break during rolling.
 Pin it
Serving Suggestions
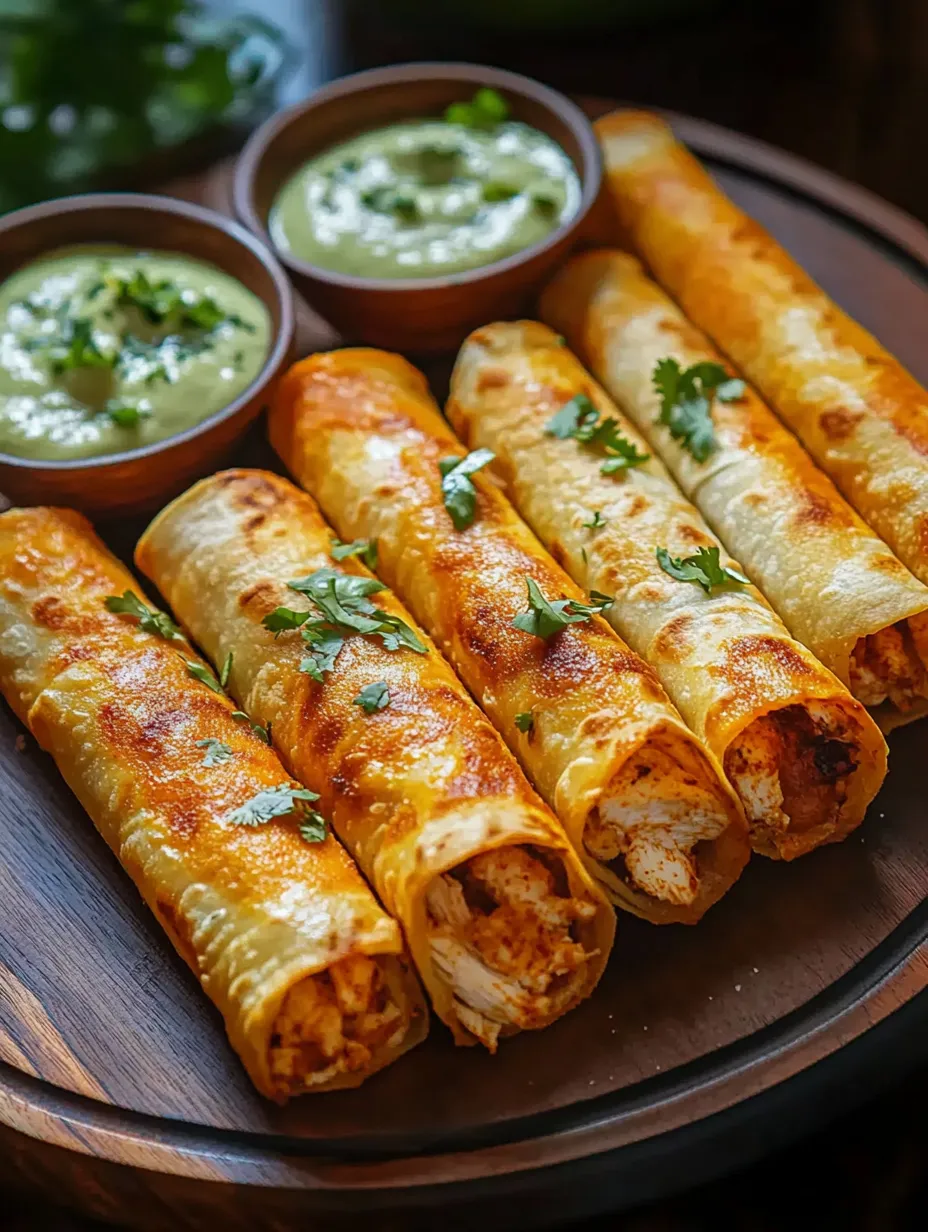
Pile your taquitos high on a platter with bowls of guacamole salsa and a cool creamy dip like cilantro lime crema. Serve them as a main course alongside rice and beans or cut them in halves for a party-ready appetizer. I love setting out pickled jalapenos diced tomatoes and shredded lettuce for fresh toppings.
A Bit of History
Taquitos originated in Mexican American communities and quickly became a favorite snack and meal blend. Their name means little tacos and they bring together the comforting elements of tortillas with creative fillings that fit any occasion. Baking them versus frying started as a lighter twist but it is definitely here to stay for easy home cooking.
Frequently Asked Questions
- → How do I keep the taquitos from unrolling during baking?
Place taquitos seam-side down on the baking sheet. This helps keep them closed as they bake and crisp up.
- → Can I use corn tortillas instead of flour tortillas?
Yes, corn tortillas can be used. Warm them first to prevent cracking when rolling, as they are less flexible than flour tortillas.
- → How can I make the taquitos spicier?
Add extra taco seasoning or use a hot salsa. For more heat, include diced jalapeños in the filling or as a topping.
- → Is it possible to freeze the taquitos before baking?
Absolutely! Assemble the taquitos, place them on a tray to freeze, then store in a sealed bag. Bake from frozen, adding a few extra minutes.
- → What dipping sauces go well with these taquitos?
Popular choices include guacamole, sour cream, salsa, or a creamy chipotle sauce for an extra layer of flavor.