
 Pin it
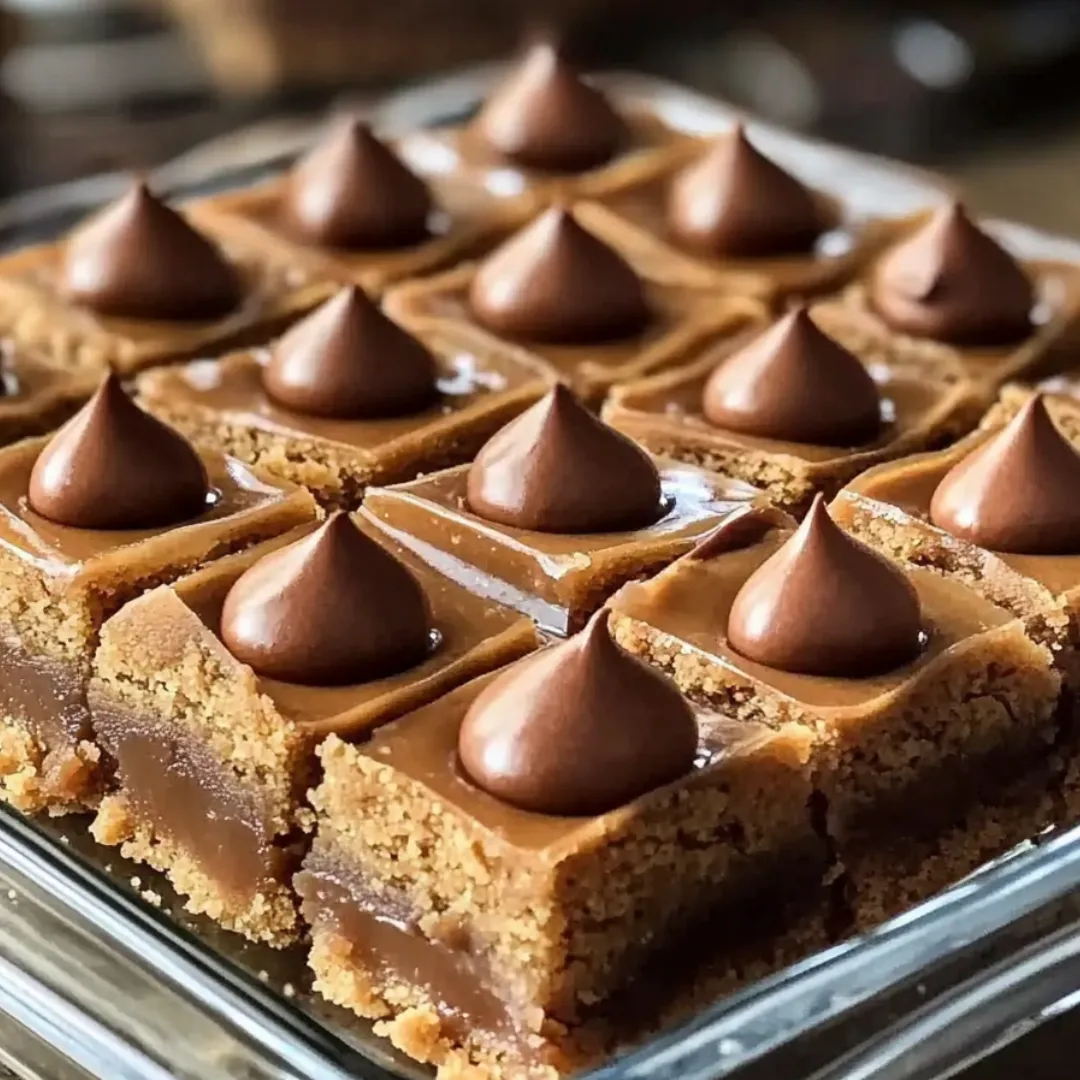
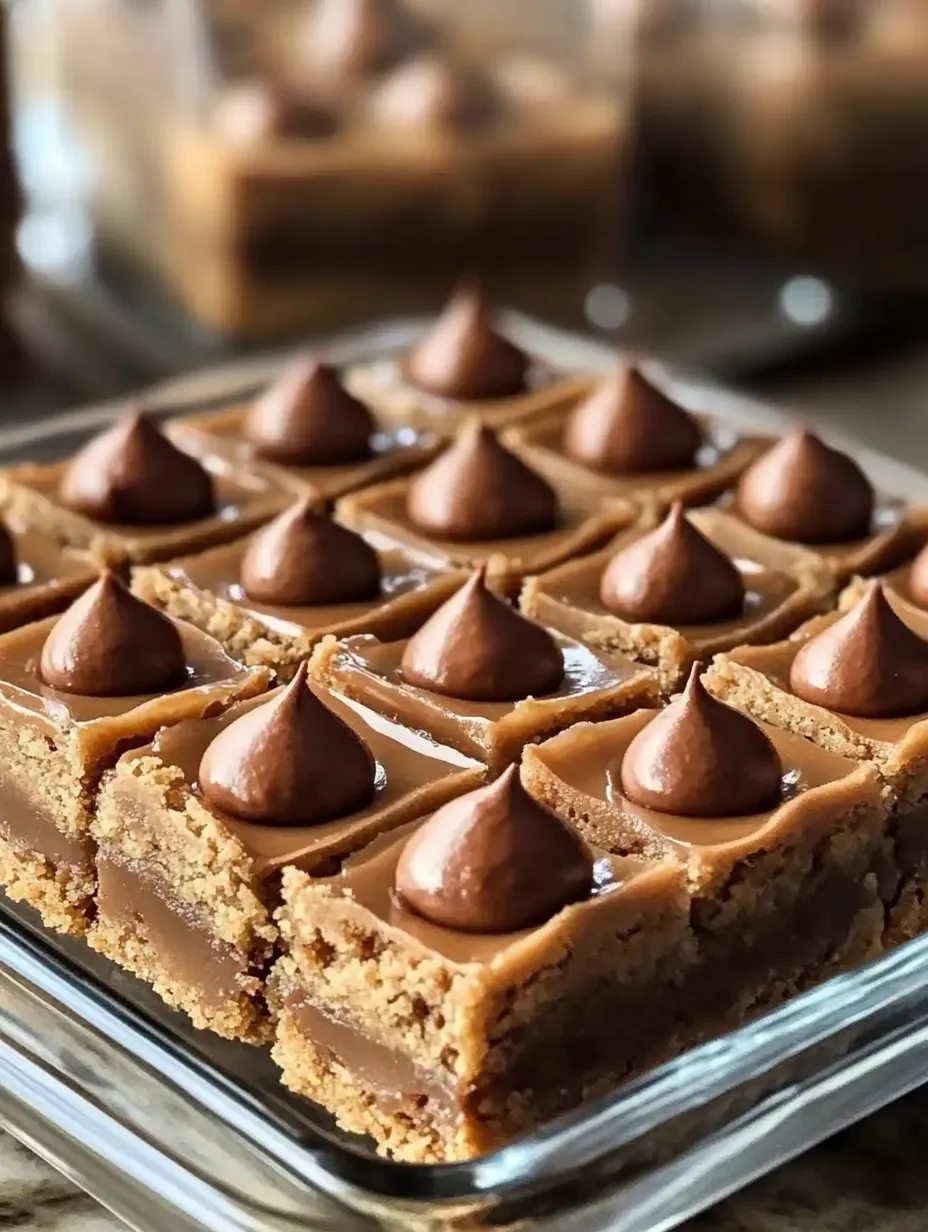
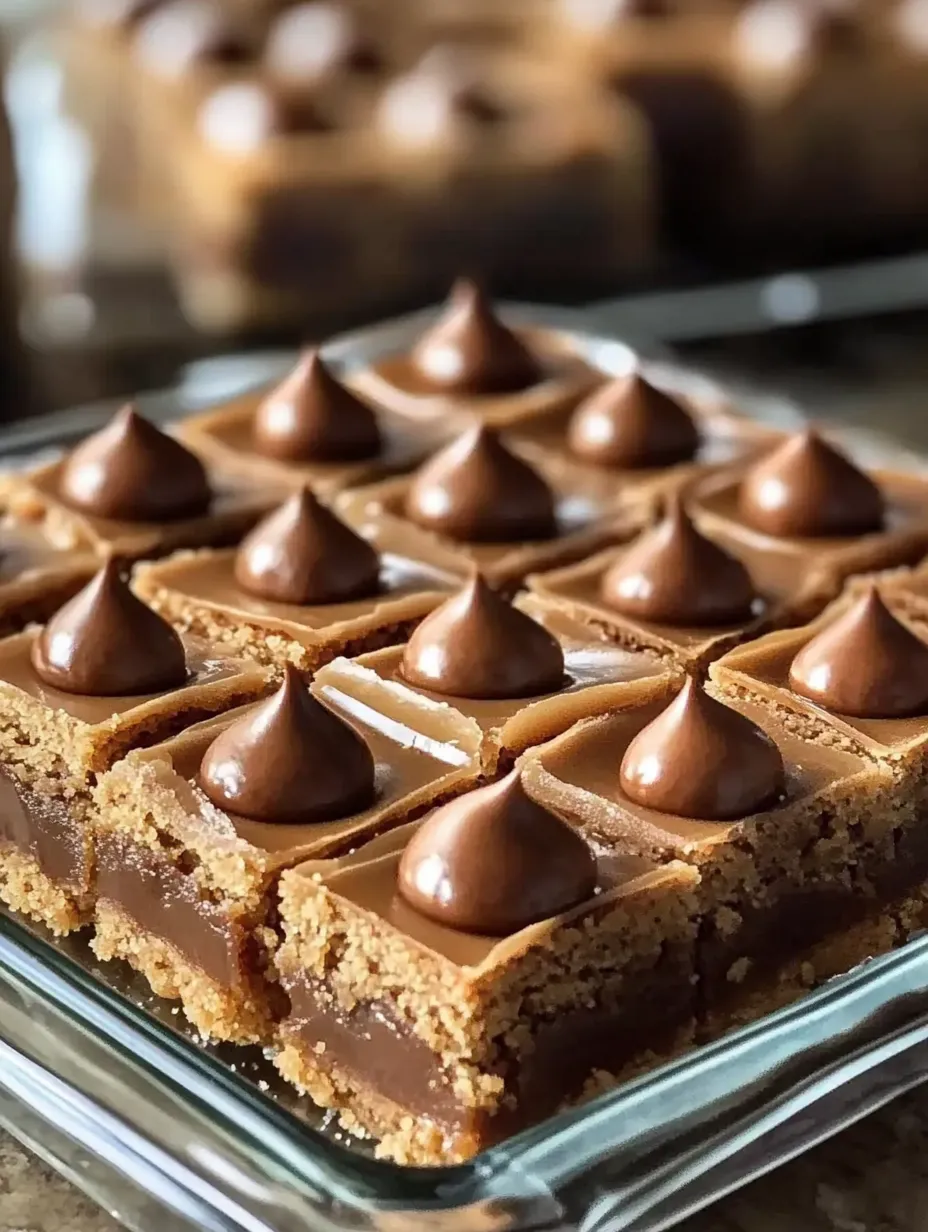
These irresistible peanut butter blossom bars transform the beloved classic cookie into a convenient, crowd-pleasing dessert that delivers the perfect balance of creamy peanut butter and rich chocolate in every bite. With a soft, chewy texture reminiscent of the original cookies but in an easy-to-serve bar form, this recipe simplifies the baking process while maintaining all the nostalgic flavors that make peanut butter blossoms a timeless favorite. The addition of chocolate chips throughout the batter creates pockets of melty goodness, while the iconic Hershey's Kisses adorning the top provide that signature look that everyone recognizes and loves.
I discovered this recipe when preparing for my son's school bake sale. With dozens of treats to make and limited time, I needed something easier than individual cookies but just as appealing. These bars were such a hit that they sold out before anything else! The parents were asking for the recipe, and my children now request these instead of traditional peanut butter blossoms for our holiday baking. The convenience factor is wonderful, but it's the perfect peanut butter-to-chocolate ratio in every bite that keeps everyone coming back for more.
Ingredients You'll Need
- 1 cup All-Purpose Flour: Creates the foundation for your bars. For best results, measure by spooning the flour into your measuring cup and leveling it off rather than scooping directly.
- 1/2 teaspoon Baking Soda: Provides just enough lift to keep the bars tender without making them too cakey.
- 1/4 teaspoon Salt: Enhances the peanut butter flavor and balances the sweetness. If using salted butter, reduce this amount slightly.
- 1/2 cup Unsalted Butter, softened: The butter should be soft enough to leave a slight indentation when pressed but not melty or oily.
- 3/4 cup Creamy Peanut Butter: Use a commercial brand like Jif or Skippy for consistent results. Natural peanut butter can separate and affect the texture.
- 1/2 cup Granulated Sugar: Provides sweetness and helps create those slightly crisp edges.
- 1/2 cup Packed Brown Sugar: Adds moisture and a subtle caramel flavor that complements the peanut butter beautifully.
- 1 Large Egg: Binds everything together and contributes to the chewy texture. Room temperature eggs incorporate more easily.
- 1 teaspoon Vanilla Extract: Enhances the overall flavor profile. Pure vanilla extract offers the best flavor.
- 2/3 cup Milk Chocolate Chips: Creates delicious pockets of chocolate throughout the bars. You can substitute semi-sweet for a less sweet variation.
- 24 Hershey's Kisses: The iconic topping that transforms these bars into true peanut butter blossoms. Unwrap them before the bars come out of the oven for quick placement.
 Pin it
Step-by-Step Cooking Instructions
- Prepare Your Baking Environment:
- Begin by positioning a rack in the center of your oven and preheating to 350°F (177°C). This consistent temperature ensures your bars bake evenly from edge to center. While the oven heats, lightly grease a 9×13-inch baking pan, then line it with parchment paper, leaving some overhang on the sides to create handles for easy removal later. The parchment prevents sticking and makes cleanup significantly easier.
- Combine the Dry Ingredients:
- In a medium bowl, whisk together the flour, baking soda, and salt until thoroughly combined. This step distributes the leavening agent evenly throughout the flour, ensuring consistent texture in your finished bars. Whisking also aerates the flour slightly, contributing to a lighter texture. Set this mixture aside while you prepare the wet ingredients.
- Create the Peanut Butter Base:
- In a large mixing bowl, use an electric mixer to cream together the softened butter and peanut butter until the mixture becomes smooth and completely incorporated, about 1-2 minutes on medium speed. Don't rush this step – proper creaming creates the foundation for the perfect texture. Next, add both granulated and brown sugars to the butter mixture. Beat for 2-3 minutes until the mixture lightens in color and becomes fluffy. This incorporates air into the batter, helping to create that ideal chewy texture.
- Add the Remaining Wet Ingredients:
- Crack the egg into the creamed mixture and add the vanilla extract. Beat on medium speed until completely incorporated and the mixture looks smooth and shiny, about 1 minute. Be sure to scrape down the sides of the bowl with a rubber spatula to ensure everything is evenly mixed. The egg provides structure and richness to the bars, while the vanilla enhances all the other flavors.
- Combine Wet and Dry Mixtures:
- Using a wooden spoon or rubber spatula, gradually add the dry ingredient mixture to the wet ingredients. Fold gently until just combined, being careful not to overmix. Overmixing develops gluten, which can make your bars tough rather than tender. Stop mixing as soon as no dry flour pockets remain visible in the batter. The dough will be thick and somewhat sticky.
- Fold in Chocolate Chips:
- Gently fold in the milk chocolate chips until they're evenly distributed throughout the batter. This adds delicious pockets of chocolate that complement the peanut butter perfectly, giving you chocolate in every bite – not just from the kisses on top. Take care not to overmix at this stage to keep the batter light.
- Transfer and Bake:
- Spoon the dough into your prepared baking pan and use a spatula or your fingers (slightly dampened to prevent sticking) to press it evenly into the pan. Pay special attention to spreading it into the corners and creating a uniform thickness throughout. Place the pan in the preheated oven and bake for 20-22 minutes, until the edges are lightly golden and just beginning to pull away from the sides of the pan. The center may appear slightly underdone, but it will continue cooking from residual heat and firm up as it cools.
- Add the Signature Kisses:
- As soon as you remove the pan from the oven, immediately press the unwrapped Hershey's Kisses into the surface of the hot bars, arranging them in a grid pattern (4 rows of 6 kisses works well). The residual heat will warm the chocolate just enough to help it adhere to the bars without completely melting. Work quickly but carefully to place all the kisses while the bars are still hot.
I learned the hard way about proper cooling after my first attempt at these bars. Eager to try them, I cut into the pan while they were still warm, resulting in a messy (though delicious) situation. My grandmother later shared her secret of refrigerating the bars for about 30 minutes after they've cooled to room temperature. This firms up the chocolate kisses and makes for perfectly clean cuts every time. Now I always plan ahead to allow proper cooling time, and the presentation is so much more appealing.
Storage Options
These bars maintain their freshness remarkably well when stored properly. For short-term storage, place cooled bars in an airtight container with parchment paper between layers to prevent sticking. They'll stay fresh at room temperature for up to 5 days. For longer storage, these bars freeze beautifully for up to 3 months. Simply wrap individual pieces in plastic wrap, then store in a freezer-safe container. Thaw at room temperature for about an hour before serving for the best taste and texture.
Perfect Pairings
These peanut butter blossom bars pair wonderfully with specific beverages that enhance their flavor. A cold glass of milk creates the classic combination that balances the richness of the peanut butter. For coffee lovers, a medium roast coffee complements the nutty and chocolate flavors without overwhelming them. If serving as dessert after dinner, consider pairing with a dessert wine like a Ruby Port, whose fruity notes create a delightful contrast with the chocolate and peanut butter.
 Pin it
Seasonal Adaptations
Adapt this recipe throughout the year for different occasions. For Christmas, use holiday-wrapped Hershey's Kisses or the candy cane variety for a festive touch. During Valentine's Day, arrange the kisses in a heart pattern across the top and add a touch of red food coloring to the dough. For Halloween, top with pumpkin-shaped chocolates or use orange and black sprinkles around the kisses. These simple changes make the same beloved recipe appropriate for any celebration.
I've experimented with countless versions of these bars over the years, and the most surprising discovery was how much the brand of peanut butter affects the final texture. Natural peanut butter, while healthier, tends to create a drier, more crumbly bar. After trying several brands, I've found that Jif creamy peanut butter consistently produces the perfect chewy texture that makes these bars so irresistible. Every family has their preference though, so don't hesitate to use your favorite brand – just be aware that you may need to adjust the amount of flour slightly if your peanut butter is particularly oily or dry.
Frequently Asked Questions
- → Can I use natural peanut butter?
- Traditional creamy peanut butter works best as natural varieties can make the bars too oily or dry. If using natural, look for one that doesn't separate and adjust flour if needed.
- → How do I know when the bars are done?
- The bars should be lightly golden brown on top and slightly puffed across the entire surface. A toothpick inserted in the center should come out mostly clean with a few moist crumbs.
- → Can I freeze these bars?
- Yes! Once completely cooled, cut into squares and freeze in an airtight container with parchment between layers for up to 3 months. Thaw at room temperature before serving.
- → What can I substitute for Hershey's Kisses?
- Try chocolate squares, peanut butter cups, or chocolate chunks as alternatives. You can also leave them plain and just sprinkle with extra chocolate chips while warm.
- → Why did my Hershey's Kisses melt too much?
- If your bars are still too hot when adding the Kisses, they'll melt more than intended. Let the bars cool for 1-2 minutes after removing from the oven if this happens.