 Pin it
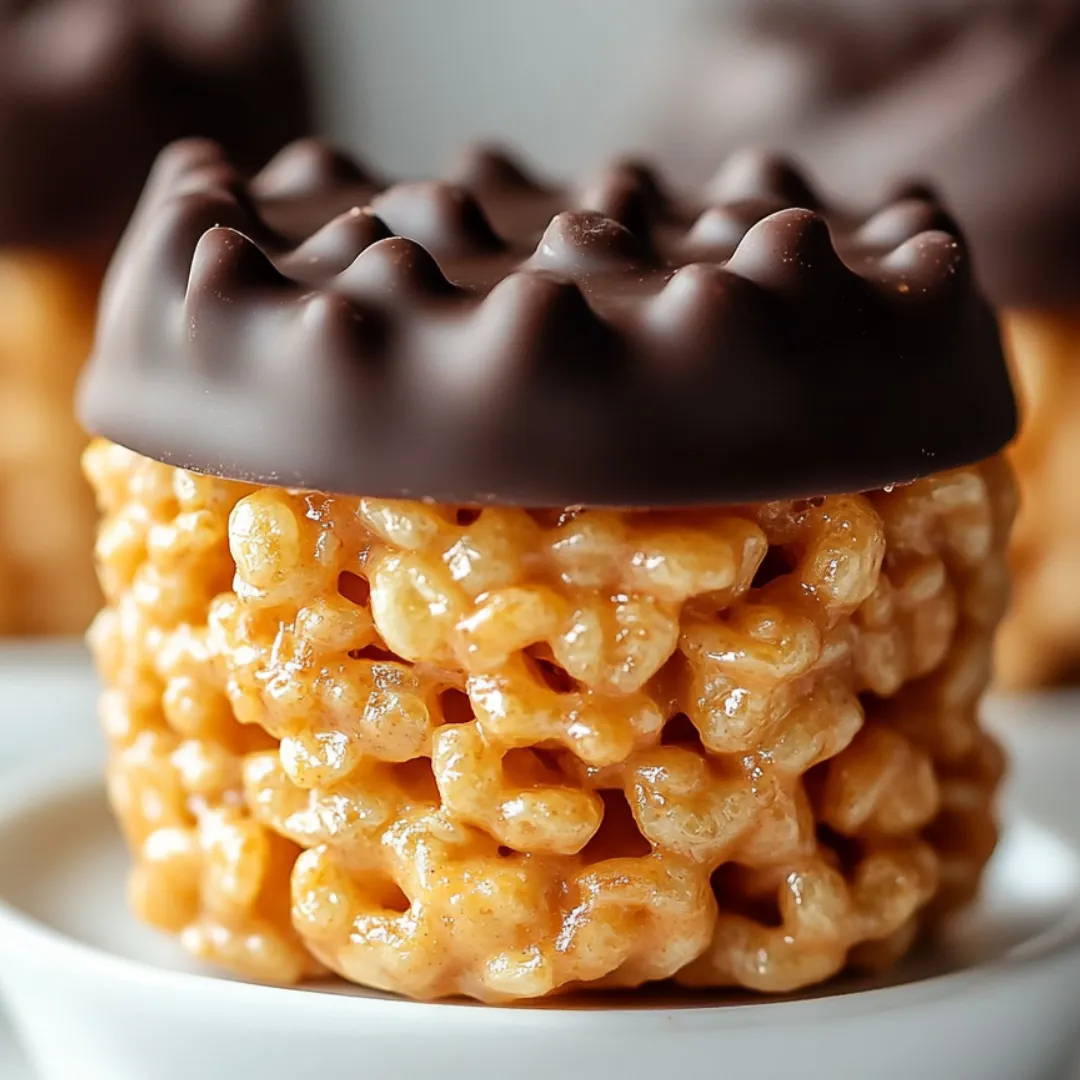
This peanut butter and chocolate rice krispie treat cups recipe transforms simple ingredients into irresistible mini desserts that balance sweet, salty, and crunchy elements perfectly. The combination of crispy cereal, smooth peanut butter, and rich chocolate creates a nostalgic yet elevated treat that both kids and adults will love.
I first made these cups for my nephew's birthday party when the oven broke down mid-preparation. They were such a hit that they've become our family's official "emergency dessert" – though we rarely wait for an emergency to make them!
Ingredients
- Rice Krispies cereal: 3 cups provides the essential crispy texture base that gives these treats their signature crunch and light feel
- Chocolate chips: 1½ cups creates the decadent topping that seals in the flavor choose high-quality chips for the best melting properties and richness
- Chunky peanut butter: 1 cup adds depth with its nutty flavor and interesting texture pieces use natural peanut butter for a more robust flavor
- Honey: 6 tablespoons works as the natural sweetener and binding agent that holds everything together while adding subtle floral notes
- Salt: ⅛ teaspoon enhances all other flavors and creates the perfect sweet-salty balance that makes these treats addictive
Step-by-Step Instructions
- Prepare the muffin tin:
- Line a standard muffin tin with paper liners or silicone cups to ensure clean removal later. This step is crucial for maintaining the perfect cup shape and preventing sticking.
- Create the peanut butter mixture:
- Place a medium saucepan over low heat and add the peanut butter, honey, and salt. Stir continuously for about 3-4 minutes until completely smooth and pourable. The low heat prevents scorching while allowing the ingredients to blend perfectly.
- Combine with Rice Krispies:
- Remove the saucepan from heat and immediately add the Rice Krispies cereal. Fold gently but thoroughly for about 2 minutes, ensuring every piece gets coated evenly without crushing the cereal.
- Form the cups:
- Spoon the mixture into the prepared muffin tin, dividing it equally among 12 cups. Using the back of a spoon or your fingers slightly moistened with water, press down gently to create a slight depression in the center of each cup. This creates the perfect spot for the chocolate topping.
- Add the chocolate layer:
- Melt the chocolate chips in a microwave or double boiler until completely smooth, stirring every 30 seconds to prevent burning. Carefully spoon the melted chocolate over each cup, allowing it to fill the depression and create a sealed top.
- Chill and set:
- Refrigerate the entire muffin tin for at least 1 hour, though 2 hours is ideal for perfect setting. The cups should feel firm to the touch and the chocolate should be completely hardened before removing from the liners.

The chunky peanut butter is truly the secret weapon in this recipe. When my daughter was younger, she would carefully eat around each peanut chunk, saving them for last like little treasures. Now as a teenager, she still makes the same happy face when she bites into one of these cups and discovers those hidden peanut pieces.
Perfect Serving Suggestions
These rice krispie treat cups make an excellent accompaniment to a scoop of vanilla ice cream. The contrast between the cold, creamy ice cream and the chewy, crispy texture of the treats creates a dessert experience that highlights both components. For an extra special presentation, place a warm cup next to cold ice cream and watch as the chocolate slightly softens, creating a delightful temperature contrast.

Storage and Make-Ahead Tips
These treats actually improve with a day of resting, as the flavors meld and the textures settle. Store them in an airtight container with parchment paper between layers to prevent sticking. They'll keep at room temperature for 3 days, in the refrigerator for up to a week, or in the freezer for 3 months. If freezing, thaw at room temperature for about 20 minutes before serving for the best texture experience.
Adaptable Variations
The basic recipe serves as an excellent template for creative variations. Try using almond butter instead of peanut butter for a more delicate flavor profile. White chocolate can replace regular chocolate for a sweeter, creamier finish. For a festive touch, sprinkle the still-wet chocolate layer with seasonal sprinkles, chopped nuts, or a light dusting of sea salt to enhance the sweet-savory balance.
Frequently Asked Questions
- Can I use smooth peanut butter instead of chunky?
Yes, smooth peanut butter works perfectly, though chunky provides extra texture and bite.
- How can I make this dessert vegan?
Use vegan chocolate chips and opt for a plant-based sweetener like maple syrup or agave nectar.
- Do I need special liners for the muffin tin?
Paper or silicone liners work best for easy removal and a mess-free experience.
- Can I store these cups for later?
Store them in an airtight container in the refrigerator for up to a week or freeze for longer shelf life.
- What other toppings can I add?
You can sprinkle crushed nuts, sea salt, or mini marshmallows on top before the chocolate sets for added flair and flavor.