
 Pin it
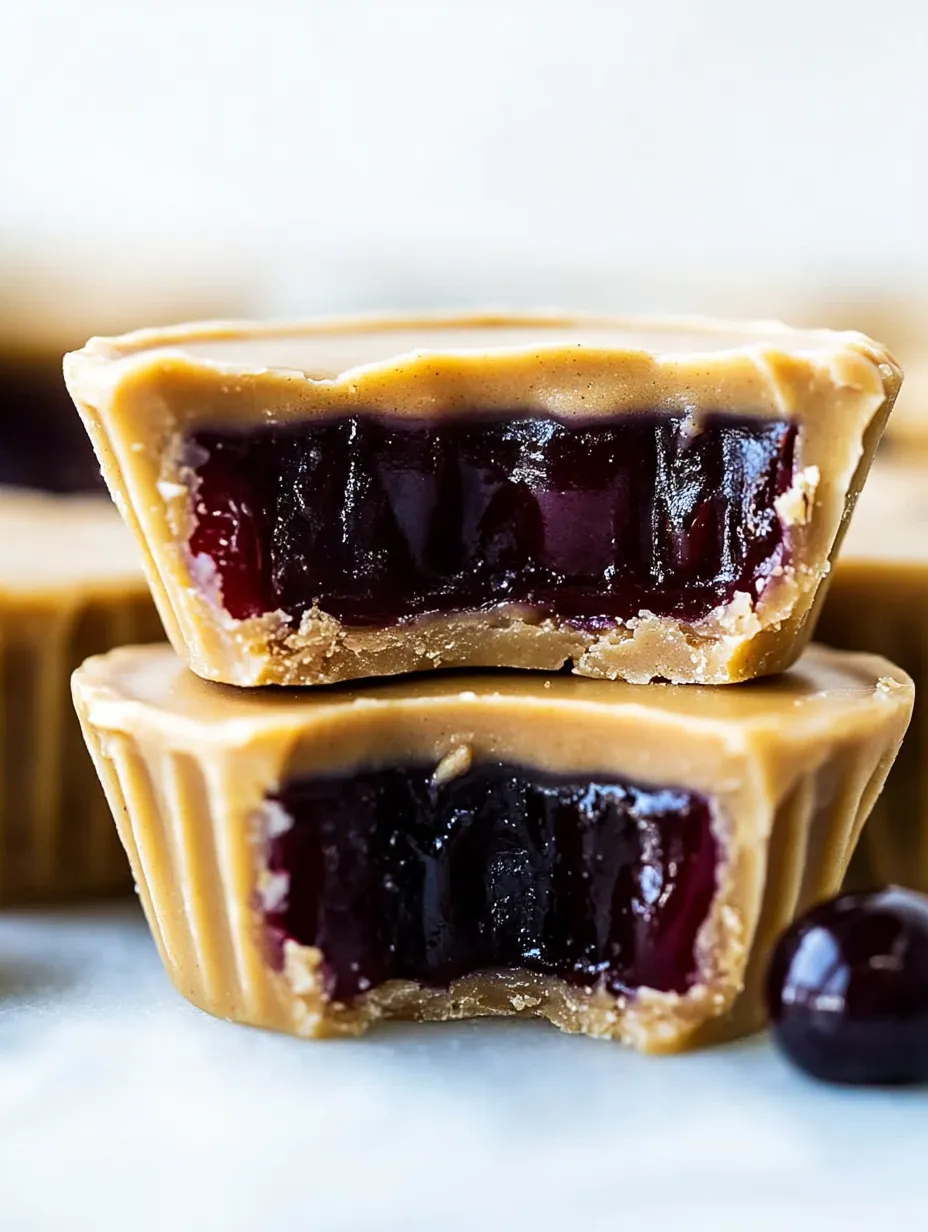
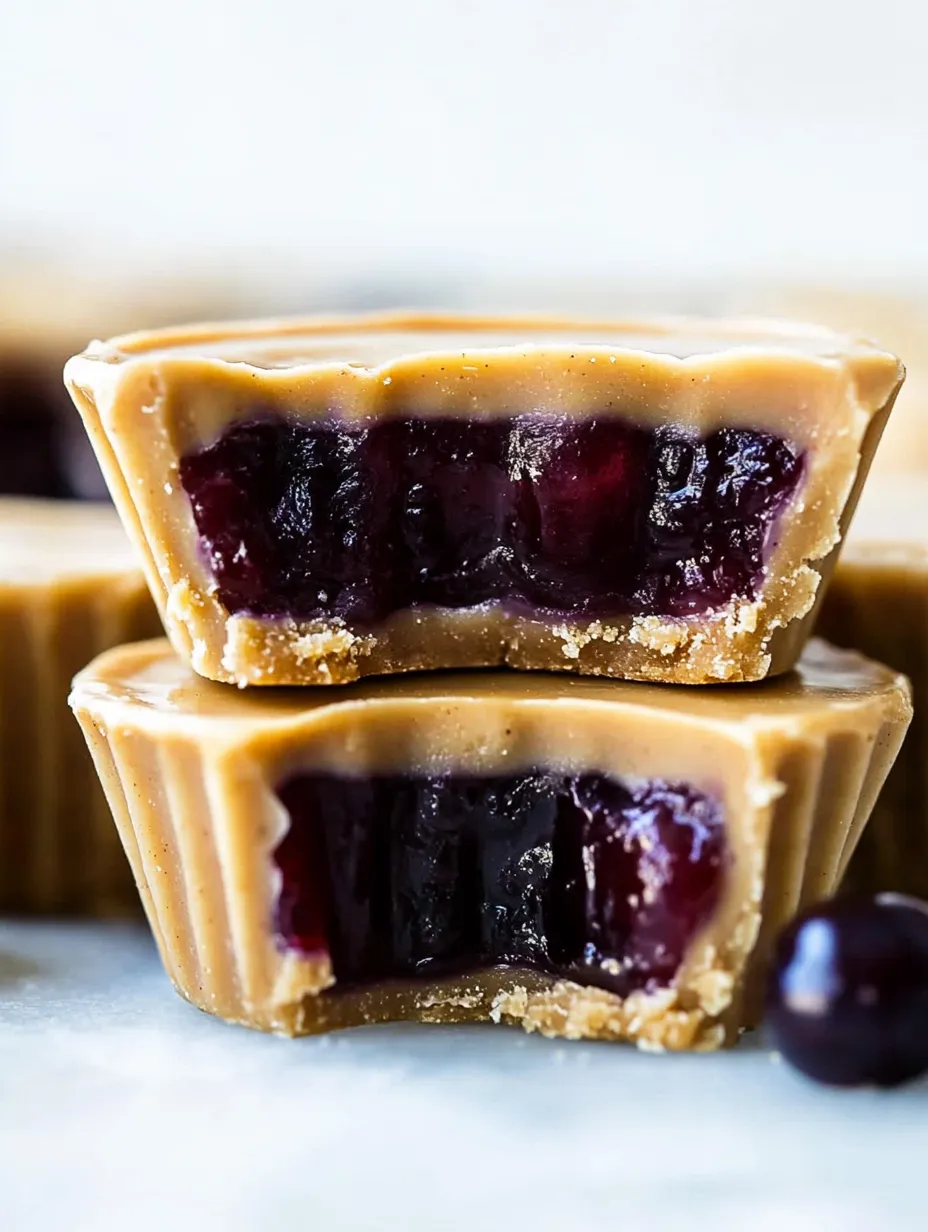
This peanut butter and jelly cups recipe transforms the classic sandwich flavors into a delightful frozen treat using just three simple ingredients. The coconut oil gives these cups a satisfying snap when you bite into them, while the creamy peanut butter and sweet jam create that nostalgic PB&J taste we all love.
These cups have become my go-to treat when the kids have friends over. I started making them on rainy afternoons as a healthier alternative to store-bought candies, and now they disappear almost as quickly as I can make them.
Ingredients
- Coconut oil: The secret to creating that perfect firm texture that holds everything together
- Unsweetened peanut butter: Provides rich flavor and healthy fats use natural brands for best results
- Fruit-sweetened jam: Adds natural sweetness without refined sugar choose a good quality variety for the best flavor
- Optional salt: Enhances all the flavors and creates that irresistible sweet-salty balance
- Optional coarse salt topping: Creates a gourmet touch that elevates the entire treat
Step-by-Step Instructions
- Prepare Muffin Liners:
- Line a standard muffin tin with 10 cupcake liners or arrange 10 silicone cupcake liners on a baking tray, making sure they're stable and ready to fill.
- Create Peanut Butter Mixture:
- Melt the coconut oil in a small pot over low heat until just liquified. Immediately whisk into the peanut butter until completely smooth and creamy. If using unsalted peanut butter, add a few pinches of salt to enhance the flavor.
- Form Base Layer:
- Carefully spoon one tablespoon of the peanut butter mixture into each liner, creating an even layer across the bottom. Place the entire tray in the freezer for exactly 10 minutes to partially set the base.
- Add Jam Center:
- Remove from freezer when the base layer is firm but not completely frozen. Spoon two teaspoons of jam into the center of each cup. Use the back of your spoon to gently flatten the jam without pushing it all the way to the edges.
- Complete The Cups:
- Top each cup with another tablespoon of the peanut butter mixture, covering the jam completely. For the cleanest look, start pouring at the center and let it naturally spread to the edges.
- Freeze And Set:
- Place the tray back in the freezer for at least 30 minutes to fully harden. If adding coarse salt, sprinkle it on top after about 5 minutes in the freezer when the surface is just beginning to set.
 Pin it
The coconut oil is truly the magic ingredient in these little cups. I discovered its importance when I tried making these with just peanut butter and jam the first time. Without the coconut oil, they never properly set and became a delicious but messy experience for everyone involved.
Storage Tips
These peanut butter and jelly cups will keep beautifully in the freezer for up to 3 months when stored in an airtight container. I like to separate layers with parchment paper to prevent sticking. For a softer texture, you can store them in the refrigerator instead, but they will be considerably softer and should be consumed within 2 weeks.
Substitution Ideas
The beauty of this recipe is its flexibility. Try almond butter for a slightly more sophisticated flavor or sunflower seed butter for a nut-free option. The jam can be swapped for any preserve you enjoy raspberry creates a tart contrast, while apricot adds a unique sweetness. In place of coconut oil, you could use cacao butter, though the flavor profile will shift more toward chocolate.
Serving Suggestions
These cups are perfect straight from the freezer on hot summer days, but allow them to sit at room temperature for about 5 minutes before serving in cooler weather. They pair wonderfully with afternoon tea or coffee. For an extra special dessert, try placing a cup on a small plate with a few fresh berries and a tiny dollop of coconut whipped cream.
 Pin it
Frequently Asked Questions
- → Can I use other types of nut butter?
Yes, you can substitute the peanut butter with almond butter, cashew butter, or any nut butter of your choice.
- → What type of jam works best?
Fruit-sweetened jams are recommended, but you can also use any jam or preserve that pairs well with peanut butter.
- → How should these be stored?
Store in an airtight container in the freezer for a firm texture or in the fridge for a softer texture.
- → Can I make larger batches?
Yes, simply scale up the ingredients proportionally to make more cups.
- → What’s the best way to layer the ingredients?
Spoon a layer of the peanut butter mixture, add the jam in the middle, and top with another layer of peanut butter mixture before freezing.