
 Pin it
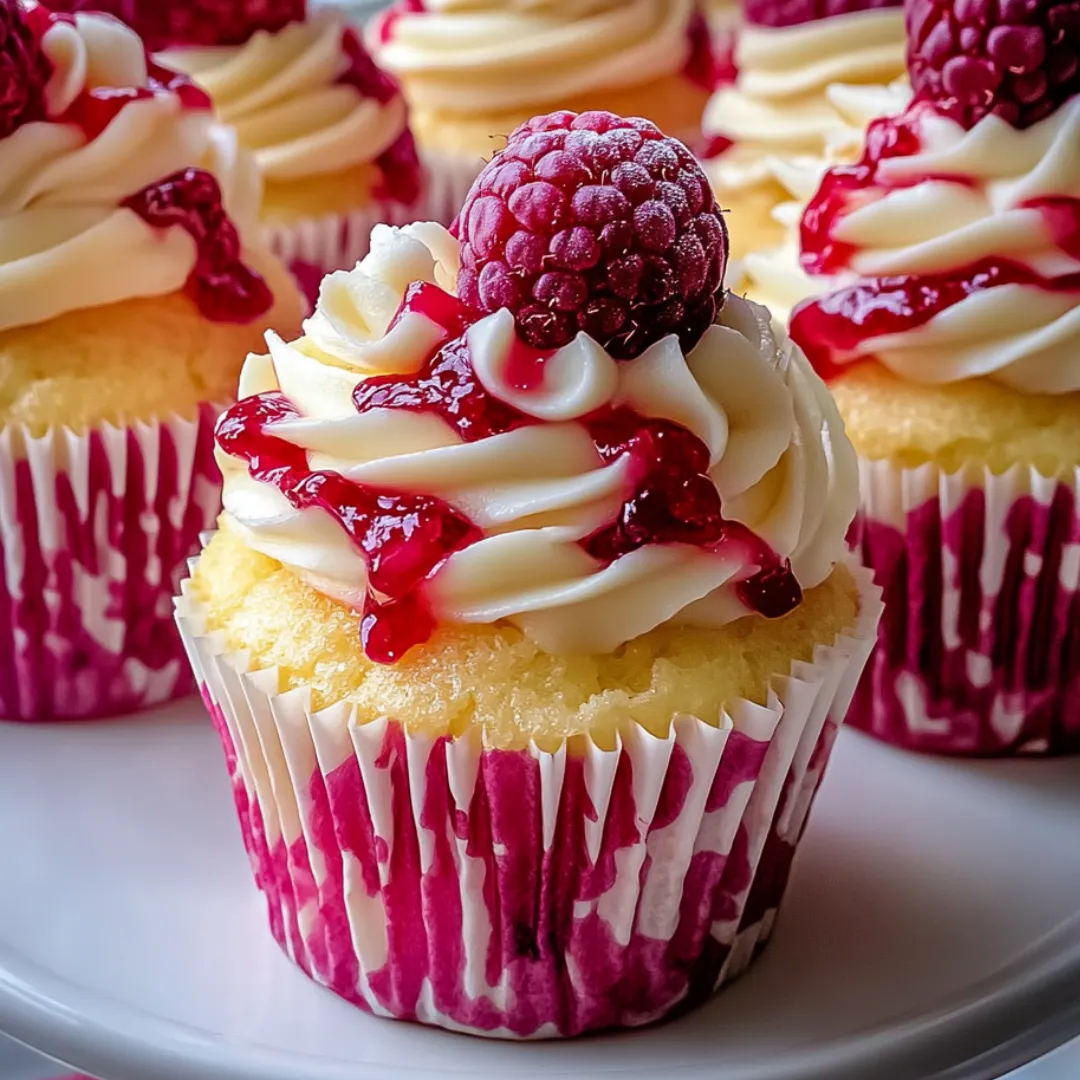
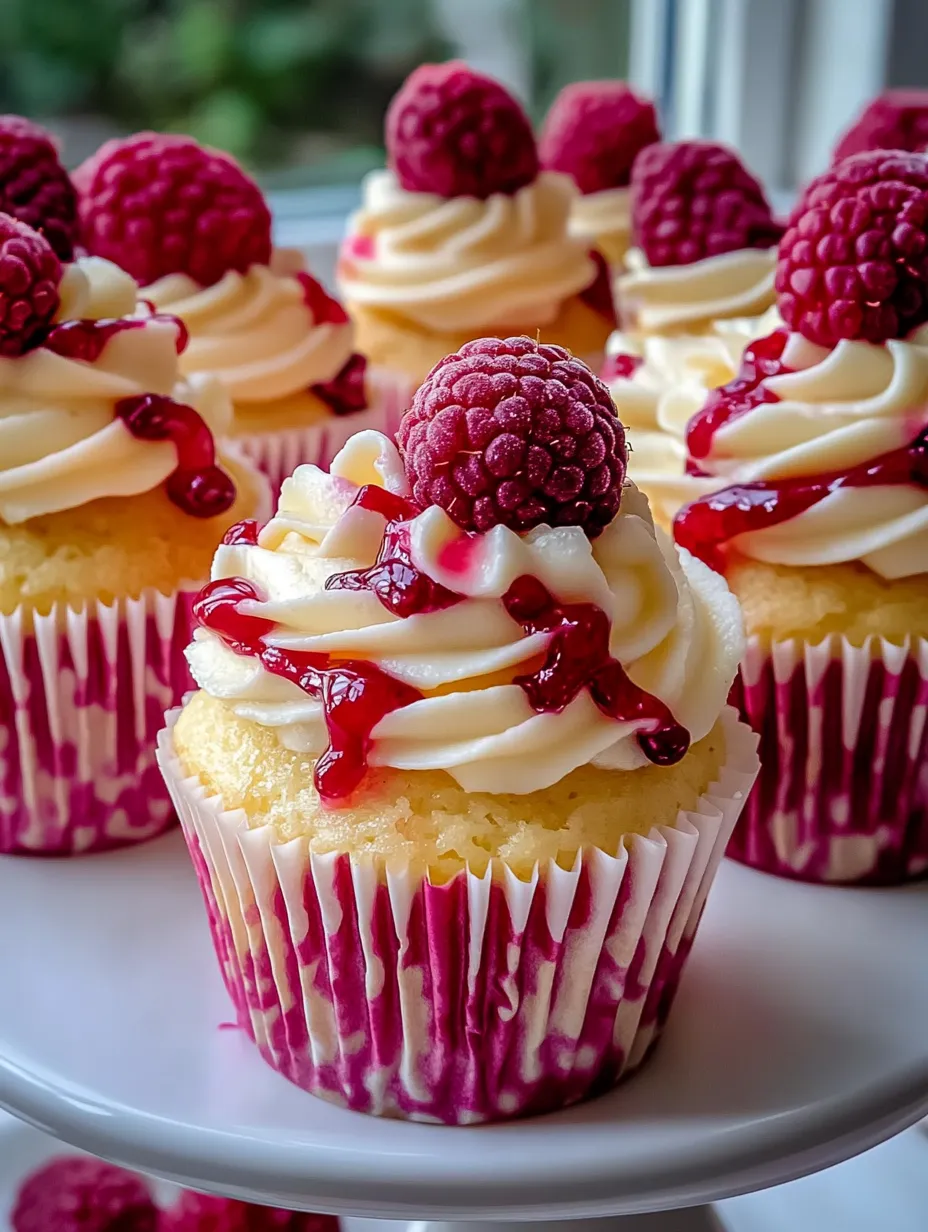
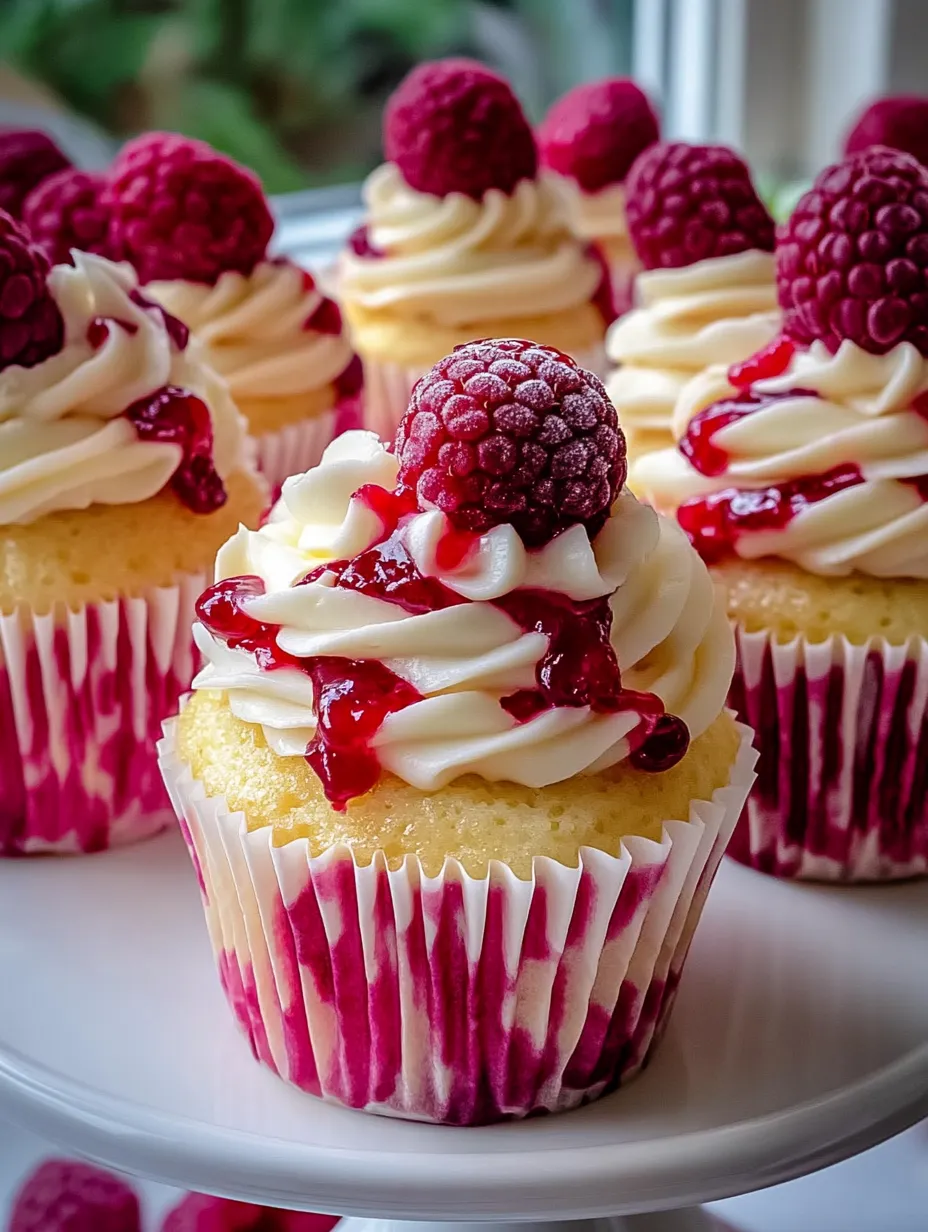
These raspberry cheesecake cupcakes blend two beloved desserts into one irresistible treat that satisfies multiple cravings at once. The buttery graham cracker base supports a velvety smooth cheesecake filling, while fresh raspberries add bright bursts of flavor that cut through the richness. Each bite delivers the perfect balance of creamy, tangy, sweet, and tart flavors in a convenient, portable package that's easier to serve than traditional cheesecake slices.
I first made these cupcakes for my daughter's birthday party last summer, and they disappeared faster than any other dessert I've ever served. Even my father-in-law, who claims he doesn't like 'fancy desserts,' ate three and asked if I could make them for his retirement party the following month.
Ingredients You'll Need
- 8 ounces cream cheese: The foundation of any good cheesecake; always use full-fat cream cheese at room temperature for the smoothest texture without lumps.
- 1/2 cup granulated sugar: Balances the tanginess of the cream cheese without overwhelming the raspberry flavor; using superfine sugar helps it incorporate more easily.
- 2 large eggs: Provides structure and richness; bring to room temperature for better incorporation and a smoother batter.
- 1 teaspoon vanilla extract: Enhances all the other flavors without competing with them; pure vanilla extract gives the best flavor.
- 1/4 cup sour cream: The secret to that perfect cheesecake tang and silky texture; don't substitute with yogurt which can be too watery.
- 1 tablespoon all-purpose flour: Helps prevent cracking and provides stability to the cheesecake structure; measure carefully to avoid a dry result.
- 1 cup fresh raspberries: Adds bright color and tangy sweetness; fresh berries give the best flavor, but frozen work in a pinch if thawed and drained well.
- 3 tablespoons sugar: For the raspberry sauce, just enough to balance the natural tartness without masking the berry flavor.
- 1 cup graham cracker crumbs: Creates that classic cheesecake base; finely crushed for the best texture.
- 4 tablespoons melted butter: Binds the crust together; unsalted butter lets the sweet graham flavor shine through.
 Pin it
Step-by-Step Cooking Instructions
- Prepare your workspace and preheat the oven:
- Start by preheating your oven to 325°F and line a standard 12-cup muffin tin with paper liners. Having everything ready before you begin mixing ensures the process goes smoothly. The moderate oven temperature is key for gently baking the cheesecake without causing it to puff up and crack. Take out your cream cheese, eggs, and sour cream now so they can come to room temperature while you prepare the crusts.
- Make the graham cracker crust:
- In a medium bowl, combine the graham cracker crumbs, melted butter, and 2 tablespoons of sugar until the mixture resembles wet sand. Press about 1½ tablespoons of this mixture firmly into the bottom of each cupcake liner, using the bottom of a small glass or measuring cup to compact it evenly. The more compact your crust, the better it will hold together when serving. Bake these crusts for 5 minutes, then remove from the oven and let cool while you prepare the filling.
- Prepare the raspberry sauce:
- Place your fresh raspberries in a small saucepan with 3 tablespoons of sugar and 1 tablespoon of water. Simmer over medium-low heat for about 5-7 minutes, stirring occasionally and gently mashing the berries with your spoon until they break down into a sauce. Remove from heat and press through a fine mesh strainer to remove seeds, then set aside to cool slightly. This step can be done a day ahead if you prefer, with the sauce stored in the refrigerator.
- Mix the cheesecake filling:
- In a large bowl, beat the softened cream cheese until completely smooth and free of lumps – about 2 minutes on medium speed. Add the sugar gradually while continuing to beat, then reduce the mixer speed to low before adding the eggs one at a time, incorporating each fully before adding the next. Finally, mix in the vanilla extract, sour cream, and flour just until combined. Be careful not to overmix once the eggs are added, as this can incorporate too much air and cause cracking.
- Assemble and swirl the cupcakes:
- Spoon the cheesecake filling over the pre-baked crusts, filling each liner about three-quarters full. Add a teaspoon of raspberry sauce on top of each cupcake, then use a toothpick or skewer to gently swirl the sauce into the cheesecake batter, creating a marbled effect. Don't over-swirl or you'll lose the distinct raspberry pattern that makes these cupcakes so visually appealing.
- Bake with care:
- Place the muffin tin in the center of your preheated oven and bake for 20-22 minutes, or until the edges appear set but the centers still have a slight jiggle – they'll continue to firm up as they cool. Turn off the oven, crack the door open slightly, and let the cupcakes cool in the oven for about 30 minutes before removing. This gradual cooling helps prevent cracks and sinking in the center.
The Magic of Heavenly Raspberry Cheesecake Cupcakes
You Must Know
My grandmother always insisted on using European butter for special pasta dishes, claiming you could taste the difference in the final result. I was skeptical until I conducted a side-by-side test with this recipe. The higher fat content in European-style butter created a sauce with remarkable richness and complexity that standard butter couldn't match. While it's a small splurge, I've found it makes a noticeable difference in recipes where butter is the star, like this one. Now I keep a special butter just for my garlic butter sauce – it's become my signature touch that guests always comment on without knowing exactly what makes it special.
Perfect Pairings
The rich, indulgent nature of these raspberry cheesecake cupcakes calls for sides that either complement or balance their decadence. Creamy mashed potatoes make an ideal companion, providing a velvety canvas for the sauce to pool into. For a lighter option that still captures the essence of the dish, try roasted asparagus or broccoli – their slight bitterness and crisp texture create a beautiful contrast to the tender steak and rich sauce. For those watching their carbohydrate intake, cauliflower mash offers the same comforting quality as potatoes while adding nutritional benefits. A simple green salad dressed with a bright vinaigrette can cut through the richness, cleansing the palate between bites and adding freshness to the meal. When serving these steak bites as an elegant appetizer, consider offering crusty bread for dipping into the extra sauce – no one should miss a drop of this liquid gold!
Make-Ahead Magic
One of this recipe's greatest strengths is its make-ahead potential. The steak can be seasoned and cut up to 24 hours in advance, stored in the refrigerator. This not only saves time but also acts as a dry brine, enhancing the meat's flavor and tenderness. The garlic can be minced and stored in a small container in the refrigerator. For ultimate convenience, combine all sauce ingredients (except butter) in a small jar and refrigerate until needed. Noodles can be cooked earlier in the day, tossed with a tiny bit of oil to prevent sticking, and stored in the refrigerator—they'll need just 30 seconds in hot water to refresh before combining with the sauce.
 Pin it
Versatile Variations
While the classic version is hard to beat, this recipe welcomes creative variations. For a Southwestern twist, incorporate chorizo instead of breakfast sausage in the gravy, then top with pepper jack cheese and garnish with diced avocado and cilantro after baking. A Mediterranean-inspired version works beautifully with Italian sausage in the gravy, topped with mozzarella, sun-dried tomatoes, and fresh basil. For lighter options, turkey sausage creates a delicious gravy with less fat, and whole grain biscuits add fiber and nutty flavor. During farmers' market season, I love adding seasonal vegetables – sautéed asparagus in spring or roasted butternut squash in fall adds color, nutrition, and flavor complexity.
I've been making variations of these garlic butter steak bites for years, but the addition of flank steak elevated them from supporting side to stunning main course. What makes this recipe particularly valuable in my kitchen arsenal is its adaptability—I've made it with whatever protein was on hand, adjusted the sauce ingredients based on my pantry, and even substituted different noodle varieties when needed. Yet the core technique remains the same, and the results are consistently delicious. There's something deeply satisfying about creating a meal that feels like a special restaurant treat but comes together with minimal time and effort in your own kitchen. Whether you're cooking for one or feeding a family, these lightning-fast noodles prove that extraordinary flavor doesn't require extraordinary effort.
Frequently Asked Questions
- → Can I make these cheesecake cupcakes in advance?
- Yes! They actually taste better when made a day ahead and refrigerated overnight.
- → Can I freeze these cheesecake cupcakes?
- Absolutely. Freeze them in an airtight container for up to 3 months. Thaw overnight in the refrigerator before serving.
- → How do I know when the cheesecakes are done baking?
- The edges should be set but the centers should still be slightly jiggly. They'll firm up as they cool and chill.
- → Can I use light cream cheese?
- Yes, though the texture won't be quite as rich. Avoid fat-free cream cheese as it doesn't set properly.
- → What can I use instead of vanilla wafers?
- Graham crackers, digestive biscuits, or crushed gingersnaps all work well as alternative bases.