
 Pin it
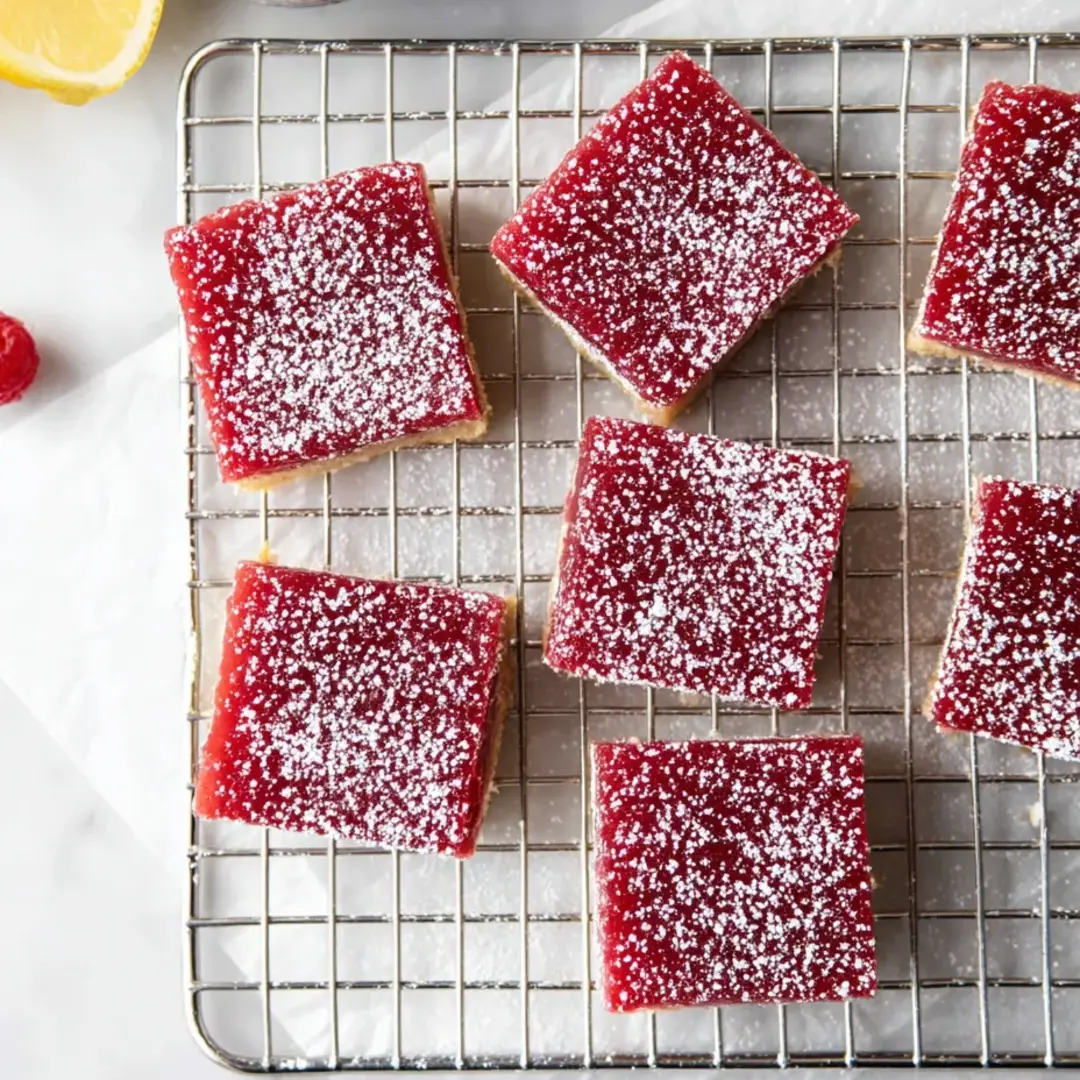
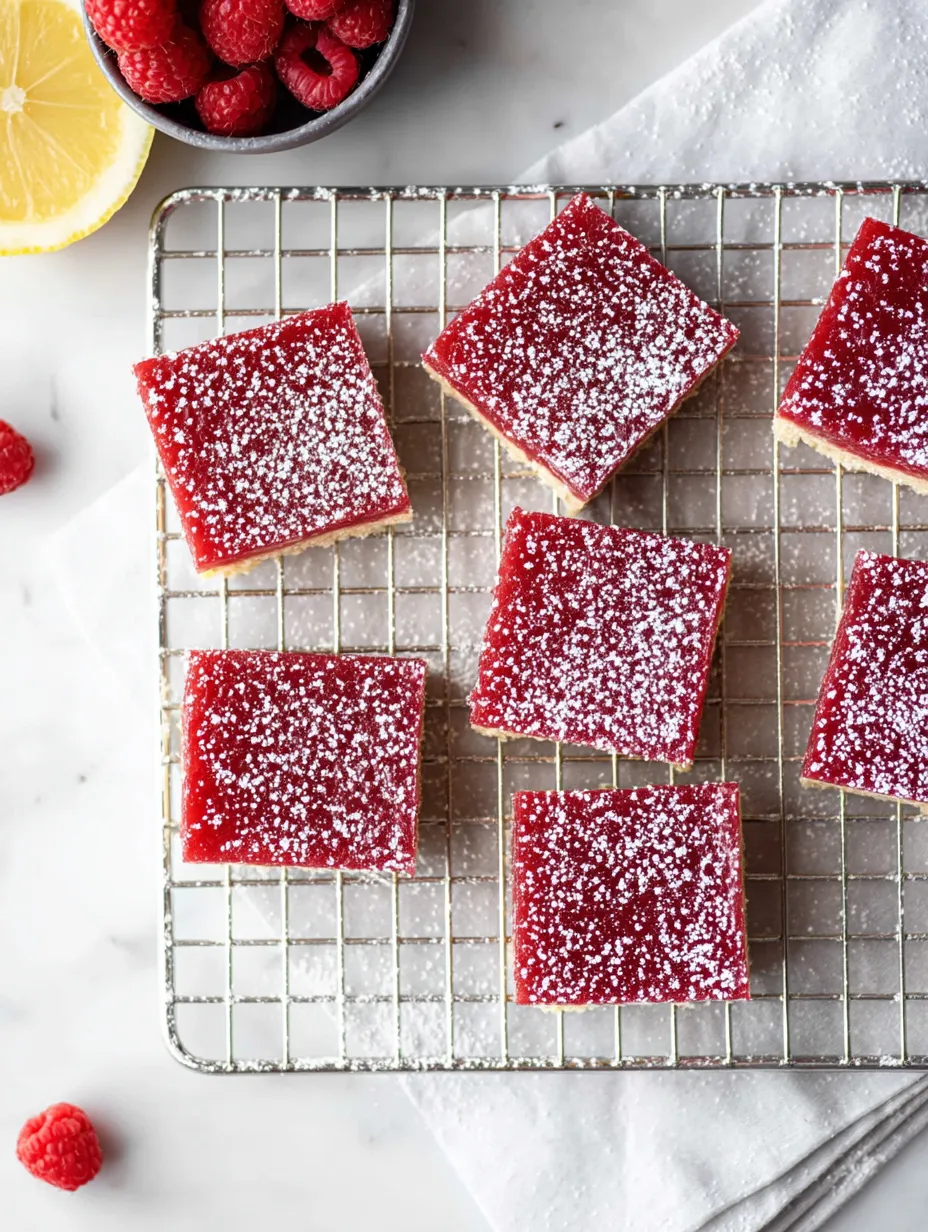
There's something special about zesty lemon and sweet tangy raspberries swirled over a thick buttery crust. These bars have a custard layer that's both cozy and really bright. Around here, everyone requests them as soon as the berry stands pop up, and honestly, baking them reminds me of lazy family mornings with my kids in the kitchen.
I can't get enough of the jewel-toned raspberry swirl in the creamy lemon layer. At our last neighborhood gathering, it was such a hit that everyone wanted to know how to make it.
Irresistible Ingredients
- Lemon juice: always squeeze fresh lemons for big flavor, skip the bottled stuff—it tastes harsh
- Eggs: help make your custard lush and creamy, go for large ones and let them sit out till room temp so they mix well
- Unsalted butter: use good butter for the crust, melt it slowly to keep things smooth
- Salt: a pinch brings out both sweet and sour flavors, fine sea salt keeps it even
- Corn starch: this thickens up both the bottom and the filling, fresh is best for thickening power
- Granulated sugar: adds sweetness to everything, superfine sugar keeps your custard silky
- All purpose flour: gives you that sturdy, crisp crust—make sure you measure right for the best results
- Raspberries: pick the juiciest berries you see, fresh or frozen both work as long as they’re full of flavor
- Tricks for amazing bars: Use cold butter in your crust and pick raspberries that are super flavorful and ripe
Easy Step-by-Step Directions
- Cool and Slice:
- Let the bars sit in the pan till they hit room temp, then toss 'em in the fridge covered for at least two hours. Pull up on the parchment to lift the bars out nice and clean. Grab a sharp knife, wiping it between slices so your bars look neat. Store them cold so they stay fresh.
- Combine and Bake:
- Slowly pour the lemon-raspberry custard over the warm crust, making sure it spreads everywhere. Pop it all back in the oven, same temp, and bake another twenty to twenty-five minutes. It's ready when the middle looks set but still wobbles a tiny bit.
- Make the Lemon Raspberry Layer:
- While the base bakes, whisk together sugar and corn starch till there aren't any clumps. Beat in your eggs, then blend in the cool puree. Add fresh lemon juice and mix until it's all smooth and liquidy.
- Mix the Shortbread Base:
- In a bowl, whisk together flour, sugar, corn starch, and salt. Pour in the melted butter, stirring 'til it gets dense. Press into your pan lined with parchment, build up a little rim around the edges. Bake at 325 F about twenty to twenty-five minutes til just set and light gold. Gently poke it with a fork—this makes the filling stick better.
- Prepare the Raspberry Puree:
- Blend those berries until totally smooth, then strain with a fine mesh sieve to catch all the seeds. Pour the strained puree into a small saucepan, heat gently, and simmer until it thickens up and turns jammy—aim for about a quarter cup. Let it cool all the way before you use it.
 Pin it
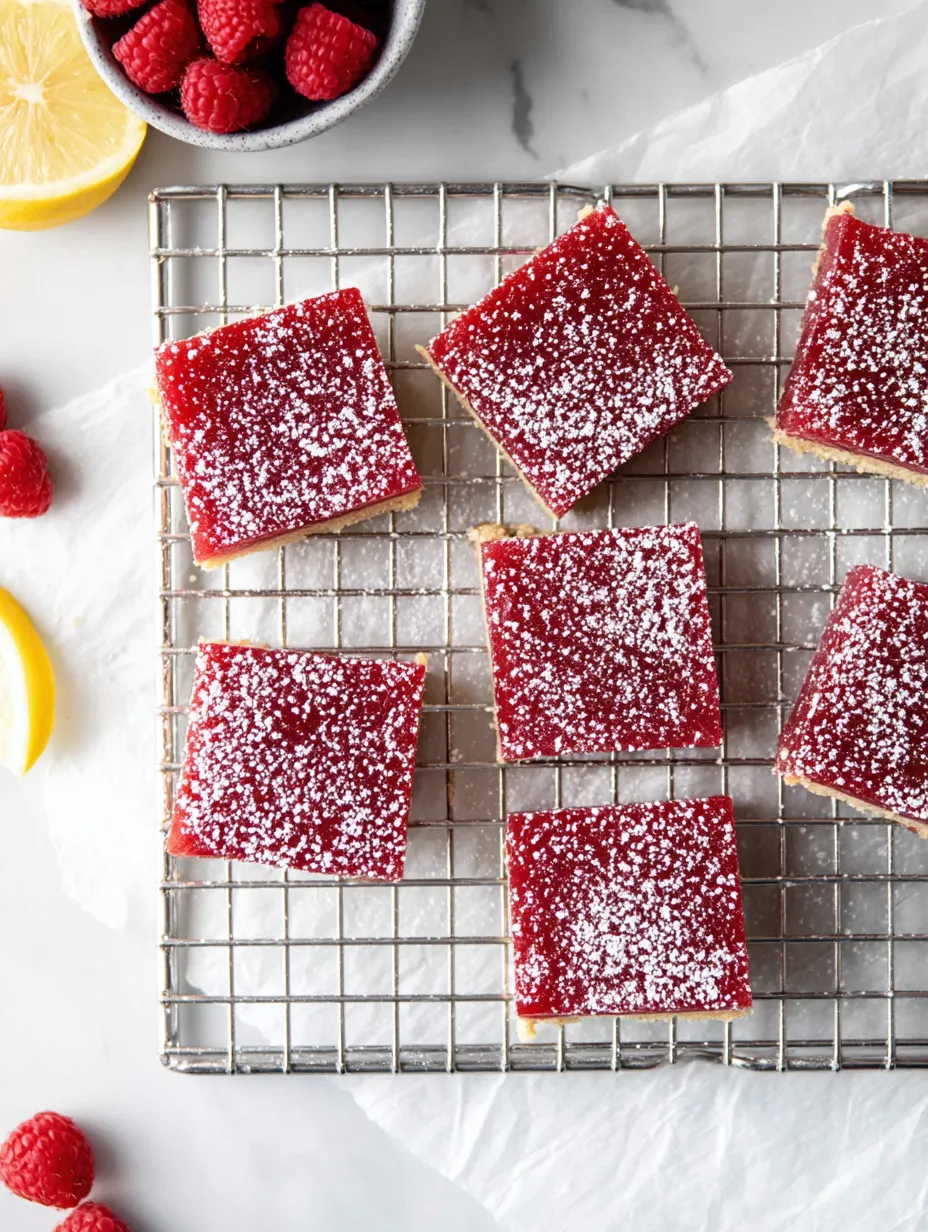
The bright hit of lemon lifts up the berries—it just tastes like that first warm day of summer. My favorite bit is letting my kid help swirl in the raspberries before baking. It turns the creamy lemon layer a pretty blush.
Storing Made Simple
Cover your bars and keep them cold in the fridge—they hold up for about five days. Planning to keep them any longer? Just freeze separate pieces with paper between, then thaw them in the fridge overnight when you want more. Always slice and eat them chilled so the texture stays great.
Swaps If You Need Them
No raspberries? Blackberries or strawberries swap in easily for a new flavor. The crust takes well to a gluten free flour blend if that's what you need. Dairy free butter can work, but real butter gives you the best taste hands down.
 Pin it
Fun Ways to Serve
Top them with a dusting of powdered sugar, some whipped cream, or extra berries. For parties, I love cutting them into tiny squares or triangles, stacking them up on a cute tray, and tossing on a few lemon wedges for color.
How They Became Popular
Lemon bars started popping up in the US around the 1950s. Adding raspberries gives these treats a super punchy color and an extra layer of flavor, which is why my family always asks for them at spring and summer get-togethers.
Frequently Asked Questions
- → Is it okay to use raspberries from the freezer?
Yep, frozen raspberries are fine. Just cook them down a bit longer to boil off extra water until thick.
- → How can I cut these for neat-looking bars?
Wait until the bars are super cold. Grab a sharp knife and wipe it clean after each slice to keep those lines crisp.
- → Can I swap in store-bought lemon juice?
Fresh lemon juice really gives the best flavor, but bottled will make the bars more sour and might mess with the taste.
- → Where do I keep the leftovers?
Stick your bars in a tight-sealing container and toss them in the fridge. They'll keep for about five days. Eat them cold for that chewy bite!
- → Can these bars be made in a smaller batch?
Absolutely! Cut all ingredients by half and use an 8x8 pan. They might finish baking a tiny bit quicker so check early.
- → Is straining out the seeds in the raspberry layer needed?
Straining gets rid of seeds so the topping is smooth, but if you don't mind a few seeds, feel free to keep them in.