
 Pin it
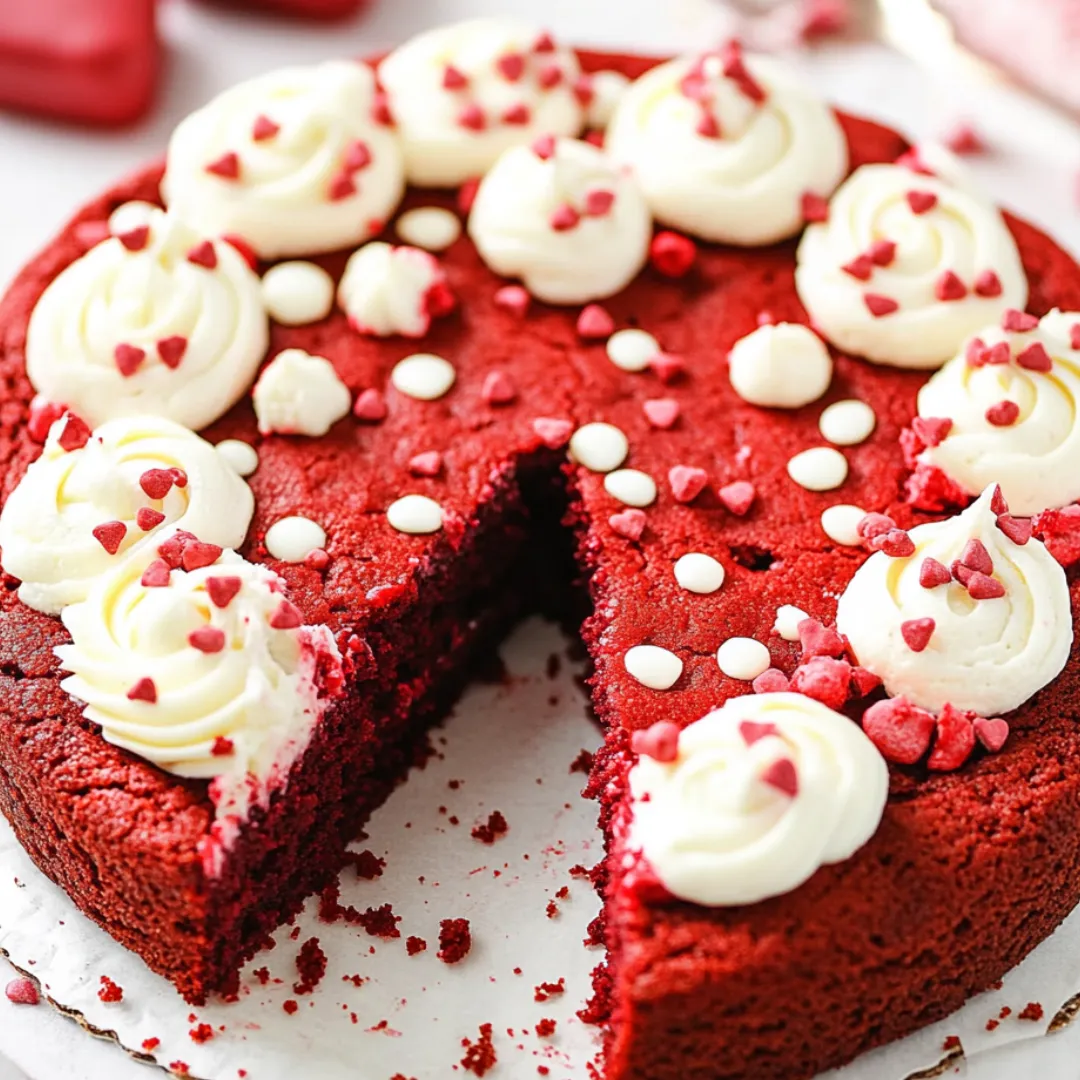
This showstopping red velvet cookie cake combines the best aspects of two beloved desserts – the soft, chewy texture of a perfect cookie with the impressive presentation of a celebration cake. Each slice reveals a vibrant crimson interior studded with creamy white chocolate chips, all crowned with a ring of tangy cream cheese frosting that perfectly complements the subtle cocoa notes in the cookie base. It's a dessert that delivers not just stunning visual appeal, but also that distinctive red velvet flavor profile – slightly tangy, subtly chocolatey, and entirely irresistible.
The first time I made this cookie cake was for my sister's birthday when she requested 'something red velvet but different.' Not knowing what to expect, I served it to a table of dessert critics (aka my extended family). The silence that fell as everyone took their first bite spoke volumes – followed by requests for seconds before they'd even finished their first slice! What I love most is how the white chocolate chips maintain their shape while baking, creating pockets of creamy sweetness throughout the dense, chewy cookie. It's become my most-requested celebration dessert, replacing traditional birthday cakes at family gatherings.
Key Ingredients
- Vinegar: The secret ingredient that gives red velvet its distinctive tangy flavor and helps create the perfect texture. Just a teaspoon transforms the cookie from a colored chocolate dessert to an authentic red velvet experience without making it taste like vinegar.
- Cocoa Powder: Used sparingly to provide subtle chocolate undertones without overwhelming the unique red velvet flavor profile. The cocoa also reacts with the vinegar to enhance the red color naturally.
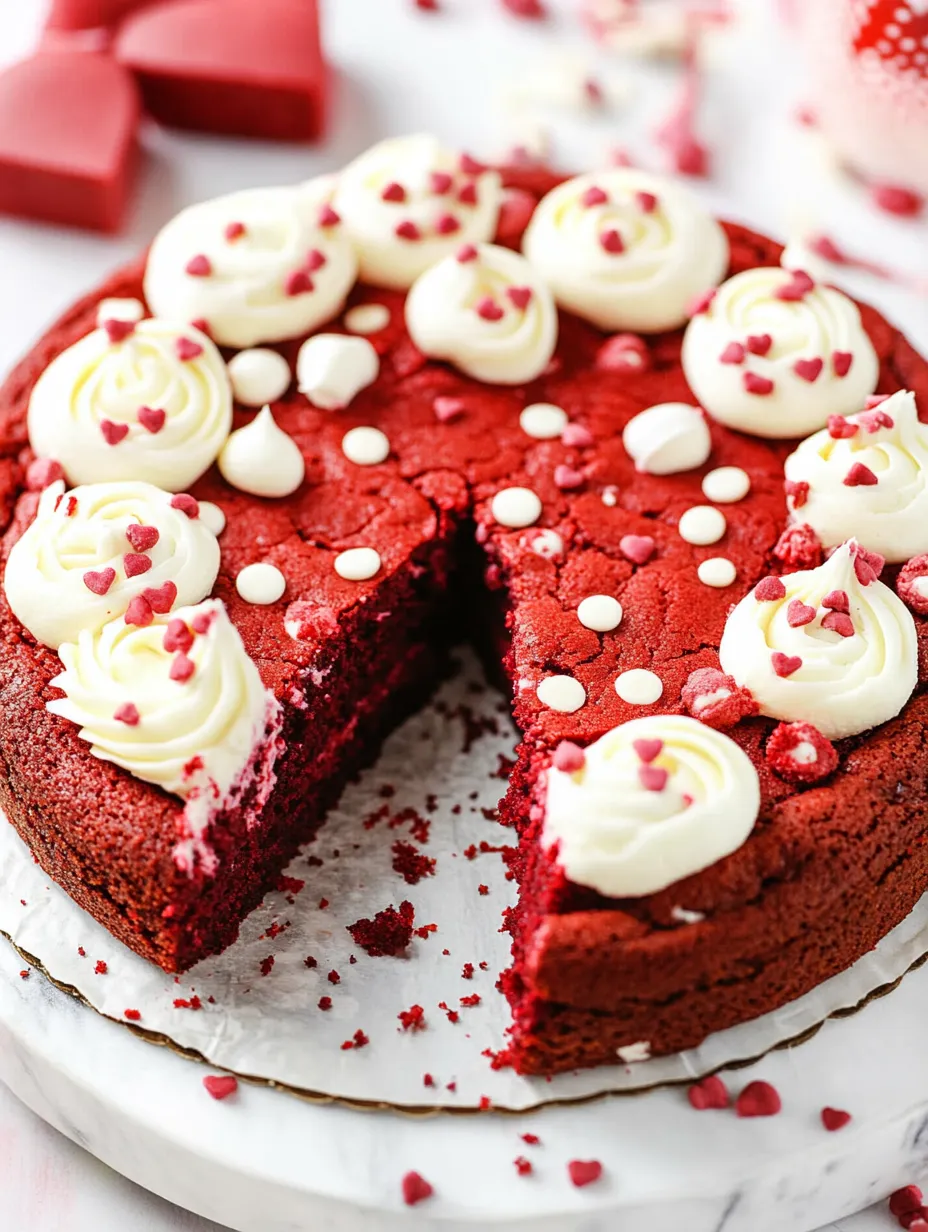
- White Chocolate Chips: Create pockets of creamy sweetness that contrast beautifully with the slightly tangy cookie base. They also add visual interest with their ivory color popping against the vibrant red background.
- Cream Cheese: Forms the base of the frosting, contributing that characteristic tangy flavor that pairs perfectly with red velvet. The slight acidity of the cream cheese complements and enhances the subtle cocoa notes in the cookie.
 Pin it
Step-by-Step Instructions
- Prepare Your Baking Pan:
- Preheat your oven to 350°F (175°C). Line a 9-inch round cake pan with parchment paper and grease the sides. This preparation ensures easy removal after baking and prevents the edges from sticking or burning. The parchment circle on the bottom is crucial for clean release.
- Mix Dry Ingredients:
- In a medium bowl, whisk together 1¾ cups all-purpose flour, 1 teaspoon baking soda, 1 tablespoon cocoa powder, and ½ teaspoon salt until evenly combined. This pre-mixing distributes the leavening agents and cocoa powder evenly throughout the flour, preventing streaking in the final product.
- Cream Butter and Sugar:
- In a large mixing bowl, beat ½ cup room temperature unsalted butter with 1 cup granulated sugar until light and fluffy, about 2-3 minutes. This extended beating incorporates air into the mixture, which helps create that perfect chewy texture. The mixture should lighten in color and increase slightly in volume.
- Add Wet Ingredients:
- Add 1 large egg to the butter mixture and beat until fully incorporated. Then mix in 1½ teaspoons vanilla extract, 1 teaspoon white vinegar, and enough red food coloring to achieve your desired shade. I typically use about 1 tablespoon of liquid food coloring or 1 teaspoon of gel coloring for that classic vibrant red.
- Combine Wet and Dry Mixtures:
- Add the flour mixture to the wet ingredients and mix just until combined. Overmixing at this stage will develop the gluten in the flour, resulting in a tough rather than tender cookie texture. Stop mixing as soon as no dry streaks remain.
- Fold in White Chocolate:
- Gently fold in 1 cup of white chocolate chips, reserving a small handful to press into the top of the dough. This distribution ensures chocolate in every bite while the visible chips on top create an attractive finished appearance.
- Press Into Pan:
- Transfer the cookie dough to the prepared cake pan and press it evenly to the edges using an offset spatula or the back of a spoon. The dough will be sticky, so slightly dampening your tools can prevent sticking. Press the reserved white chocolate chips into the top surface.
- Bake to Perfection:
- Bake in the preheated oven for 18-20 minutes, or until the edges are set and the center appears just matte. A slight underbake is preferable to overbaking, as the cookie will continue to set as it cools. The center should not look wet or shiny, but it shouldn't be completely firm either.
- Cool Completely:
- Allow the cookie cake to cool in the pan for 15-20 minutes, then carefully transfer to a wire rack to cool completely. This gradual cooling process prevents the cake from breaking or sinking in the middle.
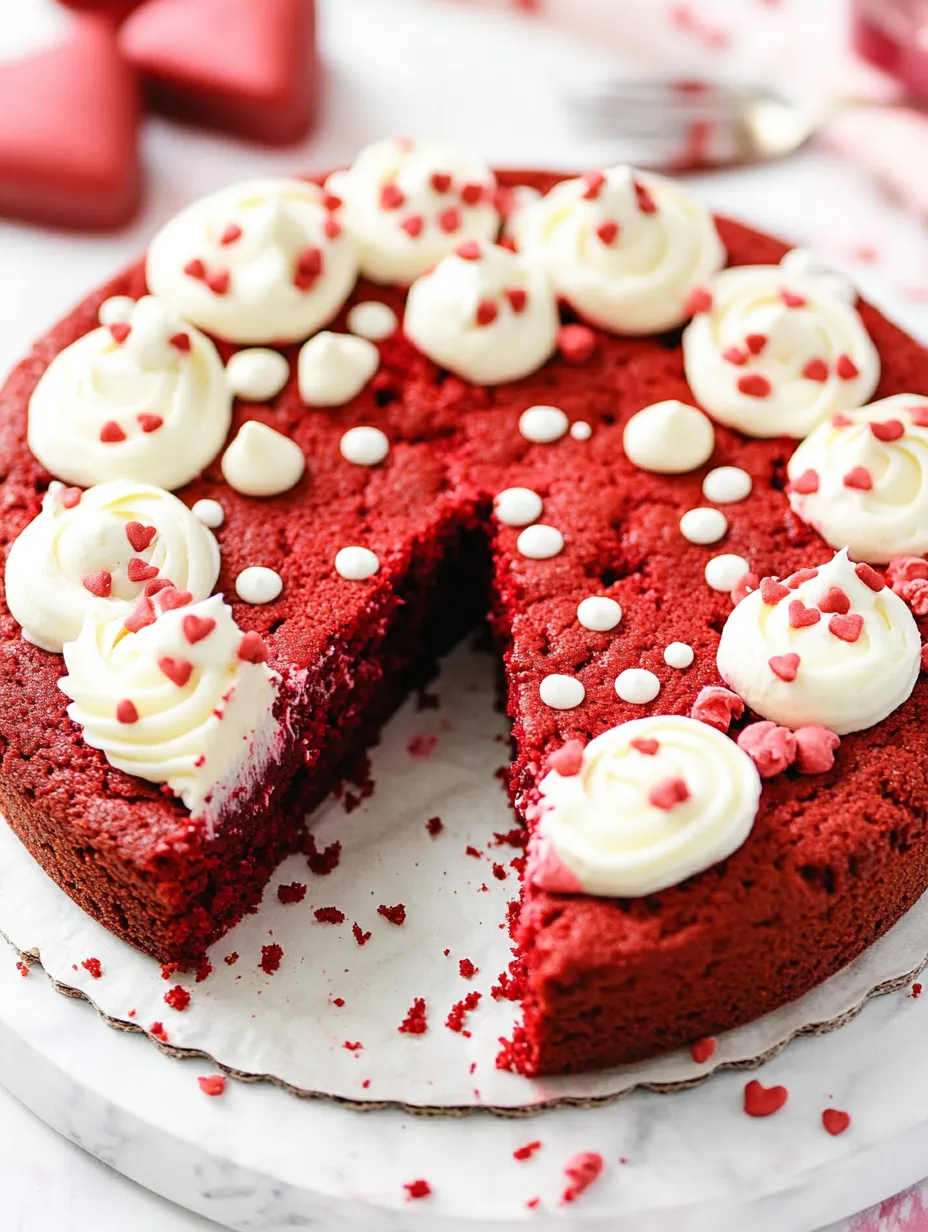
- Prepare and Apply Frosting:
- Beat 4 ounces of room temperature cream cheese with 2 tablespoons of softened butter until smooth. Gradually add 2 cups of powdered sugar and 1 teaspoon of vanilla extract, beating until fluffy. Transfer to a piping bag fitted with a star tip and pipe decorative swirls around the edge of the cooled cookie cake. Finish with festive sprinkles if desired.
The Secret to Perfect Texture
Achieving the ideal cookie cake texture took me several attempts to master. The first time I made it, I baked it like a regular cake until a toothpick came out clean, resulting in an overdone, dry cookie. The key breakthrough came when I realized the visual cues are different for a cookie cake – you want to pull it out when the edges are set but the center still looks slightly underdone.
Temperature control also matters significantly. I found that placing the pan on the middle rack ensures even baking, while a higher rack position can brown the top too quickly before the center sets properly. And unlike many cookie recipes, this dough doesn't require chilling, which helps maintain that perfect dense, chewy texture throughout.
 Pin it
Make-Ahead and Storage Tips
This cookie cake has become my go-to for busy weeks when I need an impressive dessert without spending hours in the kitchen. The unbaked dough can be prepared up to 24 hours in advance and refrigerated in the pan, though you'll need to add 2-3 minutes to the baking time if cooking directly from the refrigerator.
For longer storage, I've found that the baked cookie cake actually improves after a day in the refrigerator, as the flavors meld and deepen. Store it in an airtight container for up to 5 days refrigerated, though it rarely lasts that long in my household!
If you need to prepare it even further ahead, the unfrosted cookie cake freezes beautifully for up to 3 months. Wrap it tightly in plastic wrap and then aluminum foil before freezing, and thaw overnight in the refrigerator before frosting and serving.
I learned about the importance of pan preparation through a memorable kitchen failure. For my nephew's birthday, I rushed and skipped the parchment paper step, resulting in a cookie cake that broke into pieces when I tried to remove it from the pan. Since then, I never skip the parchment circle on the bottom, which ensures a perfect release every time. That particular broken cake became the world's first 'red velvet cookie trifle' – layered with cream cheese frosting and berries in a trifle dish – which was delicious but definitely not what I had planned!
The technique that transformed this recipe for me was discovering the ideal baking time. Early versions were either too dry from overbaking or too gooey in the center. I now set my timer for 16 minutes as a first check and look specifically for that matte (not shiny) appearance on the center surface. This visual cue, rather than a specific time, ensures perfect results regardless of variations in oven temperature or slight differences in pan material. This attention to the precise moment of doneness elevates a simple cookie cake to a bakery-worthy dessert that never fails to impress.
Frequently Asked Questions
- → Can I make this cookie cake ahead of time?
- Yes, you can make the cookie cake 1-2 days in advance. Store unfrosted at room temperature in an airtight container, then add the frosting shortly before serving for the best presentation.
- → How do I know when the cookie cake is done baking?
- The edges should be set and slightly golden, while the center should look just matte (not shiny). Don't overbake or you'll lose the soft, chewy texture that makes this cookie cake special.
- → Can I use natural food coloring instead of artificial?
- Yes, you can use natural red food coloring or beet powder, though the color won't be as vibrant. You may need to adjust the amount to achieve your desired shade of red.
- → What if I don't have white chocolate chips?
- You can substitute with regular chocolate chips, or omit them entirely for a more traditional red velvet cake-like experience. The cookie cake will still be delicious.
- → Can I use a different size pan?
- Yes, but the baking time will change. For an 8-inch pan, add 2-3 minutes. For a 10-inch pan, reduce the time by 2-3 minutes. The cookie will also be thicker or thinner depending on the pan size.