
 Pin it
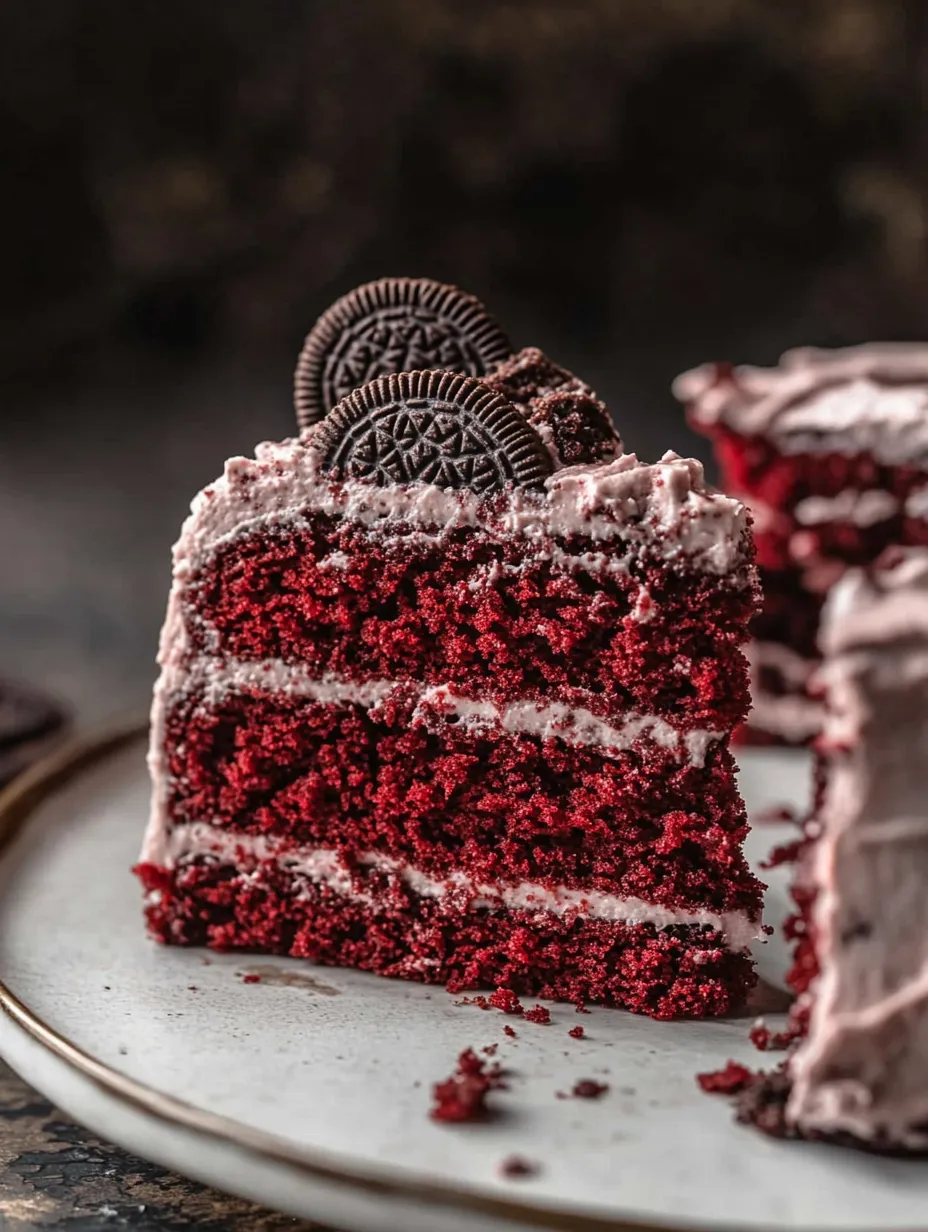
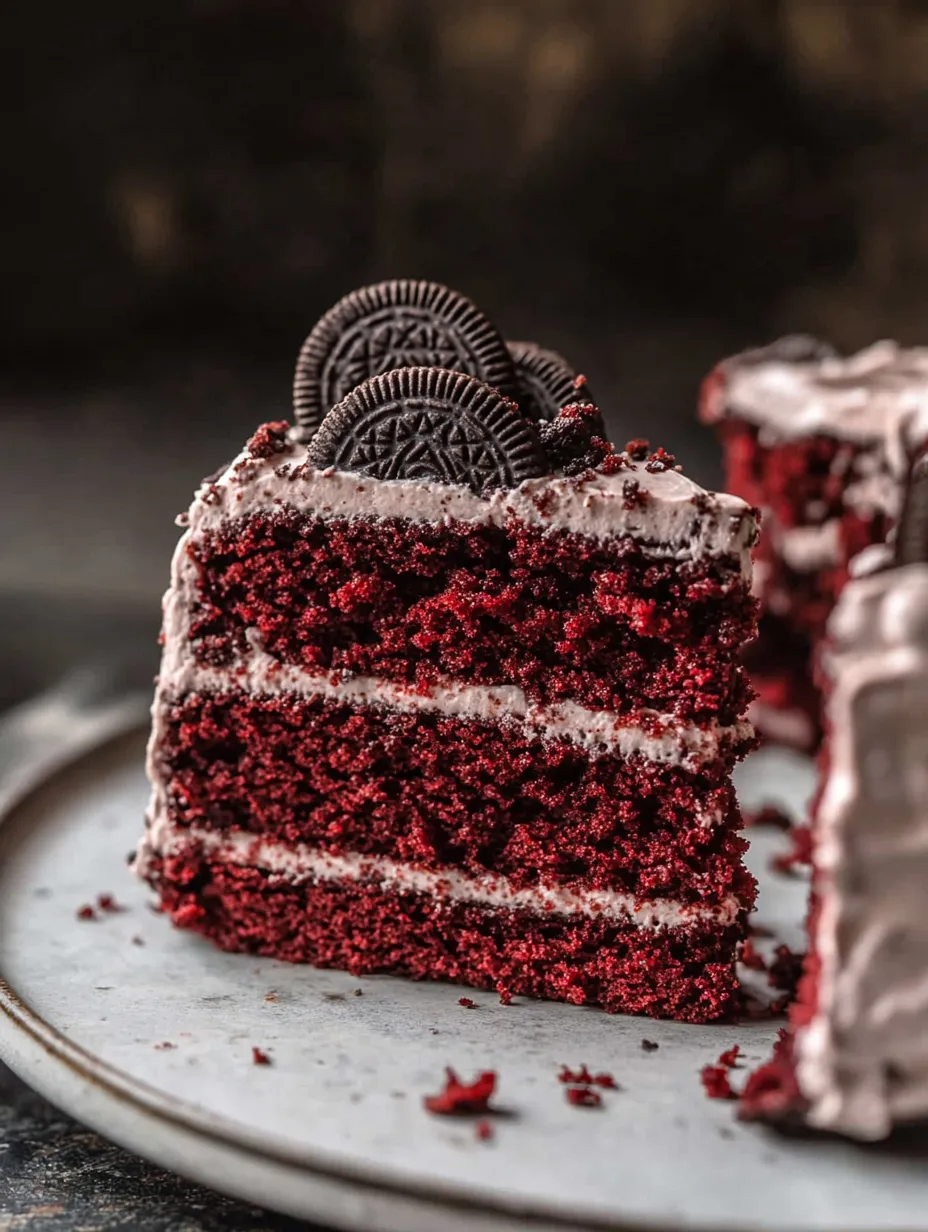
Red velvet Oreo cake brings together smooth tangy buttermilk-based cocoa cake and the classic crunch of chocolate sandwich cookies all wrapped in a dreamy cream cheese Oreo frosting. Every bite ticks the boxes for chocolate lovers and cookie devotees alike and it always delights at birthdays or celebrations.
First time I baked this cake it was for my niece’s graduation party and people could not stop at one slice. Folding crushed Oreos into the batter was the gamechanger everyone raved about and now it is my go-to celebration cake.
Ingredients
- All purpose flour: gives structure and a soft crumb to the cake sift for best results
- Granulated sugar: brings sweetness and helps with moisture try using superfine if you want an extra tender crumb
- Cocoa powder: supplies the chocolate undertone choose Dutch processed for a smoother flavor
- Baking powder: lifts the batter making it light
- Baking soda: helps the cake rise and browns the edges
- Salt: balances the sweetness and gives depth
- Buttermilk: brings tanginess and keeps the cake moist always use full fat and at room temperature
- Sour cream: gives extra richness and a plush texture also at room temperature
- Oil: keeps the cake extra moist choose a neutral oil like canola
- Large eggs: bind everything together and provide structure let them come to room temperature for best blending
- White vinegar: reacts with baking soda for a fluffy crumb essential for red velvet’s signature texture
- Vanilla extract: layers in warmth and sweetness real vanilla is always best
- Red gel food coloring: gives classic color gel works best for intense color without extra moisture
- Crushed Oreos: add irresistible chocolate crunch use fresh Oreos and remove the filling in the batter step so the cake stays light
- Full fat cream cheese: forms the base of the frosting make sure it is very soft to avoid lumps
- Salted butter: brings extra flavor and helps frosting hold shape let it fully soften
- Powdered sugar: sweetens and thickens the frosting sift it to avoid clumps
- More crushed Oreos: bring intense cookie flavor to the frosting use crunchy whole cookies for best bite
Step-by-Step Instructions
- Mix the Dry Ingredients:
- Whisk together flour sugar cocoa powder baking powder baking soda and salt in a large mixing bowl. Mix until everything is evenly combined so you avoid pockets of bitter cocoa or baking soda in the cake.
- Blend the Wet Ingredients:
- In another bowl whisk buttermilk sour cream oil eggs vinegar vanilla and red food coloring. The buttermilk and vinegar will react with the baking soda in the dry ingredients giving the cake its signature lift and tender crumb.
- Combine Batter and Add Oreos:
- Pour the wet mixture into the dry bowl while incorporating with slow whisking. Aim for a lump free thick batter. Fold in the crushed Oreos gently so the chunks stay visible and do not weigh down the cake.
- Bake the Cakes:
- Divide the batter evenly between two lined eight inch pans. Smooth the tops and gently tap the pans on the counter. Bake at three hundred fifty degrees Fahrenheit for twenty seven to thirty two minutes. The cakes are done when a toothpick comes out clean from the center.
- Cool and Frost the Layers:
- Let cakes cool in their pans about ten minutes before transferring to a wire rack to finish cooling. The cakes must be completely cool before you frost to prevent melting the frosting.
- Make the Oreo Frosting:
- In a mixing bowl beat cream cheese and butter with a hand or stand mixer until the mixture is smooth. Add powdered sugar one cup at a time beating gently between additions and scraping the sides often. Once smooth fold in finely crushed Oreos for that classic cookies and cream finish.
- Assemble and Decorate:
- Place one cake layer on a serving plate and cover with a generous three quarter cup of frosting. Place the second layer flat side up then apply a thin crumb coat to catch all loose crumbs. Chill the cake for twenty minutes then finish with a thick final layer of frosting. Pipe extra frosting on top and garnish with more Oreos or cookie pieces for drama.
 Pin it
My favorite part is beating the cream cheese until it is silky and smooth. One holiday my cousin and I decorated the cake together and turned the process into a friendly competition for the best piping – it is now part of our family tradition.
Storage Tips
Store cake covered in the fridge for up to four days. For longer keeping slice and wrap each piece in plastic then freeze up to two months. Always let frozen cake come to room temperature still wrapped so it stays moist.
Ingredient Substitutions
If you do not have buttermilk substitute using regular milk mixed with a spoon of white vinegar. You can swap full fat Greek yogurt for sour cream in a pinch. For a deep chocolate flavor you can use dark cocoa powder but expect a richer color.
Serving Suggestions
This cake steals the show all on its own but you can serve it with a scoop of vanilla ice cream or a drizzle of chocolate sauce. For birthdays top with extra mini Oreos or colorful sprinkles. It also works as cupcake batter for bite sized party treats.
 Pin it
Red Velvet Oreo Cake Origins
Traditional red velvet cake dates back to the early twentieth century in the American South known for its balance of tang cocoa and vibrant red crumb. Blending Oreos into the mix is a modern twist adding nostalgic cookie flavor and crunchy contrast to the classic.
Frequently Asked Questions
- → How do I achieve a vibrant red color?
Use gel food coloring for the deepest hue without altering the cake's texture. Mix it evenly into the wet ingredients before combining with dry.
- → Can I substitute the Oreos with other cookies?
Chocolate sandwich cookies work best, but you can swap for your favorite cookies for a different taste and texture.
- → How should I store the finished cake?
Keep the cake refrigerated in an airtight container due to the cream cheese frosting. Bring to room temperature before serving for best texture.
- → What makes the cake extra moist?
The combination of buttermilk, sour cream, and oil ensures a tender, moist crumb while preserving the cake’s structure.
- → Can I make this dessert in advance?
Yes, you can bake the cake layers and prepare the frosting ahead of time. Assemble and frost just before serving for peak freshness.
- → Is this cake suitable for special occasions?
Absolutely! Its bold color, lush frosting, and iconic cookie decoration make it ideal for birthdays, holidays, or any celebration.