 Pin it
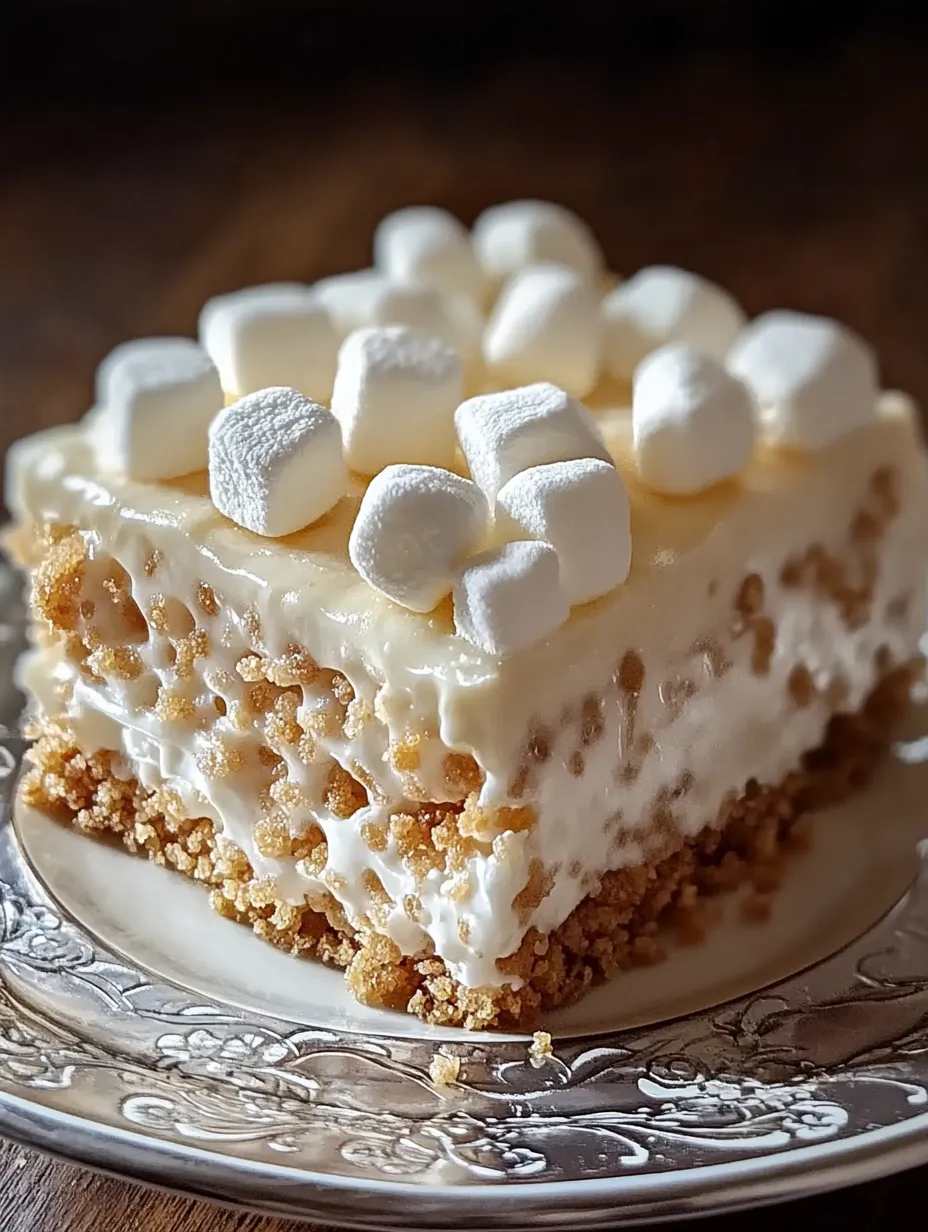
This Rice Krispie Treat Cheesecake brings together the best of both worlds—a crunchy, nostalgic crust with a lush, marshmallow-infused cheesecake filling. Perfect for any occasion where you want something no-bake, fun, and creamy all at once.
I first made this for a casual get-together and was amazed at how quickly it disappeared. Now it’s a favorite for summer parties when I want something sweet but fuss-free.
Ingredients
- Unsalted butter melts smoothly for the Rice Krispie crust and provides richness
- Mini marshmallows bind the cereal together and add sweetness
- Rice Krispies cereal creates that signature crisp crunch crucial for texture
- Heavy cream whipped into stiff peaks adds lightness to the cheesecake filling
- Full-fat cream cheese ensures a creamy and tangy base
- Confectioners’ sugar sweetens while blending smoothly into the cream cheese
- Marshmallow Fluff deepens the marshmallow flavor without weighing down the filling
- Pure vanilla extract enhances the overall flavor subtly
- Optional whipped cream or Cool Whip works well for decorating and extra creaminess
- Chocolate drizzle adds a touch of elegance and indulgence on top
- Mini marshmallows or Rice Krispies clusters bring playful decoration and more crunch
Step-by-Step Instructions
- Sauté the Marshmallow Base:
- Melt the unsalted butter gently over medium heat so it pools and bubbles without browning. Add the mini marshmallows and stir continuously until they melt completely into a smooth glossy mixture. This step fuses the butter and marshmallow creating the sticky glue for the cereal.
- Fold in the Rice Krispies Cereal:
- Remove from heat and immediately stir in the Rice Krispies cereal so every grain is coated. Set aside 3 cups of this mixture to use as topping later while pressing the rest into the bottom and slightly up the sides of a 9-inch springform pan. Press firmly to ensure a solid crust then chill so it sets well.
- Whip the Heavy Cream:
- Using chilled heavy cream, whip it on medium-high speed until stiff peaks form. This means when you lift the whisk, the cream holds its shape perfectly. Keep this aside but still cold.
- Prepare the Cream Cheese Mixture:
- In a mixing bowl, beat the softened cream cheese with confectioners’ sugar until smooth with no lumps. It should be creamy and slightly fluffy. Then blend in the Marshmallow Fluff and vanilla extract slowly until the mixture is uniform and shiny.
- Combine Whipped Cream and Cream Cheese:
- Gently fold the whipped heavy cream into the cream cheese mixture to lighten it. Use a spatula in slow sweeping motions to keep the airiness intact and create a smooth, velvety filling.
- Assemble the Cheesecake:
- Pour the cream cheese filling over the chilled crust and smooth evenly with a spatula. Now take the reserved Rice Krispies mixture and form small clusters or shapes. Arrange these over the top for a crunchy decorative layer. Chill the entire cheesecake for at least 4 hours, preferably overnight to develop the best texture.

Storage Tips
Store any leftovers covered tightly in the refrigerator to keep the filling fresh and prevent the crust from drying out. It’s best eaten within 3 to 4 days. If frozen, wrap well in plastic wrap then place in an airtight container. Thaw in the fridge overnight before serving.
Ingredient Substitutions
Butter can be replaced with margarine but it might alter flavor slightly
Use light cream for a lower fat version but the texture may be less rich
You can substitute mini marshmallows with regular marshmallows chopped into small pieces
Cream cheese should be full-fat for best results; low-fat varieties can be too watery or tangy
Serving Suggestions
Serve chilled with a drizzle of chocolate or a dollop of fresh whipped cream for extra decadence
Add fresh berries on the side for a burst of tartness that cuts through the sweetness
A sprinkle of toasted nuts can add a contrasting crunch and flavor element
Cultural Context
Rice Krispie treats are classic American childhood snacks that evoke nostalgia for many people. Combining them with cheesecake, another beloved dessert, creates a playful fusion that brings back memories while offering something adults and kids alike can enjoy. It’s a no-bake dessert perfect for gatherings when you want simplicity and fun.

Frequently Asked Questions
- How do I create a crispy Rice Krispie crust?
Melt butter and marshmallows together and stir in Rice Krispies cereal until evenly coated. Press the mixture firmly into a pan and chill to set a sturdy crust.
- What is the best way to achieve a smooth filling texture?
Beat softened cream cheese with confectioners' sugar until smooth, then fold in marshmallow fluff and gently incorporate whipped cream to keep the filling light and creamy.
- Can I add toppings to this dessert?
Yes, shaping reserved Rice Krispie mixture into clusters and placing them on top adds a decorative crunch. Optional drizzles of white or milk chocolate enhance flavors as well.
- How long should I chill this dessert before serving?
Refrigerate for at least 4 hours or overnight to allow the filling to firm up and the crust to set, ensuring a cohesive texture.
- What ingredients help create the marshmallow filling's flavor?
Marshmallow fluff combined with vanilla extract and confectioners' sugar lends sweetness and depth, balanced by the cream cheese and whipped cream for richness.