
 Pin it
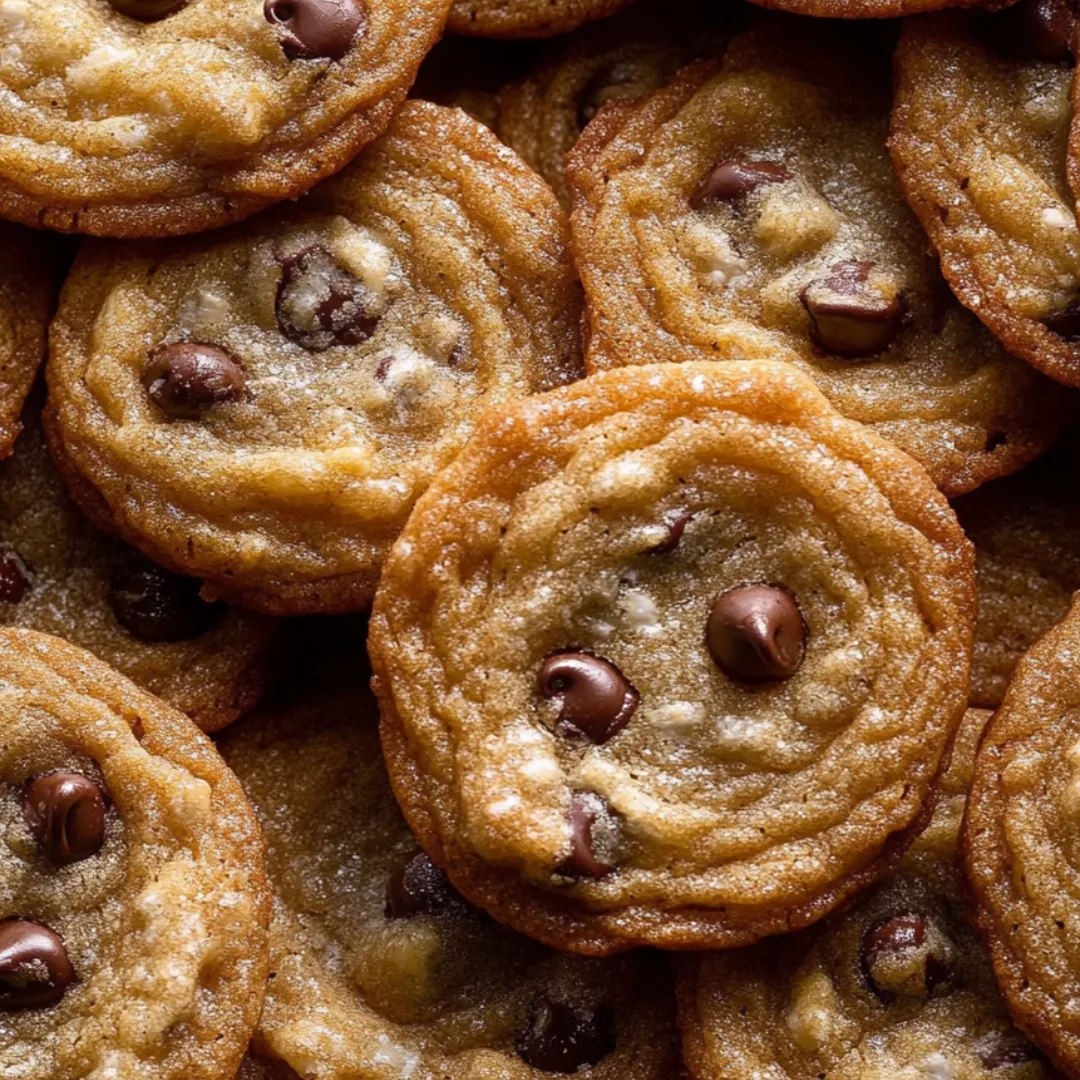
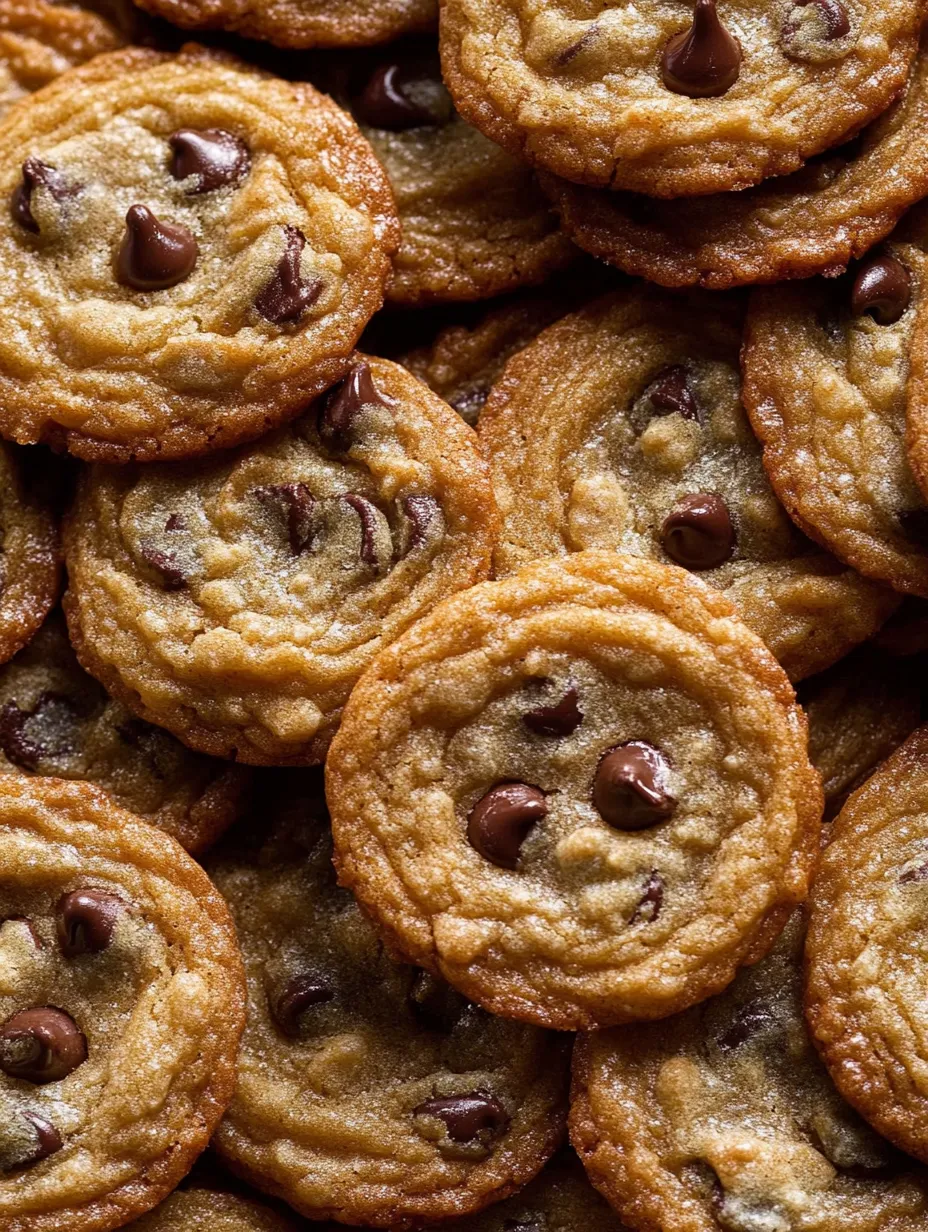
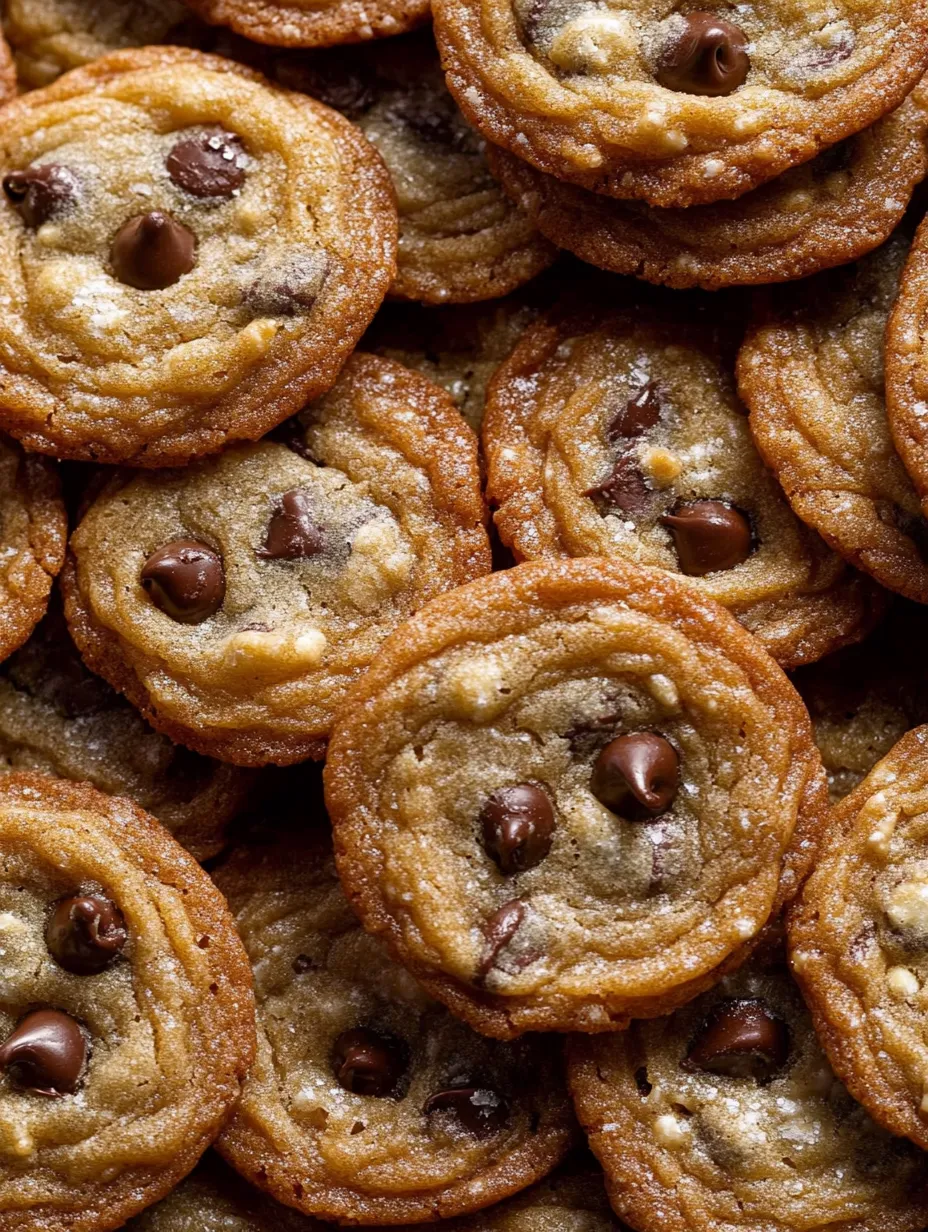
These thin crispy chocolate chip cookies deliver the perfect delicate crunch in every golden-brown bite. Unlike their chewier cousins, these cookies spread into beautifully thin rounds with lacy edges that shatter between your teeth. The contrast between the crisp cookie base and the scattered chocolate morsels creates an irresistible texture experience that makes it nearly impossible to eat just one. These cookies bake up wafer-thin with a buttery, caramelized flavor that's absolutely unforgettable.
I discovered my love for thin, crispy cookies late in life. For years, I was firmly in the chewy cookie camp until a friend brought over some store-bought Tate's cookies one afternoon. I couldn't believe what I'd been missing! After that revelation, I became determined to create a homemade version with even more butter flavor and the slightest tender center. After countless test batches (my neighbors certainly didn't mind being taste-testers!), this recipe emerged as the clear winner. Now they're my husband's absolute favorite—he can easily polish off half a dozen before I even notice they're gone!
Ingredients You'll Need
- 1 cup unsalted butter, room temperature: The foundation of flavor; must be genuinely soft (not melted) for proper creaming and spreading
- 1 cup granulated sugar: Creates those crispy edges and helps the cookies spread thin during baking
- 1/4 cup light brown sugar, packed: Adds just a hint of moisture and depth without making cookies too chewy
- 2 large eggs, room temperature: Binds everything together; room temperature ensures proper incorporation
- 2 teaspoons vanilla extract: Enhances the buttery flavor; use pure extract for the best taste
- 2 1/4 cups all-purpose flour: Provides structure but still allows for spreading; measure carefully by spooning into measuring cups
- 1 teaspoon salt: Balances the sweetness and enhances all other flavors
- 1 teaspoon baking soda: Helps achieve the perfect amount of spread and browning
- 1 1/2 cups semi-sweet chocolate chips: Provides perfect chocolate distribution without weighing down the thin cookies
 Pin it
Step-by-Step Cooking Instructions
- Preheat and Prepare:
- Position racks in the upper and lower thirds of your oven and preheat to 350°F (175°C). This moderate temperature allows the cookies to spread gradually and brown evenly. Line several baking sheets with parchment paper - not silicone mats, which can prevent proper spreading. Having multiple prepared sheets ready makes the baking process more efficient since these cookies need to cool completely on their baking sheets.
- Cream the Butter and Sugars:
- In the bowl of a stand mixer fitted with the paddle attachment (or using a hand mixer and large bowl), beat the room temperature butter on medium speed until smooth and creamy, about 1 minute. Add both granulated and brown sugars and increase to medium-high speed, beating until the mixture becomes notably lighter in both color and texture, approximately 2-3 minutes. Don't rush this crucial step - proper creaming incorporates air and helps create the perfect crisp texture.
- Add Eggs and Vanilla:
- Reduce the mixer speed to medium and add eggs one at a time, beating well after each addition and scraping down the sides of the bowl as needed. Mix in the vanilla extract until fully incorporated. The mixture should now be light, fluffy, and homogeneous - a sign that you're on the right track for perfectly crisp cookies.
- Incorporate Dry Ingredients:
- In a separate bowl, whisk together the flour, salt, and baking soda until evenly combined. With the mixer on low speed, gradually add the dry ingredients to the butter mixture, mixing just until no streaks of flour remain visible. Overmixing at this stage will develop too much gluten, resulting in a tougher cookie, so be gentle and patient.
- Fold in Chocolate Chips:
- Using a rubber spatula, gently fold in the chocolate chips until evenly distributed throughout the dough. Be careful not to exceed the recommended amount of chips - these thin cookies can only support so much chocolate before their structure is compromised. The dough will be relatively soft but should hold its shape when scooped.
- Portion the Dough:
- Using a small cookie scoop or tablespoon measure, drop rounded tablespoons of dough onto the prepared baking sheets, leaving a full 2 inches between each portion. This generous spacing is absolutely essential as these cookies spread significantly during baking. For the most consistent results, try to make all cookies the same size.
- Bake to Golden Perfection:
- Place one baking sheet on the middle rack of your preheated oven and bake for 10-12 minutes, rotating the pan halfway through for even browning. The cookies should be golden brown around the edges and slightly lighter in the center. They might look slightly underdone in the very middle, but will continue to crisp up as they cool. For maximum crispness, bake until the edges are a deeper golden brown.
- Cool Completely:
- Allow the cookies to cool directly on the baking sheet for at least 30 minutes. This cooling period is non-negotiable for achieving the perfect crispy texture. The cookies will continue to firm up as they cool, developing that characteristic snap. Meanwhile, continue baking remaining batches of cookies one sheet at a time for the most consistent results.
My biggest cookie epiphany came when I realized just how critical proper sugar balance is for texture. The first few batches I made had too much brown sugar, and while delicious, they never achieved that glass-like crispness I was after. Once I adjusted to using primarily white granulated sugar, the difference was remarkable! I also discovered that baking on parchment rather than silicone mats made a huge difference in how evenly the cookies spread. Little details really do matter when you're after cookie perfection!
Make-Ahead Magic
The convenience of these cookies extends to their make-ahead potential. You can prepare the dough up to 3 days in advance and store it covered in the refrigerator. When ready to bake, allow the dough to come completely to room temperature before portioning - cold dough won't spread properly. For longer storage, freeze portioned dough balls on a baking sheet until solid, then transfer to a freezer-safe container for up to 2 months. When baking from frozen, add 1-2 minutes to the bake time, but still watch carefully for that perfect golden color.
Storage Solutions
These cookies stay crisp for days when stored properly. The key is keeping moisture away. Once completely cooled, store them in an airtight container at room temperature with a piece of parchment paper between layers to prevent sticking. If you live in a particularly humid climate, add a small piece of bread to the container to absorb excess moisture - just replace it when it becomes stale. If cookies begin to soften after a few days, you can refresh their crispness by placing them in a 300°F oven for 3-5 minutes, then cooling completely before returning to storage.
Perfect Pairings
While these cookies shine brilliantly on their own, they reach new heights when paired thoughtfully. A cold glass of milk creates the classic contrast that never disappoints. For a more sophisticated experience, try serving them with coffee or espresso, which complements the caramelized notes in the cookies. These thin crispy cookies also make extraordinary ice cream sandwiches - their delicate crunch against creamy ice cream creates a textural masterpiece. During the holidays, I love serving them alongside a dessert cheese board with sharp cheddar and fruit for an unexpected sweet-savory combination.
 Pin it
Flavor Variations
Once you've mastered the basic recipe, try these delicious variations:
- Add 1/2 teaspoon of espresso powder to the dry ingredients for a subtle coffee undertone
- Substitute 1/2 cup of dark chocolate chunks and 1/2 cup of toffee bits for the chocolate chips
- Fold in 1/2 cup finely chopped toasted nuts (pecans or walnuts work beautifully)
- Sprinkle cookies with flaky sea salt just before baking for a sweet-salty contrast
I remember bringing these cookies to my daughter's school bake sale, somewhat worried they might be overlooked next to the thicker, chunkier cookies. To my delight, they sold out first! A mother I'd never met before tracked me down to ask for the recipe, saying they reminded her of cookies her grandmother used to make. That's the thing about these thin, crispy cookies - they might not be as common as their chewy counterparts, but for those who love them, they inspire real passion. There's something nostalgic about their delicate texture and caramelized flavor that creates instant fans and cherished memories.
Frequently Asked Questions
- → Why are my cookies not spreading thin enough?
- Make sure your butter is truly at room temperature and that you're creaming it with the sugars long enough to incorporate air. Also, don't chill the dough before baking - that would prevent proper spreading.
- → Can I make these cookies thicker if I prefer?
- Yes, for a thicker cookie, chill the dough for 2 hours before baking and use a cookie scoop to make taller mounds of dough. You may need to increase baking time by 1-2 minutes.
- → Why do I need to bake these one tray at a time?
- Baking one tray at a time ensures even heat distribution for consistent results. Multiple trays can block heat circulation in the oven, resulting in unevenly baked cookies.
- → Can I use different mix-ins instead of chocolate chips?
- Absolutely! Try butterscotch chips, white chocolate chips, chopped nuts, or dried fruit. Just keep the total amount of mix-ins to about 2 cups so the cookies maintain their thin, crispy texture.
- → How should I store these cookies to keep them crispy?
- Store in an airtight container at room temperature. Adding a slice of bread to the container can help absorb moisture and keep the cookies crisp. They'll stay fresh for up to 5 days.