
 Pin it
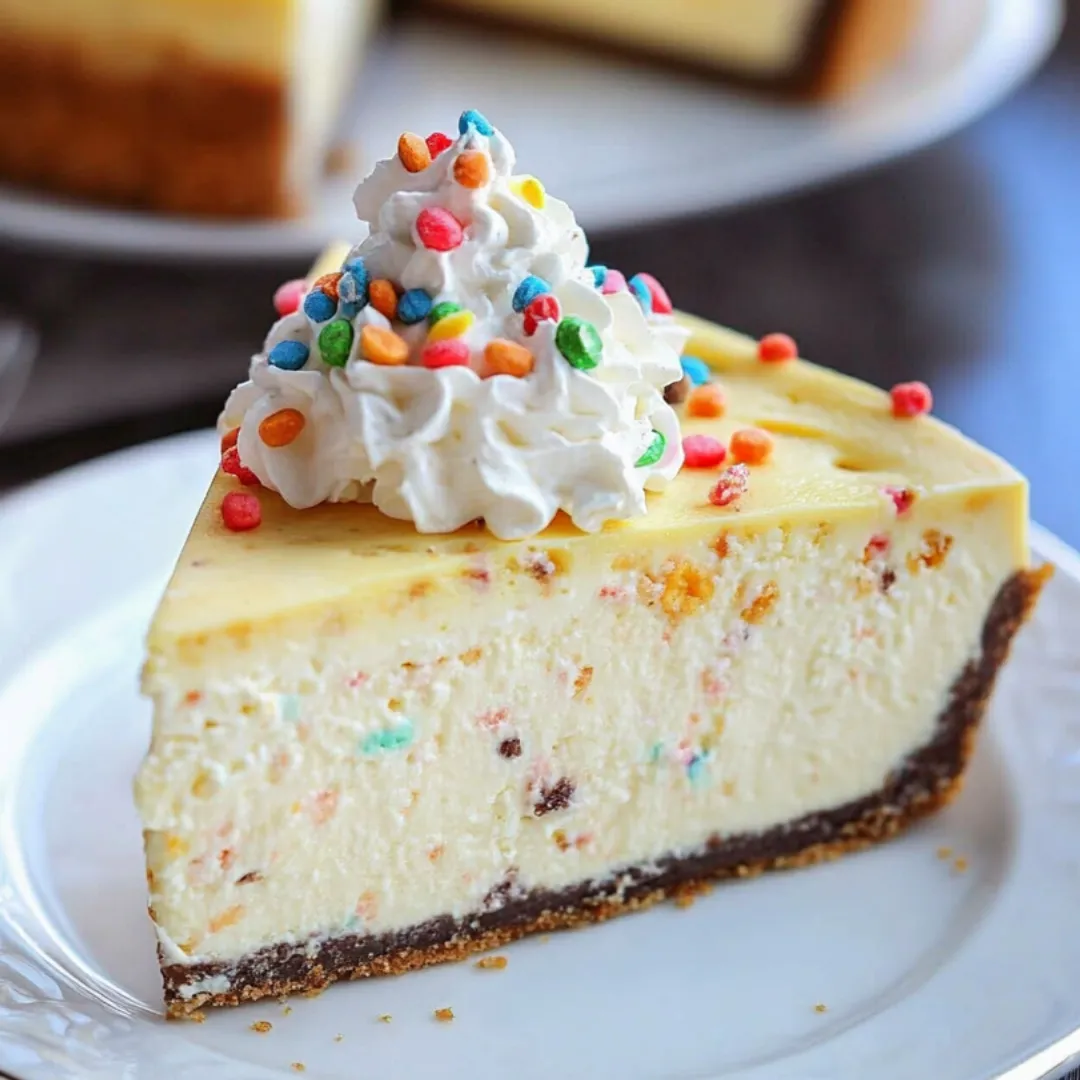
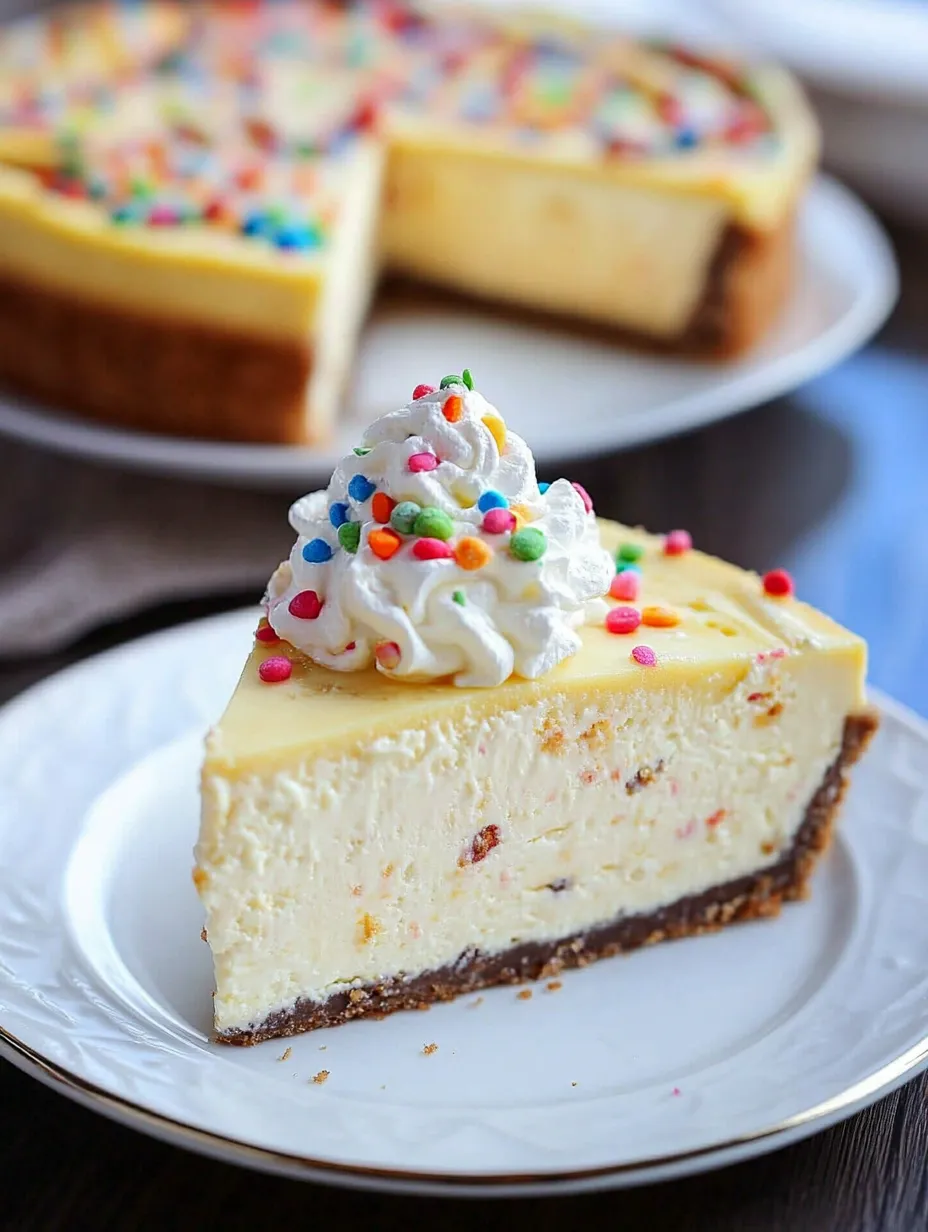
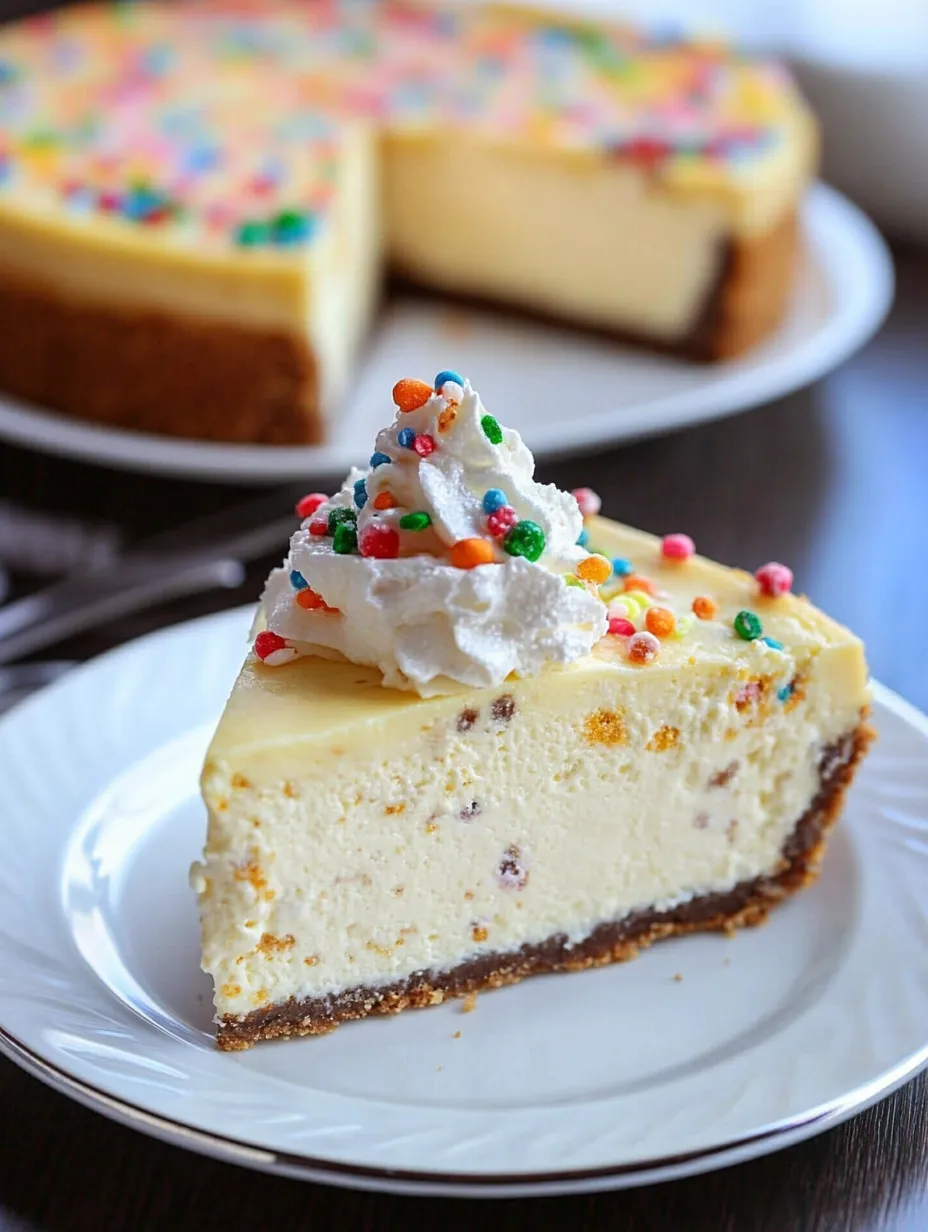
This cake batter cheesecake combines two beloved desserts into one spectacular treat. The creamy cheesecake filling sits atop a delightful sugar cookie crust, creating a dessert that brings back memories of childhood birthday parties but with a sophisticated twist.
I first made this for my daughter's birthday when she couldn't decide between cookies and cheesecake. It became an instant family favorite and now makes an appearance at most of our celebrations.
Ingredients
For the Sugar Cookie Crust
- Butter: Softened gives the cookie base that rich buttery flavor
- White Sugar: Provides sweetness and helps create that classic sugar cookie texture
- Egg: Acts as a binder and adds moisture to the crust
- Vanilla extract: Enhances the sweet flavor profile
- Baking Soda: Gives the cookie base a slight lift
- Salt: Balances the sweetness and enhances flavor
- Flour: Provides structure to the cookie base
- Rainbow Sprinkles: Add festive color and fun texture
For the Cheesecake
- Cream Cheese: Creates that classic creamy cheesecake texture look for full fat varieties for the richest result
- Granulated Sugar: Sweetens the filling perfectly
- Yellow Cake Mix: The secret ingredient that gives this cheesecake its cake batter flavor
- Vanilla extract: Enhances the sweet cake batter flavor
- Eggs: Provide structure and that signature smooth cheesecake texture
Step-by-Step Instructions
- Prepare the Oven:
- Preheat your oven to 325°F. This moderate temperature ensures the cheesecake bakes slowly and evenly without browning too quickly. Take the time to allow your oven to fully preheat for about 15 minutes for the most consistent results.
- Prepare the Pan:
- Line a springform pan with parchment paper. Take care to press the parchment along the bottom and slightly up the sides. This critical step makes removal effortless once the cheesecake is fully chilled and ready to serve.
- Make the Cookie Crust:
- Beat butter and sugar together until the mixture becomes noticeably lighter in color and fluffy in texture. This typically takes about 3 minutes of mixing. The air incorporated during this process creates a tender cookie base.
- Add Wet Ingredients to Crust:
- Stir in the egg, vanilla, baking soda, and salt until fully incorporated. The mixture will look slightly curdled at first but will come together as you mix.
- Complete the Cookie Base:
- Gradually add flour a little at a time, stirring gently until just combined. Overmixing at this stage can develop too much gluten and make your crust tough. Fold in sprinkles with a light touch to maintain their color.
- Form the Crust:
- Press the cookie dough evenly into the bottom of your prepared pan. Use the back of a measuring cup to create a smooth, even surface that will support your cheesecake filling.
- Prepare the Cheesecake Filling:
- In a large mixing bowl, stir cream cheese and sugar together until completely smooth. Take your time here to ensure no lumps remain, which is crucial for a silky smooth cheesecake texture.
- Complete the Filling:
- Stir in cake mix, vanilla, and eggs until just combined. Avoid overmixing once the eggs are added as this can incorporate too much air and cause cracks in your finished cheesecake.
- Assemble and Bake:
- Pour the filling over your cookie crust, smoothing the top with a spatula. Bake for 55-60 minutes or until the center is nearly set but still has a slight jiggle when gently shaken.
- Chill and Serve:
- Cool completely before refrigerating for 4-6 hours or preferably overnight. This resting period allows the flavors to meld and the texture to set properly for clean slicing.
 Pin it
My absolute favorite part of this recipe is the contrast between the cookie crust and creamy filling. It reminds me of the first time I made it for my daughter's birthday when she declared it better than any bakery cheesecake she had ever tasted. That moment of pride still makes me smile whenever I prepare this dessert.
Perfect Slicing Technique
For restaurant quality slices, run a thin knife under hot water, wipe dry, then make your cut. Repeat this process for each slice. The clean, warm blade creates perfect edges without tearing the delicate cheesecake. I learned this technique from my grandmother who always insisted presentation was just as important as taste when serving dessert to guests.
Storage Information
This cheesecake can be refrigerated for up to 5 days when stored in an airtight container. The flavors actually improve after the first day as they have more time to meld together. For longer storage, you can freeze individual slices wrapped tightly in plastic wrap and then aluminum foil for up to 2 months. Just thaw overnight in the refrigerator before serving.
Flavor Variations
While the classic yellow cake batter version is wonderful, this recipe works beautifully with other cake mix flavors too. Try chocolate cake mix for a chocolate lover's dream, or strawberry cake mix for a fruity twist. Red velvet cake mix creates a stunning visual and unique flavor profile that's perfect for holiday gatherings. The versatility of this recipe is what makes it a staple in my dessert rotation.
 Pin it
Frequently Asked Questions
- → How do I make the sugar cookie crust?
To make the crust, cream butter and sugar, then mix in egg, vanilla, baking soda, and salt. Gradually add flour and fold in sprinkles before pressing the dough into the pan.
- → Can I use boxed mix for the cake batter flavor?
Yes, the recipe uses yellow cake mix to give the cheesecake a sweet cake batter flavor.
- → How do I know when the cheesecake is baked?
The cheesecake is done when the center is slightly jiggly but almost set. It will continue firming as it cools.
- → What can I top the cheesecake with?
This cheesecake can be topped with whipped cream, sprinkles, or even crushed cookies for an added festive touch.
- → How long should the cheesecake cool?
Let the cheesecake cool in the refrigerator for at least 4-6 hours to achieve the perfect texture.