
 Pin it
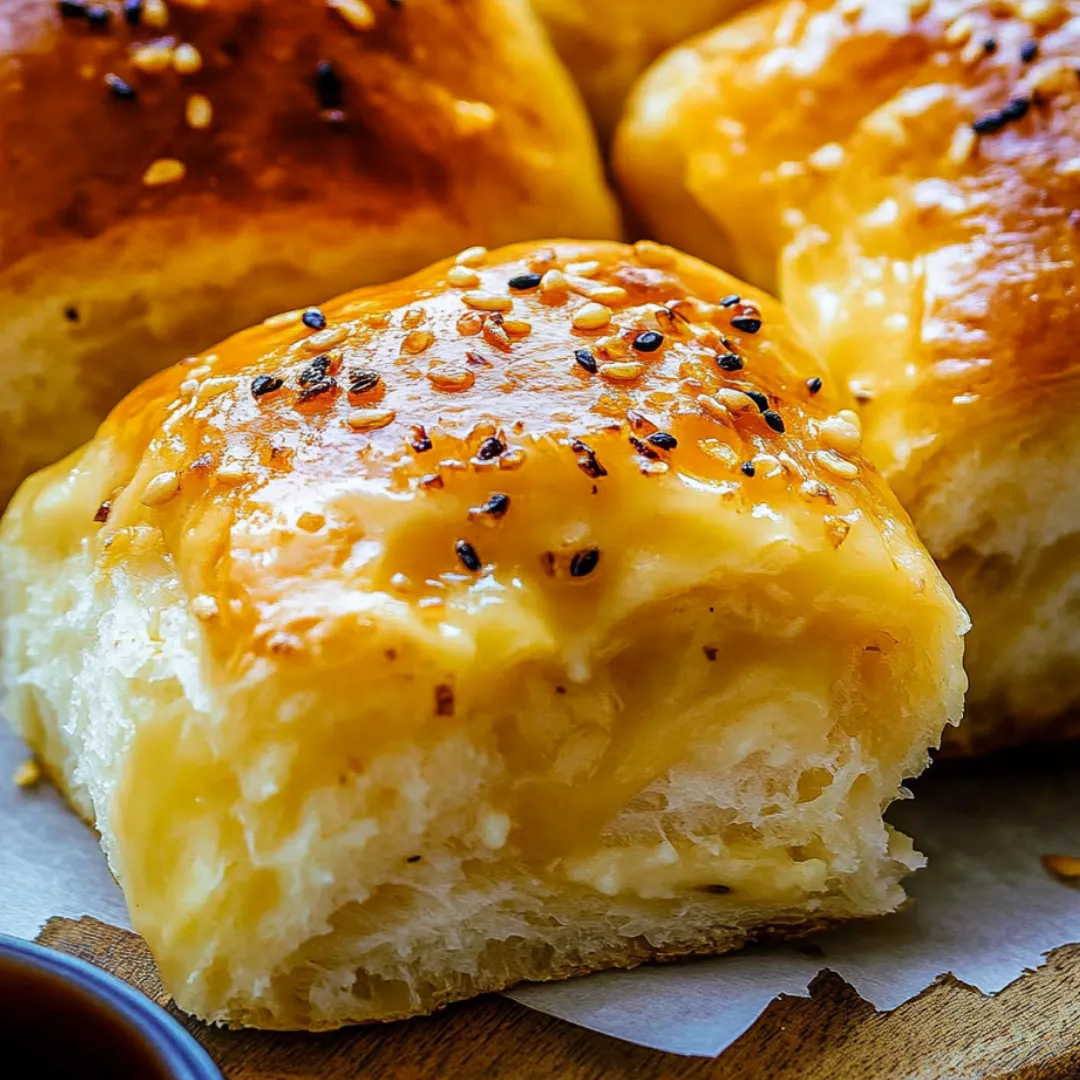
These cheese and onion rolls offer a deliciously satisfying vegetarian alternative to traditional sausage rolls. Featuring crispy golden pastry wrapped around a savory filling of cheese, potato, and caramelized onions with a hint of mustard, they deliver the perfect balance of textures and flavors in every bite. Whether served at a party, packed for a picnic, or enjoyed as a hearty snack, these homemade treats outshine any store-bought version with their robust flavor and fresh ingredients.
I started making these cheese and onion rolls when looking for crowd-pleasing vegetarian options for my daughter's birthday party. Store-bought versions always disappointed with their bland filling and minimal cheese. My first homemade batch disappeared within minutes, with guests asking for the recipe before they'd even finished eating! Now they've become my signature contribution to any gathering, and I love that I can make a double batch to keep some in the freezer for impromptu snacking emergencies.
Ingredients You'll Need
- 1 Sheet Puff Pastry (ready-rolled) - Creates that irresistible flaky exterior without the fuss of making pastry from scratch. Let it sit at room temperature for 15 minutes before unrolling to prevent cracking
- 2 Medium Potatoes (about 300g), peeled and diced - Forms the hearty base of the filling that keeps these rolls satisfying. Floury varieties like Russets or Maris Pipers work best for mashing
- 1 Large Onion, finely chopped - Provides sweet aromatic flavor when caramelized. Brown onions work perfectly, but red onions can add a slightly sweeter profile
- 150g Mature Cheddar Cheese, grated - The star ingredient that brings rich, tangy flavor. Using a sharp, aged cheddar means you get maximum flavor in every bite
- 30g Butter - Essential for properly caramelizing the onions, creating depth of flavor that makes these rolls special
- 1 tablespoon English Mustard - Adds a subtle heat and complexity that elevates the entire filling. Adjust according to your preference for heat
- 1 Egg, beaten - Creates that gorgeous golden shine on the pastry when baked. Don't skip this for professional-looking results
- 1 tablespoon Chia Seeds (or poppy seeds) - Adds a lovely textural element and visual appeal to the finished rolls
- 2 Gherkins, finely chopped (optional) - Provides unexpected pops of acidity and crunch that balance the rich cheese filling
 Pin it
Step-by-Step Cooking Instructions
- Prepare Your Kitchen:
- Start by preheating your oven to 200°C/180°C fan/400°F/Gas 6. Line a baking tray with parchment paper to prevent sticking and make cleanup easier. Take your puff pastry out of the refrigerator 15 minutes before you plan to use it – this prevents cracking when you unroll it. If you're using a block of pastry rather than ready-rolled, roll it out to a rectangle approximately 35cm x 23cm.
- Cook the Potatoes:
- Fill a medium saucepan with water, add a pinch of salt, and bring to a boil. Add the peeled and diced potatoes to the boiling water. Return to a boil, then reduce heat slightly and simmer until the potatoes are tender enough to be easily pierced with a fork, approximately 4-5 minutes. You want them soft enough to mash but not so overcooked that they become waterlogged.
- Caramelize the Onions:
- While the potatoes are cooking, place a frying pan over medium-low heat and add the butter. Once melted, add your finely chopped onions with a pinch of salt. Cook them slowly, stirring occasionally, until they become soft and translucent, about 5-7 minutes. Lower heat if they start to brown too quickly – the goal is soft, sweet onions, not crispy ones. For extra flavor, you can add a teaspoon of brown sugar during the last minute of cooking to enhance caramelization.
- Prepare the Filling Mixture:
- Drain the cooked potatoes thoroughly in a colander, then return them to the hot, empty pan. Allow them to steam dry for 1-2 minutes – this removes excess moisture for a better texture. Use a potato masher to create a smooth mash, then transfer to a mixing bowl. Add the caramelized onions, grated cheddar cheese, mustard, and chopped gherkins (if using). Season with salt and freshly ground black pepper to taste. Mix everything together thoroughly until well combined. Let the mixture cool for 5 minutes – working with a slightly cooled filling makes assembly easier.
- Assemble the Rolls:
- Unroll your puff pastry sheet onto a lightly floured surface and slice it lengthwise into two equal strips. Divide the filling mixture in half and spread each portion along the center of each pastry strip, creating a long sausage shape. Leave a border of about 1cm on either side to ensure proper sealing. Carefully fold one edge of the pastry over the filling, then roll it over completely so the seam is underneath. Gently press to seal the edge, being careful not to squeeze out the filling. Repeat with the second strip.
- Cut and Prepare for Baking:
- Using a sharp knife (not a serrated one, which can drag the pastry), cut each long roll into eight equal-sized pieces. Make clean, decisive cuts rather than sawing motions to maintain the pastry's layers. Transfer the rolls to your prepared baking tray, placing them seam-side down and leaving space between each for expansion. Brush the tops and sides generously with beaten egg using a pastry brush, then sprinkle with chia or poppy seeds.
- Bake to Golden Perfection:
- Place the tray in the preheated oven and bake for 20-25 minutes, until the pastry has risen and turned a beautiful golden brown color. The filling should be hot all the way through and the base of the rolls should be crisp, not soggy. If the tops are browning too quickly, you can cover loosely with foil for the final few minutes of baking.
- Rest Before Serving:
- Once baked, remove from the oven and allow the rolls to cool on the tray for 5-10 minutes before serving. This resting time is important as it allows the filling to set slightly, making the rolls easier to handle, and prevents burned mouths from the extremely hot cheese filling.
My mother-in-law taught me the trick of leaving the potatoes to steam dry after draining. The first time I made these rolls, I skipped this step and ended up with a soggy filling that leaked everywhere during baking. Now I always give them a couple of minutes in the hot pan after draining, and the difference in the final texture is remarkable – much more substantial and less likely to make the pastry soggy.
Serving Suggestions
These versatile rolls pair wonderfully with a variety of accompaniments. For a simple snack, serve them with a side of tomato chutney or caramelized onion relish for dipping. To create a more substantial meal, add a fresh green salad dressed with a tangy vinaigrette to cut through the richness. They're also delicious alongside soup – try dipping them into a creamy tomato or roasted vegetable soup for a comforting lunch option.
Storage and Reheating Tips
These cheese and onion rolls keep well in various storage conditions. For short-term storage, place cooled rolls in an airtight container and refrigerate for up to 3 days. For longer storage, individually wrap cooled rolls in plastic wrap or foil, then place in a freezer bag. They'll maintain quality in the freezer for up to 3 months. To reheat refrigerated rolls, place in a preheated oven at 180°C/160°C fan for 5-7 minutes until warmed through. For frozen rolls, either thaw overnight in the refrigerator before reheating or bake from frozen at 180°C/160°C fan for 15-20 minutes.
Perfect For Special Diets
These rolls can be easily adapted for different dietary needs. For a gluten-free version, use gluten-free puff pastry and ensure your mustard is gluten-free certified. Vegans can enjoy them by substituting the cheese with a good melting plant-based alternative, using plant-based butter, and replacing the egg wash with plant milk mixed with a little maple syrup for golden color. For those watching calories, reduce the cheese content and increase the vegetable components by adding finely diced bell peppers or grated zucchini to the filling.
 Pin it
Creative Variations
Don't be afraid to experiment with this versatile recipe. For a Mediterranean twist, add chopped sun-dried tomatoes, olives, and fresh herbs like oregano and basil to the filling. Cheese lovers might enjoy trying different cheese combinations – a mix of cheddar and Gruyère creates wonderful depth of flavor, while blue cheese crumbles add sophisticated tang. Spice enthusiasts can introduce heat with finely chopped jalapeños or a pinch of cayenne pepper in the filling.
I've been perfecting this recipe for years, and the most important lesson I've learned is that quality ingredients make all the difference. Splurging on a really good mature cheddar transforms these from good to exceptional. My family's favorite variation includes a tablespoon of caramelized onion chutney mixed into the filling – it adds a wonderful depth and sweetness that complements the sharp cheese perfectly. These rolls have become such a staple in our home that my children now request them for special occasions instead of cake!
Frequently Asked Questions
- → Can I make these ahead of time?
- Yes! You can prepare the rolls up to the point of baking, then refrigerate for up to 24 hours. Add a few extra minutes to the baking time when cooking from chilled. You can also freeze the unbaked rolls for up to 3 months.
- → What can I substitute for gherkins if I don't like them?
- If you're not a fan of gherkins, you can simply omit them or substitute with finely chopped bell peppers, corn kernels, or spring onions for a different flavor profile but similar texture.
- → Can I use different cheese?
- Absolutely! While mature cheddar provides the strongest flavor, you can experiment with other cheeses like Red Leicester, Gruyère, or a combination of cheeses. Just make sure they melt well.
- → Are chia seeds necessary?
- No, the chia seeds are mainly for decoration and a little extra nutrition. You can substitute with sesame seeds, poppy seeds, or simply omit them altogether.
- → How do I store leftover rolls?
- Store cooled rolls in an airtight container in the refrigerator for up to 3 days. Reheat in a 350°F oven for 5-10 minutes to restore crispness. They're also delicious cold in lunch boxes!