
 Pin it
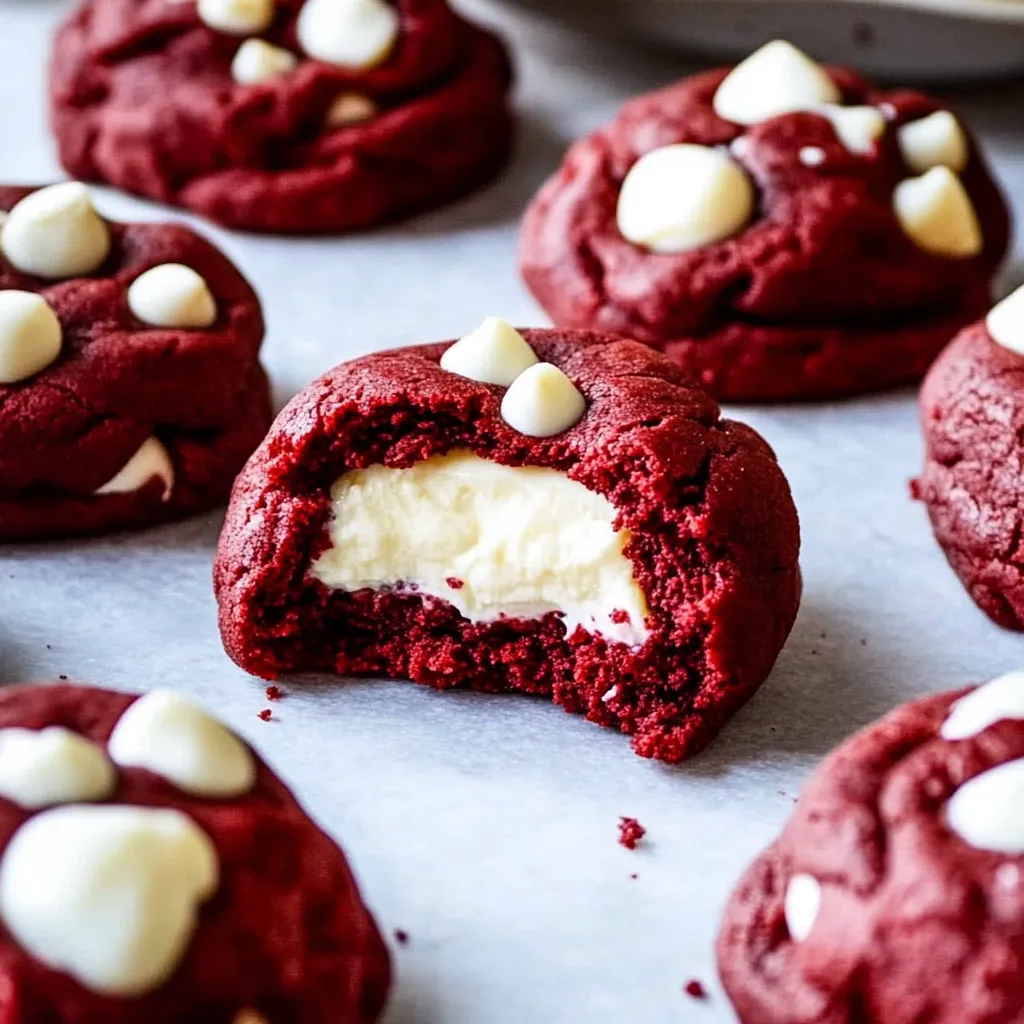
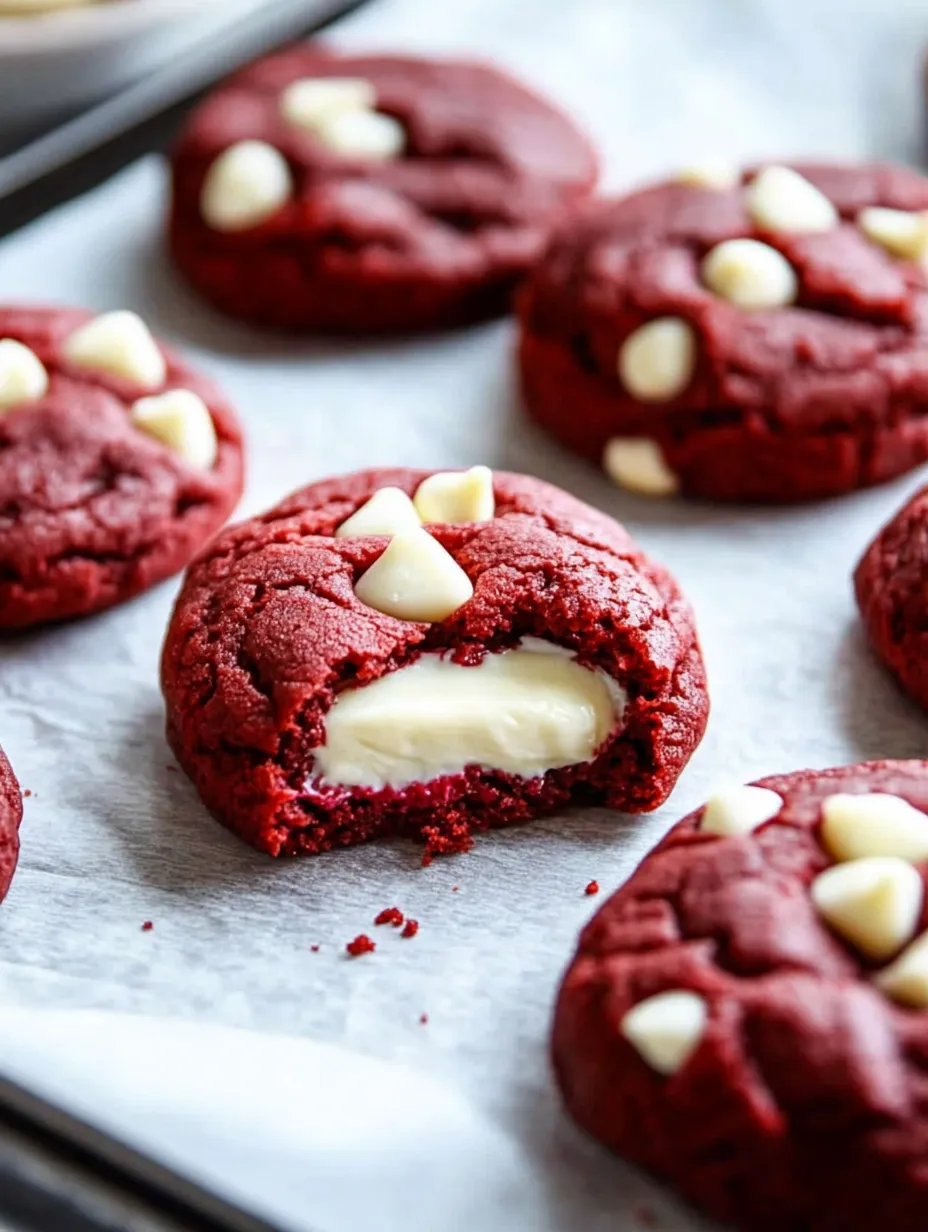
Cheesecake stuffed Red Velvet Cookies with white chocolate chips and a creamy cheesecake center are the perfect Christmas cookies. A vibrant red velvet cookie meets a creamy cheesecake center, with bursts of sweetness from white chocolate chips in every bite.
I love creating new recipes for my Christmas cookie box every year. As I shared in my last Christmas cookie post — Christmas Kitchen Sink Cookies — I am brainstorming all year long about what Christmas cookies I am going to make once baking season officially begins.
I love combining flavors of different desserts — creamy cheesecake filling in a red velvet white chocolate chip cookie. So heavenly! They look so festive too with the Christmas red cookie studded with white chocolate chips and filled with a white cream cheese filling.
I am sharing all the tips and tricks for making them so they can be the star of your Christmas cookie box.
Cheesecake Stuffed Red Velvet Cookie Ingredients
- Butter: Unsalted butter works best for baking.
- Brown Sugar: Always make sure to pack down the brown sugar.
- Sugar: Granulated sugar for sweetness.
- Eggs: Use large eggs in baking recipes.
- Vanilla Extract: Adds a warm, sweet flavor.
- Red Food Coloring: I like to use red food coloring gel as it is more concentrated and you don’t need to use as much.
- Unsweetened Cocoa Powder: I suggest using a high-quality cocoa powder for the best light chocolate flavor.
- Flour: This recipe calls for all-purpose flour.
- Baking Soda: Helps the cookies rise.
- Cornstarch: This helps to thicken the dough without making the cookies cakey and to keep them softer for a longer time.
- Salt: Enhances the flavors.
- White Chocolate Chips: Add the white chocolate chips to the dough or you could add 1/2 of the chips to the dough and melt the other half and drizzle on the top after baking.
- Cream Cheese: Make sure to barely soften the cream cheese so that it mixes well with the powdered sugar. Don’t soften it too much though.
- Powdered Sugar: This helps to sweeten and slightly thicken the cheesecake centers.
- Vanilla Extract or Vanilla Bean Paste: I love to use Nielsen-Massey vanilla bean paste in this recipe.
 Pin it
How to Make Cheesecake Filled Red Velvet Cookies
- Step 1:
- Make the Cheesecake Filling: In a medium bowl, beat the cream cheese, powdered sugar, and vanilla extract until smooth. Scoop small portions (16 portions) onto a parchment-lined baking sheet. Freeze for at least 1 hour, or until firm.
- Step 2:
- Make the Red Velvet Cookie Dough: Preheat your oven to 350 degrees and line baking sheets with parchment paper. Cream the butter, granulated sugar, and brown sugar together in a large bowl until light and fluffy. Beat in the eggs, one at a time, followed by the vanilla extract and red food coloring. Fold in the flour, cocoa powder, cornstarch, baking soda, and salt. Gradually add the dry ingredients to the wet ingredients, mixing until just combined. Fold in the white chocolate chips.
- Step 3:
- Assemble the Cookies: Scoop the red velvet dough into 16 balls and flatten them into a disc using your hands. Place a frozen cheesecake ball in the center of the disc. Wrap the dough around the cheesecake filling, ensuring it’s fully enclosed. Pinch any seams and roll gently into a smooth ball. Take your time to completely encase the cheesecake filling in the dough. Thin or exposed areas can lead to leaks. Place the dough balls on the prepared baking sheet, spacing them about 2 inches apart.
- Step 4:
- Bake the Cheesecake Filled Red Velvet Cookies: Bake for 10-13 minutes, or until the edges are set. The centers should still look soft. You want to underbake these cookies rather than overbake as they will continue to set up once removed from the oven. Remove from the oven and immediately use a round spatula, the rim of a glass, or a spoon to shape the cookies into perfect circles.
- Step 5:
- Cool and Garnish: Let the cookies cool on the baking sheet for 5 minutes before transferring to a wire rack. Optional: Drizzle the cookies with melted white chocolate, extra white chocolate chips, or sprinkle with festive sprinkles for a decorative finish.
Why Freeze the Cheesecake Filling?
The secret to achieving that luscious cheesecake center lies in freezing the cheesecake filling balls before assembling the cookies.
Chill the Dough: If your cookie dough feels too soft or sticky to work with, chill it for 20 minutes before rolling. This makes shaping and sealing easier.
Use High-Quality Ingredients: The flavor of red velvet shines brightest with high-quality cocoa powder, pure vanilla extract, and fresh cream cheese.
Don’t Overbake: The cookies should look slightly underbaked in the center when you remove them from the oven. They will continue to set as they cool, ensuring a soft and chewy texture.
 Pin it
Frequently Asked Questions (FAQ’s)
- What if my cheesecake filling leaks out?
- This can happen if the dough isn’t sealed well around the filling. Take extra care to fully enclose the cheesecake, and ensure the dough isn’t too thin in any spots.
- Can I freeze the assembled cookie dough and cookies?
- Absolutely! Stuffed cookie dough balls can be frozen for up to 3 months. Bake directly from frozen, adding an extra 1–2 minutes to the baking time. You can also freeze the red velvet cheesecake cookies once they are done baking.
- How do I store the cookies?
- Store baked cookies in an airtight container in the refrigerator for up to 3 days or in the freezer in a freezer-safe container for up to 1 month. Bring them to room temperature before serving, or warm them slightly in the microwave.
Frequently Asked Questions
- → Can I make the filling ahead?
- Yes, freeze the cheesecake balls up to a week ahead. Keep frozen until ready to use in cookies.
- → Why do the cheesecake centers need freezing?
- Freezing helps the filling stay intact during baking and makes it easier to wrap the dough around it.
- → How do I store these cookies?
- Store in an airtight container in the fridge for up to 5 days. Let come to room temperature before serving.
- → Can I freeze the baked cookies?
- Yes, freeze in an airtight container up to 2 months. Thaw overnight in the fridge.
- → Why underbake the cookies?
- They continue cooking on the hot baking sheet. Underbaking keeps them soft and prevents the filling from overcooking.