
 Pin it
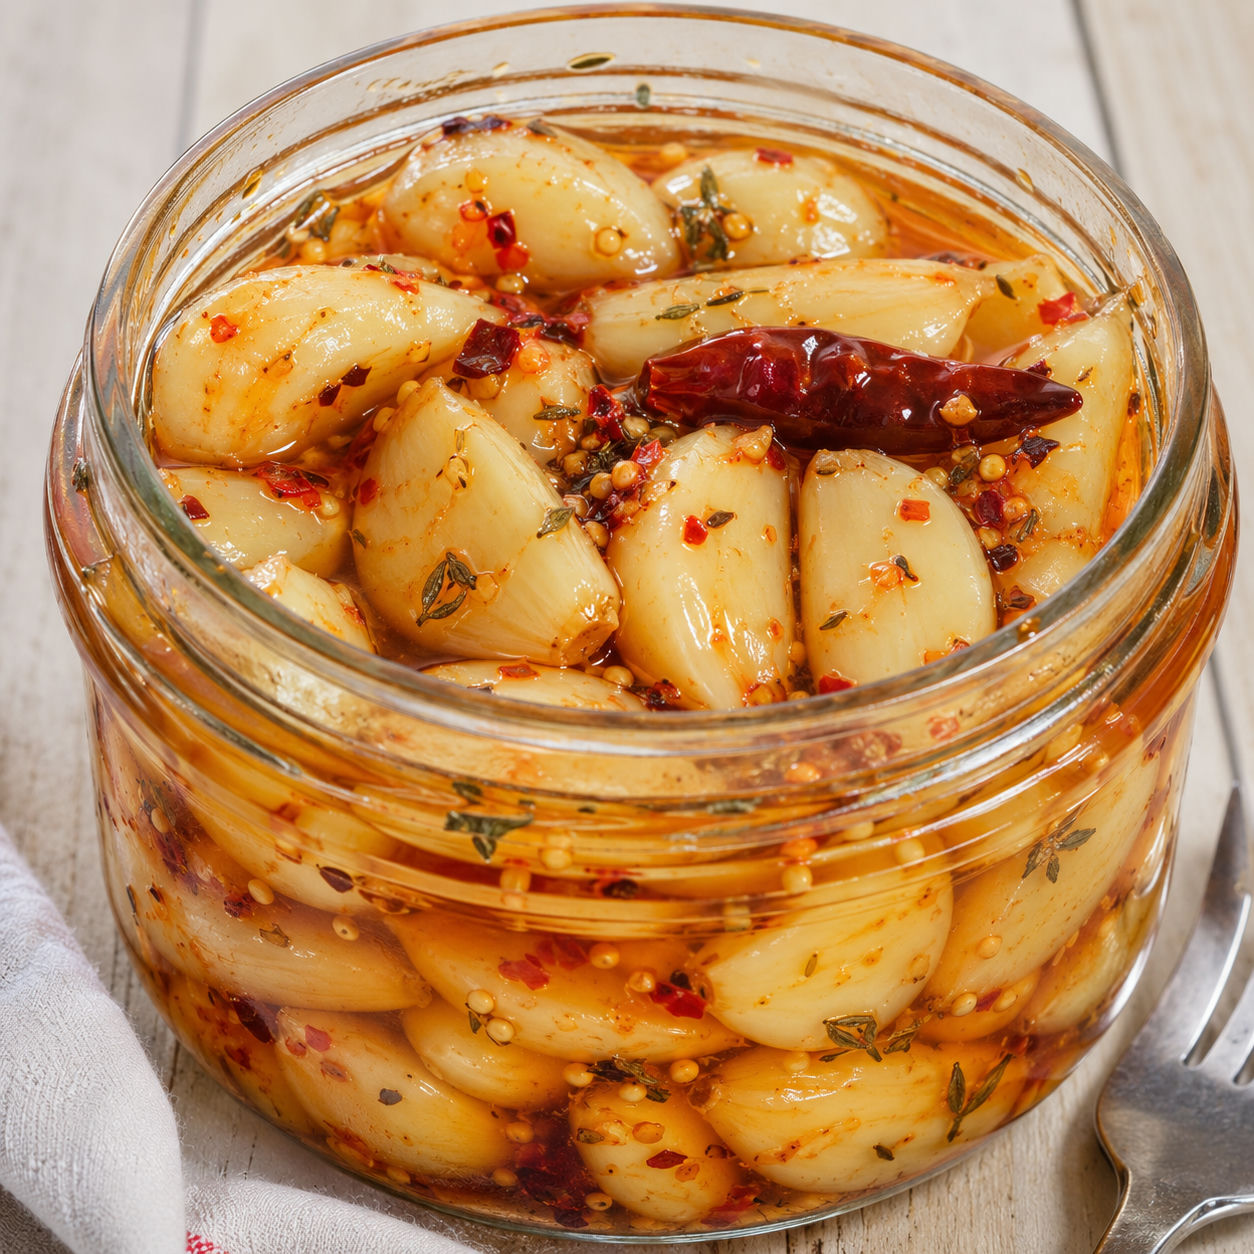
This homemade spicy pickled garlic recipe is for the people who steal the garlicky bits from every pickle jar. The cloves stay snappy, the raw bite softens, and the brine brings heat without making the whole thing harsh.
I like it best after five days in the fridge. By then the garlic is still crunchy but no longer sharp enough to chase everyone out of the kitchen. Slice it onto rice bowls, tuck it beside cheese and crackers, or mince a few cloves into mayo for a fast spicy spread.
The bold little jar
Choose firm garlic with tight skins and no soft spots. The brine is simple, so the quality of the cloves matters more than a crowded spice cabinet.
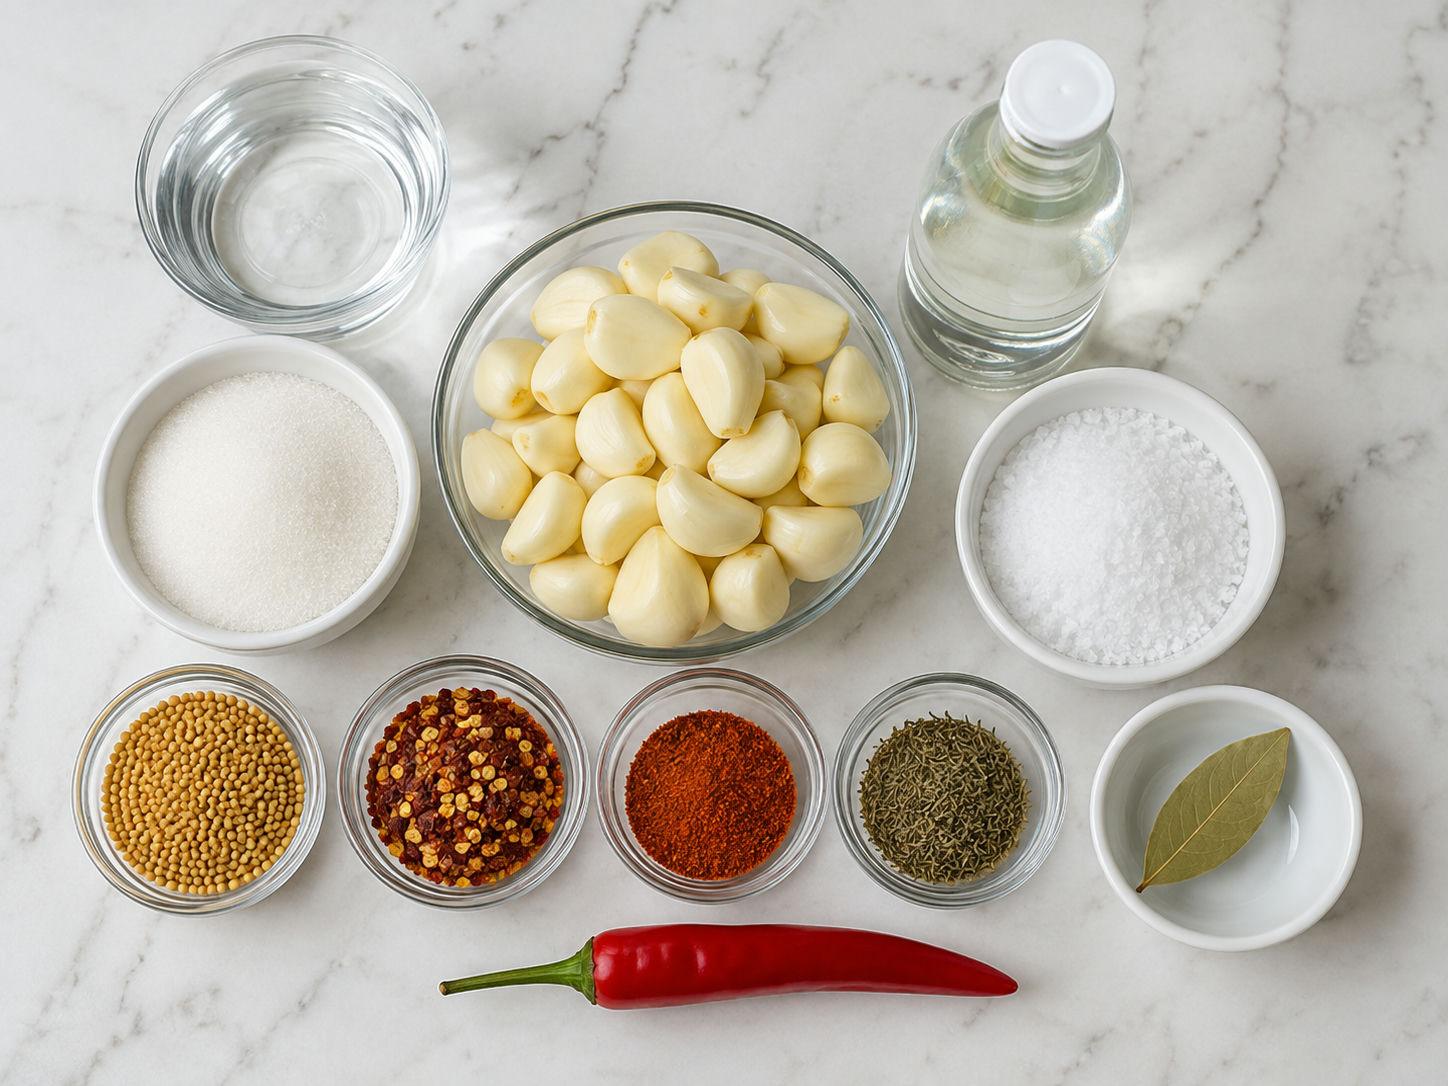
- Garlic cloves. The main ingredient. Brief blanching helps tame the raw edge while keeping the cloves crisp.
- White vinegar. Gives the pickle its clean, sharp tang. Use vinegar labeled 5% acidity.
- Water. Softens the vinegar bite without making the brine weak.
- Sugar. Rounds the heat and acidity without turning the garlic sweet.
- Pickling salt. Seasons the cloves and keeps the brine clear.
- Red pepper flakes. Bring slow-building heat and speckles of color.
- Cayenne or chili powder. Deepens the spice and stains the brine a warm red.
- Mustard seeds. Add a tiny pop and a savory pickle-shop flavor.
- Thyme and bay leaf. Give the jar an herbal backbone so it tastes rounded.
How the cloves pickle
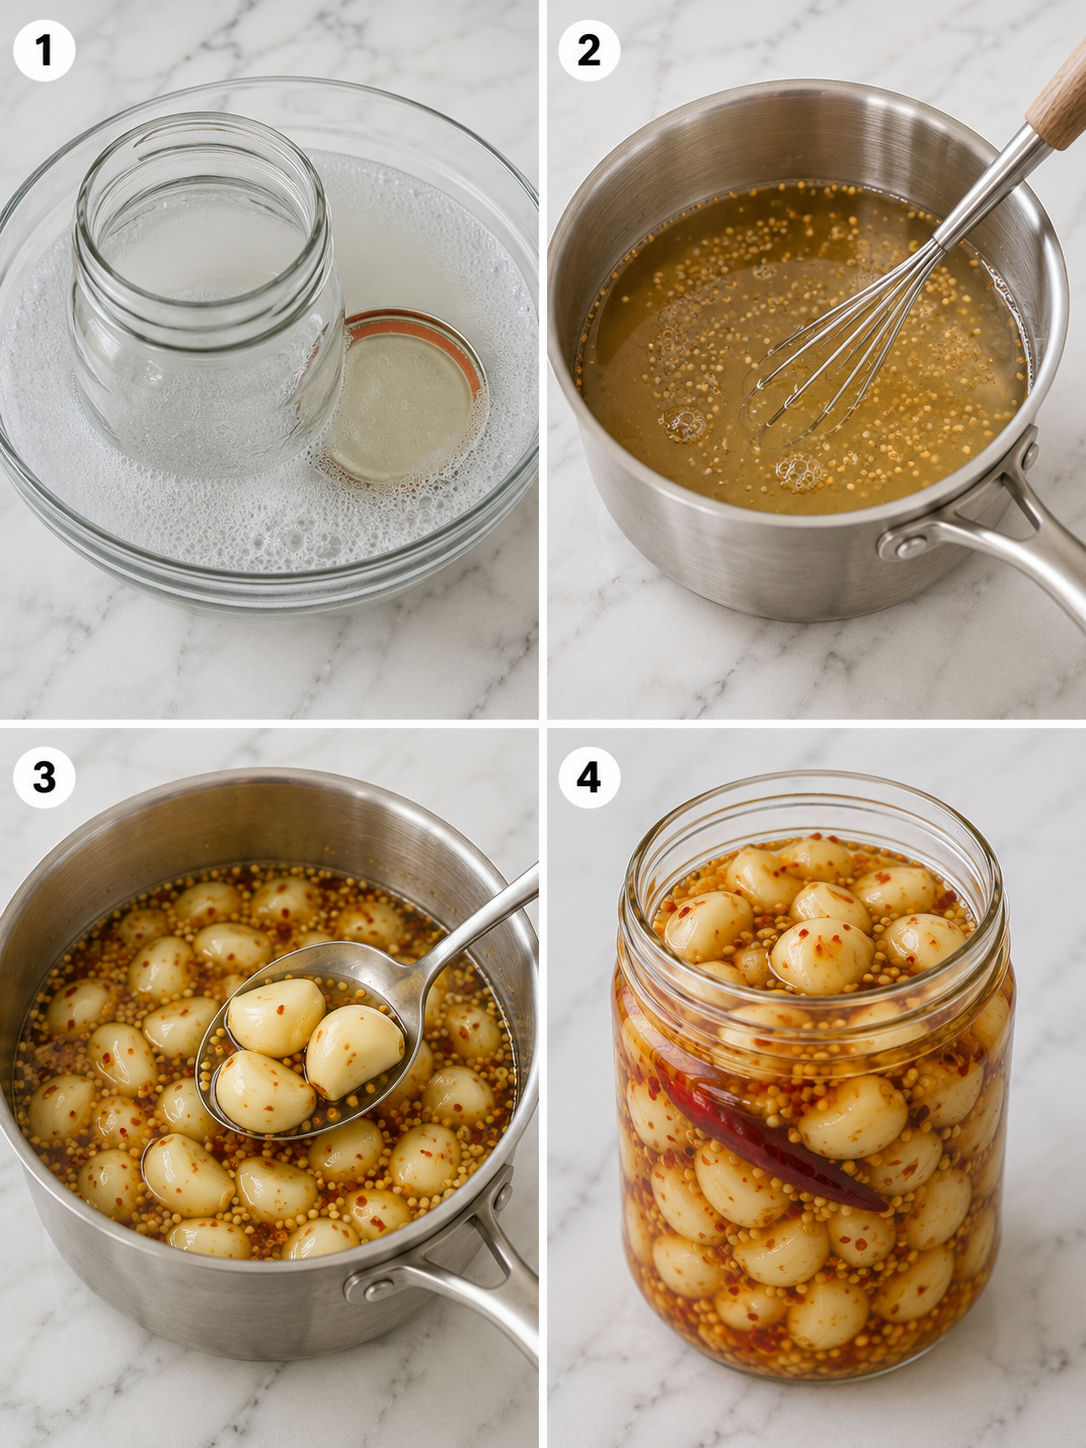
- Blanch the garlic. Drop the peeled cloves into boiling water for 60 seconds, then drain. This softens the fierce raw bite and helps keep the cloves pale.
- Warm the brine. Simmer vinegar, water, sugar, salt, mustard seeds, red pepper flakes, cayenne, thyme, and bay until the sugar and salt dissolve.
- Pack the jar. Spoon the hot garlic into a clean pint jar. Pour the hot brine over the cloves until they are fully covered.
- Cool and chill. Let the jar cool on the counter for about 30 minutes, then refrigerate. Wait at least 5 days before serving for the best flavor.
Homemade spicy pickled garlic basics
The goal is garlic that crunches, not garlic that tastes raw. A short blanch is enough. Boil it too long and the cloves lose their snap. Skip the blanch and the garlic can taste hot in a rough way, even after days in the brine.
The brine should be bright but balanced. I use more vinegar than water because garlic is dense and strong. University of Illinois Extension notes that recipes built for safe pickling rely on vinegar labeled 5% acidity. That is the bottle you want here.
Control the garlic bite
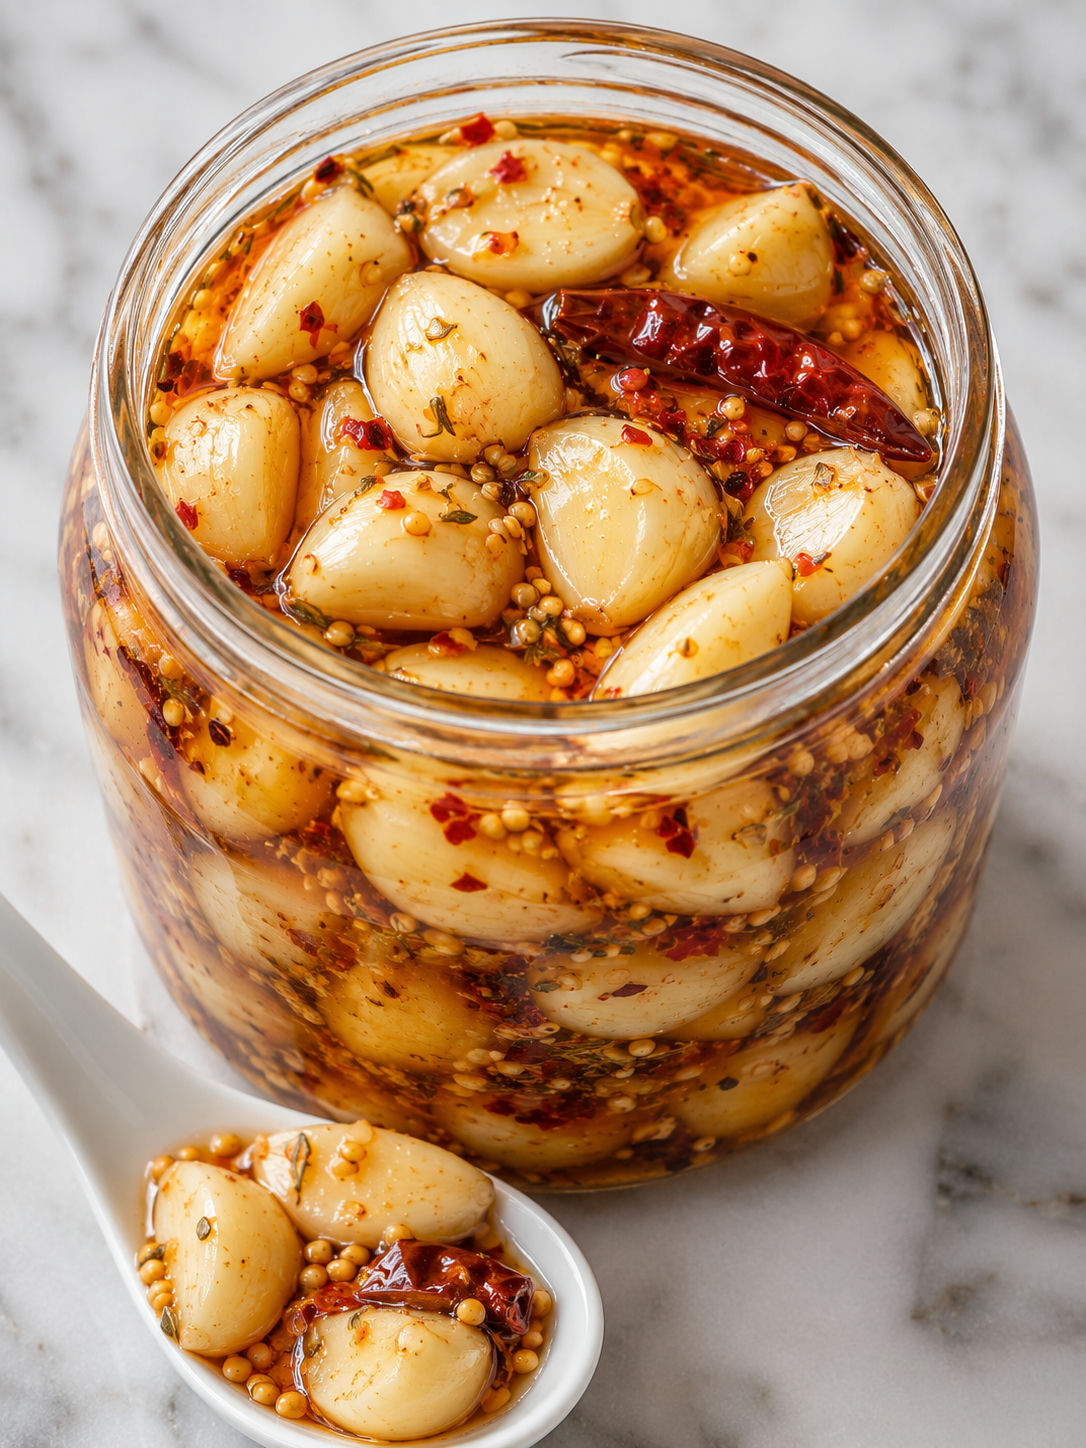
Fresh garlic changes a lot in the fridge. On day one, it still tastes sharp. Around day five, the vinegar gets into the middle and the texture is still firm. After two weeks, the cloves are tangier and more mellow.
If you are making this for snacking, keep the cloves whole. If you want a condiment for bowls or sandwiches, cut the largest cloves in half before blanching. Smaller pieces pickle faster and release more garlic flavor into the brine.
Heat you can adjust
Red pepper flakes give a clear, familiar heat. Cayenne makes the brine warmer and more intense. For a fruity heat, tuck one split Fresno or jalapeno into the jar. If you already love spicy pantry projects, serve these cloves next to cowboy candy pickled eggs or chop them over spicy Korean garlic carrots.
Do not reuse old brine for a new batch of garlic. The National Center for Home Food Preservation gives guidance on pickling liquid and color changes, including the blue-green garlic reaction that can happen in pickle jars.
How to use the jar
Eat the cloves straight if you like bold snacks. For dinner, slice them thin and scatter over tacos, pizza, fried rice, ramen, or grilled steak. They are especially good minced into deviled egg filling, where the vinegar cuts the richness. Try that with spicy chili garlic eggs.
The brine is useful too. Splash a spoonful into vinaigrette, potato salad, or a spicy mayo. Start small because it is salty and sharp.
Storage without guessing
This jar belongs in the refrigerator. It is not written or tested for shelf-stable canning. The CDC advises careful handling with home-preserved foods and reminds cooks to refrigerate opened canned or pickled foods, see the CDC home-canned food safety page.
For best quality, use the garlic within 1 month. Always grab cloves with a clean fork. If the brine gets fizzy, slimy, moldy, or smells off, throw it away. When you want another pickled snack for the same board, add pickled Brussels sprouts.
Conclusion
Keep this jar cold, give it time, and use the garlic anywhere you want heat, tang, and a clean crunch.
Frequently Asked Questions
- How long before spicy pickled garlic is ready to eat?
You can taste it after 24 hours, but the garlic is much better after 5-7 days. The vinegar needs time to mellow the raw bite and carry the chili flavor into the center of each clove.
- Can I use pre-peeled garlic?
Yes, pre-peeled garlic works when it smells fresh and looks firm. Skip any cloves that are dry, slimy, sprouted, or yellowed. Whole bulbs usually have better crunch, but pre-peeled saves a lot of time.
- Is this recipe safe for pantry storage?
No. This is a refrigerator pickle, not a tested water-bath canning recipe. Keep the jar chilled, make sure the garlic stays under the brine, and use clean utensils each time.
- Why did my pickled garlic turn blue or green?
Garlic can turn blue-green when natural compounds react with minerals, vinegar, or temperature changes. It looks strange but is usually harmless when the pickle was made and stored correctly. Blanching and using a nonreactive pan can help reduce it.
- How spicy is this pickled garlic?
This version lands at a medium heat. For mild garlic, cut the red pepper flakes in half and skip the cayenne. For hotter garlic, add a sliced fresh chile to the jar.
- What should I serve with spicy pickled garlic?
Serve it with cheese boards, fried eggs, ramen, burgers, grilled meats, or sandwiches. It also works chopped into vinaigrettes, deviled eggs, and creamy dips when you want sharp heat without raw garlic burn.
