
 Pin it
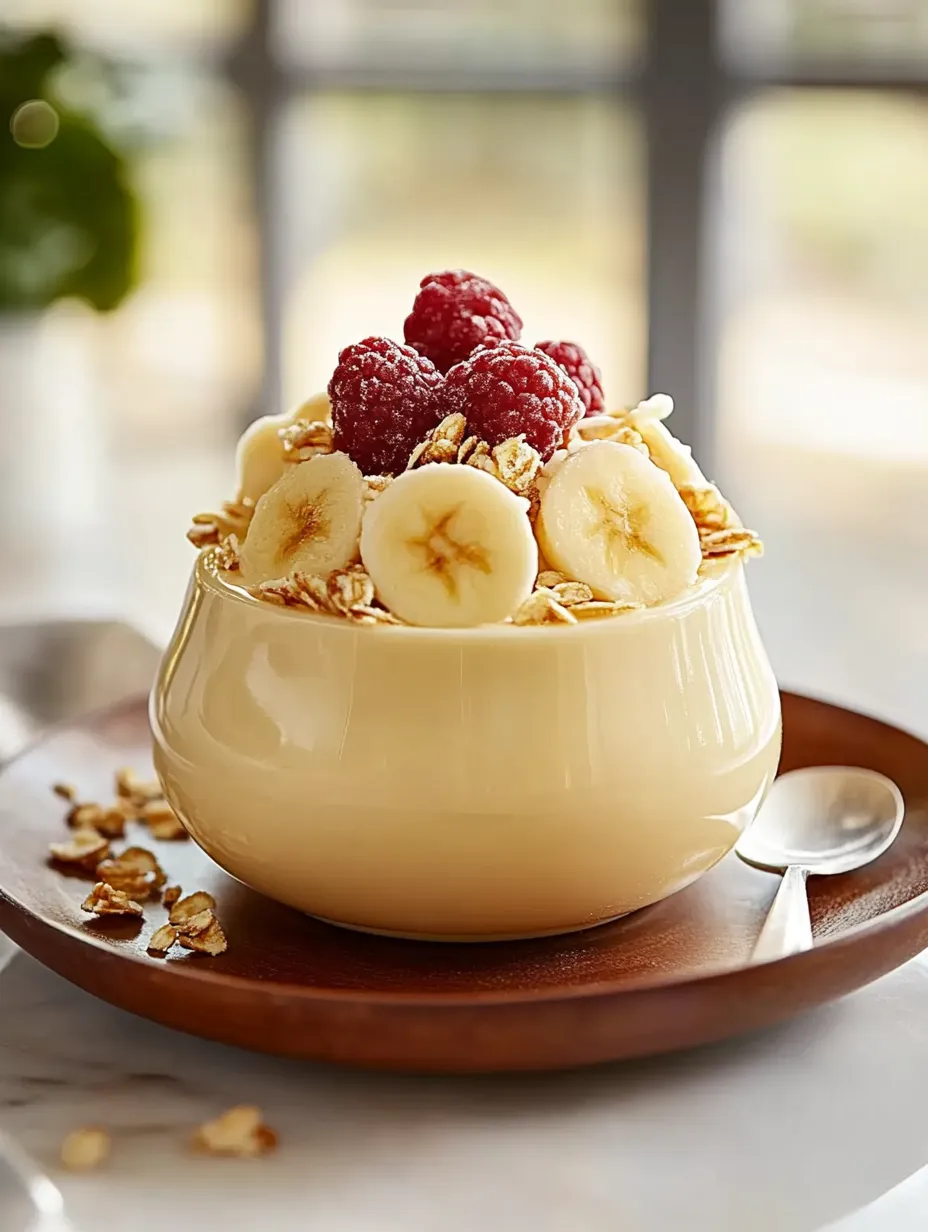
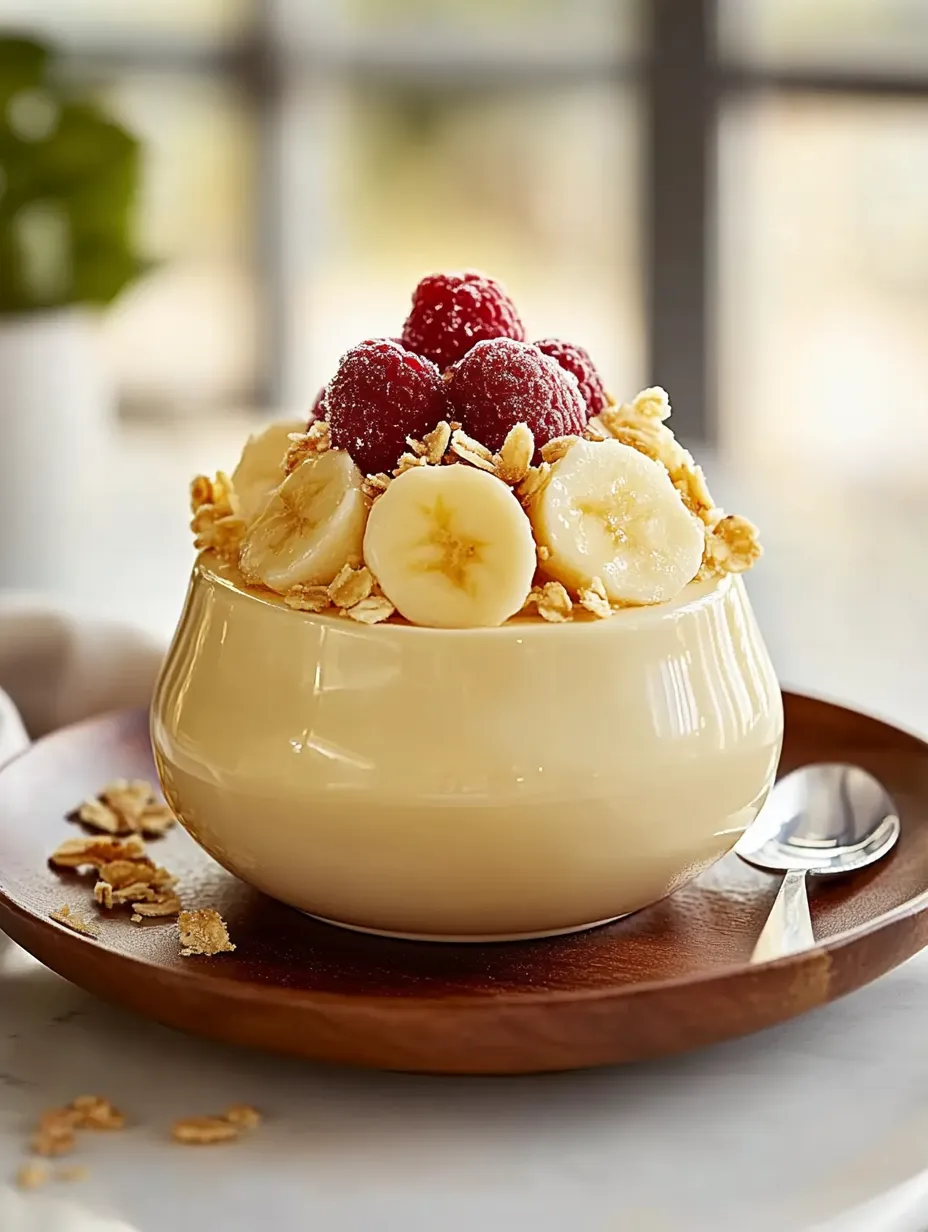
This luxuriously creamy homemade vanilla pudding combines simple ingredients to create a dessert that's infinitely better than store-bought versions. After perfecting this recipe through many tests, I've discovered that careful technique and quality ingredients are the keys to achieving that silky-smooth texture and rich vanilla flavor that makes homemade pudding truly special.
Last weekend, I served this with fresh berries for a dinner party, and the way guests' eyes closed with that first creamy spoonful told me everything. There's something about homemade pudding that just can't be replicated from a box.
Essential Ingredients Guide
- Whole Milk: Full-fat milk creates the richest, creamiest texture
- Egg Yolks: Fresh yolks provide color and velvety consistency
- Cornstarch: The perfect thickener for smooth pudding
- Vanilla: Pure extract or vanilla bean seeds for authentic flavor
- Butter: Adds glossy shine and rich mouthfeel
- Sugar: Balanced sweetness enhances vanilla notes
 Pin it
Detailed Cooking Instructions
- Perfect Your Milk Base:
- Heat milk gradually
- Dissolve Sugar:
- Dissolve sugar completely
- Watch Carefully:
- Watch carefully to prevent scalding
- Look for Steam:
- Look for steam, not boiling
Master the Tempering
- Whisk Yolks and Cornstarch:
- Whisk yolks and cornstarch thoroughly
- Add Hot Milk:
- Add hot milk very slowly
- Whisk Constantly:
- Whisk constantly
- Be Patient:
- Be patient with this crucial step
Create Silky Texture
- Return Mixture to Pan:
- Return mixture to pan
- Stir Continuously:
- Stir continuously
- Cook Until Thickened:
- Cook until properly thickened
- Watch for Bubbles:
- Watch for first bubbles
Achieve Perfect Finish
- Remove from Heat Promptly:
- Remove from heat promptly
- Add Butter and Vanilla:
- Add butter and vanilla
- Strain if Desired:
- Strain if desired
- Cover Surface:
- Cover surface directly
Through countless times making this vanilla pudding, I've learned that success lies in the details. The first time I attempted homemade pudding, I rushed the tempering process and ended up with scrambled eggs in my dessert. Now I understand that taking time with each step creates that perfect, silky result.
The Art of Perfect Tempering
The most crucial step in pudding-making is properly tempering the egg yolks. I've discovered that using a ladle to add hot milk very gradually while whisking continuously ensures the eggs warm slowly without cooking. This technique creates the smoothest texture and prevents those dreaded scrambled bits.
 Pin it
Understanding Pudding Consistency
Creating the perfect pudding thickness requires knowing exactly when it's done. I've found that the mixture should coat the back of a spoon and hold a clear line when you run your finger through it. Watch for the first few bubbles to break the surface – this indicates it's reached the proper temperature to activate the cornstarch.
After years of making this vanilla pudding recipe, I've come to appreciate how it represents the perfect balance of simplicity and indulgence. Whether served plain in a simple bowl or dressed up as an elegant parfait, this pudding has a way of making any moment feel special. The combination of silky texture and pure vanilla flavor creates a dessert that's both nostalgic and sophisticated – proof that sometimes the simplest things truly are the most delicious.
Frequently Asked Questions
- → Why is my pudding lumpy?
- Lumps form when egg mixture is added too quickly to hot milk or not stirred constantly. Strain through fine mesh sieve to fix.
- → Can I use low-fat milk?
- Yes, but pudding won't be as rich. Whole milk gives the best creamy texture.
- → How long does homemade pudding last?
- Store covered in refrigerator for up to 5 days. Keep plastic wrap directly on surface.
- → Why cover with plastic wrap on surface?
- This prevents a skin from forming on top of the pudding as it cools.
- → Can I make this without eggs?
- For eggless pudding, double the cornstarch to 4 tablespoons for proper thickening.