 Pin it
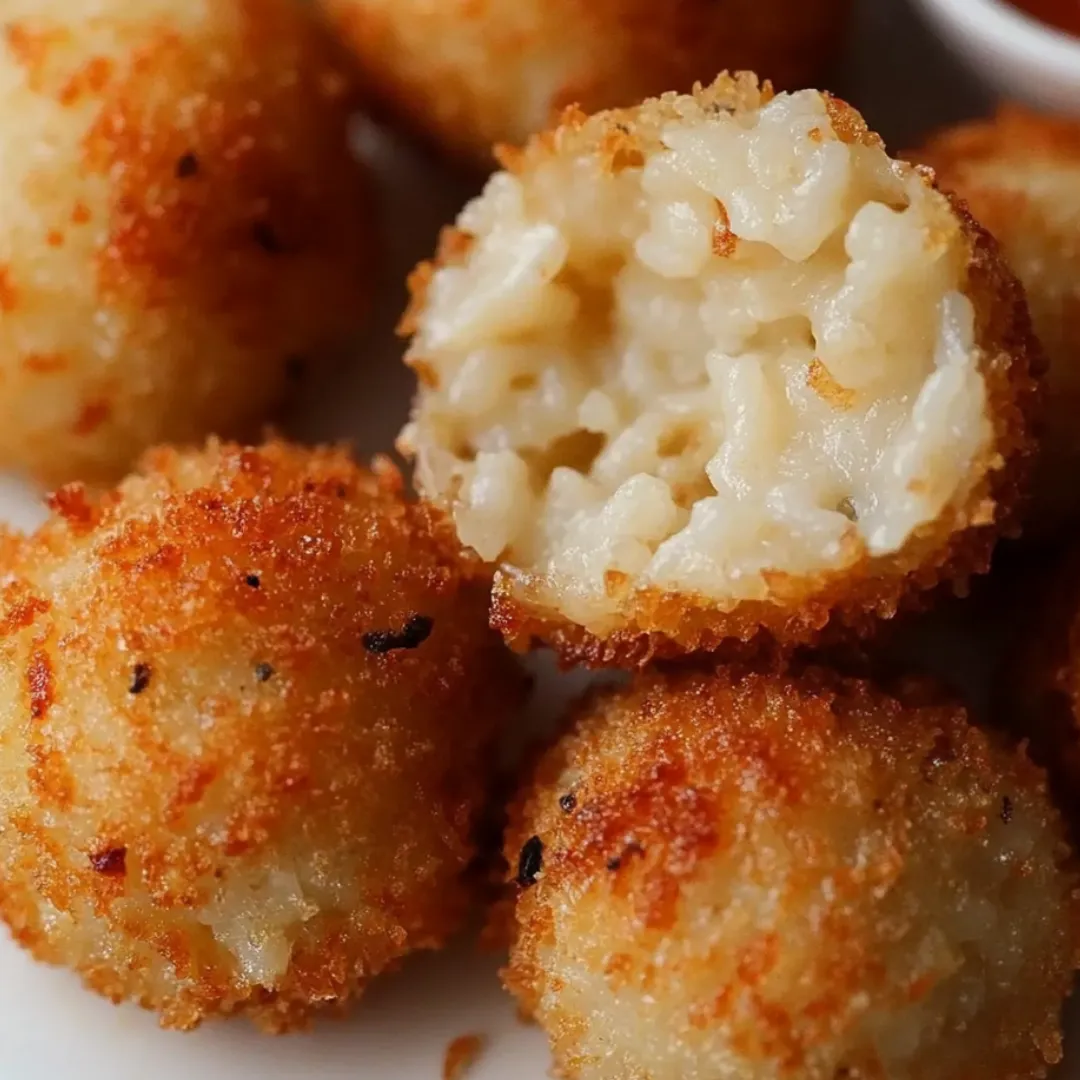
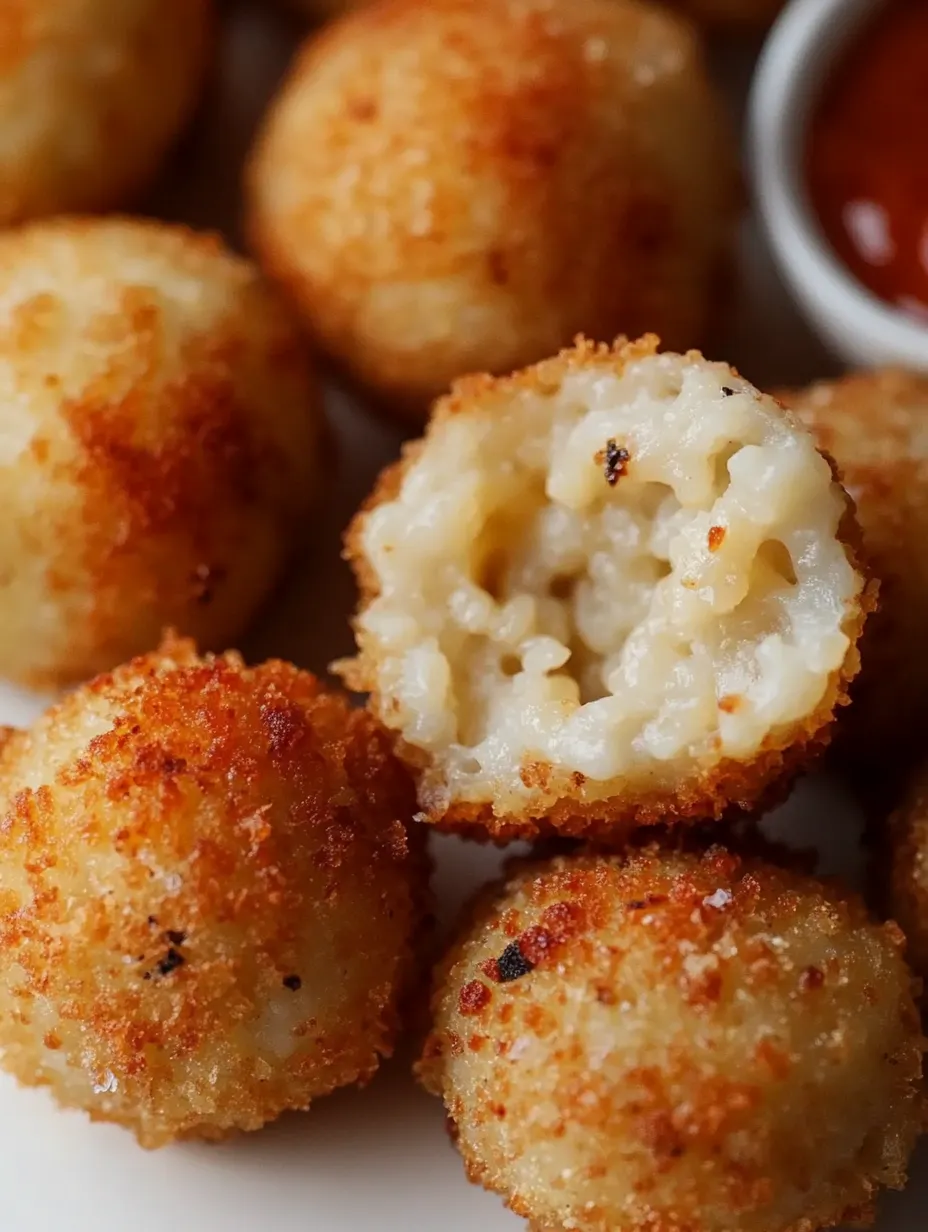
The magical transformation of simple risotto into crispy, golden Sicilian rice balls might be one of Italian cuisine's greatest achievements. These beloved arancini deliver an irresistible textural contrast—shatteringly crisp exteriors giving way to creamy risotto and a molten cheese center that creates the perfect bite. With origins dating back to 10th century Sicily, these savory treats have stood the test of time for good reason, becoming a staple at Italian tables and a favorite for entertaining. Whether served as an appetizer, snack, or even a light meal, these versatile little treasures never fail to impress.
I first encountered authentic arancini years ago at my neighbor Gianna's Sunday family dinner. Her nonna had been making them for decades, and watching her hands expertly form each rice ball was mesmerizing. The moment I bit into that first golden sphere—the crisp shell giving way to creamy risotto and molten cheese center—I was completely hooked. When Gianna's grandmother saw my reaction, she smiled knowingly and said, 'Now you understand why we never have leftovers.' Since mastering this recipe, I've made them for countless gatherings, and the reaction is always the same: wide eyes, appreciative murmurs, and guests discreetly trying to calculate how many they can politely take before someone notices.
Essential Ingredients
- Risotto: Pre-cooked and thoroughly chilled risotto forms the foundation. The natural starchiness of arborio rice creates the perfect binding texture. Ensure it's well-seasoned and completely chilled for easier handling.
- Ricotta cheese: Creates a creamy, luxurious filling when mixed with mozzarella. Look for whole milk ricotta with minimal liquid and a clean, milky flavor for best results.
- Mozzarella cheese: Provides the stretchy, melty texture essential to the perfect center. Freshly shredded cheese melts more evenly than pre-packaged varieties which often contain anti-caking agents.
- Italian seasoning: A balanced herb blend elevates both the filling and coating. Quality dried herbs with vibrant color and strong aroma will deliver the most authentic flavor.
- Panko breadcrumbs: These Japanese-style breadcrumbs create an exceptionally crispy exterior compared to regular breadcrumbs. Their larger, airy structure provides the perfect golden crunch.
- All-purpose flour: Creates the first layer of the coating process, helping the egg adhere properly. Unbleached varieties work perfectly and offer slightly better flavor.
- Eggs: Act as the essential binding agent for breadcrumbs. Farm-fresh eggs with vibrant yellow yolks will enhance the golden color of the finished arancini.
- Cooking oil: A neutral oil with a high smoke point ensures proper frying temperature without imparting unwanted flavors. The clarity of the oil directly affects the appearance of your finished arancini.
 Pin it
Step-by-Step Preparation
- Prepare your risotto foundation properly:
- Begin with well-chilled risotto that's been refrigerated for at least an hour, preferably overnight. The cooling process allows the starches to set, making the rice much easier to shape and hold together. If your risotto seems too loose after chilling, you can stir in a tablespoon or two of grated Parmesan cheese to help bind it further. The consistency should be firm enough to hold a shape when molded.
- Create the perfect cheese filling:
- In a medium bowl, thoroughly combine the ricotta cheese, shredded mozzarella, and Italian seasoning until uniformly mixed. The texture should be creamy but firm enough to hold its shape when spooned. For an elevated version, consider adding a small pinch of freshly grated nutmeg or finely minced fresh basil to the cheese mixture.
- Set up your breading station efficiently:
- Arrange three shallow dishes in sequence: flour in the first, beaten eggs in the second, and seasoned panko breadcrumbs in the third. This assembly-line approach streamlines the coating process. For the breadcrumbs, mix in Italian seasoning thoroughly to ensure even distribution of flavor throughout the coating.
- Form each arancini with precision:
- With slightly dampened hands to prevent sticking, take approximately 2-3 tablespoons of the chilled risotto and flatten it slightly in your palm. Place about 1/2 teaspoon of the cheese mixture in the center, then carefully fold the risotto around the filling, gently rolling between your palms to form a perfect sphere. The rice should completely encase the cheese without any gaps or thin spots that might leak during cooking.
- Master the three-step coating process:
- Working one by one, roll each rice ball first in flour, shaking off any excess, then dip completely in the beaten egg, allowing extra egg to drip off. Finally, roll thoroughly in the seasoned breadcrumbs, applying gentle pressure to ensure the crumbs adhere properly to the surface. Place each coated arancini on a parchment-lined tray, ensuring they don't touch each other.
- Achieve the perfect golden fry:
- Heat 2 inches of oil in a heavy-bottomed pot or deep skillet to 350°F (175°C), verifying the temperature with a kitchen thermometer for accuracy. Carefully lower 6-8 arancini into the hot oil, never crowding the pan which would lower the oil temperature. Fry for 2-3 minutes per side, rotating gently with a slotted spoon until they achieve a deep golden-brown color all around.
- Perfect the draining technique:
- Remove cooked arancini with a slotted spoon and place them on a wire rack positioned over paper towels. This dual-method approach allows excess oil to drip away while preventing the bottom from becoming soggy against the paper towels. The result is a uniformly crispy exterior that maintains its texture.
- Serve at the optimal temperature:
- Allow the arancini to cool for just 3-5 minutes before serving. This brief resting period lets the interior temperature reduce from scalding to perfectly warm, while the exterior maintains its crispness. Serve alongside warmed marinara sauce in a shallow bowl for easy dipping.
I've learned through many batches that the most common issue is cheese leakage during frying. My grandmother's trick was to freeze the assembled arancini for just 15 minutes before breading them. This firms up the cheese center just enough to prevent it from melting too quickly during frying. The first time I tried this technique, the difference was remarkable—perfectly contained, molten centers in every single arancini. Now I never skip this step, especially when making them for special occasions when presentation matters.
The Art of Risotto Selection
While traditional arancini are made with basic risotto, the rice base offers endless opportunities for flavor customization. In Sicily, you'll find variations that include saffron-infused risotto, creating a beautiful golden hue and subtle floral notes throughout the rice. For the most authentic experience, a simple Parmesan risotto creates the perfect neutral canvas that allows the contrast between the crispy exterior and cheesy center to shine. However, don't hesitate to experiment with leftover specialty risottos—mushroom risotto creates earthy, umami-rich arancini, while a delicate seafood risotto can be transformed into elegant appetizers for special occasions. The key to success lies in the risotto's consistency. A properly made risotto should be creamy yet each grain should maintain its integrity rather than turning mushy. This structure becomes even more important when the risotto is chilled and shaped. Too loose, and your arancini won't hold their shape; too stiff, and the final texture will be dense rather than creamy.
 Pin it
Alternative Cooking Methods
While traditional deep-frying yields the most authentic texture and flavor, modern cooking methods offer excellent alternatives with less oil and easier cleanup. Air frying produces remarkably crispy arancini with minimal oil. Simply place the breaded rice balls in a single layer in your air fryer basket, leaving space between each one, and spray lightly with cooking oil. Cook at 400°F for approximately 10 minutes until golden brown and heated through. The intense circulating heat creates a beautifully crisp exterior that rivals traditional frying. For larger batches, oven baking offers convenience. Arrange the arancini on a parchment-lined baking sheet, spray or brush lightly with oil, and bake in a convection oven at 400°F for about 20 minutes, turning halfway through. While the texture won't be quite as crisp as fried versions, the convenience makes this method perfect for casual entertaining. For those who prefer to split the difference, shallow pan-frying uses less oil while still achieving excellent crispness. Use enough oil to come halfway up the arancini, and turn them frequently for even browning. This approach delivers results closer to traditional frying with significantly less oil.
My final thought on arancini is that they represent what I love most about Italian cooking—the ingenious transformation of leftover ingredients into something arguably better than the original dish. There's something magical about the moment these humble rice balls emerge from the oil, golden and perfect, ready to delight everyone at the table. Whether served alongside aperitivo with a glass of Prosecco or as the star appetizer at a dinner party, arancini bring people together with their universally appealing combination of crispy, creamy, and cheesy goodness. They remind us that sometimes the most beloved culinary traditions arise from necessity and creativity—the hallmarks of truly great cooking.
Frequently Asked Questions
- → Can I make arancini with leftover risotto?
- Yes! Leftover risotto actually works better since it's firmer when cold, making it easier to form into balls.
- → What other fillings can I use besides cheese?
- Popular fillings include meat ragù, peas, mushrooms, or ham. Just make sure fillings aren't too wet to prevent the balls from falling apart.
- → How do I know when the oil is ready for frying?
- Drop a small breadcrumb into the oil - if it sizzles and rises to the top, your oil is ready for frying (around 350°F).
- → Can I freeze arancini?
- Yes! Freeze them after breading but before cooking. When ready to eat, cook from frozen, adding a few extra minutes to the cooking time.
- → What sauce is best for dipping arancini?
- Marinara sauce is traditional, but they're also delicious with pesto, arrabbiata sauce, or even a garlic aioli.
