
 Pin it
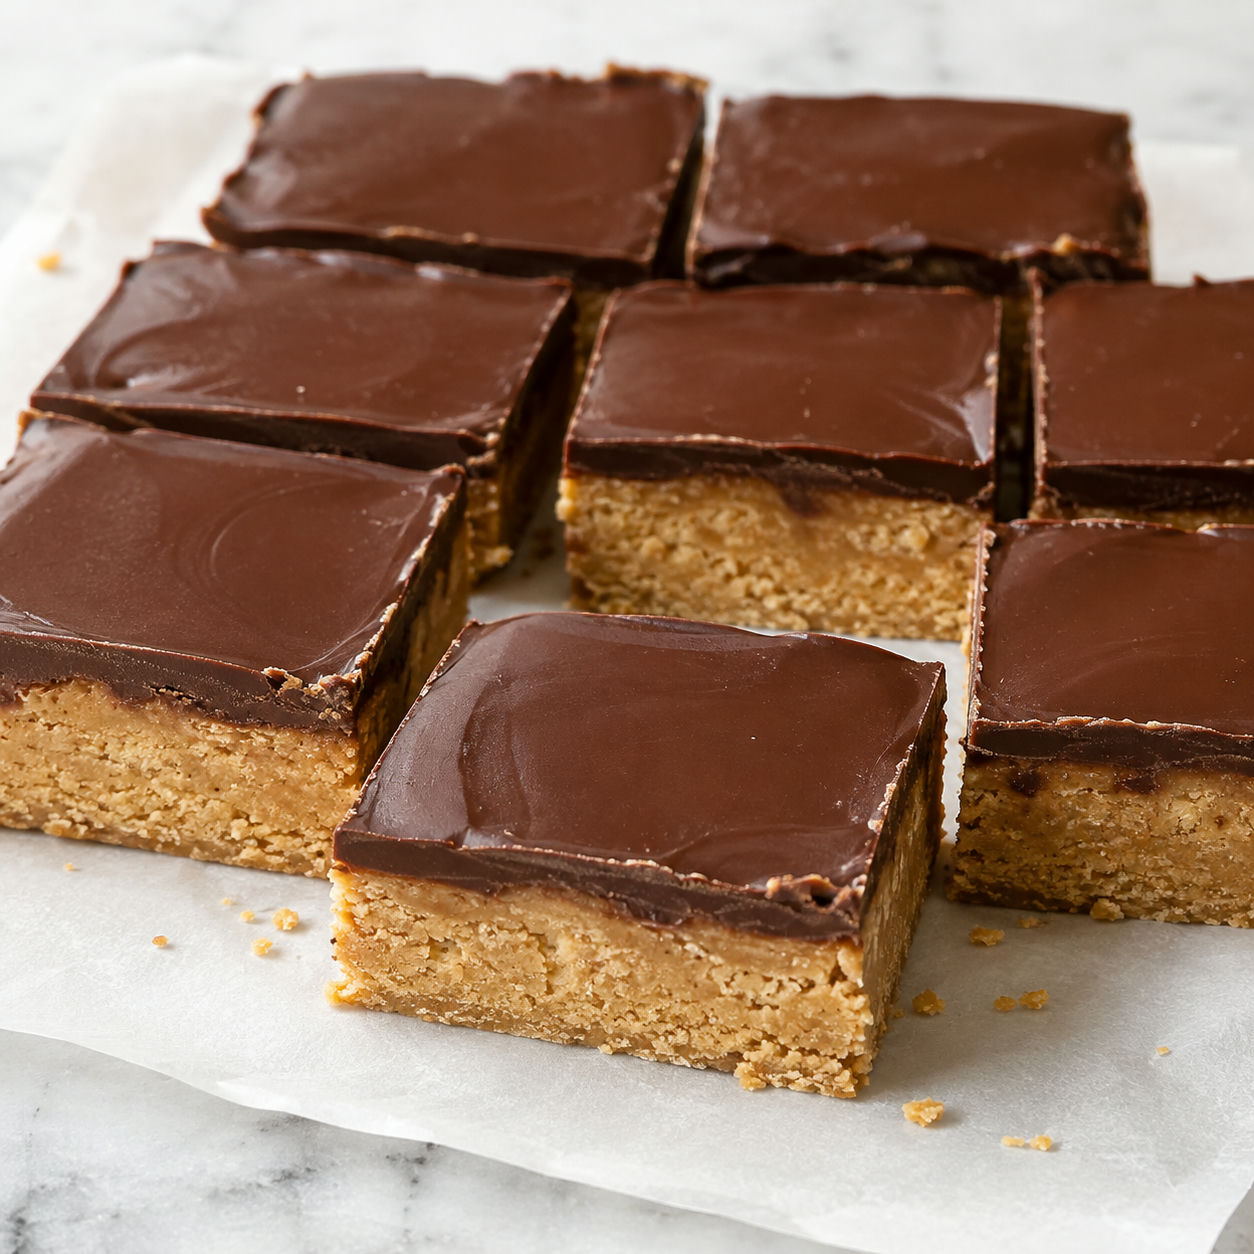
No-bake lunch lady peanut butter bars are the kind of dessert that disappears one square at a time from the fridge. The base is dense, sweet, and peanut-buttery, with graham cracker crumbs giving it that familiar school-cafeteria chew.
I like this version because it keeps the ingredient list short and skips the oven. Melt the butter, stir the base together, spread on chocolate, then let the refrigerator do the setting.
The Cafeteria-Bar Lineup
This is a pantry dessert, so each ingredient has to pull its weight. Choose creamy peanut butter that is smooth and well mixed, and use fine graham cracker crumbs so the base presses into an even layer.
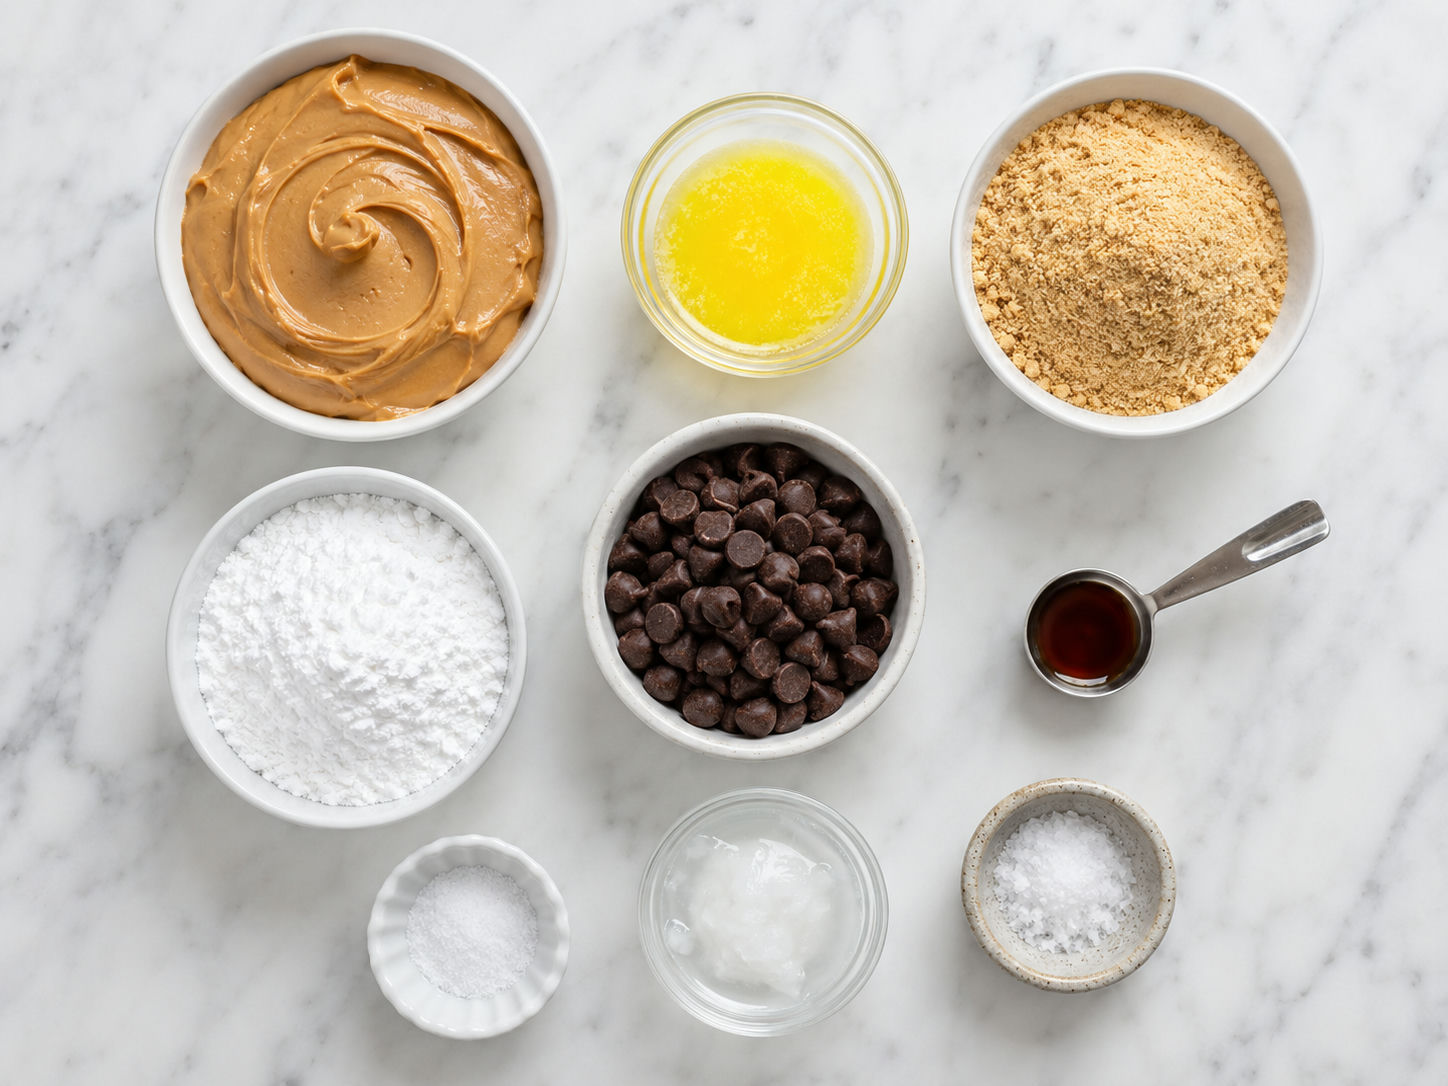
- Graham cracker crumbs. They give the bars a soft, cookie-like chew and help the peanut butter layer hold its shape.
- Creamy peanut butter. It carries the flavor in both the base and the chocolate topping.
- Unsalted butter. Melted butter binds the crumbs and sugar into a sliceable dough.
- Powdered sugar. It sweetens the base without making it gritty.
- Vanilla extract. A small splash rounds out the peanut butter flavor.
- Fine salt. It keeps the bars from tasting flat and balances the sweet chocolate.
- Semisweet chocolate chips. They make a smooth, classic topping that is rich without being too sweet.
- Coconut oil. It helps the chocolate spread thinly and set with a neat shine.
Build The Bars Cold
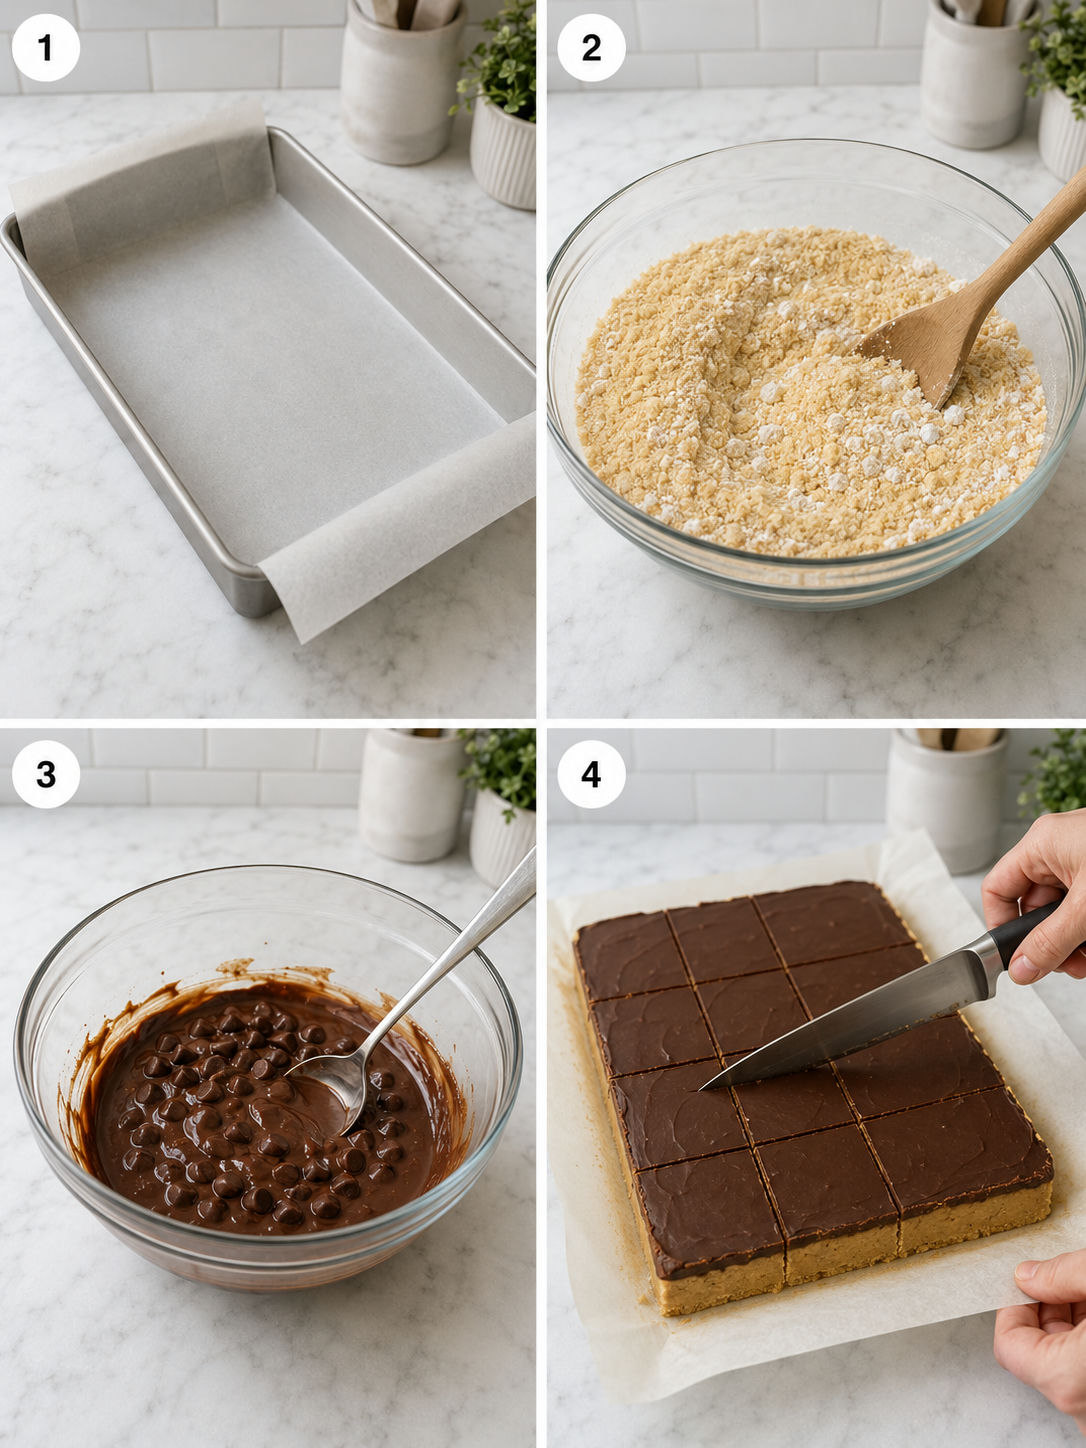
- Line the pan. Fit a 9x13-inch pan with parchment and leave overhang on two sides so you can lift the chilled slab out cleanly.
- Melt the butter. Warm the butter until just melted, then stir in peanut butter, vanilla, and salt until glossy and smooth.
- Mix the base. Add graham crumbs and powdered sugar. Stir until the mixture looks like thick peanut butter dough with no dry pockets.
- Press it firm. Scrape the mixture into the pan and press hard into an even layer. Chill it while you make the topping.
- Melt the chocolate. Microwave chocolate chips with coconut oil in short bursts, stirring until smooth. Pour it over the peanut butter layer.
- Chill and slice. Refrigerate until fully set, about 2 hours. Lift out the slab and cut into small squares with a warm knife.
Pressing Makes Clean Squares
The base should not be treated like brownie batter. It needs pressure. After you spread it into the pan, press across the whole surface with the bottom of a flat measuring cup. Work into the corners first, then smooth the center. That compact layer is what makes these no-bake lunch lady peanut butter bars slice instead of crumble.
If the mixture sticks to the cup, lay a piece of parchment over the top and press through it. The goal is a firm, even slab with no loose crumbs at the edges. This same no-bake logic is useful in chocolate peanut butter bars and no-bake chocolate peanut treats.
Chocolate That Does Not Crack
A thin chocolate layer cuts better than a thick one. The coconut oil keeps the topping smooth and slightly softer, so the knife can pass through without shattering the surface. Melt the chocolate slowly and stop heating while a few chips are still visible. Stir until the carryover heat finishes the job.
If you prefer a softer topping, replace the coconut oil with 2 tablespoons of peanut butter. It tastes a little more like a peanut butter cup and stays easy to bite straight from the fridge. For a richer tray, use dark chocolate. For a sweeter lunchroom flavor, milk chocolate works too.
Swaps That Still Set
Crunchy peanut butter works if you like peanut pieces in the base, but creamy gives the closest cafeteria-style texture. Vanilla wafer crumbs can replace graham crumbs in a pinch. Gluten-free graham crumbs also work, though some brands need a little extra butter or peanut butter to bind.
For a nut-free school-safe pan, sunflower seed butter can replace peanut butter. The flavor changes, but the method stays the same. Read labels carefully because peanuts, wheat, and milk are listed among major food allergens by the FDA allergen guidance.
Storage Without Sticky Tops
Store the cut bars in a covered container in the refrigerator with parchment between layers. They stay neat for up to 1 week and taste best after sitting at room temperature for 5-10 minutes. The base softens slightly, but the chocolate stays set.
For longer storage, freeze the bars in a single layer until firm, then stack them with parchment. The USDA notes that leftovers are generally best used from the refrigerator within 3-4 days, with freezing useful for longer keeping in its leftovers storage guidance. These sweet bars have plenty of sugar and fat, but good airtight storage still protects flavor and texture.
How To Serve Them
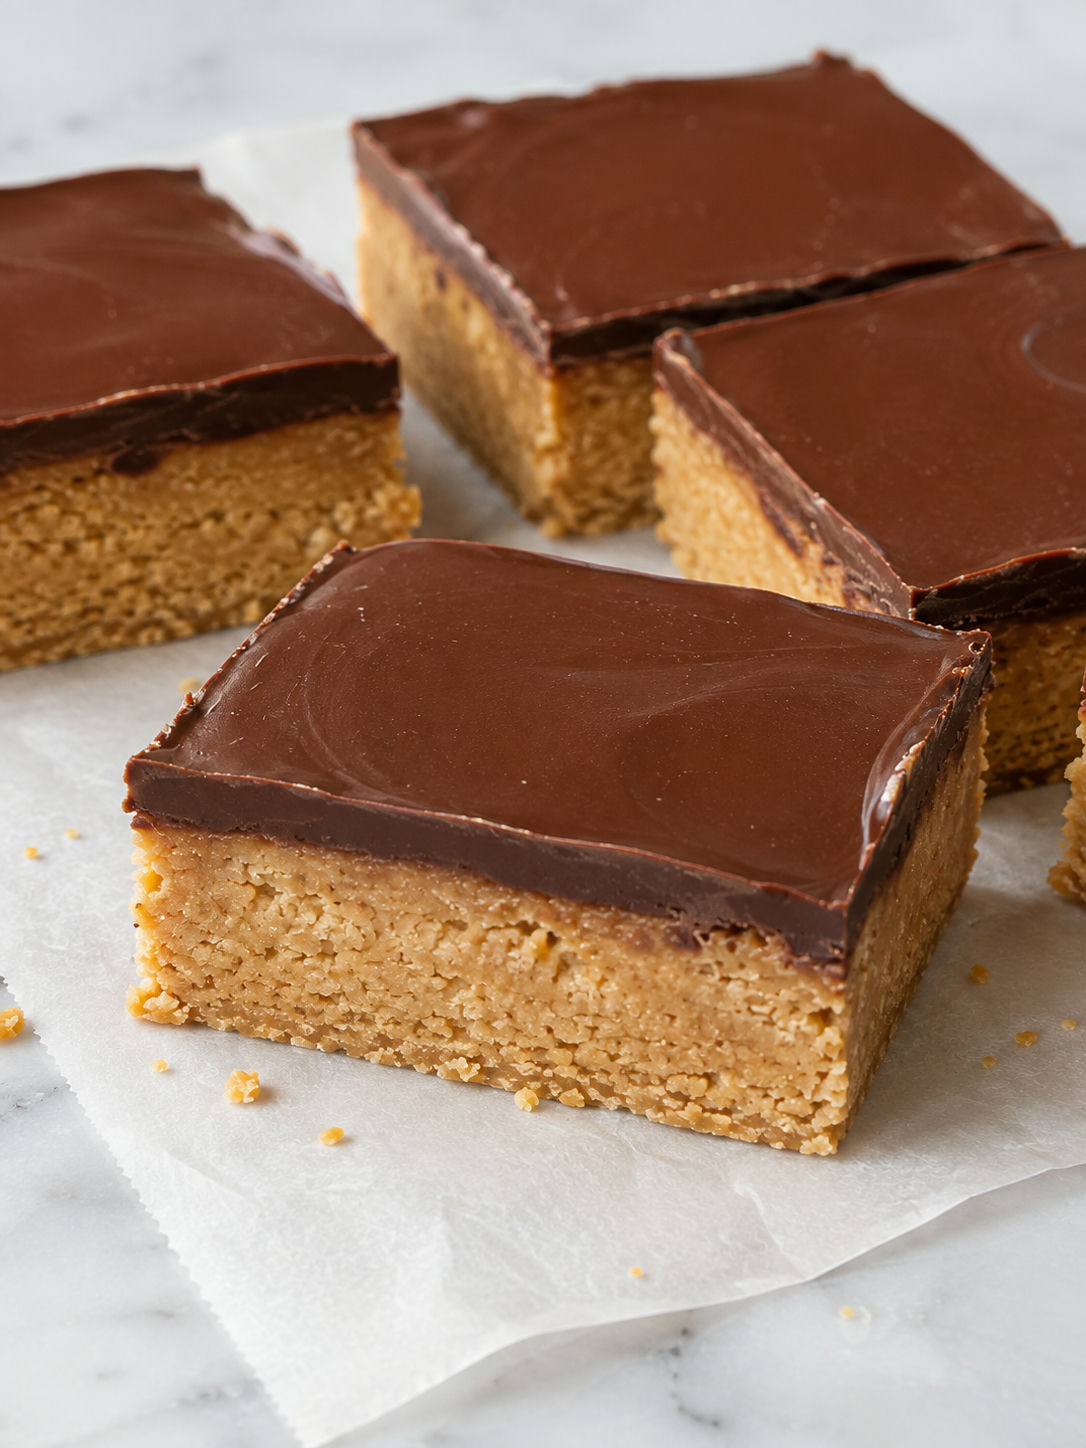
These are rich, so small squares are the right move. I cut a 9x13 pan into 24 pieces for parties or 20 bigger bars for lunchbox-style treats. A pinch of flaky salt on top makes them taste less sweet and more grown-up.
If you are building a peanut butter dessert tray, pair these with peanut butter no bake cookies or chilled no-bake peanut butter balls. Keep everything cold until just before serving, especially on warm days.
Conclusion
These bars are rich, nostalgic, and easy to make ahead. Keep them chilled for the neatest slices and let them sit a few minutes before serving for a softer bite.
Frequently Asked Questions
- Can I make no-bake lunch lady peanut butter bars ahead of time?
Yes. These bars are better after they chill for at least 2 hours, so making them the night before works well. Store them covered in the refrigerator and slice them once the chocolate is firm.
- Can I use natural peanut butter?
Use a no-stir natural peanut butter if that is what you have. Oily, separated peanut butter can make the base softer and a little greasy. Stir it very well first, then add a few extra spoonfuls of graham crumbs if the mixture feels loose.
- Why did my peanut butter layer crumble?
The base usually crumbles when it was not pressed firmly enough or had too many dry crumbs. Press it hard with the bottom of a measuring cup. It should feel compact before the chocolate goes on.
- Can I make these gluten free?
Yes. Use gluten-free graham cracker crumbs and check the chocolate chips, powdered sugar, and peanut butter labels for gluten-free certification if needed. The texture may be slightly more sandy, but the bars will still set.
- How do I cut the bars cleanly?
Chill the pan until the chocolate is firm, then lift the slab out with parchment. Use a sharp knife warmed under hot water and wiped dry between cuts. Let the bars sit for 5 minutes first if the chocolate cracks.
- Can I freeze lunch lady peanut butter bars?
Yes. Wrap the cut bars tightly and freeze them in an airtight container for up to 2 months for best texture. Thaw in the refrigerator overnight or at room temperature for about 30 minutes.
