
 Pin it
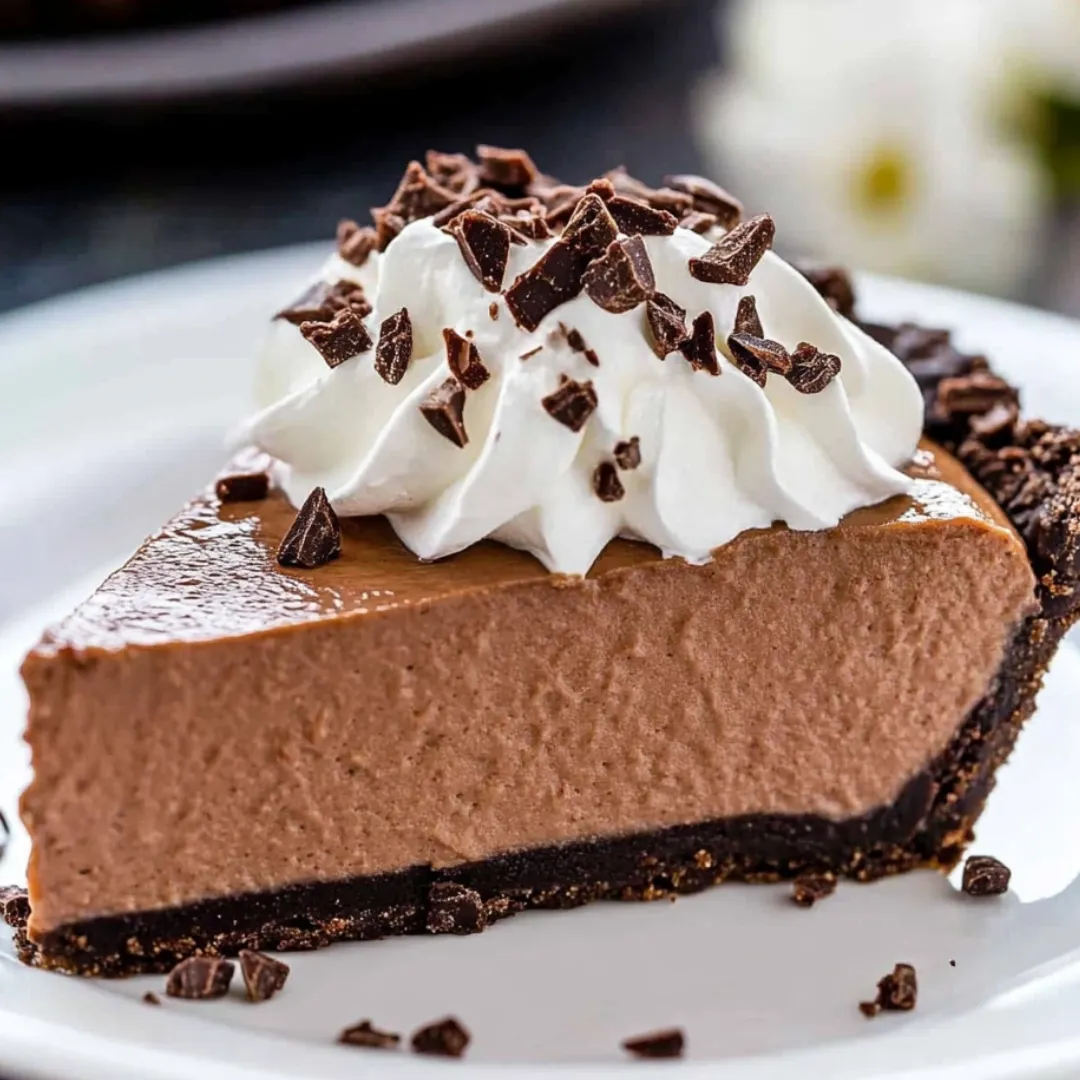
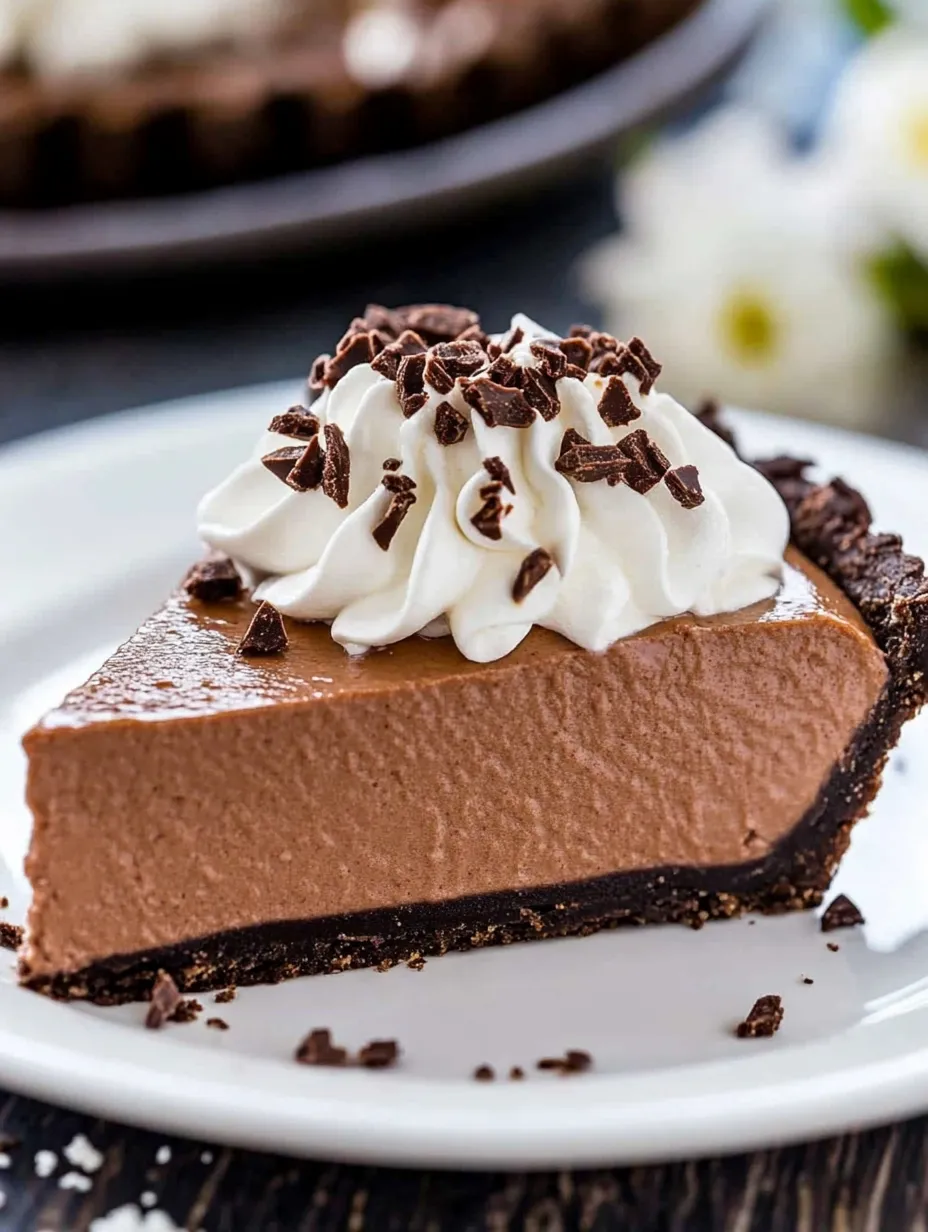
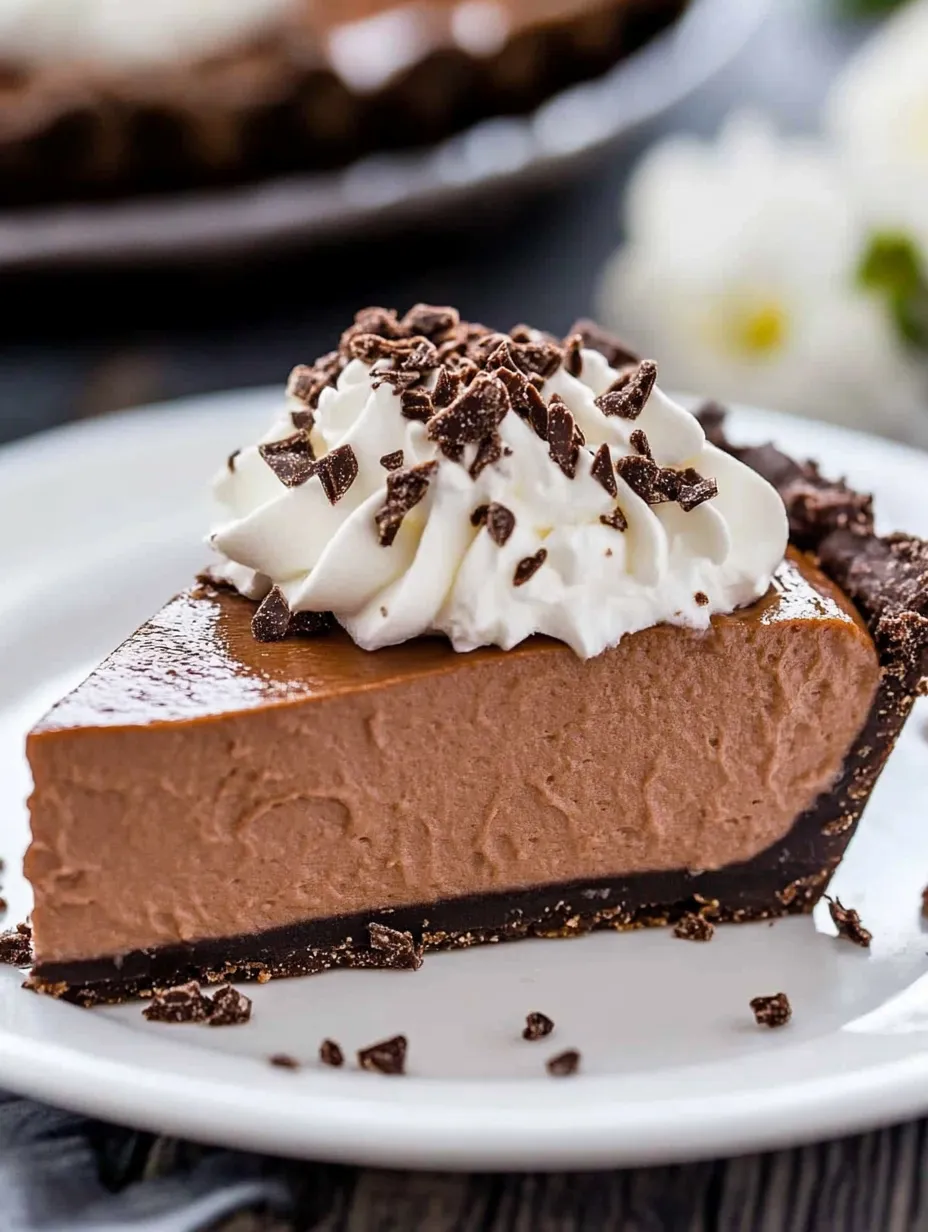
This Easiest No-Bake Nutella Pie transforms simple ingredients into a showstopping dessert that tastes like it came from a high-end bakery. With a crunchy chocolate cookie crust, silky-smooth Nutella mousse filling, and billowy whipped cream topping, this pie delivers maximum flavor with minimal effort - no oven required!
I discovered this recipe when searching for a foolproof dessert to bring to a dinner party. It was such a hit that it's now my go-to when I need something guaranteed to impress!
Essential Ingredients and Selection Tips
- Chocolate Sandwich Cookies: Create the perfect crunchy base with no additional sugar needed
- Cream Cheese: Use full-fat, room temperature for the smoothest texture
- Chocolate Hazelnut Spread: Nutella is classic, but cleaner ingredient versions work well too
- Whipped Topping: Cool Whip creates stability in the filling
- Heavy Cream: Whip fresh for the topping for the most luxurious finish
 Pin it
Detailed Preparation Instructions
- Step 1:
- Process cookies to fine crumbs for the most uniform crust
- Step 2:
- Press firmly using a measuring cup for a crust that won't crumble
- Step 3:
- Beat cream cheese until fluffy before adding other ingredients
- Step 4:
- Ensure complete incorporation of Nutella for consistent flavor
- Step 5:
- Use gentle techniques to fold in Cool Whip and maintain airiness
- Step 6:
- Allow sufficient chilling for flavors to develop
- Step 7:
- Add whipped cream and garnish just before serving
My friend who owns a bakery taught me that the secret to no-bake pies is temperature management - keeping everything cool but workable creates the perfect texture!
Make-Ahead Magic
This pie actually improves with time in the refrigerator, making it perfect for preparing a day in advance. Just add the whipped cream topping right before serving.
After making this countless times, I've found it's more than just a dessert - it's a conversation starter. There's something about the familiar yet elevated flavor of Nutella transformed into this silky pie that sparks joy and creates memorable moments around the table.
Perfect Flavor Variations
While the classic version is unbeatable, this versatile recipe welcomes creative adaptations. For a coffee-infused twist, add 1 tablespoon of espresso powder to the filling for a mocha-hazelnut experience. Love the combination of orange and chocolate? Add a teaspoon of orange zest to the filling for a sophisticated flavor profile. For a more pronounced hazelnut flavor, fold 1/4 cup of finely chopped toasted hazelnuts into the filling. And for special occasions, try adding 2 tablespoons of your favorite liqueur - Frangelico enhances the hazelnut notes, while Baileys creates a creamy, indulgent variation.
Troubleshooting Common Issues
If your crust crumbles when slicing, it likely wasn't packed firmly enough initially. Next time, use more pressure when forming the crust. For a filling that seems too soft, refrigerate longer or place in the freezer for 20-30 minutes before serving. If the filling develops lumps, your cream cheese was probably too cold - let it come fully to room temperature next time, and beat it thoroughly before adding other ingredients. And if you're having trouble creating chocolate shavings, slightly warm your chocolate bar by holding it in your hands for a minute before shaving.
 Pin it
Serving For Special Occasions
This pie readily transforms into an elegant dessert for special gatherings. For individual servings, prepare in small jars or glasses as parfaits - layer the crust, filling, and topping in clear containers for a beautiful presentation. For holidays, add seasonal touches like crushed peppermint candies at Christmas or fresh berries for summer celebrations. Create a dessert board by serving small slices alongside chocolate-dipped strawberries, hazelnut cookies, and chocolate truffles for an impressive spread that requires minimal additional effort.
Storing and Freezing Guide
This pie stores beautifully in the refrigerator for up to 5 days when covered tightly with plastic wrap. For longer storage, freeze the pie without the whipped cream topping. Wrap the pie tightly in plastic wrap followed by aluminum foil and freeze for up to 3 months. Thaw overnight in the refrigerator, then add fresh whipped cream before serving. For ultimate convenience, freeze individual slices wrapped separately - perfect for satisfying sudden dessert cravings without defrosting an entire pie.
What makes this recipe truly special is how it transforms everyday ingredients into something that feels luxurious. It embodies what great home cooking is all about - creating something that tastes complex and impressive without requiring professional skills or equipment. The pie's simplicity makes it accessible to even novice cooks, while its rich flavor and beautiful presentation make it worthy of your most special occasions. It's the kind of recipe that becomes a cherished part of your culinary repertoire, requested time and again by family and friends who can't believe something so delicious could be so easy to make.
Frequently Asked Questions
- → Can I make this pie ahead of time?
- Yes, this pie is perfect for making 1-2 days ahead. Keep it refrigerated and add the whipped cream topping just before serving for best results.
- → Can I use mascarpone instead of cream cheese?
- Yes, you can substitute mascarpone for the cream cheese for a richer, more delicate flavor. The texture will be slightly different but still delicious.
- → Can I use peanut butter instead of Nutella?
- Absolutely! You can swap the chocolate hazelnut spread for peanut butter for a different but equally delicious flavor profile.
- → How long does this pie need to set?
- For best results, allow the pie to chill and set in the refrigerator for at least 4 hours, though overnight is ideal for the perfect texture.
- → What can I use instead of Cool Whip?
- You can make your own substitute by whipping 1 cup of heavy cream until stiff peaks form, then gently folding in 1/4 cup powdered sugar and 1/2 teaspoon vanilla extract.