
 Pin it
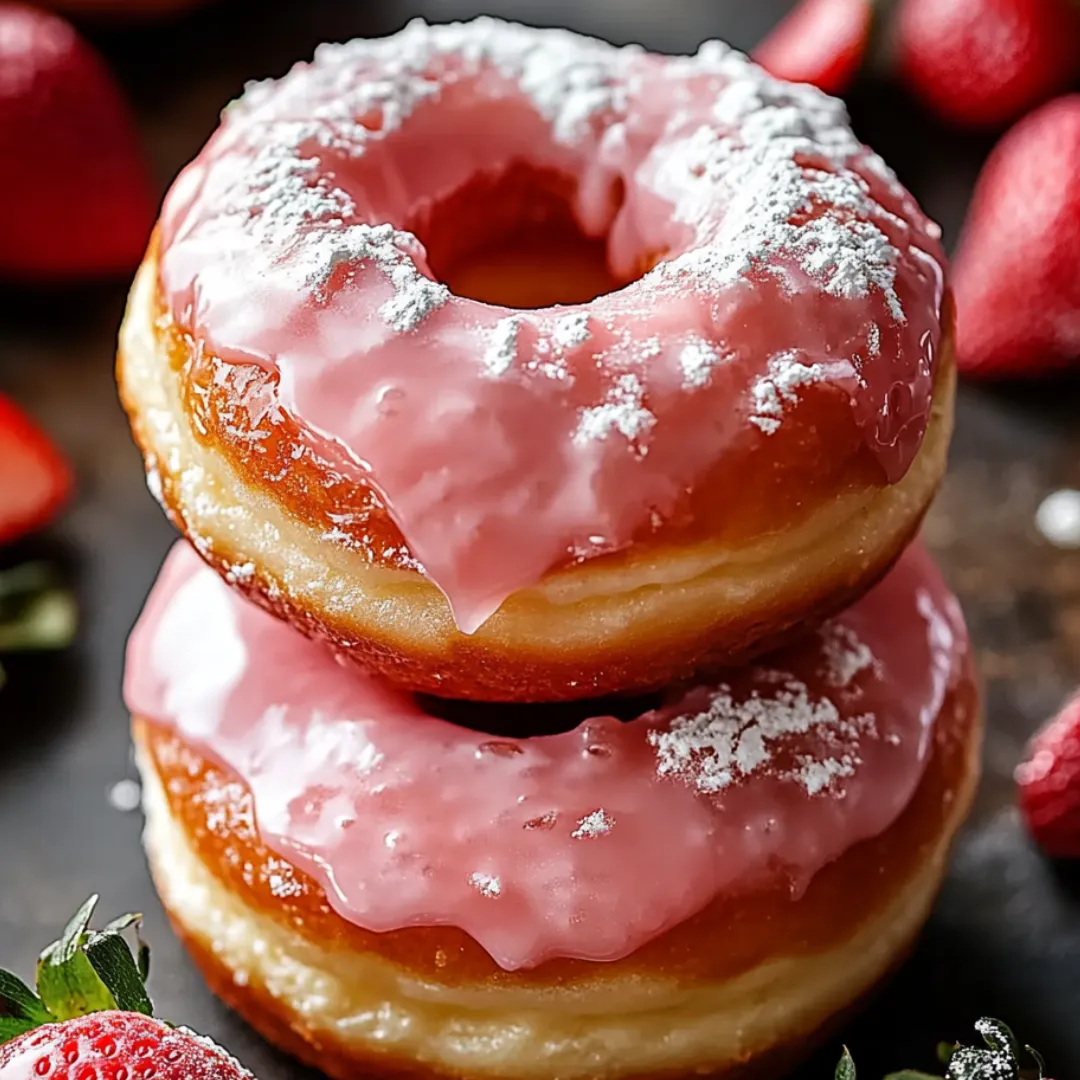
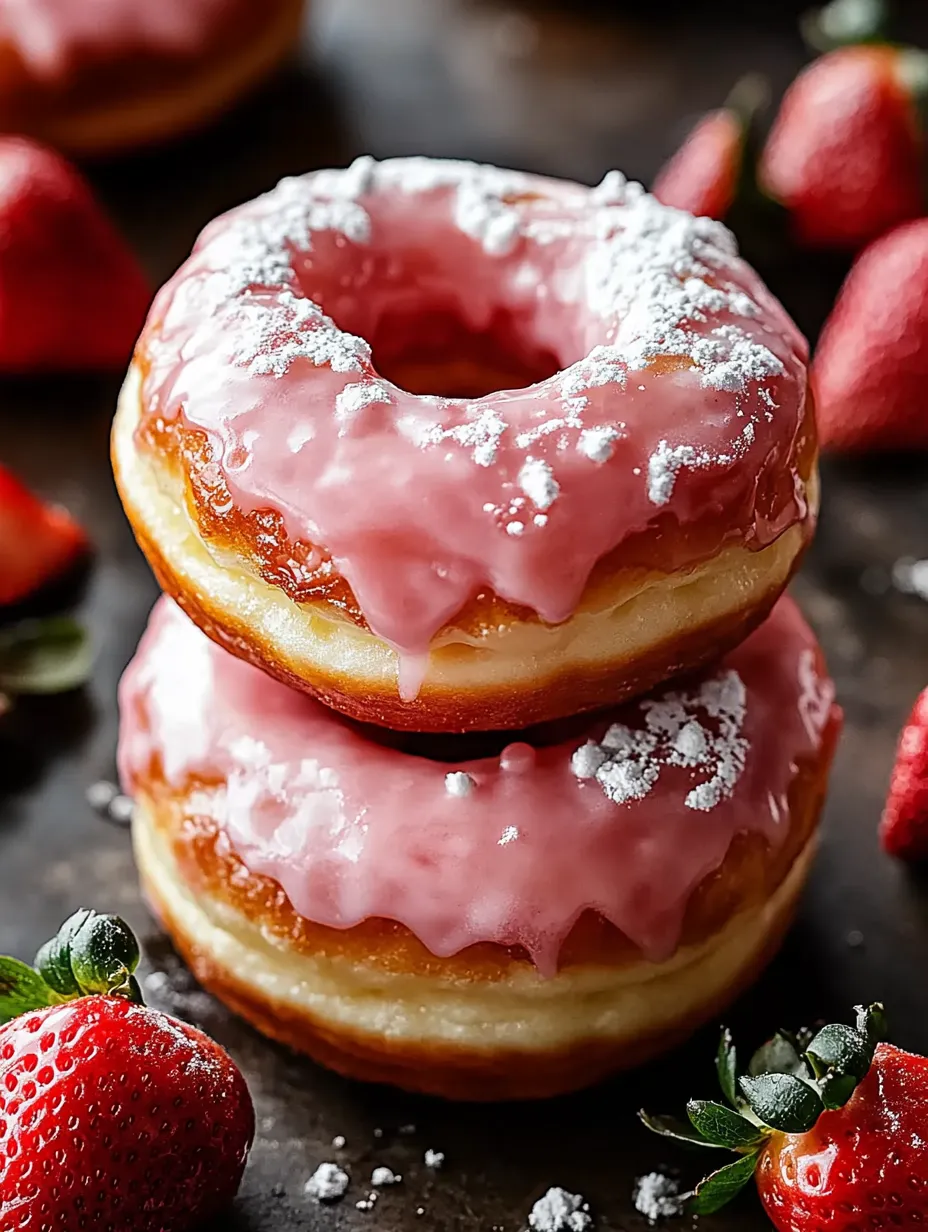
These strawberry cheesecake donuts create the perfect fusion of two beloved desserts - pillowy soft fried dough filled with creamy, tangy cheesecake and topped with a vibrant strawberry glaze. The contrast between the warm, fluffy exterior and the cool, rich filling delivers the ultimate indulgent treat that somehow feels both nostalgic and exciting at the same time. This show-stopping dessert brings together the best of both worlds: the casual comfort of a donut with the sophisticated decadence of cheesecake.
The first time I made these for my daughter's birthday brunch, everyone thought I'd purchased them from an upscale bakery. There's something magical about biting through that soft dough and hitting the pocket of creamy filling that transforms an ordinary morning into something special. My husband, who claimed he wasn't 'a dessert person,' ate three in one sitting and now requests them for every special occasion.
Key Ingredients
- Active Dry Yeast: The foundation of a light, airy donut. Make sure your yeast is fresh and active by checking for foaming when mixed with warm milk and sugar. This living ingredient creates thousands of tiny air bubbles that make your donuts fluffy rather than dense.
- Cream Cheese: Use full-fat cream cheese for the richest, creamiest filling. The tanginess balances the sweetness of the donut and glaze. Allow it to come to room temperature for at least an hour before mixing to prevent lumps.
- Fresh Strawberries: The star of the glaze that provides natural color and authentic flavor. Choose ripe berries with deep red color for the most vibrant glaze. If using frozen, ensure they're completely thawed and drained of excess moisture.
- All-Purpose Flour: Creates the structure for your donuts. Measuring properly (spoon and level, don't scoop directly with the measuring cup) ensures your dough isn't too dry or too sticky.
 Pin it
Step-by-Step Instructions
- Step 1:
- In a small bowl, combine warm milk (110°F—feel like warm bathwater, not hot) with sugar, then sprinkle yeast over the top. Let this mixture rest for 5-10 minutes until frothy and aromatic. This activation step is crucial—if your yeast doesn't foam, it may be expired, and your donuts won't rise properly. The milk should be warm enough to activate the yeast but not so hot that it kills it.
- Step 2:
- In a large mixing bowl, whisk together flour and salt to evenly distribute the salt throughout. Make a well in the center of the dry ingredients, then pour in the activated yeast mixture, eggs, and softened butter. Mix gently at first to prevent flour from flying everywhere, then more vigorously as the ingredients come together. The dough will initially be sticky but will become more manageable as you knead.
- Step 3:
- Transfer the dough to a lightly floured surface and knead for 8-10 minutes until smooth and elastic. The dough should pass the 'windowpane test'—a small piece can be stretched thin enough to see light through without tearing. This kneading develops the gluten structure that gives your donuts their perfect texture. You can also use a stand mixer with a dough hook attachment for 5-7 minutes on medium speed.
- Step 4:
- Place the dough in a greased bowl, cover with a damp towel, and let it rise in a warm, draft-free location for 1-1.5 hours until doubled in size. This slow rise develops flavor and structure. During this time, the yeast is consuming sugars and producing carbon dioxide, creating those tiny air pockets that make your donuts light and fluffy.
- Step 5:
- After the first rise, punch down the dough to release excess air bubbles, then roll it out on a floured surface to about ½-inch thickness. Use a donut cutter or two circular cutters to form donut shapes. For these stuffed donuts, you can cut full circles without holes, which provides more space for filling. Re-roll scraps to make additional donuts, handling the dough gently to maintain its airy structure.
- Step 6:
- Arrange the cut donuts on a parchment-lined baking sheet, cover with a clean towel, and allow them to rise again for 30 minutes. This second rise ensures the donuts will be light and airy after frying. They should look puffy and have increased in size by about 50%.
The Art of Frying
Achieving that perfect golden exterior while ensuring a fully cooked interior requires attention to detail. Heat vegetable oil in a deep, heavy-bottomed pot to exactly 350°F, using a candy thermometer to maintain this temperature throughout the frying process. Too hot, and the outside will burn before the inside cooks; too cool, and the donuts will absorb excess oil, becoming greasy.
I learned this precision the hard way after ruining a batch by eyeballing the temperature. Now I adjust the heat constantly during frying to maintain that sweet spot. When the oil is ready, gently lower 2-3 donuts into the hot oil using a slotted spoon, being careful not to splash. Fry for 1-2 minutes per side until they reach a rich golden brown, then transfer to paper towels to drain.
 Pin it
Creating the Perfect Filling
The cheesecake filling is where these donuts truly shine. In a mixing bowl, beat softened cream cheese until completely smooth, then add powdered sugar, heavy cream, and vanilla extract. Beat on medium-high speed until the mixture becomes light and fluffy with soft peaks. This aeration creates a mousse-like texture that pipes beautifully into the donuts.
My first attempt at this filling was too dense, more like actual cheesecake. The secret is incorporating enough air through proper beating while maintaining enough structure so it doesn't melt at room temperature. Transfer the finished filling to a piping bag fitted with a medium round tip for easy donut filling.
I discovered the importance of proper filling technique after ending up with several donuts that were hollow in the center but bursting at the injection point. My pastry chef friend taught me to insert the tip all the way in, then slowly pull back while applying consistent pressure—a game-changing tip that ensures every bite contains the perfect ratio of donut to filling. My family has turned our monthly donut-making sessions into a tradition, with everyone taking turns suggesting new flavor combinations.
Learning to make donuts changed my approach to homemade treats entirely. Initially intimidated by working with yeast and hot oil, I discovered that the process is actually forgiving with the right techniques. The most important lesson came from my grandmother, who taught me that patience makes all the difference—rushing the rising time or the frying process inevitably leads to disappointing results. Now I see donut-making as a mindful practice, with each step requiring presence and attention that results in not just delicious treats, but a satisfying experience from start to finish.
Frequently Asked Questions
- → Can I make these donuts ahead of time?
- You can prepare the dough a day ahead and let it rise slowly in the refrigerator overnight. The cheesecake filling can also be made ahead and stored in the refrigerator. For best results, fry and assemble the donuts the day you plan to serve them.
- → Can I bake these instead of frying?
- Yes, you can bake these donuts at 350°F for about 12-15 minutes until golden brown. The texture will be different from fried donuts - more bread-like and less crispy on the outside.
- → How do I make strawberry puree for the glaze?
- Blend fresh or frozen strawberries in a food processor or blender until smooth. Strain through a fine mesh sieve to remove seeds if desired. For a shortcut, you can use strawberry jam thinned with a little water.
- → Can I use other flavors for the glaze?
- Absolutely! Try raspberry, blueberry, or lemon for different variations. Simply substitute the fruit puree or use different extracts and food coloring to match your desired flavor.
- → What's the best way to store leftover donuts?
- Store in an airtight container at room temperature for 1-2 days. The filled donuts can also be refrigerated, but bring to room temperature before serving for the best taste and texture.