 Pin it
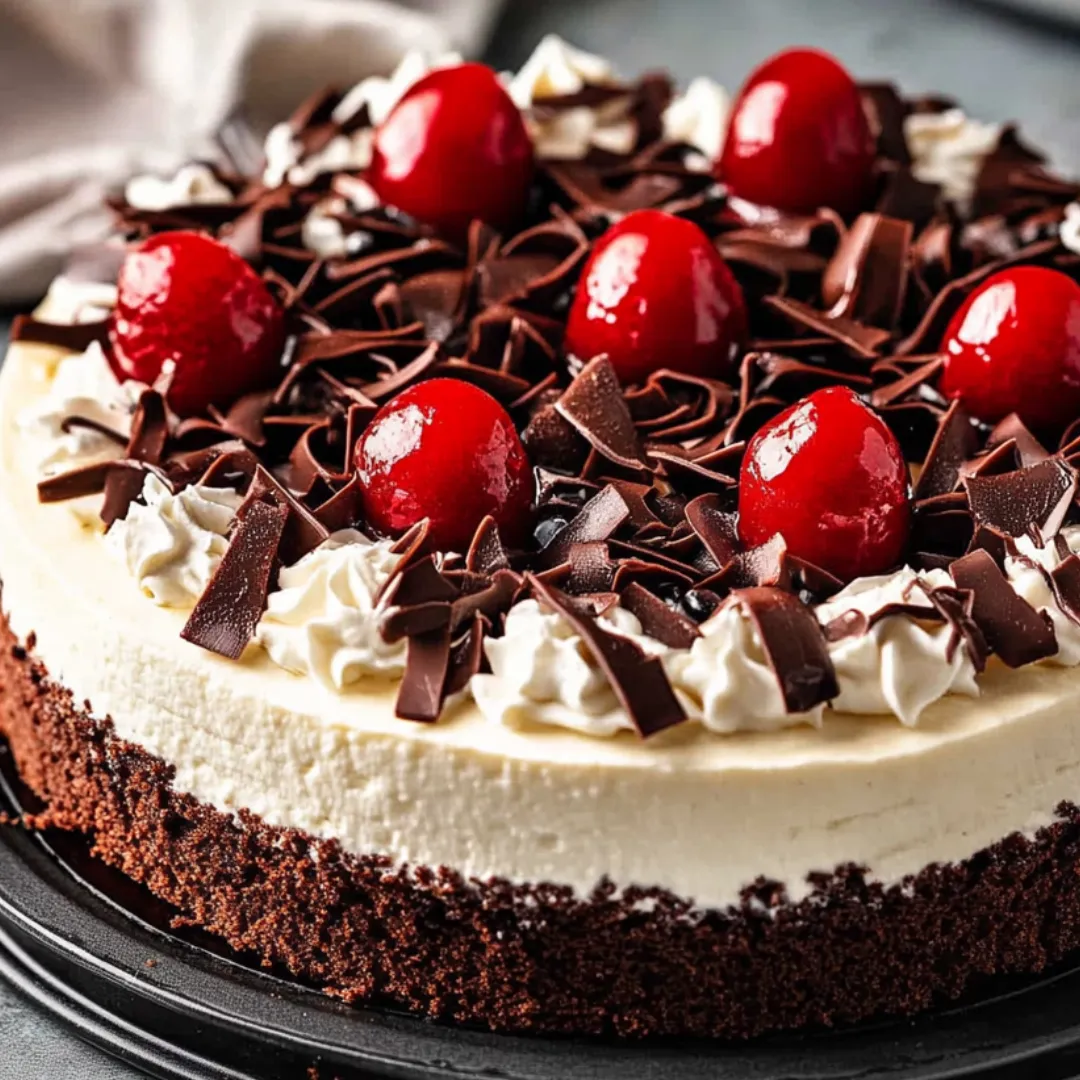
This Black Forest Cheesecake combines the nostalgic flavors of classic Black Forest cake with the rich creaminess of cheesecake for an indulgent dessert that never fails to impress guests at my dinner parties.
I first made this cheesecake for my husband's birthday when we were snowed in during a winter storm. The combination of dark chocolate and cherries was so enchanting that it has become our signature celebration dessert for the past decade.
Ingredients
- Crushed Oreos: Form the chocolate cookie base that provides the perfect crunchy contrast to the creamy filling
- Bittersweet chocolate: Creates depth of flavor and balances the sweetness; look for high quality chocolate with at least 60% cacao
- Cream cheese: Provides the signature tangy creaminess; choose full fat cream cheese for best texture
- Cherry pie filling: Creates the classic Black Forest flavor profile; select a premium brand with whole cherries
- Heavy cream: Whipped to soft peaks adds a light airy finish that complements the rich cheesecake
- Chocolate curls: Provide an elegant finishing touch; use room temperature chocolate for the best curls
Step-by-Step Instructions
- Prepare the Crust:
- Combine crushed Oreos with melted butter and sugar until the mixture resembles wet sand. Press firmly and evenly into your springform pan paying special attention to the corners. The brief five minute bake sets the crust without burning the chocolate cookies.
- Create the Chocolate Base:
- Gently melt the chocolate with milk using short microwave intervals stirring between each to prevent scorching. This creates the silky chocolate foundation that flavors the entire cheesecake. The mixture should be glossy and completely smooth before proceeding.
- Mix the Cheesecake Filling:
- Beat room temperature cream cheese with sugar cocoa and vanilla until absolutely smooth with no lumps remaining. Cold cream cheese will create lumps that never fully incorporate so patience here is crucial. Scrape down the sides of your bowl frequently.
- Add Eggs and Chocolate:
- Incorporate eggs one at a time on low speed just until blended. Overmixing at this stage incorporates too much air which causes cracks during baking. Fold in the cooled chocolate mixture with gentle strokes maintaining the silky texture of your batter.
- Bake with Care:
- Pour the batter over your cooled crust and bake until the center jiggles slightly while the edges are set. The slow cooling process with the oven door cracked prevents the dramatic temperature change that causes cheesecakes to crack.
- Chill Thoroughly:
- Allow your cheesecake to cool completely at room temperature before refrigerating for at least six hours. This gradual cooling and setting process creates the perfect texture and allows flavors to fully develop.
- Decorate Elegantly:
- Top your chilled cheesecake with cherry pie filling mounded attractively in the center. Pipe soft whipped cream around the border and finish with chocolate curls for a professional looking dessert that tastes as magnificent as it looks.

The chocolate and cherry combination in this recipe reminds me of the Black Forest cakes my grandmother would make for family celebrations. I particularly love the moment when guests take their first bite and their eyes widen with delight at the unexpected richness of the chocolate and the bright pop of cherry.
Perfect Crust Technique
Achieving that ideal crust texture requires attention to detail. I discovered that thoroughly crushing the Oreos including the filling creates a more cohesive base that holds together beautifully when sliced. Using the bottom of a measuring cup to firmly press the mixture creates an even layer with no weak spots. The brief baking time sets the crust without making it too hard to cut through when serving.
Cherry Topping Variations
While the canned cherry pie filling provides convenience and classic flavor you can elevate this cheesecake with seasonal variations. During summer I often make a homemade cherry compote using fresh dark cherries simmered with a splash of kirsch for authentic Black Forest flavor. For a more sophisticated version try macerating fresh cherries in cherry liqueur overnight then straining and reducing the liquid into a glossy sauce before topping the cake.

Serving Suggestions
This cheesecake reaches peak flavor when allowed to sit at room temperature for about 30 minutes before serving. The texture becomes silkier and the chocolate flavor more pronounced. I like to serve each slice with a small shot glass of kirsch or cherry liqueur for adults to either sip alongside or drizzle over their portion. For a simplified presentation a dusting of cocoa powder instead of chocolate curls still creates a beautiful effect with minimal effort.
Frequently Asked Questions
- How do I make the crust for Black Forest Cheesecake?
Mix crushed Oreos, melted butter, and sugar. Press into a springform pan and bake for five minutes to set the crust.
- Can I use milk chocolate instead of bittersweet for the filling?
Yes, you can substitute milk chocolate, but keep in mind it will result in a sweeter cheesecake with a milder chocolate flavor.
- How do I know when the cheesecake is baked correctly?
The center should still jiggle slightly while the edges are set. Overbaking can cause cracks, so monitor closely.
- What is the best way to decorate the cheesecake?
Top with cherry pie filling, pipe whipped cream swirls, and finish with chocolate curls or shavings for a stunning presentation.
- How should I store and serve the cheesecake?
Store in an airtight container in the refrigerator for up to three days. Serve chilled or let it sit at room temperature for 20-30 minutes before serving.
- Can I make this cheesecake ahead of time?
Yes, prepare the cheesecake a day or two in advance, refrigerate it, and add the decorations just before serving.