
 Pin it
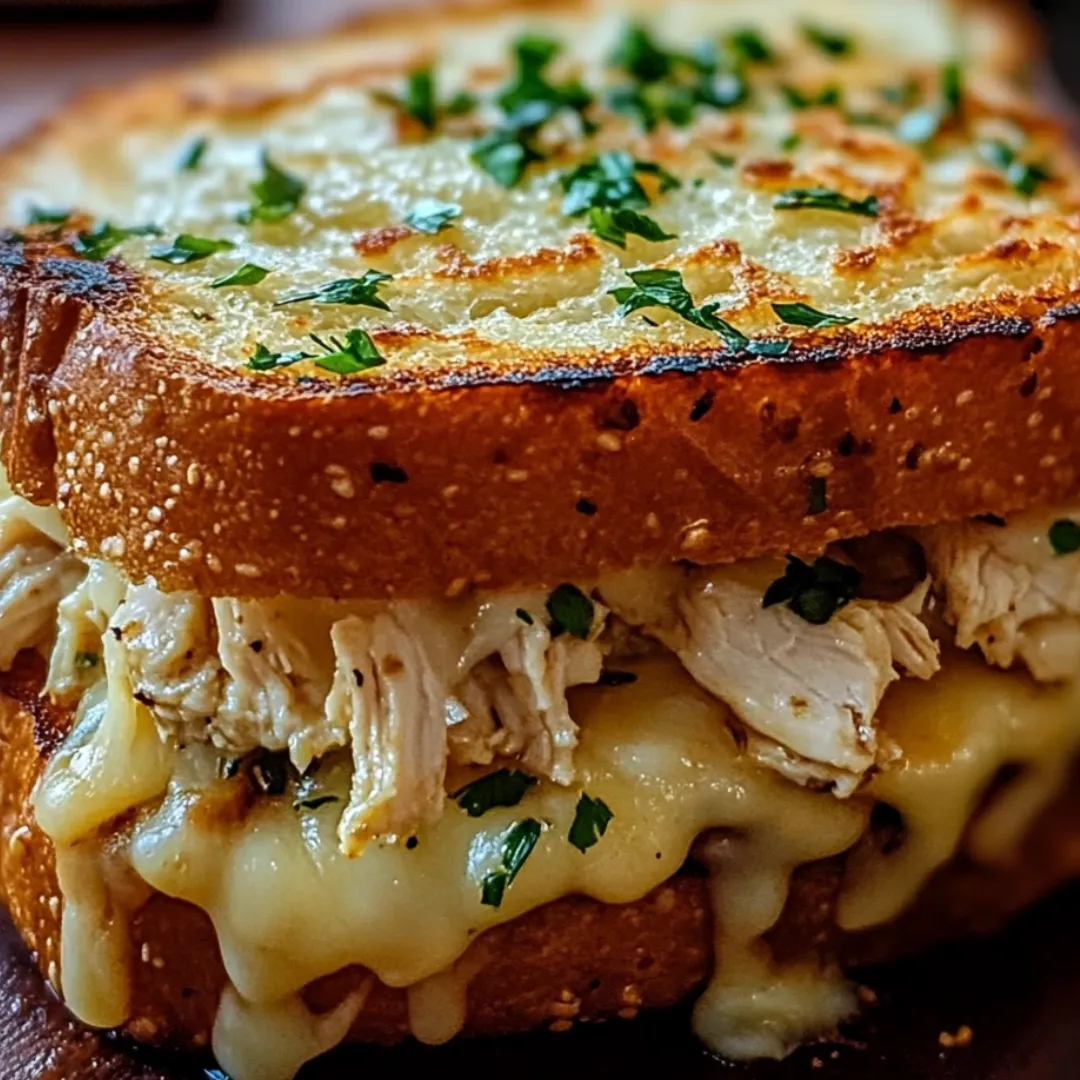
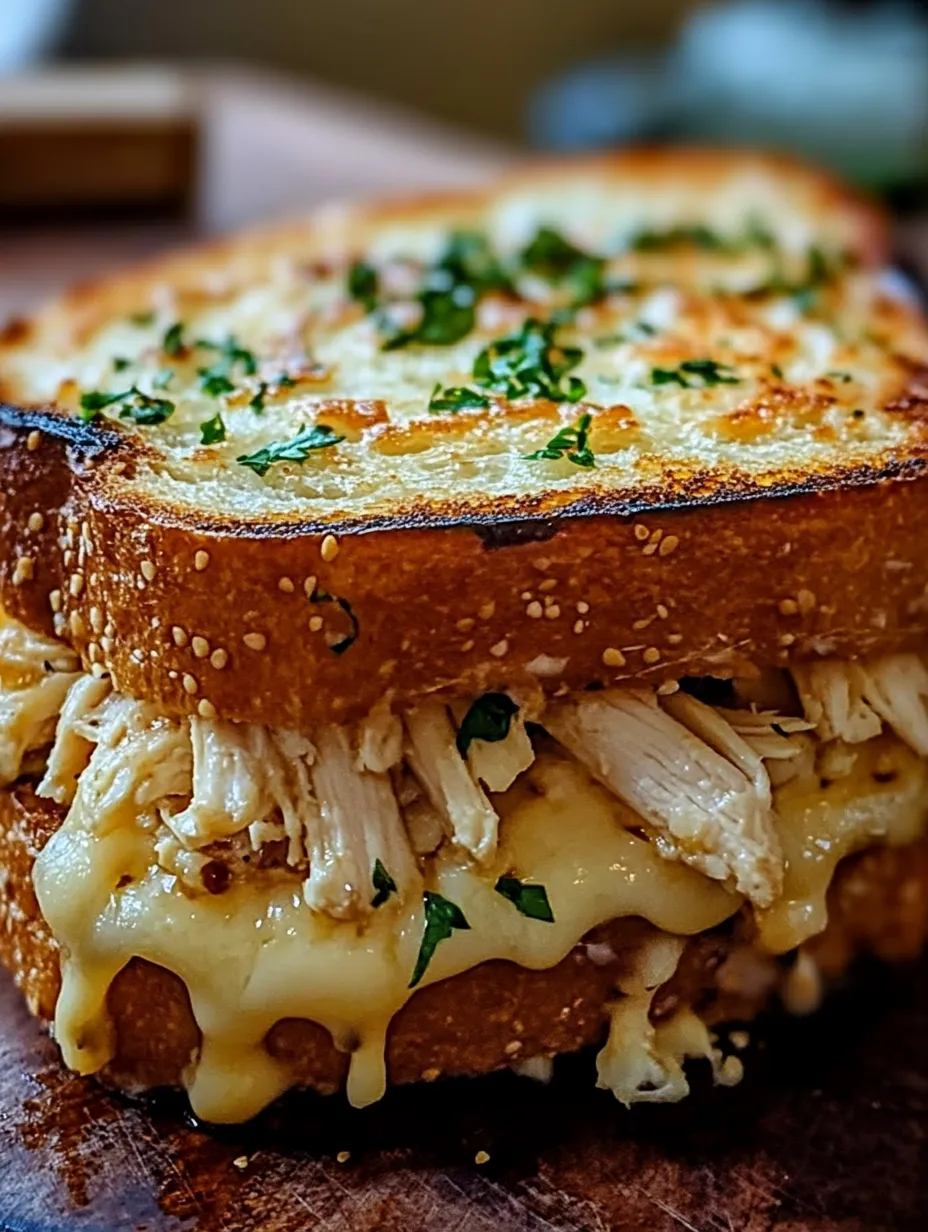
This cheesy chicken garlic bread sandwich transforms ordinary ingredients into an extraordinary meal that satisfies all your comfort food cravings at once. The combination of buttery, aromatic garlic bread serving as the foundation, juicy seasoned chicken providing substantial protein, and the perfect blend of cheeses melting into every bite creates an irresistible harmony of flavors and textures. Each element plays its part perfectly – the bread delivers that satisfying crunch before giving way to the tender chicken and gooey cheese interior. It's the ultimate upgraded sandwich experience that bridges the gap between quick everyday cooking and indulgent comfort food.
I created this sandwich one night when craving both garlic bread and a hearty chicken sandwich. Instead of choosing between them, I wondered what would happen if I combined these favorites. The result was even better than I imagined! My teenage son, who normally eats with one hand on his phone, actually put his device down and asked for seconds. Since then, it's become our Friday night tradition – much cheaper than takeout but still feels special enough to mark the end of a busy week. Even my mother-in-law, who rarely compliments my cooking, asked for the recipe after trying it during a family dinner.
Ingredients You'll Need
- 2 Boneless, Skinless Chicken Breasts: The foundation of protein in our sandwich. Look for evenly sized breasts for consistent cooking.
- 4 Slices Thick-Cut Italian Bread: Creates the perfect garlic bread exterior. Choose a bread with some substance that can stand up to all the fillings.
- 4 Tablespoons Garlic Butter: Infuses the bread with aromatic flavor. Store-bought works fine, but homemade elevates it further.
- 4 Slices Mozzarella Cheese: Provides that perfect cheese pull we all love. Fresh mozzarella works beautifully but pre-sliced is convenient.
- 1/2 Cup Shredded Cheddar Cheese: Adds a sharp, tangy flavor that complements the milder mozzarella. Freshly shredded melts better than pre-packaged.
- 2 Teaspoons Italian Seasoning: Enhances both the chicken and bread with classic herb flavors. A blend containing oregano, basil, and thyme works best.
- 2 Tablespoons Olive Oil: Used for cooking the chicken to juicy perfection. Extra virgin adds more flavor.
- Salt and Pepper to Taste: Essential for bringing out all the other flavors. Don't skimp here!
- Fresh Parsley or Basil for Garnish: Adds a pop of color and freshness to cut through the richness.
 Pin it
Step-by-Step Cooking Instructions
- Prepare Your Chicken:
- Begin by placing the chicken breasts between two sheets of plastic wrap or parchment paper. Using a meat mallet or heavy-bottomed pan, gently pound the chicken to an even thickness of about 1/2 inch. This ensures quick, even cooking and tender meat. Season both sides generously with salt, pepper, and half of the Italian seasoning, pressing the seasonings into the meat. The uniform thickness allows the chicken to cook quickly and evenly, preventing dry, overcooked spots while ensuring food safety throughout.
- Cook the Chicken to Juicy Perfection:
- Heat the olive oil in a large skillet over medium heat until it shimmers but doesn't smoke. Add the seasoned chicken breasts to the pan, being careful not to overcrowd (cook in batches if necessary). Cook for 4-5 minutes on the first side until golden brown, then flip and cook for another 3-4 minutes until the internal temperature reaches 165°F (74°C). The chicken should have a beautiful golden crust while remaining juicy inside. Remove from heat and let rest for 5 minutes before slicing into strips. This resting period allows the juices to redistribute throughout the meat, ensuring maximum flavor and moisture.
- Transform Bread into Garlic Bread:
- While the chicken rests, prepare your garlic bread base. Spread one side of each bread slice generously with garlic butter, ensuring edge-to-edge coverage. Place the bread buttered-side down in a large clean skillet over medium heat, then immediately butter the top sides as well. Cook for about 2-3 minutes per side, until golden brown and crispy. The direct heat helps the butter infuse into the bread while creating that perfect garlic bread texture – crunchy on the outside while remaining slightly soft inside. The aroma of toasting garlic bread will fill your kitchen, building anticipation for the finished sandwich.
- Begin the Layering Process:
- Transfer two pieces of the toasted garlic bread to a baking sheet, positioning them toasted-side down. Place one slice of mozzarella on each piece of bread, covering the surface completely. The still-warm bread will begin to slightly melt the cheese, creating a protective layer that prevents the bread from becoming soggy from the chicken juices. The cheese also acts as an adhesive, helping to keep your chicken in place when you take that first bite.
- Add the Star Ingredients:
- Arrange the sliced chicken evenly on top of the melted mozzarella. Sprinkle the chicken with the remaining Italian seasoning and then distribute the shredded cheddar cheese over the chicken layer. The combination of cheeses is key here – the mozzarella provides the stretch factor while the sharper cheddar adds depth of flavor. Finally, place the remaining slices of mozzarella on top of the cheddar to create the ultimate cheesy layer that will melt down through all the ingredients.
- Create Sandwich Perfection:
- Top each stack with the remaining pieces of garlic bread, positioning them toasted-side up. This creates a sandwich where both exterior surfaces are crispy, buttery garlic bread – no plain bread surfaces here! The structure of the sandwich is important; from bottom to top you should have: garlic bread, mozzarella, chicken, cheddar, mozzarella, garlic bread. This careful layering ensures optimal cheese meltage and flavor distribution throughout every bite.
- Melt It All Together:
- Place the baking sheet with the assembled sandwiches in a preheated 375°F (190°C) oven for about 5 minutes, or until the cheese is completely melted and beginning to bubble around the edges. Watch carefully during this final cooking stage – you want the cheese perfectly melted but don't want to overcook the chicken or burn the bread. Once the cheese is gooey and melted, remove from the oven, garnish with fresh herbs if desired, slice diagonally for the most impressive presentation, and serve immediately while hot and at peak deliciousness.
I learned about the importance of bread selection through a disappointing early attempt at this recipe. Using regular sandwich bread resulted in a soggy, structurally unsound mess that fell apart with the first bite. After experimenting with different options, I discovered that thicker-cut Italian bread stands up to the fillings while crisping beautifully when turned into garlic bread. Now my family jokes about my bread standards whenever we make this sandwich – but they certainly appreciate the difference it makes!
Perfect Accompaniments
While this sandwich is substantial enough to serve as a complete meal, pairing it with complementary sides elevates the experience. A simple green salad dressed with lemon vinaigrette provides a refreshing contrast to the rich sandwich. For heartier appetites, a side of crispy roasted potatoes or sweet potato fries adds another textural element. During cooler months, serving alongside a cup of tomato soup creates the ultimate comfort food pairing – perfect for dipping those cheesy, garlicky edges.
Make-Ahead Options
This sandwich shines when made fresh, but you can prepare components ahead of time to streamline the process. Cook and slice the chicken up to two days in advance, storing it in an airtight container in the refrigerator. You can also mix up a batch of garlic butter and keep it refrigerated for up to a week – perfect for spontaneous sandwich cravings. For meal prep, consider making extra sandwiches and wrapping them individually in foil before the final baking step. Store in the refrigerator for up to two days and bake directly from the refrigerator, adding a few extra minutes to the cooking time.
Creative Variations
The basic formula for this sandwich opens up endless possibilities for customization. For an Italian-inspired version, add a layer of pepperoni and a spread of marinara sauce. Create a Caprese variation by adding sliced tomatoes and fresh basil between the cheese layers. For a breakfast-meets-dinner twist, add a fried egg on top of the chicken. Vegetarians can substitute the chicken with grilled portobello mushrooms or eggplant slices. Spice lovers might add sliced jalapeños or a drizzle of hot honey for a sweet-heat kick that complements the garlic and cheese beautifully.
 Pin it
Storage and Reheating
While best enjoyed immediately, leftovers can be stored in an airtight container in the refrigerator for up to two days. To reheat, avoid the microwave which will make the bread soggy. Instead, wrap the sandwich loosely in foil and heat in a 350°F (175°C) oven for about 10 minutes until warmed through. Remove the foil for the last few minutes to re-crisp the bread. For the best leftover experience, consider deconstructing and rebuilding the sandwich with fresh garlic bread while reusing the chicken and cheese filling.
When I first made this sandwich for my brother (who considers himself a garlic bread connoisseur), he was skeptical that combining it with chicken and cheese could improve on the classic. After his first bite, he declared it 'possibly the best thing you've ever made' and immediately texted his wife asking her to add the ingredients to their shopping list. It's that kind of reaction that makes sharing recipes so rewarding – seeing someone experience that perfect bite that combines familiar ingredients in a new, exciting way. This sandwich may not be revolutionary, but it transforms everyday ingredients into something that feels special enough for any occasion.
Frequently Asked Questions
- → Can I use rotisserie chicken for this recipe?
- Absolutely! Rotisserie chicken works perfectly and saves time. Just shred the amount you need and mix with the mayo and mustard as directed.
- → How do I make homemade garlic bread for this sandwich?
- Mix softened butter with minced garlic, salt, and Italian herbs. Spread on bread slices and toast in the oven at 375°F for 5-7 minutes before using for the sandwich.
- → Can I make this sandwich ahead of time?
- You can prepare the chicken mixture ahead of time and store it in the refrigerator for up to 2 days. However, it's best to assemble and grill the sandwich just before serving for the crispiest results.
- → What side dishes go well with this sandwich?
- This sandwich pairs perfectly with a simple green salad, potato chips, pickle spears, or a cup of tomato soup for dipping.
- → Can I add vegetables to this sandwich?
- Yes! Consider adding sliced tomatoes, spinach leaves, or caramelized onions between the chicken and cheese for added flavor and nutrition.