
 Pin it
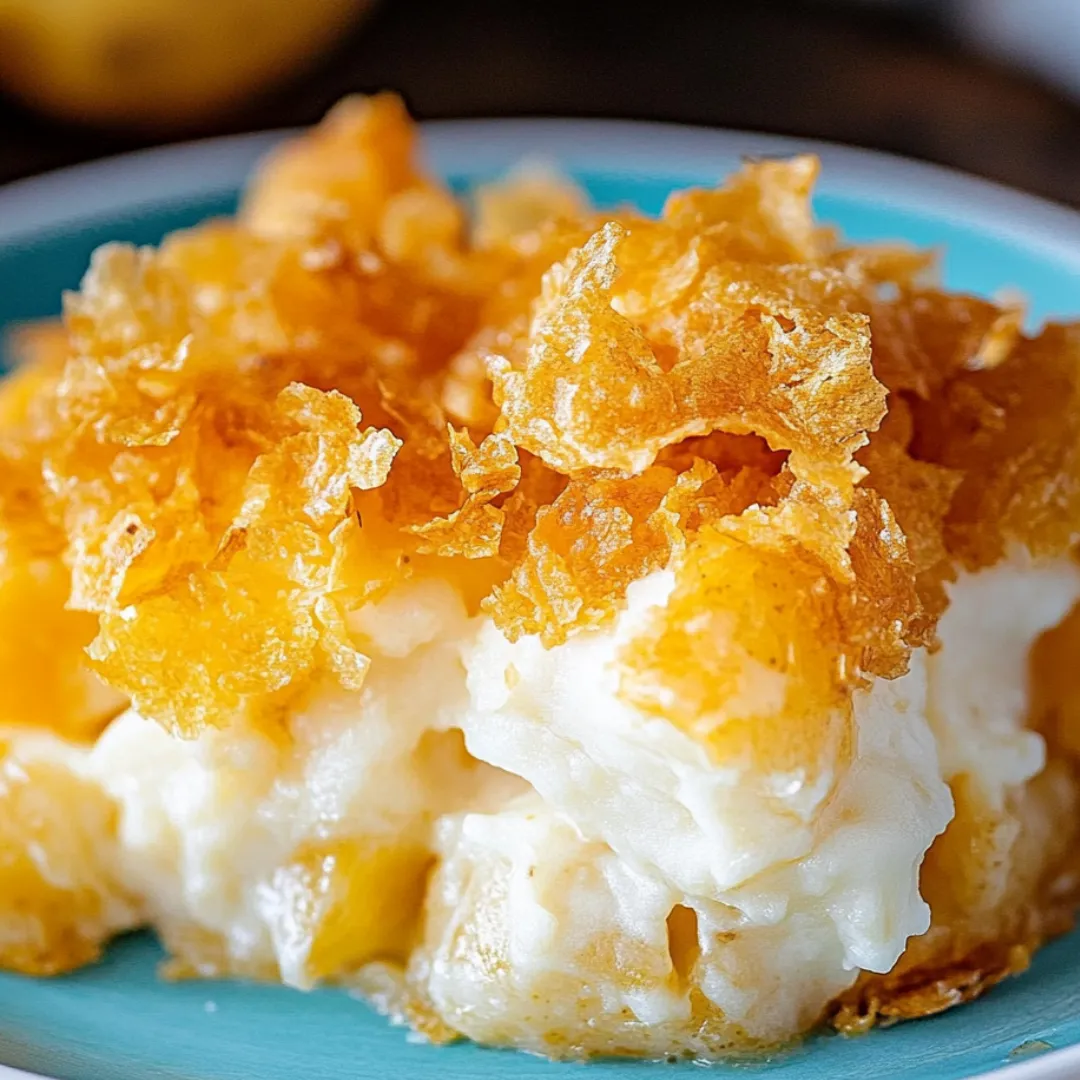
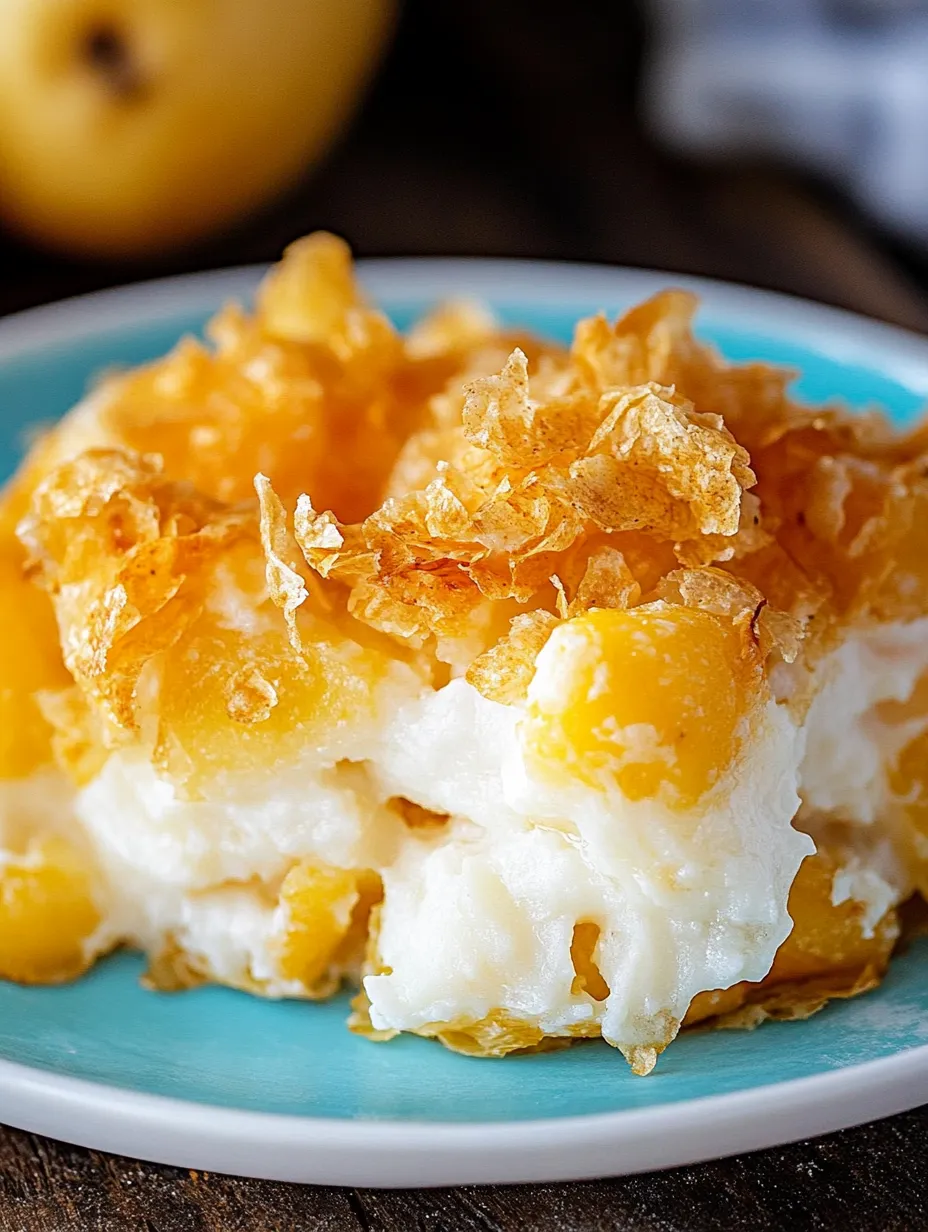
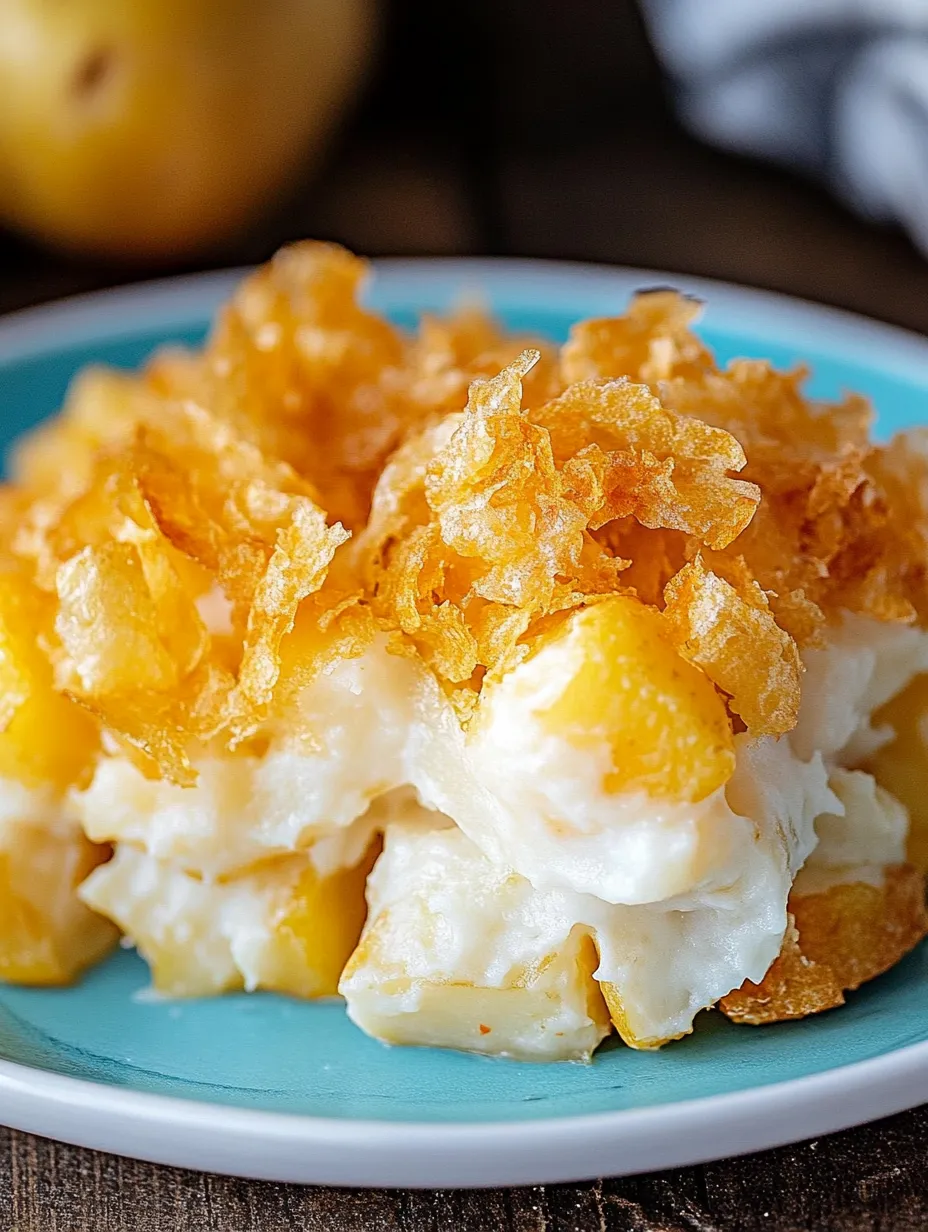
This beloved potato casserole combines frozen hash browns with a rich, creamy sauce and tops it all with a crunchy cornflake crust that takes it to the next level. Despite their somber name, these potatoes bring nothing but joy to the table with their perfect balance of textures and flavors. The dish comes together quickly with minimal prep work, making it ideal for both weeknight dinners and special occasions. The combination of cheese, sour cream, and butter creates an irresistibly comforting base, while the golden cornflake topping adds a satisfying crunch that keeps everyone coming back for seconds.
I first tasted funeral potatoes at my neighbor's Christmas gathering years ago and immediately had to have the recipe. Since then, it's become my signature contribution to every holiday meal and potluck. My family actually gets concerned if I show up without this dish! Last Christmas, I watched my usually reserved father-in-law go back for thirds, and it's now officially requested for every family gathering. There's something magical about the combination of creamy potatoes and crunchy topping that makes even the pickiest eaters clean their plates.
Ingredients You'll Need
- 2 pounds Frozen Southern Style Hash Browns: These diced potatoes hold their shape beautifully while absorbing all the creamy goodness. Keep them frozen until mixing for best texture.
- 1/4 cup Frozen Minced Onions: These blend seamlessly with the potatoes and cook at the same rate. No tears from chopping fresh onions!
- 1 cup Sour Cream: Adds tangy richness that balances the overall flavor. Full-fat works best for creamiest results.
- 1 can (10.5 oz) Condensed Cream of Chicken Soup: Creates a velvety base that binds everything together. The chicken flavor adds depth without overpowering.
- 1/2 cup Butter, divided: Creates richness in both the potato mixture and the topping. Use unsalted if you're watching sodium levels.
- 1 teaspoon Salt: Enhances all the flavors. Adjust to your taste preferences.
- 2 cups Shredded Cheddar Cheese: Forms pockets of melty goodness throughout the casserole. Freshly grated melts more smoothly than pre-shredded.
- 2 cups Corn Flake Cereal, crushed: Creates the signature crunchy golden topping that makes this dish memorable.
 Pin it
Step-by-Step Cooking Instructions
- Prepare Your Workspace:
- Preheat your oven to 350°F (175°C) to ensure it reaches the proper temperature while you assemble the ingredients. Take a moment to spray a 9×13-inch baking dish with nonstick cooking spray, making sure to cover the sides as well as the bottom. This prevents sticking and makes serving and cleanup much easier. Pull out a large mixing bowl that will accommodate all ingredients with room for thorough mixing. The prep work is minimal, but having everything ready before you start makes the process even smoother.
- Build Your Potato Base:
- In your prepared large mixing bowl, combine the frozen hash browns and frozen minced onions. Do not thaw these ingredients before mixing – using them frozen is the secret to the perfect texture in the finished dish. The frozen onions will cook at the same rate as the potatoes, ensuring everything is perfectly tender. Gently toss these ingredients together until the onions are evenly distributed throughout the potatoes. This frozen base will absorb all the creamy elements you'll add next while maintaining the perfect potato texture.
- Create the Creamy Mixture:
- Add the sour cream, cream of chicken soup, 1/4 cup of melted butter, salt, and 2 cups of shredded cheddar cheese to your potato and onion mixture. Using a sturdy spoon or spatula, fold these ingredients together until everything is thoroughly combined. Take your time with this step to ensure that the creamy ingredients coat every piece of potato. The mixture should look evenly combined but not overmixed or mashed. This creamy coating will create that luxurious texture that makes funeral potatoes so comforting and irresistible.
- Transfer to Baking Dish:
- Carefully spoon the potato mixture into your prepared 9×13-inch baking dish, spreading it into an even layer. Use your spatula to smooth the top, ensuring even thickness throughout the dish for consistent baking. Press down gently to eliminate any large air pockets, but don't compact the mixture too firmly or it will become dense. The casserole should be level across the top to ensure the cornflake topping will distribute evenly.
- Prepare the Crunchy Topping:
- In a medium bowl, melt the remaining 1/4 cup of butter. Add the crushed corn flake cereal to the melted butter and toss gently until every piece is lightly coated. The butter helps the cornflakes achieve that perfect golden-brown color during baking and prevents them from burning. For the best texture contrast, crush the cornflakes just enough to create smaller pieces while still maintaining some larger flakes for visual appeal and extra crunch. This buttered topping is what sets funeral potatoes apart from ordinary potato casseroles.
- Apply the Topping and Bake:
- Sprinkle the buttered cornflake mixture evenly across the top of your potato casserole, covering the entire surface. Avoid pressing the topping into the potato mixture – you want it to sit lightly on top to maintain its crunch. Place the baking dish in your preheated oven and bake for 40-45 minutes, or until the edges are bubbling and the topping has turned a beautiful golden brown. The casserole should be heated through completely, with the cheese fully melted and incorporated throughout the potato mixture.
- Rest Before Serving:
- Once baked to golden perfection, remove the casserole from the oven and allow it to rest for about 5-10 minutes before serving. This brief resting period allows the casserole to set slightly, making it easier to serve in neat portions. The flavors also continue to meld during this time. Serve warm, using a large spoon to scoop portions that include both the creamy potato mixture and the crunchy topping. Each serving should have that perfect combination of creamy potatoes and crispy cornflakes that makes this dish so beloved.
I learned about the importance of keeping the hash browns frozen the hard way. Once, running short on time, I thawed them in the microwave first. The resulting casserole was tasty but had a much mushier texture than the perfectly tender potatoes I was used to. My family definitely noticed the difference! Now I know that the contrast between the creamy interior and the crunchy topping is what makes this dish so special, and starting with frozen potatoes is key to maintaining that perfect texture.
The Name Behind the Dish
These potatoes earned their somber name honestly – they became a staple at post-funeral gatherings particularly in the American South and in Mormon communities in Utah. Their ease of preparation made them perfect for feeding large groups during difficult times, and their comforting nature provided solace when it was most needed. Today, they've transcended their origins to become a beloved side dish at happy gatherings as well, often going by alternative names like "party potatoes" or "cheesy potato casserole" when the occasion is more festive.
Delicious Variations
While the classic recipe is perfect as is, there are several ways to customize these potatoes. For added protein and to transform the side dish into a complete meal, mix in 2 cups of shredded rotisserie chicken or diced ham before baking. Bacon lovers can sprinkle cooked, crumbled bacon either into the potato mixture or on top of the cornflakes for an extra layer of flavor. For a different flavor profile, try using cream of mushroom soup instead of chicken, or swap the cheddar for a combination of different cheeses like Monterey Jack and Colby for more complex flavor.
Scaling Up for Crowds
One of the most practical aspects of funeral potatoes is how easily they scale up for large gatherings. Simply double or triple all ingredients and divide between multiple baking dishes. When making large quantities, consider using disposable aluminum pans for easy transport and cleanup. The recipe multiplies beautifully without any adjustments needed to proportions or cooking times, making it perfect for potlucks, family reunions, and yes, post-funeral gatherings where feeding a crowd is necessary.
 Pin it
Storage and Reheating Tips
If you somehow end up with leftovers, funeral potatoes store beautifully in the refrigerator for up to 4 days. Cover the cooled casserole tightly with plastic wrap or transfer portions to airtight containers. To reheat, microwave individual portions for 1-2 minutes, or place the entire casserole (in an oven-safe dish) in a 325°F oven for about 20 minutes until heated through. The cornflake topping will lose some of its crunch during storage, but the flavor remains delicious.
My mother-in-law always claimed she didn't like casseroles until she tried these potatoes at our first Christmas together. After one bite, she not only asked for the recipe but has made it for her church potluck every month since then! The dish has become a bridge between our families and is requested at every holiday meal. I've learned over the years that the perfect funeral potatoes have a balance of textures—creamy potatoes with a golden, crunchy top—and it's this contrast that makes them irresistible to everyone from toddlers to grandparents.
Frequently Asked Questions
- → Why are these called Funeral Potatoes?
- They got this name because they're commonly served at post-funeral gatherings in some regions, particularly in Mormon communities. They're easy to make in large quantities and are comforting.
- → Can I make this ahead of time?
- Yes! Assemble the casserole without the cornflake topping, cover and refrigerate up to 24 hours. Add the topping just before baking, and you may need to add 5-10 minutes to the baking time.
- → Can I use fresh potatoes instead of frozen hash browns?
- While frozen hash browns work best, you can use fresh potatoes. Shred them, rinse well, and pat very dry to remove excess starch and moisture before using.
- → What can I substitute for cream of chicken soup?
- Cream of mushroom or cream of celery soup works well. For a vegetarian version, just use cream of mushroom soup instead of chicken.
- → Can I freeze this casserole?
- Yes, you can freeze it before baking. Prepare everything except the cornflake topping, freeze for up to 3 months, thaw in refrigerator overnight, add topping and bake.