 Pin it
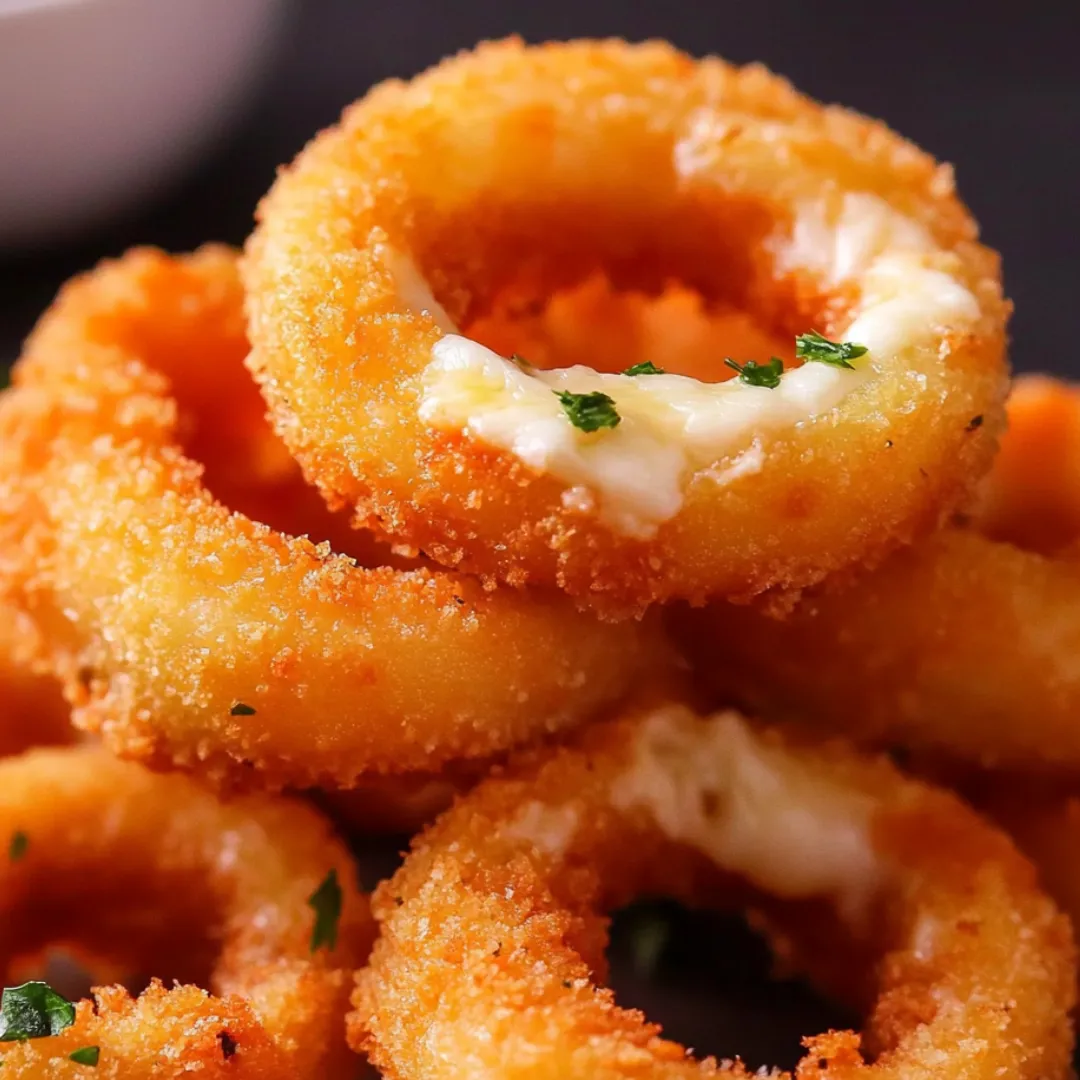
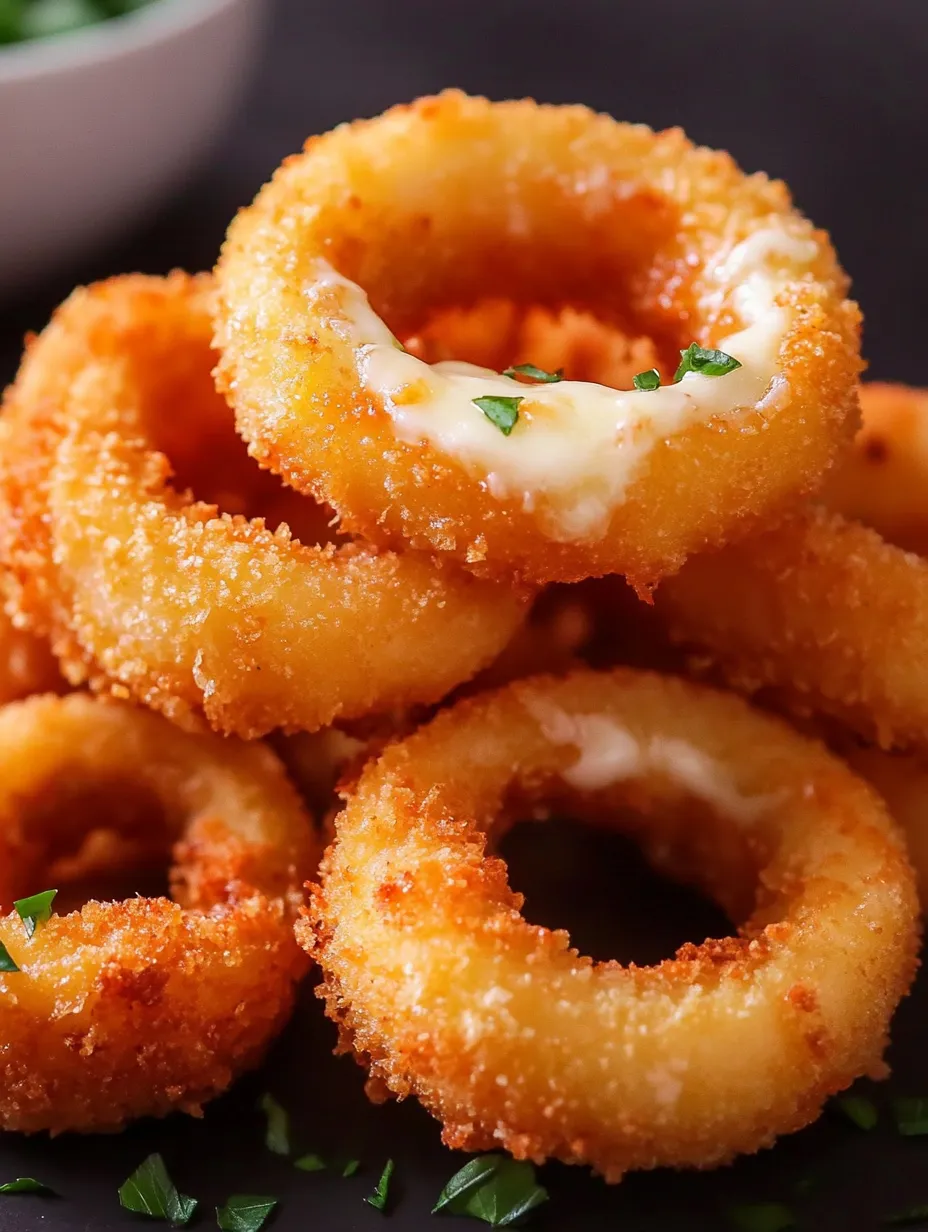
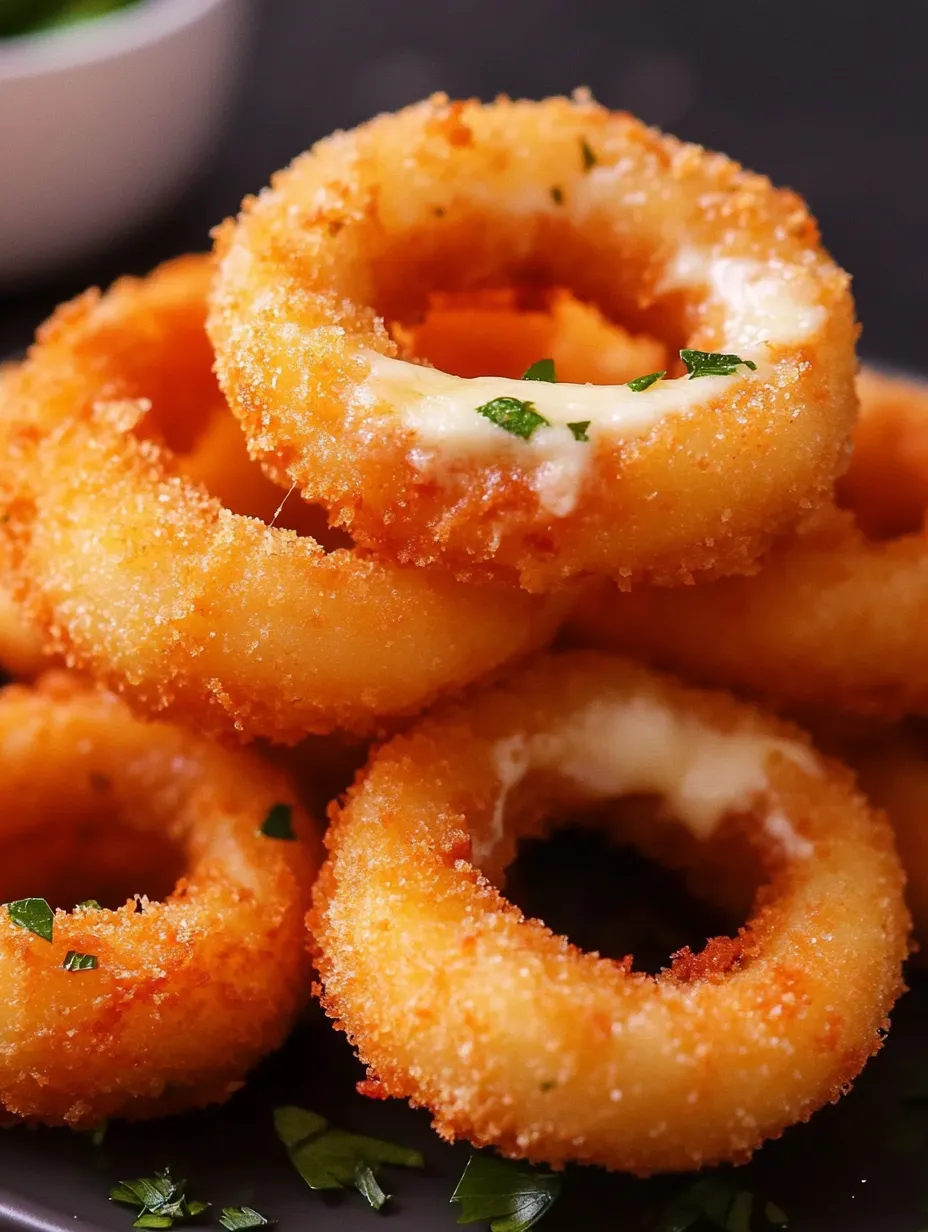
These mouthwatering cheesy stuffed mozzarella onion rings combine two favorite comfort foods into one irresistible package. Large onion rings are carefully layered with gooey mozzarella cheese, then coated in a crispy golden breading that creates the perfect contrast to the melty interior. When you pull these rings apart, you'll be rewarded with that Instagram-worthy cheese pull that makes everyone reach for seconds. Perfect for game day gatherings, casual entertaining, or anytime you're craving something indulgently savory, these upgraded onion rings deliver maximum flavor with minimal ingredients.
I first made these onion rings for a football watch party, not expecting them to steal the spotlight from my usual appetizer spread. Within minutes of serving, they were the talk of the room! The dramatic cheese pulls had everyone grabbing their phones for photos before diving in for more. My brother-in-law, who claims to dislike onions, ate four before I revealed what was in them. Now they're requested at every family gathering, and I've had to start making double batches because they disappear so quickly.
Ingredients You'll Need
- 2 large white or yellow onions: Their mild sweetness complements the cheese perfectly; choose firm onions with tight outer layers
- 2 cups shredded mozzarella cheese: Creates that perfect cheese pull; low-moisture mozzarella works best to prevent excess liquid
- 1 cup all-purpose flour: Forms the first layer of coating that helps everything else adhere
- 2 large eggs, beaten: Acts as the binding agent between the flour and breadcrumb layers
- 2 cups breadcrumbs: Creates the crispy exterior; panko breadcrumbs provide extra crunchiness
- 1 teaspoon garlic powder: Adds depth of flavor to the coating
- 1 teaspoon Italian seasoning: Complements the mozzarella with classic herbs
- 1/2 teaspoon salt: Enhances all the flavors and balances the sweetness of the onions
- Vegetable oil for frying: Choose an oil with a high smoke point for best results
 Pin it
Step-by-Step Cooking Instructions
- Prepare the Onions:
- Peel the onions and slice them horizontally into thick rings, approximately 1/2 inch wide. Carefully separate the rings, setting aside the smallest inner rings for another use. For each stuffed ring, you'll need two rings that fit together - a larger outer ring and a slightly smaller inner ring that nests inside it. This creates a pocket for the cheese. Sort your rings into pairs, matching sizes that fit well together with enough space between them for cheese.
- Create the Cheese-Stuffed Rings:
- Take a larger ring and a smaller ring that fits inside it. Place the smaller ring inside the larger one, creating a channel between them. Fill this channel with shredded mozzarella cheese, gently pressing the cheese into the space to compress it. Be careful not to overstuff, as this can cause the cheese to leak during frying. The cheese should be packed firmly but shouldn't cause the rings to separate. Repeat this process with all your paired rings, creating 8-10 stuffed rings depending on the size of your onions.
- Set Up Your Coating Station:
- Prepare three shallow dishes for the coating process. In the first dish, place the flour. In the second dish, beat the eggs until well combined. In the third dish, mix the breadcrumbs with garlic powder, Italian seasoning, and salt. Arrange these dishes in order (flour, egg, seasoned breadcrumbs) to create an efficient assembly line for coating your onion rings.
- Coat the Rings:
- Working with one stuffed ring at a time, first dredge it thoroughly in flour, ensuring all surfaces are covered. Shake off any excess flour, then dip the ring into the beaten eggs, allowing any excess to drip off. Finally, place the ring in the seasoned breadcrumbs, pressing gently to ensure the crumbs adhere to all surfaces. For an extra-thick coating, you can repeat the egg and breadcrumb steps. Place each coated ring on a plate or baking sheet, keeping them separated to prevent sticking.
- Heat the Oil:
- In a large, deep skillet or pot, heat about 2 inches of vegetable oil to 350°F (175°C). It's important to use a cooking thermometer to maintain this temperature throughout the frying process. If the oil is too cool, the rings will absorb too much oil and become greasy; if it's too hot, the coating will burn before the cheese melts properly. Allow the oil to reach temperature before adding any rings.
- Fry to Golden Perfection:
- Carefully lower 2-3 coated rings into the hot oil, being sure not to overcrowd the pan. Fry for 2-3 minutes on the first side until golden brown, then gently flip using tongs and fry for an additional 2 minutes on the second side. Watch closely as they cook - the ideal result is a deep golden-brown exterior with fully melted cheese inside. If the rings are browning too quickly, slightly reduce the heat. Remove the fried rings from the oil and place them on a paper towel-lined plate to drain excess oil. While still hot, sprinkle with a pinch of salt for extra flavor. Allow them to cool slightly before serving - the cheese inside will be extremely hot immediately after frying. Continue frying the remaining rings in small batches, monitoring the oil temperature between batches.
- Serve While Hot:
- Transfer the drained rings to a serving platter and serve immediately while the cheese is still melty and the exterior is crisp. These are best enjoyed fresh from the fryer when the contrast between the crunchy coating and gooey interior is at its peak. Pair with your favorite dipping sauces for an extra flavor dimension.
The first time I made these rings, I rushed the process and didn't maintain consistent oil temperature. Some rings browned too quickly while others absorbed too much oil. I've learned that patience is key - taking the time to properly stuff each ring and monitoring the oil temperature carefully makes all the difference. I also discovered that chilling the stuffed rings for about 15 minutes before coating them helps the cheese stay in place during frying.
Perfect Pairings
These cheesy onion rings are delicious on their own, but serving them with dipping sauces takes them to another level. Marinara sauce provides a classic pairing that complements the mozzarella beautifully. For something different, try a spicy sriracha mayo by mixing mayonnaise with sriracha sauce to taste. Ranch dressing is always a crowd-pleaser, especially when seasoned with fresh herbs like dill and chives. If you're serving these at a gathering, offer a variety of sauces so guests can customize their experience.
Alternative Cooking Methods
If you prefer not to deep-fry, these stuffed onion rings can be adapted for other cooking methods. For air frying, preheat your air fryer to 375°F (190°C), spray the coated rings with cooking oil spray, and cook for 10-12 minutes, flipping halfway through. For baking, place the rings on a parchment-lined baking sheet, spray with cooking oil, and bake at 400°F (200°C) for 15-20 minutes, turning once. While these methods produce a lighter version, they won't achieve quite the same level of crispiness as deep-frying.
Make-Ahead Tips
For entertaining, you can prepare these rings in advance up to the coating stage. After coating, place them on a parchment-lined baking sheet and refrigerate for up to 4 hours before frying. This not only saves time when guests arrive but also helps set the coating, resulting in a crispier exterior. If you're preparing far in advance, you can freeze the coated rings on a baking sheet until solid, then transfer to a freezer-safe bag for up to 1 month. Fry directly from frozen, adding 1-2 minutes to the cooking time.
 Pin it
Troubleshooting Common Issues
If your cheese is leaking during frying, your oil temperature may be too low, causing the cheese to melt before the coating sets. Another common issue is rings falling apart during frying, which usually happens when the onion layers aren't securely nested together. To prevent this, make sure to select rings that fit snugly together and handle them gently during the coating process. If your coating isn't adhering properly, make sure your assembly line is set up correctly – flour first, then egg, then breadcrumbs – and press the breadcrumbs firmly onto the rings.
I've made these cheesy onion rings countless times now, and they never fail to impress. What I love most about this recipe is watching people's reactions when they pull the rings apart and see that perfect stretch of melted cheese. It transforms a familiar appetizer into something special and memorable. The combination of sweet onion, savory cheese, and crunchy coating hits all the right notes - it's comfort food elevated to the next level. Whether you're serving them for game day or just a fun family night, these stuffed onion rings create moments of pure food joy.
Frequently Asked Questions
- → Can I bake these instead of frying?
- Yes, you can bake them at 425°F for about 15-20 minutes, turning halfway through. They won't be quite as crispy, but still delicious. Spray them with cooking oil before baking for better browning.
- → How do I prevent the cheese from leaking out?
- Make sure to seal the cheese well between two tight-fitting onion rings and press the cheese firmly. Also, ensure your breading is complete with no gaps, which helps contain the cheese during frying.
- → Can I prepare these ahead of time?
- You can bread the stuffed onion rings a few hours ahead and keep them refrigerated. However, for best results, fry them just before serving to maintain crispiness and ensure the cheese is melty.
- → What's the best oil for frying these?
- Vegetable oil, canola oil, or peanut oil are all good choices as they have high smoke points. Avoid olive oil or butter as they'll burn at the temperatures needed for proper frying.
- → What can I use instead of breadcrumbs?
- Panko bread crumbs make an excellent substitute and create an even crispier exterior. You could also use crushed cornflakes, cracker crumbs, or for a gluten-free option, try crushed pork rinds or gluten-free bread crumbs.
