
 Pin it
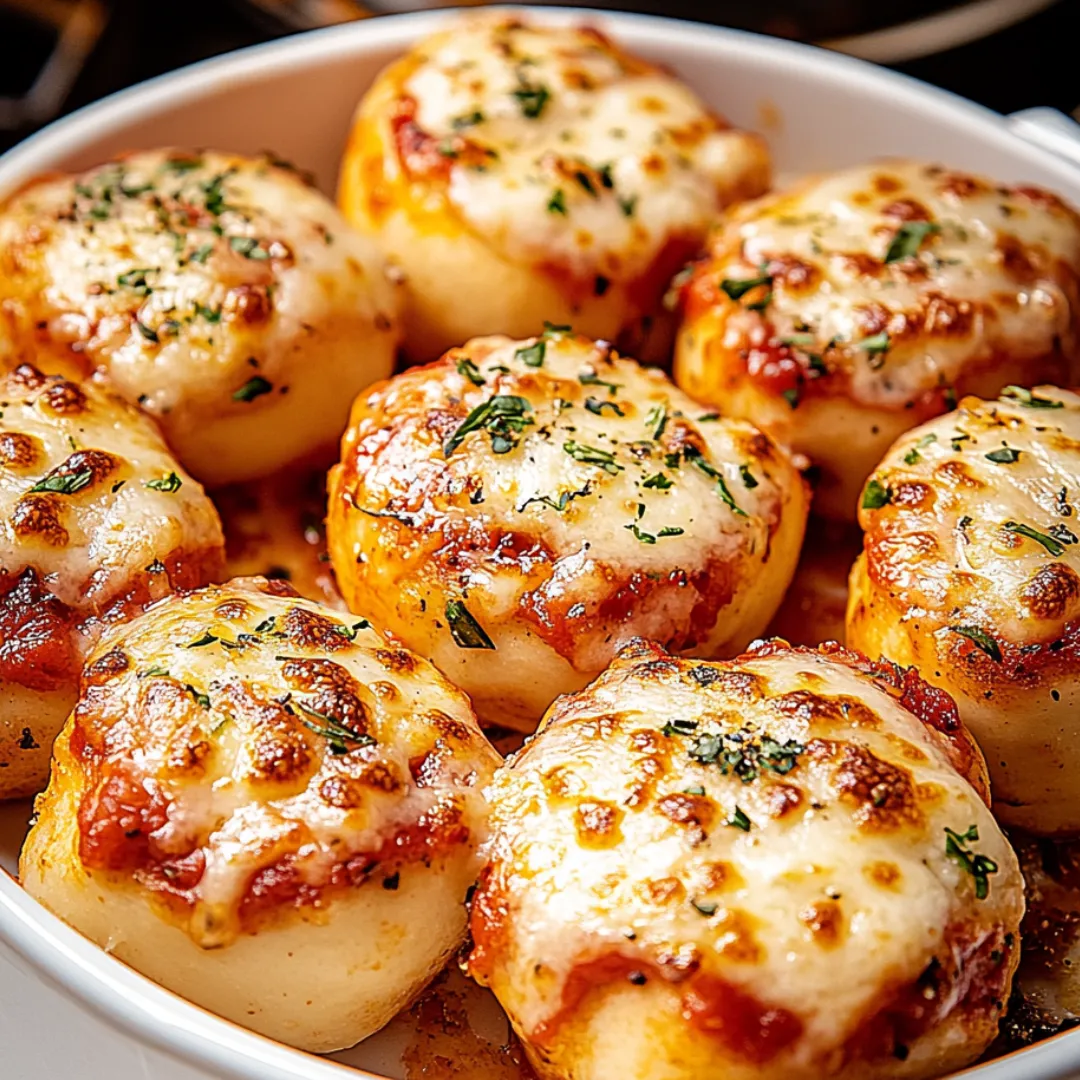
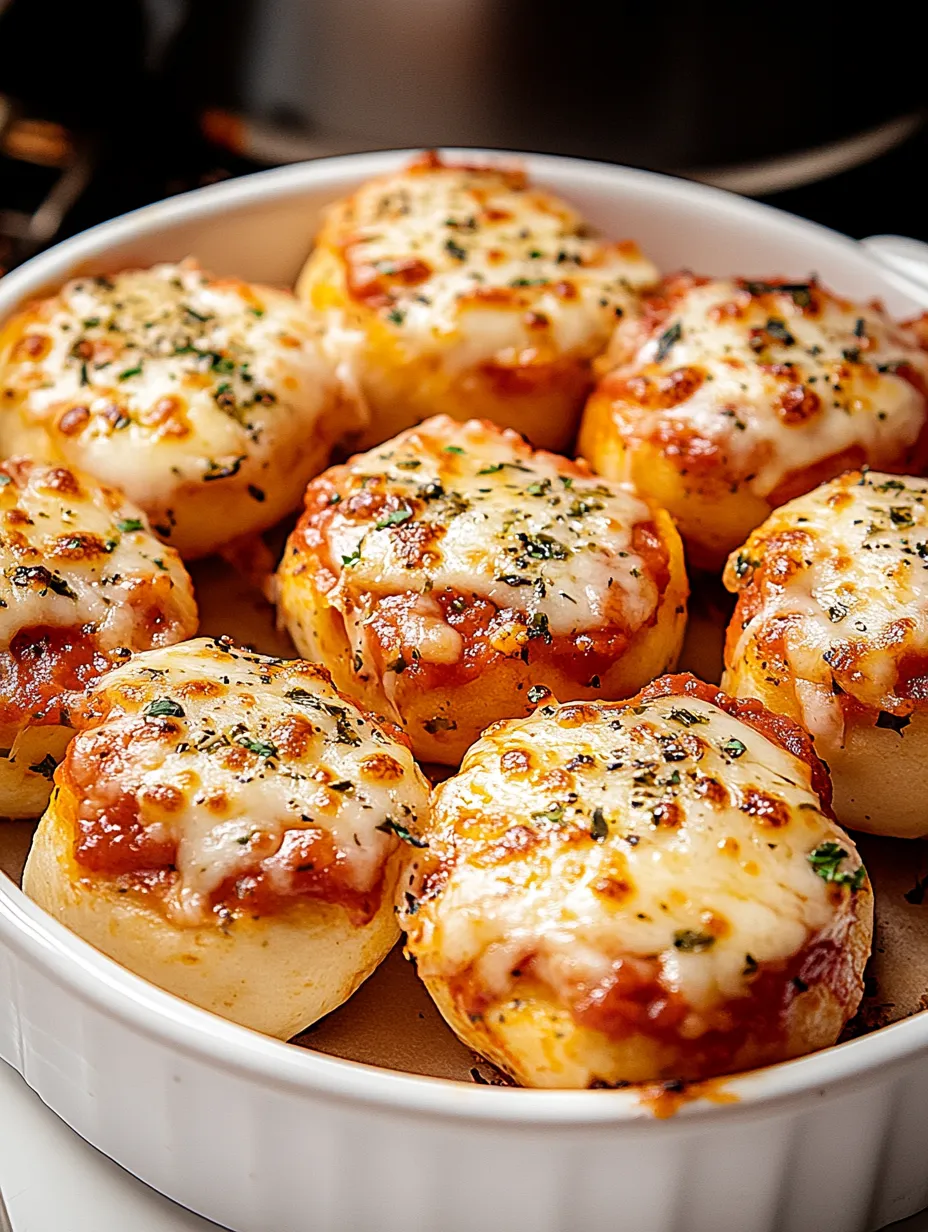
These irresistible Pizza Poppers pack all the flavor of a perfect pizza into each golden, bite-sized morsel. With a crispy exterior giving way to gooey melted cheese, zesty sauce, and savory pepperoni, they deliver the ultimate handheld pizza experience without the mess. The magic happens when the dough puffs up during baking, creating little pockets of pizza heaven that are impossibly addictive. Whether you're feeding a hungry crowd or just satisfying your own pizza craving, these versatile little bites are ready in under 30 minutes and disappear even faster.
My family discovered these little gems during a neighborhood potluck, and I couldn't believe how quickly they vanished from the serving tray. My normally reserved husband practically hovered over the plate, grabbing one after another while trying to act casual. When I finally tried making them at home, my teenage son's friends devoured two batches in minutes and immediately asked for the recipe to give to their mothers. Now they're our go-to solution whenever we need a crowd-pleasing snack that doesn't require hours in the kitchen.
Ingredients You'll Need
- 1 package refrigerated pizza dough: The foundation of your poppers; provides a chewy interior and crispy exterior when baked; store-bought saves time but homemade works wonderfully too
- ½ cup pizza sauce: Adds moisture and that classic tomato-based pizza flavor; choose a thicker sauce to prevent leakage during baking
- 1 cup shredded mozzarella cheese: Creates that perfect stretchy, gooey center that pizza lovers crave; freshly shredded melts better than pre-packaged
- ¼ cup mini pepperoni (or diced regular pepperoni): Contributes savory, slightly spicy flavor in every bite; mini versions distribute more evenly throughout the poppers
- ¼ teaspoon garlic powder: Enhances the savory notes and adds depth without overpowering; use fresh minced garlic for even more flavor intensity
- ¼ teaspoon Italian seasoning: Provides a balanced herb profile that complements the other ingredients perfectly; make sure it's fresh for best flavor
- 2 tablespoons butter, melted: Creates a golden, crispy exterior and adds rich flavor when brushed on before baking
- 2 tablespoons grated Parmesan cheese: Adds a nutty, salty finish that elevates the flavor profile; use freshly grated for best taste and texture
- 1 teaspoon fresh basil or parsley, chopped (optional): Brightens the finished poppers with fresh color and herbaceous notes that balance the rich filling
 Pin it
Step-by-Step Cooking Instructions
- Prepare Your Workspace:
- Begin by preheating your oven to exactly 375°F (190°C) and lining a baking sheet with parchment paper. The parchment prevents sticking and makes cleanup easier. While the oven heats, gather all your ingredients and measuring tools, setting them out in the order you'll use them. Having everything ready before you start handling the dough prevents it from warming up too much, which can make it harder to work with.
- Transform Your Dough:
- Lightly dust a clean work surface with flour to prevent sticking. Gently roll out your pizza dough into a rectangle approximately 12x16 inches, aiming for an even thickness of about ¼ inch. Using a pizza cutter or sharp knife, cut the dough into 24 equal squares (6 rows by 4 columns works well). Don't worry if they're not perfectly uniform – each little popper will have its own character. If the dough feels too sticky, dust your hands with a bit of flour as you work.
- Create Your Filling Assembly Line:
- Before filling your poppers, set up a small assembly line of your ingredients. Have your pizza sauce in a small bowl with a teaspoon for portioning, your shredded cheese ready in a pile, and your pepperoni pieces close at hand. In a separate small bowl, mix the garlic powder and Italian seasoning together so they distribute evenly when you sprinkle them. This organization makes the filling process much more efficient and less messy.
- Fill Each Popper Perfectly:
- Working with one dough square at a time, place about ½ teaspoon of pizza sauce in the center, being careful not to get too close to the edges. The sauce should cover less than half the surface area of the dough square. Top the sauce with a pinch (about 2 teaspoons) of shredded mozzarella and 2-3 pieces of mini pepperoni. Resist the urge to overfill – too much filling makes the poppers difficult to seal and may cause leakage during baking.
- Master the Sealing Technique:
- This is the most crucial step for perfect poppers. Lift all four corners of each dough square up and toward the center, meeting over the filling. Pinch these corners together firmly, then continue pinching along all of the edges until you have a completely sealed pouch. Gently roll the pouch between your palms to form a ball shape, taking care not to tear the dough. Place each completed popper seam-side down on your prepared baking sheet, spacing them about 1½ inches apart to allow for expansion.
- Apply the Flavorful Finish:
- Once all your poppers are formed and arranged on the baking sheet, brush each one generously with melted butter using a pastry brush. Make sure to coat the entire surface for even browning. Immediately sprinkle the buttered poppers with your garlic powder and Italian seasoning mixture, followed by the grated Parmesan cheese. The butter helps these seasonings adhere to the surface, creating a flavorful crust as they bake.
- Bake to Golden Perfection:
- Place the baking sheet in the preheated oven, positioning it in the center rack for even heat distribution. Bake for 10-12 minutes, keeping a close eye on them after the 8-minute mark. You're looking for a deep golden brown color and a firm exterior. The poppers will puff slightly as they bake, which is a good sign that they're cooking properly. If some poppers are browning faster than others, rotate the pan halfway through baking.
- Cool Slightly Before Serving:
- When the poppers are beautifully golden, remove them from the oven and let them cool on the baking sheet for 3-5 minutes. This brief cooling period allows the molten cheese inside to set slightly, making them easier to handle and less likely to burn mouths. While they're cooling, sprinkle with fresh chopped basil or parsley if desired. This finishing touch adds bright color and a fresh flavor contrast to the rich, savory poppers.
The first time I made these poppers for a family movie night, I learned the importance of not overfilling them the hard way. Several burst open during baking, creating a cheesy lava flow across my baking sheet. Now I'm careful to use just the right amount of filling and seal them extra well. My daughter came up with the clever idea of using a fork to crimp the edges like a mini pie, which works beautifully and creates a pretty pattern on the finished poppers. We've turned pizza popper making into a family activity where everyone gets to customize their own with their favorite fillings.
Beyond Basic Fillings
While the classic pepperoni and cheese filling is always a hit, experimenting with different combinations keeps this recipe fresh and exciting. Try buffalo chicken with blue cheese crumbles, or go vegetarian with sautéed mushrooms, bell peppers, and onions (just make sure to pre-cook and drain vegetables to prevent soggy poppers). For breakfast poppers, fill with scrambled eggs, cheddar, and crumbled bacon. My family's current favorite is a 'supreme' version with tiny bits of green pepper, onion, olive, and Italian sausage mixed with the cheese. The key is keeping the total amount of filling consistent so the dough can still be properly sealed.
Dipping Sauce Pairings
The right dipping sauce elevates these poppers from great to extraordinary. While extra pizza sauce is the obvious choice, consider offering a variety of options to please different palates. Garlic butter provides rich indulgence, while ranch dressing adds cooling creaminess that contrasts beautifully with the warm poppers. For heat lovers, try a spicy sriracha mayo or buffalo sauce. My personal favorite is a simple mix of equal parts sour cream and hot sauce with a squeeze of lime juice – the tangy heat perfectly complements the savory poppers. Setting up a 'dipping bar' with several options makes these even more fun for gatherings.
Make-Ahead Solutions
One of the best features of these Pizza Poppers is their versatility for make-ahead preparation. You can assemble them completely, place on a parchment-lined baking sheet, cover with plastic wrap, and refrigerate for up to 24 hours before baking. Just add an extra minute or two to the baking time if cooking straight from the refrigerator. For longer storage, freeze the unbaked poppers solid on a baking sheet, then transfer to freezer bags where they'll keep for up to three months. When you're ready to enjoy them, simply place the frozen poppers on a baking sheet and bake at 375°F for 15-18 minutes – no need to thaw first!
Serving with Style
While these poppers are perfectly delicious on their own, presenting them in creative ways makes them even more appealing for special occasions. For a game day spread, arrange them in team colors using colored toothpicks. For a casual dinner party, serve them alongside a simple green salad for a balanced meal. At children's parties, create a 'pizza popper bar' where kids can choose their own dipping sauces and sprinkle additional toppings like extra cheese or Italian herbs. I once served these at a tapas-style gathering by placing them in small, colorful ramekins with different dipping sauces in each – the presentation was as much a hit as the poppers themselves.
 Pin it
Troubleshooting Tips
Even the most carefully prepared poppers sometimes encounter issues. If your poppers leak during baking, the most likely culprit is either overfilling or inadequate sealing. Next time, use less filling and be extra diligent about pinching all seams completely closed. If your poppers are browning too quickly on the outside before the inside is cooked through, your oven may be running hot. Try reducing the temperature to 350°F and extending the baking time. If they're not browning enough, brush with additional butter halfway through baking or move them to a higher rack in the oven for the last few minutes of cooking time. Remember that different brands of pizza dough may behave differently, so you might need to adjust your technique slightly based on the specific dough you're using.
I've made these Pizza Poppers for everything from casual weeknight dinners to fancy cocktail parties, and they never fail to impress. There's something magical about transforming simple ingredients into these perfect little bites that capture all the joy of pizza in a more sociable, shareable form. My proudest moment was when my Italian grandfather – who rarely praises any pizza-adjacent food not made in his hometown – asked for the recipe after trying them at our family reunion. When food can create connections and memories like that, you know you've found a keeper recipe worth passing down through generations.
Frequently Asked Questions
- → Can I make these pizza poppers ahead of time?
- You can prepare them up to the baking stage and refrigerate for up to 24 hours. Add a minute or two to the baking time if cooking from cold.
- → What other fillings can I use instead of pepperoni?
- Try cooked sausage, ham, bacon, mushrooms, bell peppers, olives, or pineapple. Just make sure any vegetables are pre-cooked and patted dry to prevent soggy poppers.
- → Can I freeze these pizza poppers?
- Yes! Freeze them unbaked on a baking sheet until solid, then transfer to a freezer bag. Bake from frozen, adding 5-7 minutes to the cooking time.
- → Why are my pizza poppers leaking?
- Make sure to properly seal the dough by pinching the edges firmly. Don't overfill them, and place them seam-side down on the baking sheet.
- → Can I use crescent roll dough instead of pizza dough?
- Yes, crescent roll dough or biscuit dough both work well as alternatives to pizza dough for a different texture and flavor.