
 Pin it
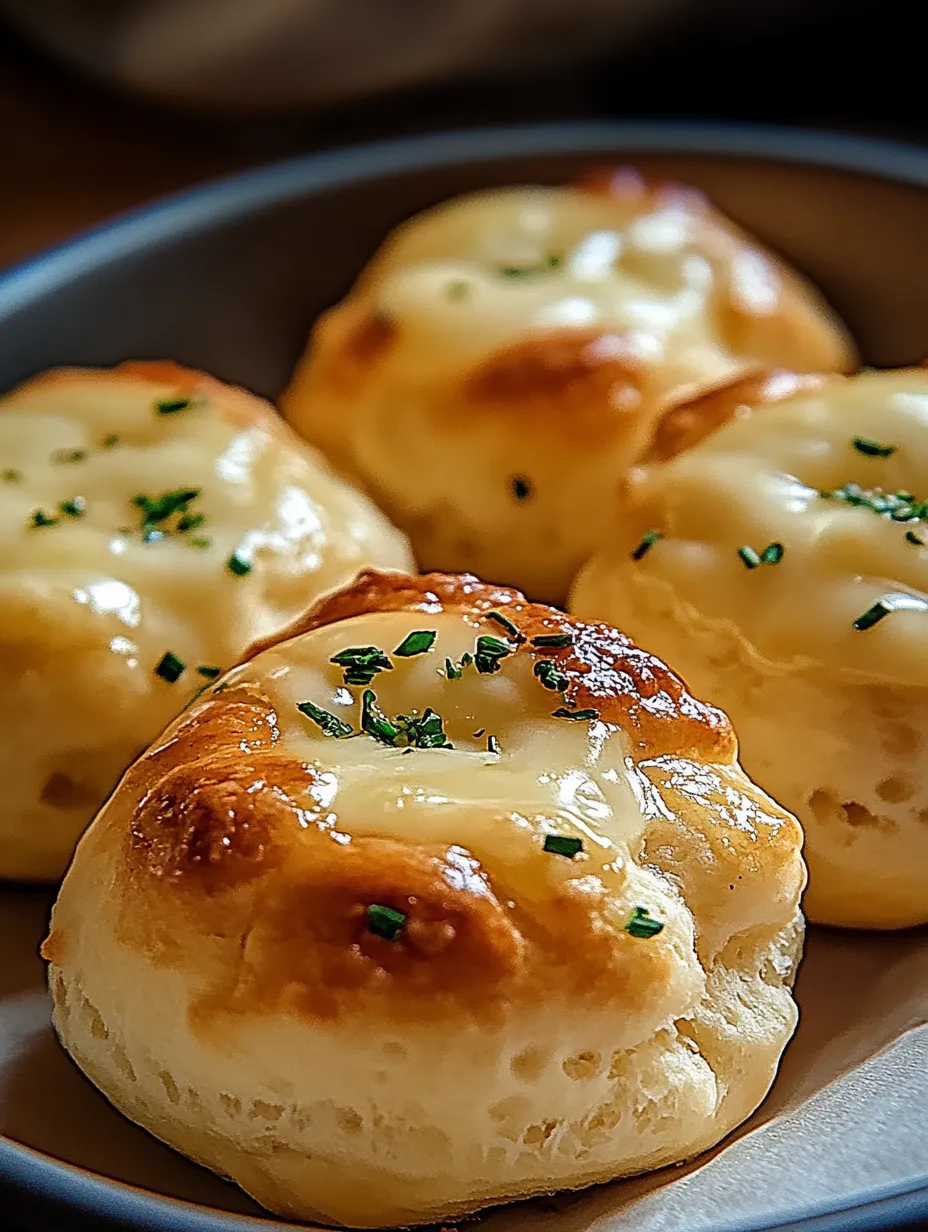
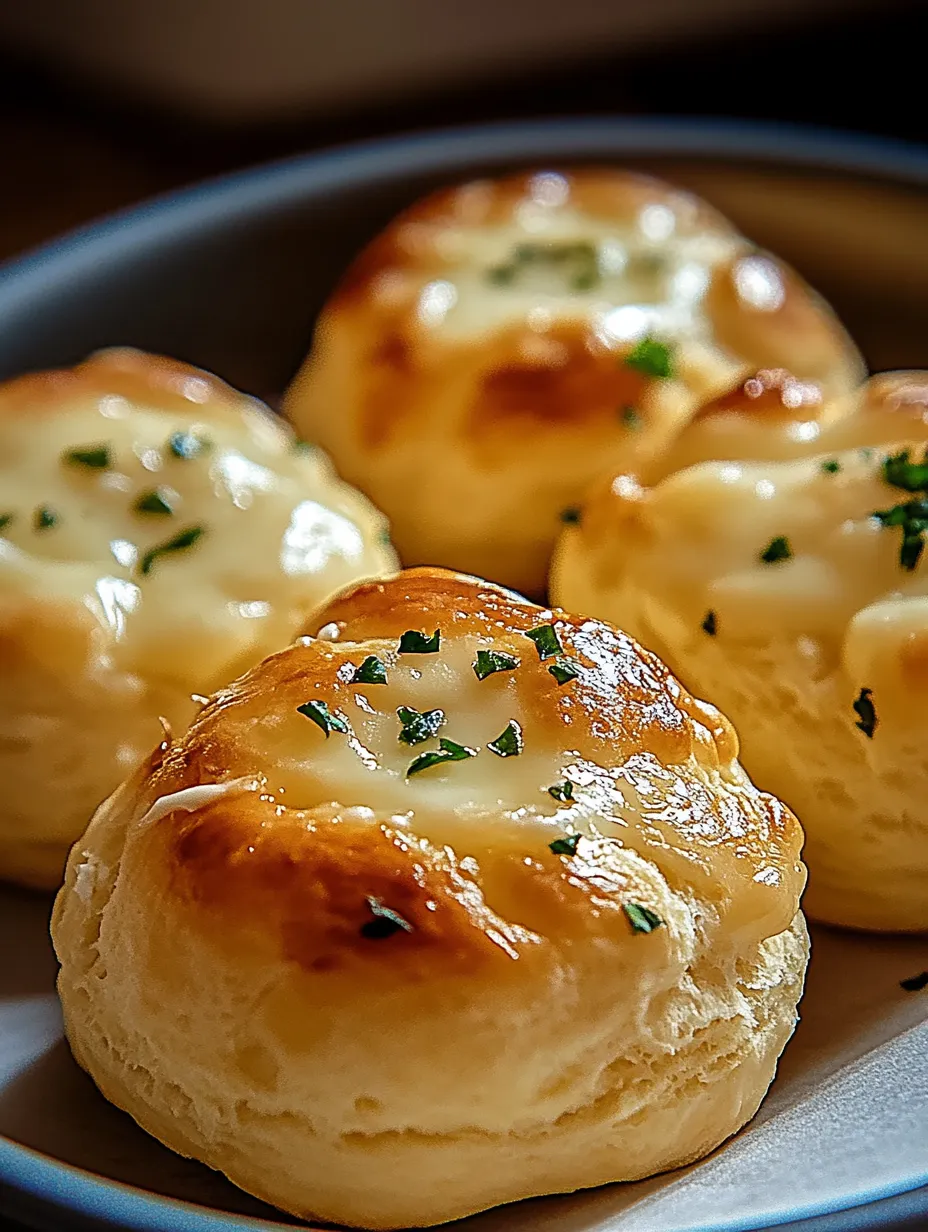
These irresistible garlic butter cheese bombs transform ordinary refrigerated biscuit dough into golden-brown bundles of joy bursting with gooey, melted cheese and savory garlic butter. Unlike traditional biscuits that serve as simple sides, these clever creations elevate the humble dough into something truly special – little pockets of melted cheese sealed inside flaky exteriors, all brushed with rich, aromatic garlic butter that seeps into every crevice. The contrast between the crisp exterior and molten interior creates a delightful sensory experience that keeps everyone reaching for more, while their finger-food size makes them perfect for everything from casual snacking to elegant entertaining.
The first time I made these cheese bombs was for an impromptu football gathering when I discovered I had forgotten to pick up chips on my grocery run. With just a tube of biscuits and some cheese in the fridge, I created these out of necessity, but they quickly became the talk of the party. My brother-in-law, normally quiet about food, asked for the recipe before halftime – that's when I knew I'd stumbled onto something special. Now they're requested at every family function, and I've experimented with countless variations over the years.
Ingredients You'll Need
- 1 can (8 count) Pillsbury refrigerated biscuits: the shortcut secret that provides a perfectly flaky exterior without making dough from scratch; their built-in layers create wonderful texture when baked
- ½ cup shredded mozzarella cheese: melts into long, satisfying strings when pulled apart; provides mild creaminess that lets the garlic flavor shine through
- ½ cup shredded cheddar cheese: adds sharp, tangy flavor and beautiful orange color that complements the mozzarella's stretchy texture; the combination of both cheeses creates more complex flavor than using just one
- 4 tablespoons butter, divided: creates richness in both the filling and topping; unsalted butter gives better control over the final saltiness level
- 2 teaspoons garlic powder, divided: infuses every bite with aromatic garlic flavor without the harsh bite of fresh garlic, which can sometimes burn during baking
- ½ teaspoon onion powder: provides subtle depth that enhances the garlic without overwhelming it; adds complexity to the savory profile
- 1 ½ teaspoons dried parsley, divided: brings fresh, herbaceous notes and beautiful flecks of green color that make the bombs look more appetizing
- ½ teaspoon salt: enhances all the other flavors and ensures the cheese filling isn't bland against the flaky exterior
- ¼ teaspoon black pepper: adds gentle warmth and subtle spice that balances the richness of the cheese and butter
 Pin it
Step-by-Step Cooking Instructions
- Prepare your workspace and preheat the oven:
- Begin by preheating your oven to 375°F and lining a baking sheet with parchment paper. The parchment prevents the cheese from sticking if it leaks out during baking and makes cleanup much easier. Having your workspace organized before handling the refrigerated dough ensures the biscuits don't warm up too much while you're getting everything else ready. A cooler dough is easier to work with and creates those desirable flaky layers once baked.
- Transform the biscuits into stuffable discs:
- Open the can of Pillsbury biscuits and separate each one onto a lightly floured surface. Using your fingertips or the palm of your hand, gently flatten each biscuit into a circle about 3-4 inches in diameter. Work from the center outward to maintain an even thickness. The goal is to create discs that are thin enough to fold around the cheese but not so thin that they tear. If the dough sticks to your hands, dust your fingers with a tiny bit of flour.
- Create the perfect cheese filling:
- In a small bowl, combine the shredded mozzarella and cheddar cheese, 2 tablespoons of melted butter, 1 teaspoon garlic powder, onion powder, ½ teaspoon dried parsley, salt, and pepper. Mixing the cheese with seasonings and butter before stuffing ensures every bite has perfect flavor distribution. The butter in the filling also helps the cheeses melt together more smoothly during baking. Mix until the cheese is evenly coated with the melted butter and seasonings.
- Master the stuffing and sealing technique:
- Place about 1 tablespoon of the cheese mixture in the center of each flattened biscuit. The key is not overfilling – you need enough dough around the edges to properly seal the bundle. Gather the edges of the dough up and over the cheese, pinching firmly to seal completely. Roll gently between your palms to form a smooth ball, making sure there are no openings where cheese could escape. Place each sealed bomb seam-side down on the prepared baking sheet, spacing them about 2 inches apart to allow for expansion.
- Prepare the garlic butter topping:
- While the stuffed biscuits are waiting to go into the oven, make the garlic butter topping that will give them their irresistible flavor and golden appearance. In a small microwave-safe bowl, melt the remaining 2 tablespoons of butter. Stir in the remaining teaspoon of garlic powder, teaspoon of dried parsley, and a pinch of salt until well combined. This mixture will be brushed over the bombs both before and after baking for maximum flavor impact.
- Bake to golden perfection:
- Using a pastry brush, generously coat each cheese bomb with the garlic butter mixture. Place the baking sheet in the preheated oven and bake for 15-20 minutes. You're looking for a deep golden brown color – too pale and they'll be doughy inside, too dark and they might be dry. About halfway through baking, you might see some cheese bubbling out from a few bombs – this is perfectly normal and adds to their rustic charm. Once beautifully browned, remove from the oven and immediately brush with the remaining garlic butter for an extra burst of flavor while they're still hot.
I discovered the magic of pre-baking preparation during the holidays last year when I was juggling multiple dishes. Having the cheese bombs ready to slide into the oven once the main course came out meant fresh, hot appetizers without the stress. My grandmother, who always claimed anything with refrigerated dough couldn't possibly taste homemade, actually asked for my 'special biscuit recipe' after trying these – I still haven't told her my secret, and I'm not sure I ever will!
Perfect Pairings and Serving Suggestions
These versatile cheese bombs shine in multiple settings. For casual gatherings, arrange them in a basket lined with a cloth napkin to keep them warm longer and serve with marinara sauce for dipping. The acidity of the tomato sauce beautifully balances the richness of the cheese and butter. When serving as a side dish, pair them with pasta dishes that have light sauces – the bombs soak up extra sauce deliciously. For a more elegant presentation, arrange them on a wooden board with clusters of grapes, drizzle with honey, and sprinkle with fresh thyme leaves for an unexpected sweet-savory combination that works surprisingly well with the garlic and cheese flavors.
Creative Variations to Keep Things Interesting
The beauty of these cheese bombs lies in their adaptability. For an Italian twist, add a pepperoni slice and a sprinkle of Italian seasoning to each bomb before sealing. Ranch enthusiasts will love adding a teaspoon of dry ranch seasoning to the cheese mixture and serving with extra ranch for dipping. During the holidays, try adding finely diced ham and a touch of cranberry sauce inside for a festive flavor combination. Breakfast versions featuring scrambled egg and bacon bits inside make a portable morning treat. My family's current favorite variation includes a spoonful of jalapeño cream cheese mixed with the shredded cheeses for a spicy kick that's mellowed by the buttery biscuit exterior.
Troubleshooting Common Issues
Even the simplest recipes sometimes present challenges. If your cheese bombs split open during baking, you likely overfilled them or didn't seal the edges completely – next time, use slightly less filling and pinch the edges more firmly. Bombs that brown too quickly on the bottom usually indicate an oven that runs hot or a dark baking sheet – try positioning the rack higher in the oven or using an insulated baking sheet. If the centers aren't fully cooked while the exteriors are brown, your biscuit discs were likely too thick in the center – flatten them more evenly next time. For cheese that seems to disappear inside the bomb rather than creating that desirable gooey center, try using cheese blocks cut into small cubes instead of shredded cheese, which creates pockets of concentrated meltiness.
 Pin it
The Science Behind Perfect Cheese Pulls
What makes these bombs so satisfying is the perfect cheese pull when you break them open – that Instagram-worthy stretch of melted cheese that connects the two halves. This phenomenon comes down to protein structure and temperature. Mozzarella contains proteins that align into strands when heated and stretched, creating that dramatic effect. The combination with cheddar provides flavor while maintaining stretchiness. For the most impressive cheese pulls when serving, allow the bombs to cool just 3-5 minutes after baking – this is the sweet spot where the cheese is still molten enough to stretch but has cooled just enough to develop elasticity rather than simply flowing like liquid. This brief resting period also protects eager eaters from burning their mouths on the molten filling!
My final thought on these garlic butter cheese bombs is that they perfectly represent what I love most about cooking – taking simple, accessible ingredients and transforming them into something that brings people together around the table. There's something magical about watching someone's face light up when they pull apart a bomb and see that perfect cheese stretch. Unlike complicated recipes that can intimidate, these humble little cheese bombs welcome cooks of all skill levels while still delivering results impressive enough for company. Whether they're starring at your next party or simply brightening a weeknight dinner, these little bundles of joy prove that sometimes the simplest dishes create the most lasting memories.
Frequently Asked Questions
- → Can I use other types of cheese?
- Absolutely! Try pepper jack for a spicy kick, gouda for smokiness, or even blue cheese crumbles. Any good melting cheese works well in these bombs.
- → Can I make these ahead of time?
- You can prepare them up to the point of baking, then refrigerate for a few hours. Add a couple minutes to the baking time if cooking from cold. They're best freshly baked for the gooiest centers.
- → What can I serve with these cheese bombs?
- They pair wonderfully with marinara sauce for dipping, alongside a hearty soup, or as part of an appetizer spread. They also make a great side for pasta dishes or salads.
- → Why are my cheese bombs leaking?
- Make sure to really seal the edges well by pinching firmly. Don't overfill with cheese, and place them seam-side down on the baking sheet to help prevent leaks.
- → Can I freeze these cheese bombs?
- Yes! Freeze them unbaked on a baking sheet until solid, then transfer to a freezer bag. Bake from frozen, adding 5-7 minutes to the cooking time. Great for meal prep!