
 Pin it
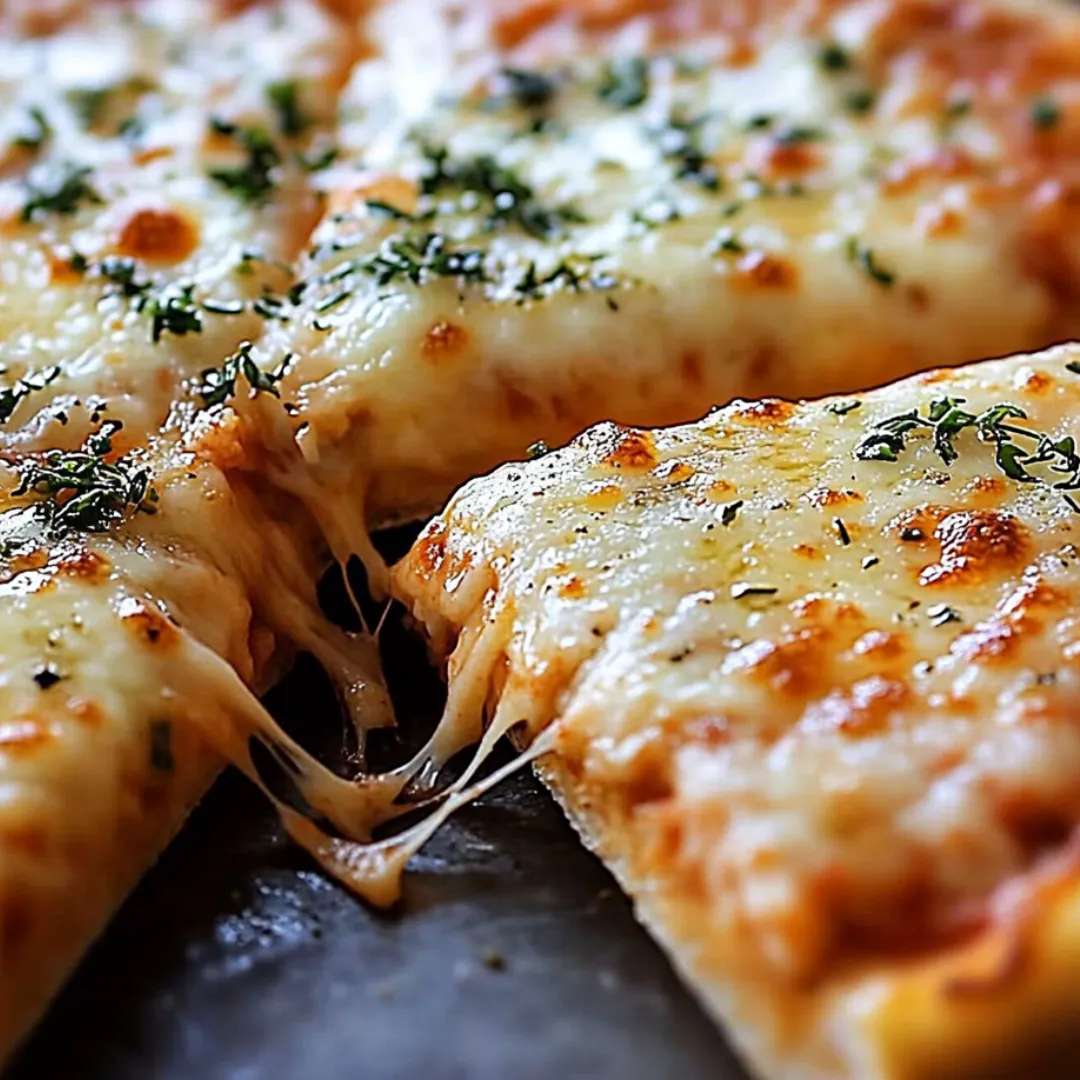
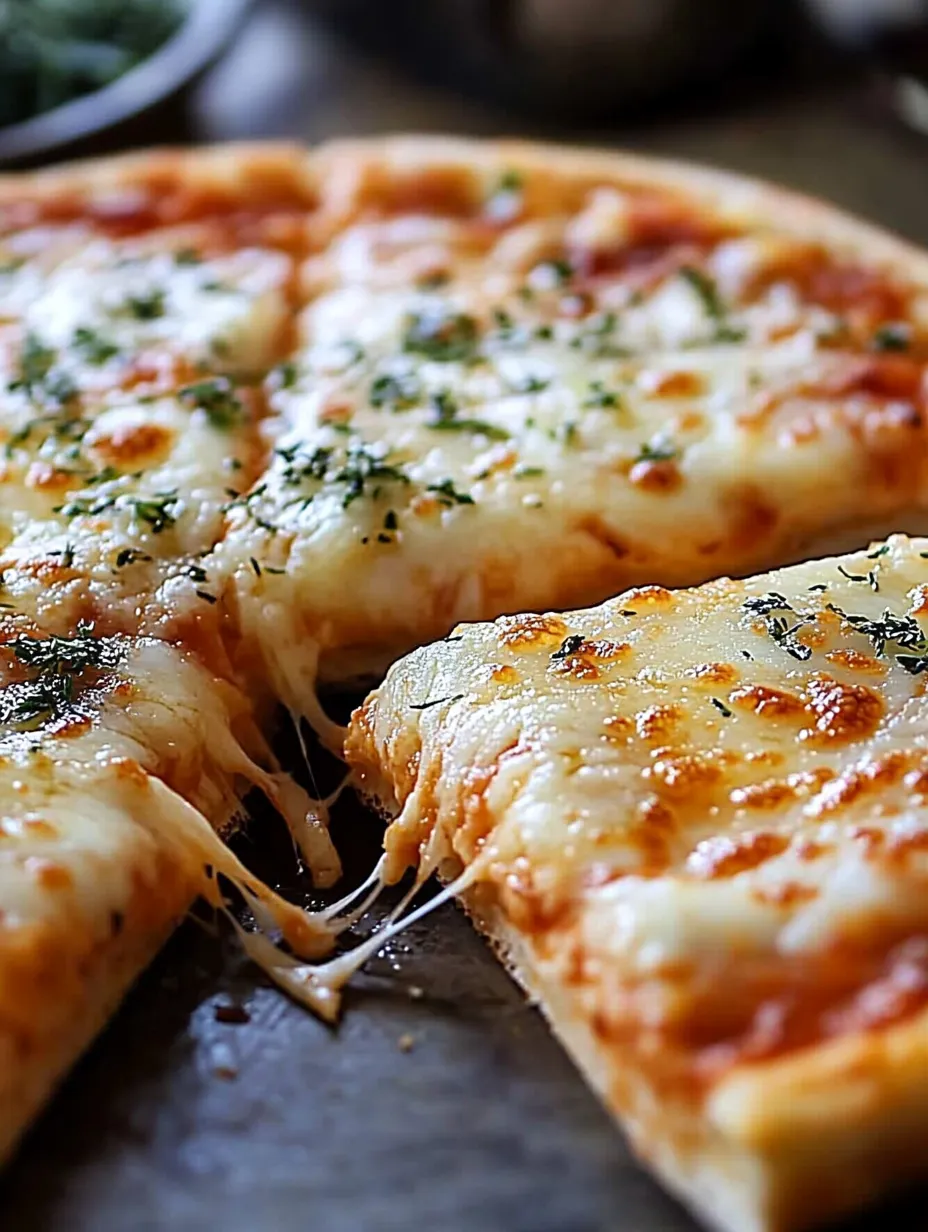
This Garlic Parmesan Pizza Grilled Cheese transforms two beloved comfort foods into one irresistible sandwich that delivers the best of both worlds. The exterior features perfectly golden, garlic-herb butter toasted sourdough that gives way to a molten interior of stretchy mozzarella, sharp Parmesan, and tangy pizza sauce. Each bite offers the nostalgic comfort of a classic grilled cheese elevated by the bold, aromatic flavors of your favorite pizzeria. This clever mashup combines simplicity with sophistication, creating a sandwich that's both familiar and exciting—perfect for a quick lunch, cozy dinner, or late-night craving that demands something special.
I first created this sandwich during a particularly cold winter evening when I was craving both pizza and grilled cheese but didn't want to choose between them. The experiment was an immediate hit with my family—my husband actually declared it 'better than delivery pizza' (high praise from a New York pizza enthusiast). What I love most about this recipe is how it elevates humble ingredients into something that feels indulgent without requiring any special cooking skills. My teenage son has since mastered making these sandwiches himself, often adding his own twist with different herbs or toppings. It's become our go-to comfort food when we want something that feels special but doesn't require a lot of effort or cleanup.
Ingredients You'll Need
- 4 slices Sourdough Bread: Provides the perfect sturdy yet tender base with a slight tanginess that complements the filling. The natural fermentation adds depth of flavor
- 2 cups Shredded Mozzarella Cheese: Creates that irresistible cheese pull and melty goodness essential to both pizza and grilled cheese. Fresh mozzarella works best
- ½ cup Grated Parmesan Cheese: Adds sharp, nutty depth that elevates the flavor profile. Always use freshly grated for the best flavor and meltability
- ½ cup Pizza Sauce: Delivers authentic pizza flavor and moisture to the sandwich. Homemade or your favorite jarred variety both work well
- 4 tablespoons Unsalted Butter, softened: Creates a beautifully golden, crispy exterior when combined with herbs and spices
- 2 teaspoons Garlic Powder: Infuses the bread with aromatic garlic flavor without the risk of burning that comes with fresh garlic
- 1 teaspoon Dried Oregano: Provides classic Italian herb flavor essential to the pizza experience
- 1 teaspoon Dried Basil: Adds sweet, aromatic notes that complement the oregano and enhance the overall pizza flavor
- ½ teaspoon Crushed Red Pepper Flakes (optional): Brings a pleasant heat that cuts through the richness of the cheese. Adjust according to your spice preference
 Pin it
Step-by-Step Cooking Instructions
- Create the Flavor-Packed Butter:
- In a small bowl, combine the softened unsalted butter with garlic powder, dried oregano, and dried basil. Using a fork, thoroughly mix until all herbs and spices are evenly distributed throughout the butter. This herb-infused butter will not only help achieve that perfect golden crust, but will also impart aromatic flavors directly into the bread as it toasts. The softened state of the butter is crucial here—too cold and it won't spread easily; too melted and it will soak into the bread rather than creating a barrier that crisps up beautifully.
- Begin the Sandwich Assembly:
- Lay all four slices of sourdough bread on a clean work surface. Take care to select slices of similar size and thickness to ensure even cooking. For the two slices that will form the bottom halves of your sandwiches, spread a generous layer of pizza sauce, about 2-3 tablespoons per slice, leaving a small border around the edges to prevent overflow during cooking. The sauce should be spread evenly but not so thickly that it will make the bread soggy.
- Create the Perfect Cheese Blend:
- In a separate bowl, toss together the shredded mozzarella and grated Parmesan cheese until well combined. This mixing step ensures that both cheeses will be distributed evenly throughout each bite rather than having distinct layers. Divide this cheese mixture evenly between the two sauce-covered bread slices, creating a substantial layer that will yield that coveted stretchy cheese pull when melted. If using the optional red pepper flakes, sprinkle them over the cheese layer now.
- Complete the Sandwich Construction:
- Place the remaining two slices of bread on top of the cheese-covered slices to form two complete sandwiches. Gently press down slightly to compact the ingredients. Using a knife or offset spatula, spread the herb-infused butter generously across the top slice of bread. Be sure to extend the butter all the way to the edges for even browning and maximum flavor infusion.
- Prepare for Perfect Cooking:
- Heat a large skillet or griddle over medium heat. The temperature is crucial here—too hot and the bread will burn before the cheese melts; too cool and you'll miss out on that perfect golden crust. The surface is ready when a drop of water sizzles gently upon contact. Once the cooking surface is properly heated, carefully place the sandwiches butter-side down in the skillet. Immediately spread the remaining herb butter on what is now the top slice of each sandwich.
- Cook with Careful Attention:
- Cook the sandwiches for approximately 3-4 minutes on the first side, adjusting the heat as needed to achieve even browning without burning. Use a spatula to gently lift an edge occasionally to check the color development. When the first side has reached a beautiful golden brown, carefully flip each sandwich. The flip requires some finesse—use a wide spatula and confident, swift motion to prevent the filling from spilling out.
- Finish the Cooking Process:
- Continue cooking on the second side for an additional 2-3 minutes, or until both sides are evenly golden brown and the cheese inside has completely melted. You'll know the cheese has reached the perfect state when you see it just beginning to ooze slightly from the edges of the sandwich. If the bread is browning too quickly but the cheese hasn't fully melted, reduce the heat slightly and cover the pan with a lid for 30-60 seconds to trap heat that will help melt the cheese without further browning the bread.
- Rest Before Serving:
- Remove the sandwiches from the heat and transfer to a cutting board. Allow them to rest for 1-2 minutes before cutting. This brief resting period allows the molten cheese to set slightly, ensuring it doesn't all run out at the first cut while still maintaining that perfect gooey consistency. Using a sharp knife, cut each sandwich diagonally to create two triangles, revealing the beautiful layers of cheese and sauce inside.
Creative Variations
This versatile sandwich template welcomes endless customization based on your preferences or what you have on hand. For a meat lover's version, add a layer of thinly sliced pepperoni or cooked Italian sausage between the sauce and cheese. The slight spice and savory depth from the cured meats complement the cheesy base perfectly. Vegetable enthusiasts might enjoy adding sautéed mushrooms, roasted red peppers, or spinach for added nutrition and texture. The key is to make sure any added vegetables are well-drained to prevent a soggy sandwich.
Perfect Pairings
To create a complete meal that balances the richness of this sandwich, consider serving it alongside a simple arugula salad dressed with lemon juice and olive oil. The peppery greens and bright acidity cut through the cheesy decadence beautifully. For a classic comfort food pairing, serve with a small bowl of tomato soup for dipping, creating the ultimate cozy meal. The soup reinforces the tomato notes from the pizza sauce while providing a different texture to enjoy. On chilly evenings, a mug of tomato-basil soup and this sandwich create the perfect warming combination.
Make-Ahead Tips
While this sandwich is best enjoyed immediately after cooking, you can prepare components ahead of time to streamline the process. The garlic-herb butter can be made up to a week in advance and stored in the refrigerator—just bring it to room temperature before using. For entertaining, pre-mix the cheese blend and store it in an airtight container in the refrigerator for up to three days. With these elements prepared ahead, you can quickly assemble and cook these sandwiches for impromptu gatherings or quick weeknight meals.
 Pin it
Storage Solutions
This sandwich truly shines when freshly made, but if you find yourself with leftovers, they can be stored in the refrigerator for up to two days. To reheat, place the sandwich in a dry skillet over medium-low heat, covering it with a lid to help the cheese re-melt while the bread regains its crispness. Avoid microwaving if possible, as it will make the bread soggy rather than crisp. If you're planning to make extra sandwiches specifically for later consumption, consider under-cooking them slightly during the initial preparation so they don't over-brown when reheated.
My most memorable experience with this recipe came during a power outage last winter. With limited cooking options, I made these sandwiches on our gas stovetop using a cast iron skillet. The kitchen was dimly lit by candles, but the aroma of garlic and herbs filled our home, creating an unexpectedly romantic dinner atmosphere. My husband and I enjoyed these sandwiches by candlelight with glasses of red wine, transforming what could have been a frustrating evening into a cozy date night. Sometimes the simplest meals create the most lasting memories. Now whenever we make these sandwiches, they remind us of that impromptu candlelit dinner and how comfort food can truly nourish both body and spirit.
I've made countless grilled cheese variations over the years, but this Garlic Parmesan Pizza version holds a special place in my recipe collection. What began as a simple experiment has become a favorite requested by friends and family alike. The genius of this sandwich lies in its ability to transform ordinary ingredients into something that feels special and crave-worthy with minimal effort. It reminds me that cooking doesn't always need to be complicated to be memorable—sometimes the best dishes come from playfully combining familiar flavors in new ways. Whether you're cooking for yourself after a long day, preparing a quick meal for your family, or impressing friends with a creative lunch, this sandwich delivers comfort, flavor, and a touch of whimsy that will leave everyone asking for more.
Frequently Asked Questions
- → Can I use different bread instead of sourdough?
- Absolutely! Italian bread, ciabatta, or a hearty white bread would all work well. Just make sure it's sturdy enough to hold the fillings. Softer breads may get soggy from the pizza sauce.
- → What other pizza toppings can I add to this sandwich?
- This sandwich is very customizable. Try adding thinly sliced pepperoni, cooked Italian sausage, sautéed mushrooms, bell peppers, or olives. Just make sure any meat toppings are pre-cooked and vegetables are thinly sliced or pre-sautéed.
- → How can I make this sandwich lower in calories?
- Use reduced-fat cheese, light butter or a butter substitute, and whole grain bread. You can also reduce the amount of cheese while still maintaining that gooey texture, or use a thin layer of pizza sauce to cut back on calories.
- → Can I prepare the garlic herb butter ahead of time?
- Yes! Make a larger batch and store it in an airtight container in the refrigerator for up to 2 weeks, or freeze it for up to 3 months. This herb butter is also great on regular garlic bread or for adding flavor to other dishes.
- → Why is my sandwich burning before the cheese melts?
- Your heat is likely too high. For perfect grilled cheese, use medium-low to medium heat and cook more slowly to allow the cheese time to melt before the bread gets too dark. Covering the pan for a minute can also help melt the cheese.