
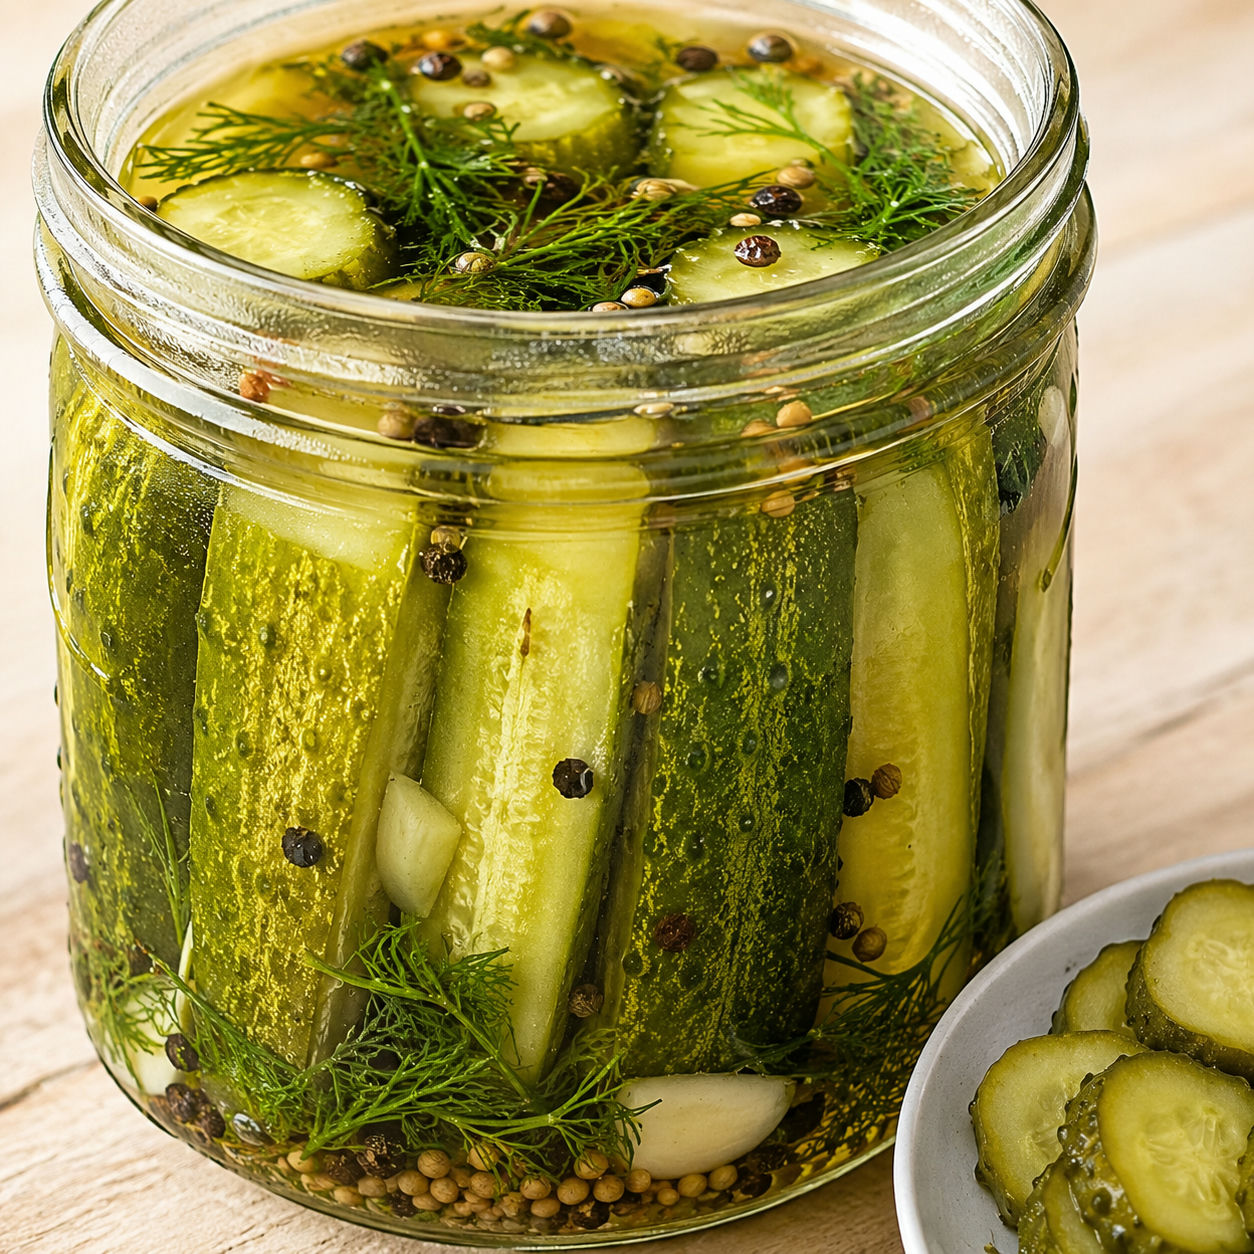
 Pin it
This homemade refrigerator dill pickles recipe in 10 minutes is for the moment you have a few firm cucumbers and want something sharp, cold, and crunchy without pulling out canning gear. The brine is simple, clean, and garlicky.
The pickles are not instant in flavor. The hands-on work is fast, then the fridge does the rest. By tomorrow they taste bright and snappy, and by the second day the dill and garlic settle into every bite.
Cucumbers, Dill, and Brine
Choose the firmest small cucumbers you can find. Pickling cucumbers or Persian cucumbers keep their bite better than big waxed slicing cucumbers.
The brine should taste salty, tangy, and just barely rounded by sugar. It should not taste sweet.
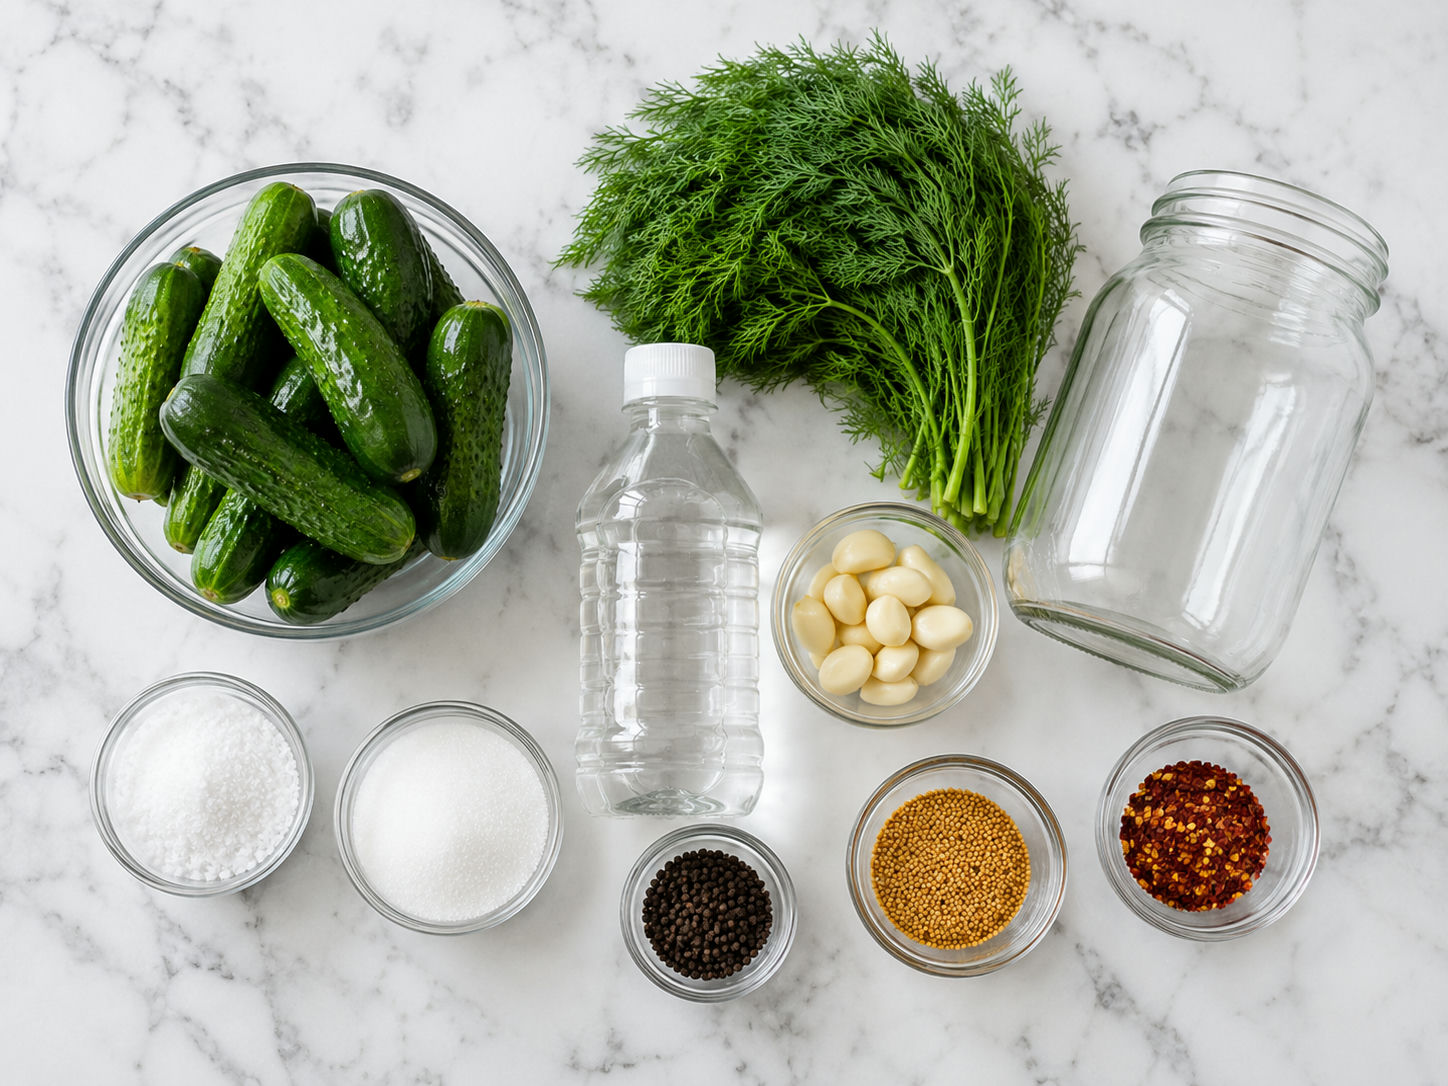
- Pickling cucumbers. Small cucumbers have tight seed pockets and thin skins, which helps them stay crisp in the jar.
- Fresh dill. Dill gives the pickles their clean green aroma and classic deli-style flavor.
- Garlic cloves. Smashed garlic infuses the brine quickly and gives each bite a savory edge.
- Distilled white vinegar. A 5% vinegar gives a bright, reliable tang without muddying the color.
- Kosher salt. Salt seasons the cucumbers and helps pull flavor into the slices.
- Sugar. A small spoonful softens the vinegar bite without making sweet pickles.
- Peppercorns and mustard seeds. These add warm spice and a subtle pop in the brine.
- Red pepper flakes. Optional, but useful if you like a little heat at the finish.
10 Minute Dill Pickle Method
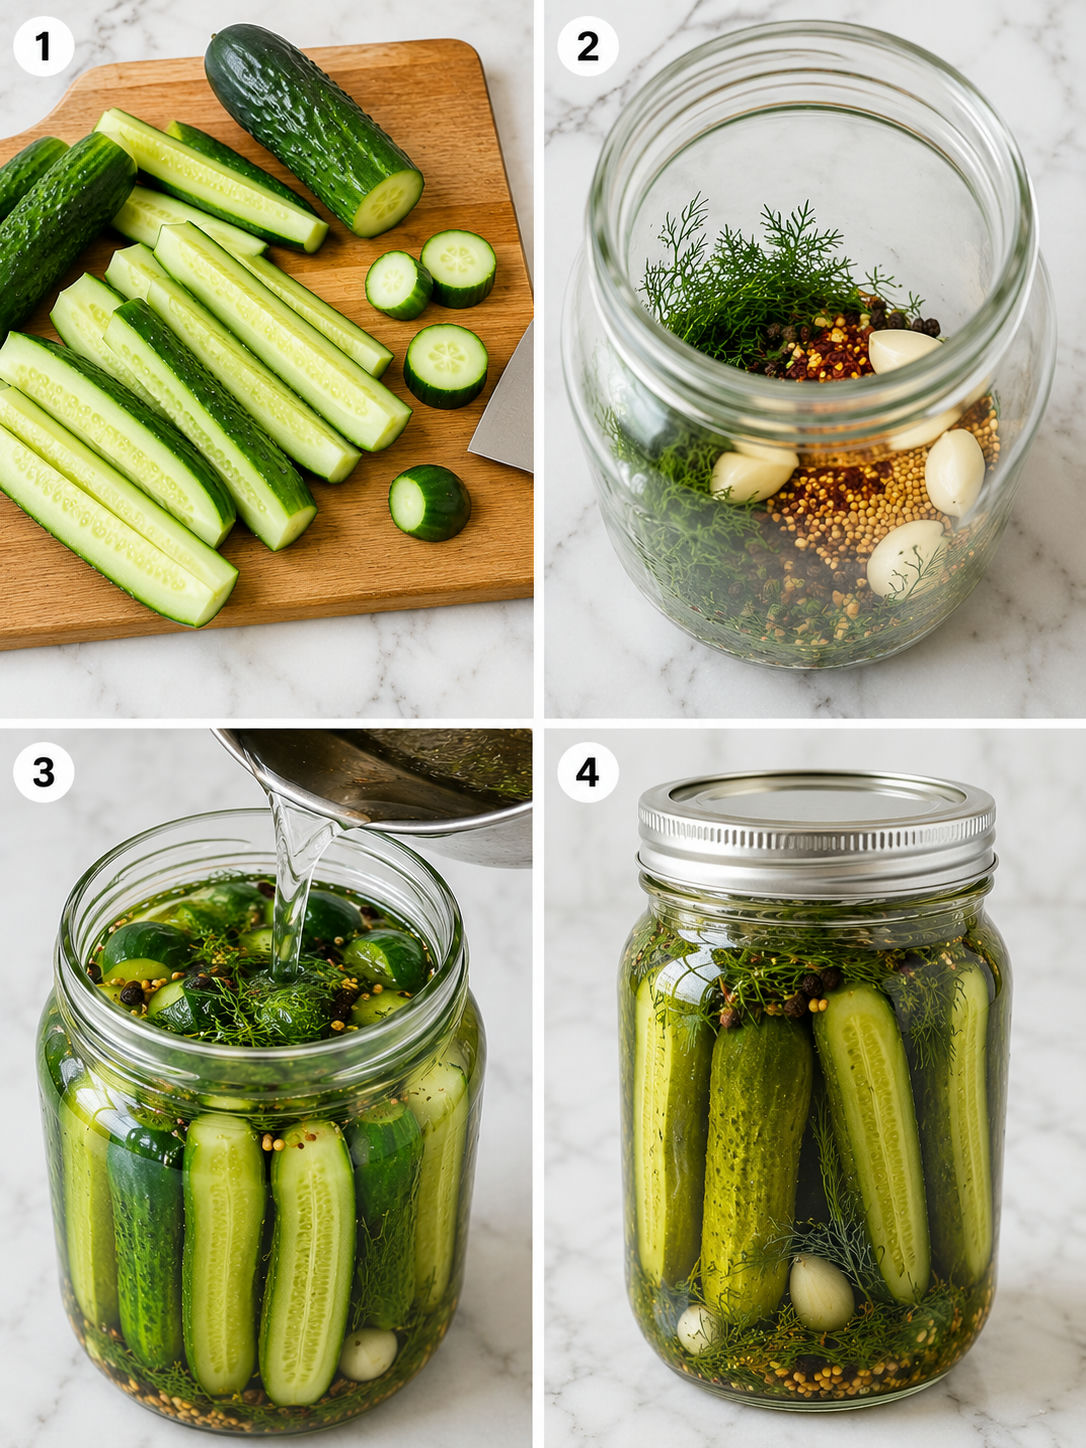
- Prep the cucumbers. Wash the cucumbers well, trim a thin slice from both ends, and cut them into spears or thick chips.
- Pack the jar. Add dill, garlic, peppercorns, mustard seeds, and red pepper flakes to a clean 1-quart jar, then pack in the cucumbers snugly.
- Mix the brine. Stir boiling water with salt and sugar until dissolved, then stir in the vinegar.
- Cover the cucumbers. Pour the brine over the cucumbers until fully submerged. Tap the jar gently to release trapped air.
- Cool and chill. Let the jar stand until warm, close it, and refrigerate for at least 24 hours before serving.
Why These Stay Snappy
Crunch starts before the brine touches the jar. Use cucumbers that feel heavy for their size and skip any with soft spots or wrinkled ends. Trim the blossom end, even if you cannot tell which end is which. The National Center for Home Food Preservation notes that cucumber blossoms can carry enzymes that soften pickles, and its pickling guidance recommends removing a thin slice from that end.
For extra insurance, keep the cucumbers cold until you slice them. Thick spears stay crunchier than thin ones, while chips pickle faster. If you have more cucumbers than fit the jar, turn the extras into creamy cucumber salad with dill while the pickles chill.
Flavor Builds Overnight
The 10-minute promise is the hands-on work. The flavor still needs time. After a few hours, the edges taste tangy and fresh. After one day, the garlic and dill are clear. After two days, the brine reaches deeper into the cucumber and the whole jar tastes more even.
A short refrigerator pickle method like the one from Food Network Kitchen uses the same basic idea of vinegar, water, dill, garlic, and peppercorns. I like a 1 to 1 vinegar and water brine here because it is sharp enough for snacking but still easy to eat beside sandwiches, burgers, and fried foods.
Spicy, Sweet, or Extra Garlicky
This jar is easy to steer. Add a sliced jalapeno for fresh heat, or stir in a pinch of homemade jalapeno salt blend if you want a warmer bite. For a deli-style spice mix, add coriander seed and a small bay leaf. For extra garlic, add one more smashed clove, but do not mince it unless you want a much sharper brine.
If you are out of fresh dill, dill seed works. The NCHFP pickling FAQ gives practical dill substitutions, which is helpful when the grocery store herbs look tired. Dried dill weed can work in a pinch, but it floats everywhere and gives a softer flavor.
Where These Pickles Belong
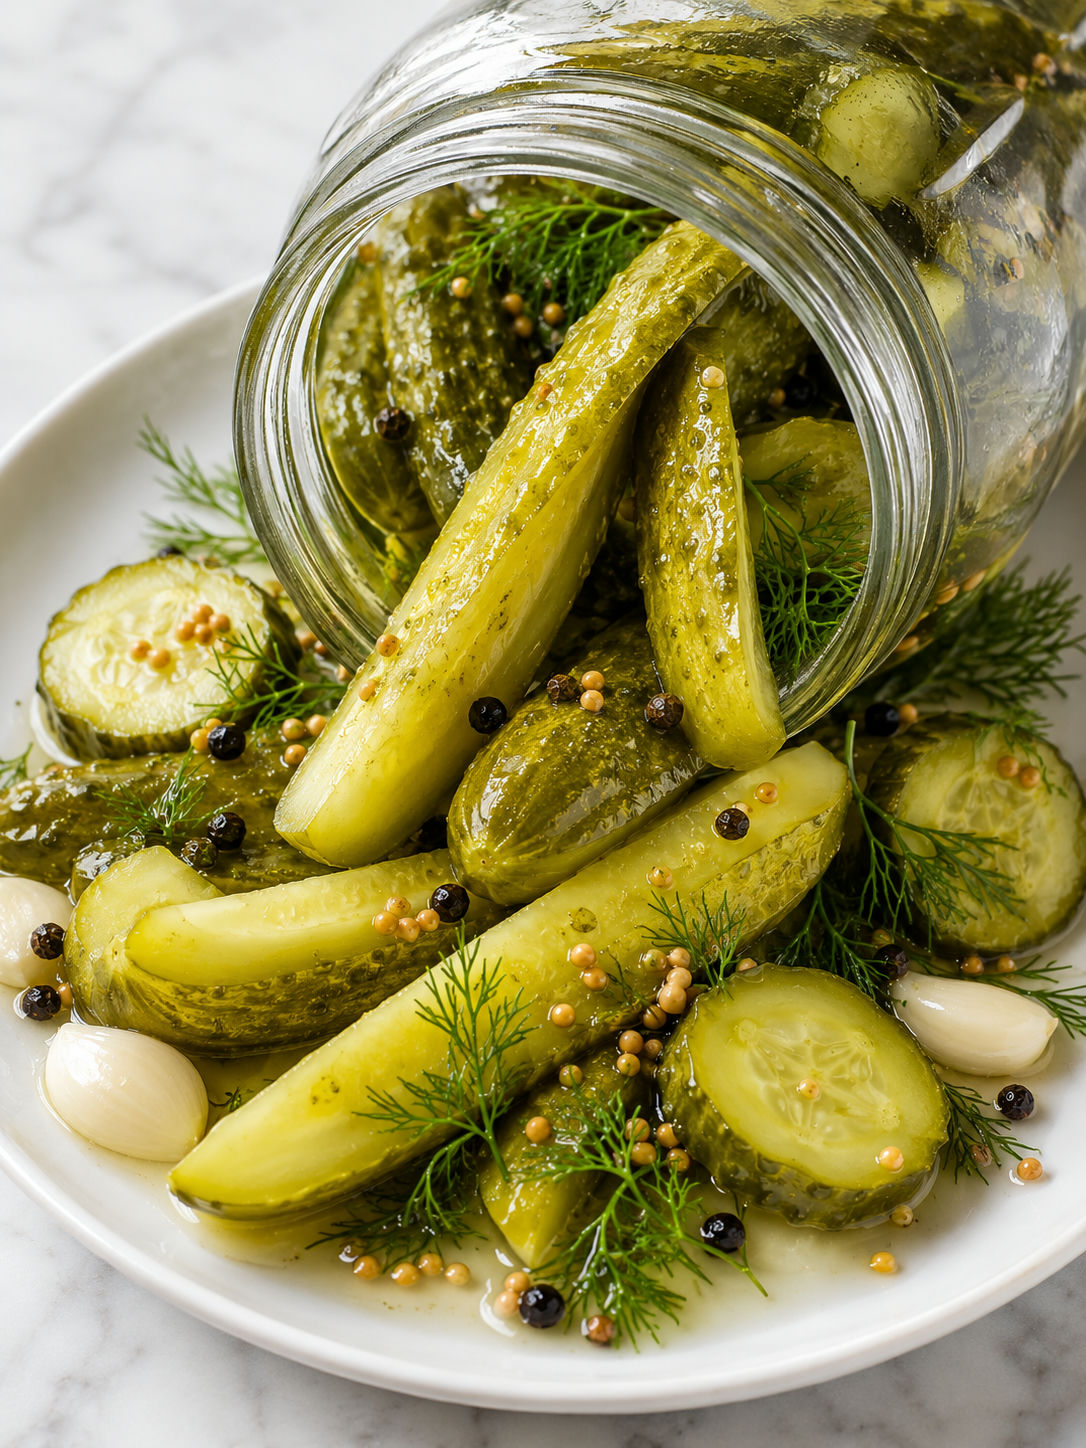
These are sharp enough to cut through rich food, so they are made for burgers, grilled cheese, and snack boards. Tuck a spear beside crispy hot honey chicken sliders, chop a few into dill pickle pasta salad, or save the brine for a spoonful in creamy dressings.
Once the jar is half gone, the remaining pickles get stronger. That is my favorite stage for chopped pickle toppings. If you want a hot snack, pat a few chips very dry and use them in crunchy cornmeal fried pickles. Drying matters because wet pickles shed breading fast.
Fridge Storage Rules
These pickles must stay refrigerated. They are not processed for the pantry. Keep every cucumber piece under the brine, use a clean fork, and close the jar right after serving. The pickles are best within 2-3 weeks, though the first week has the freshest crunch.
Do not reuse cloudy or used brine for another full batch of cucumbers. It has already pulled water from the vegetables, so the balance is not the same. If you want to use leftover brine, splash it into potato salad, tuna salad, or a quick dressing instead. When in doubt, make a fresh jar. It only takes 10 minutes.
Conclusion
Use small cucumbers, trim the blossom ends, keep the vinegar ratio steady, and give the jar at least a day to chill before serving.
Frequently Asked Questions
- How soon can I eat refrigerator dill pickles?
You can taste them after a few hours, especially if the cucumbers are sliced thin. For real dill pickle flavor, wait at least 24 hours. Spears are usually best after 48 hours because the brine needs more time to reach the center.
- Can I use regular cucumbers instead of pickling cucumbers?
Yes, but smaller cucumbers give a better crunch. If using a large slicing cucumber, remove any seedy center and cut it into thick chips or short spears. English cucumbers work too, but they make a softer pickle.
- Do I have to boil the brine?
No full stovetop boil is needed for this version. Boiling water from a kettle dissolves the salt and sugar, then cold vinegar brings the brine temperature down. Let the jar cool slightly before closing and refrigerating.
- Can I make these spicy?
Yes. Add more red pepper flakes, a sliced jalapeno, or a pinch of chili powder to the jar. Keep the vinegar, water, and salt the same so the brine stays balanced.
- How long do homemade refrigerator pickles last?
Keep them covered in brine in the refrigerator and use them within 2-3 weeks. Always use clean utensils to remove pickles from the jar. Discard the batch if the brine smells off, turns slimy, or shows mold.
- Can I can this recipe for shelf storage?
No. This is a refrigerator pickle recipe, not a tested canning recipe. If you want shelf-stable pickles, use a tested water-bath canning recipe from a food preservation authority.
